Social Deviation

Rat Rod Bikes Bicycle Forum

Help Support Rat Rod Bikes Bicycle Forum:

This site may earn a commission from merchant affiliate links, including eBay, Amazon, and others.
Joined
Nov 15, 2009
Messages
1,162
Reaction score
385
Location
tampa,Fl.
Rating - 100%
1   0   0
Still working on getting the top tube bent for Samurai's Delight and since I had some personal time today thought I would work on a bike.
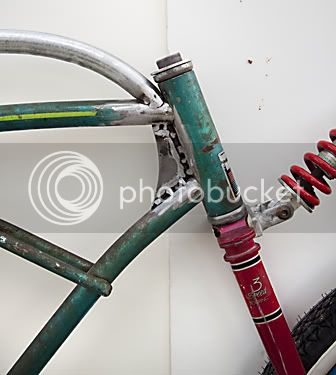
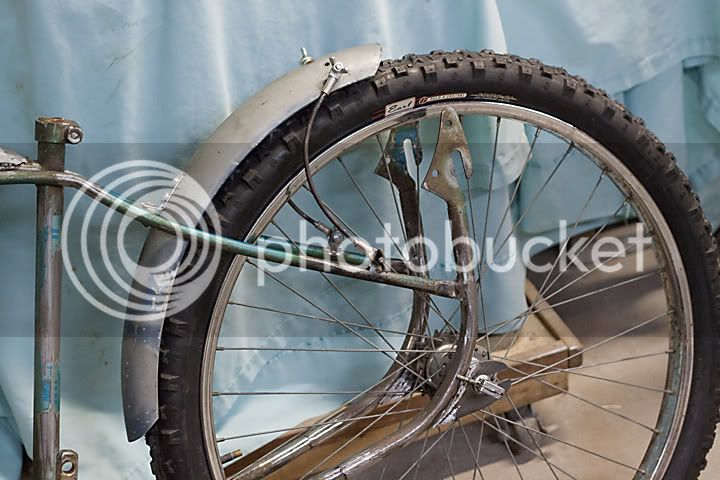
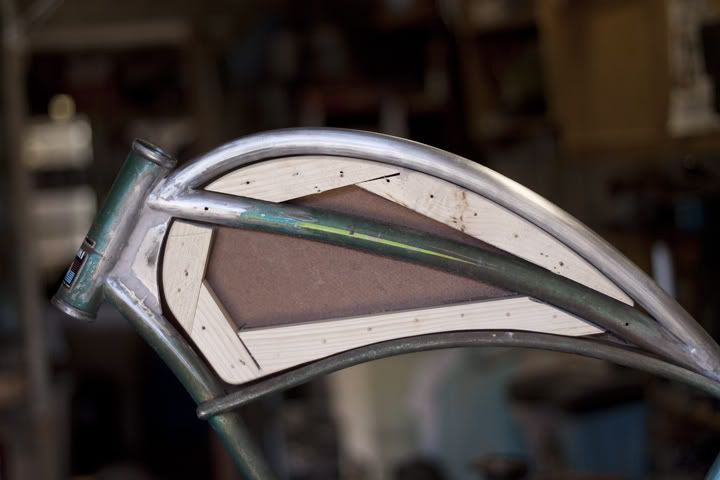
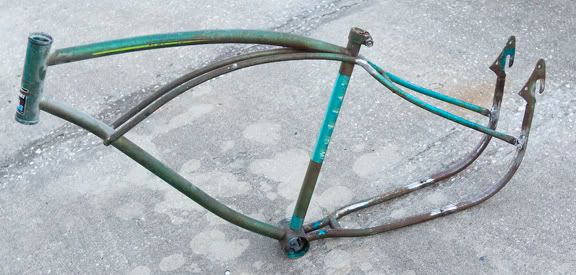
Wanted to create something with a really rough and ratty feel to it. ALso wanted to do it without alot of planning or a concept sketch. Just sort of off the top of my head as I found pieces.
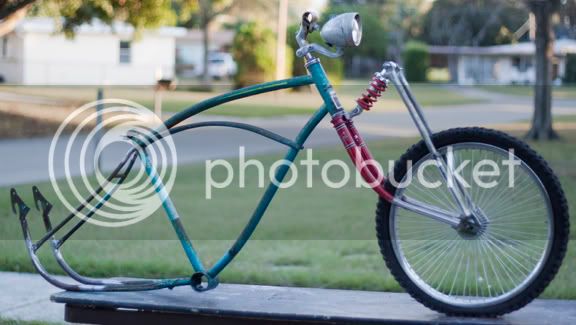
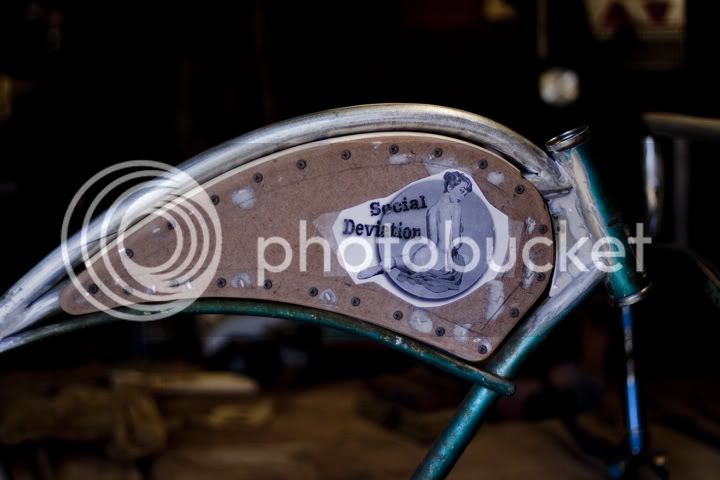
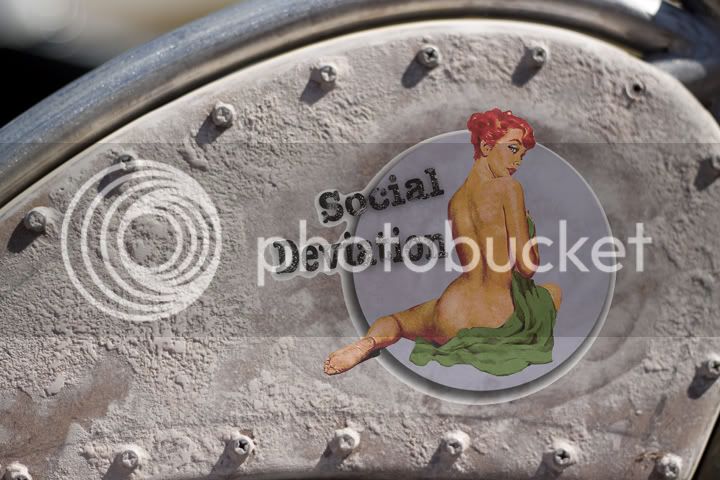
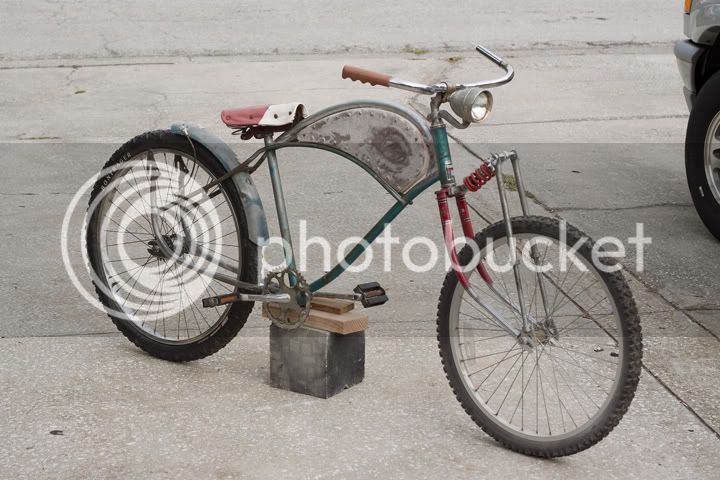
So far this is what I have done. Calling it "Social Deviation". Saw the name some were and thought it sounded like a bike name.
social1.jpg

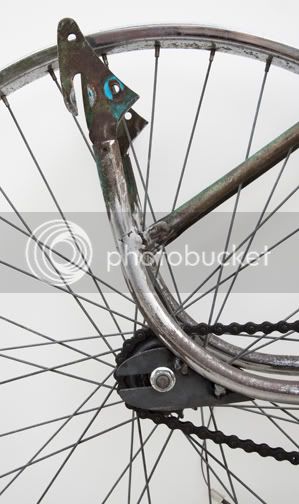
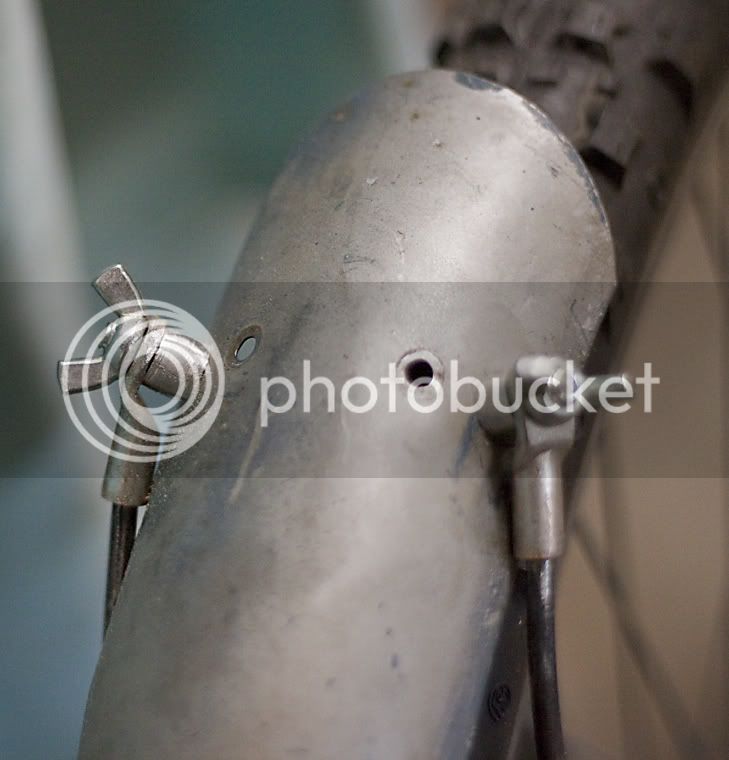
Before any one starts writing about the verticle drop outs they are decorative only. Plan on creating some out of 3/16" steel.
 
Before you get too far into it , you should stick the crank and a wheel on it and see where your chain is going to hit. From the picture it doesn't look like it will work without some extra rollers , and they never work really well. Just my two cents though. :wink:
 
Started on the front end. Think I am taking this in the direction of our new T-shirt design but with my own twist.
Did some bending of the fork but was getting worried about kinking it so ende up adding on to get the extended look.
Was looking a bit plain so started a faux suspension.
Liking the way the fork curves then the suspension comes up to a point sort of mimicing the back end.
Front wheel is a 20 inch but I think it makes the front look to big. I need to go to a 24" to make it look a little more in proportion. Thinking of either a 24 or a 26 in the back???
Any opinions?

frontend.jpg
 
Looks really cool, very nice lines! Nice use of the "Billy-chop" too. 8) I'd try a 26" on the back, and see how the stance is with a 24" or a 20" on the front. :)
 
First thing I said out loud was "Holy Crap!"
I want to see it with a 26" out back....if it will fit :shock:

cool idea! show me more!
 
Had a chance to work on it today so decided I better get some rear drop outs on it before I cause any more sleepless nights for those worried about things dragging,scrapping etc etc.
Since this was my first time trying this they are a bit more heavy duty than the probably need to be. Figured I could always grind then down. May give alittle more of an "s" curve to the bottoms??
Also wanted to create a place to do some graphics so added the curved top bar and gusset. Thinking of doing a relatively skinny tank (1 1/2" wide or so) in the space hiding the original top tube with it, if that makes any sense. Maybe a faux oil tank behind the seat tube??

Here are some pics.
frame11_18_10.jpg


Dropoutdetail.jpg


Toptubedetail.jpg
 
Fooling around with the rear fender. Even though I am using a 26" wheeel I decided to try a 24" fender I had. I liked the patina of it so am trying to make it work without having to cut it up to much.
It does not fit real well but it seems to give the bike a hill climber look. And since I am going for a real ratty feel I convinced myself it adds to the look.
I am contunuing the wing nut look you may notice on the front shock connection so fashioned some struts from 3/16" rod and electrical connectors.
Trying to keep the curved theme going also.
I am surprised how solid it is.

SDrearfender.jpg


SDfenderdetail.jpg
 
Thanks guys!
Been working on a graphic for the tank. Sort of like a ww2 airplane nose art. So today I will work on the tank to put it on.
 
Lunch time so thought I would do a quick update.
Tank is almost completed.
Was going to go all Galtbecken on it and make it out of foam and fiberglass but decided to keep it simple and use the materials I had at hand. In the scrape bin I had some masonite for the sides and 2x2 for the internal structure.
Some construction adhesive and screws into the midle pipe are holding it on.
Trying to create a texture out of Bondo that will look like years of paint once I start to paint it. Going to try to airbrush what will look like a 1" frame going around the edge of it being held on with the screws.
Here are some pics:

tankmockup.jpg


tankinternals.jpg


Detail of texture with Photo Shop graphic mock up.
tanktexture.jpg


Over all view
SDMockup2.jpg
 

Latest posts

Back
Top