Winged Hawthorne // FINISHED with PICS!

Rat Rod Bikes Bicycle Forum

Help Support Rat Rod Bikes Bicycle Forum:

This site may earn a commission from merchant affiliate links, including eBay, Amazon, and others.
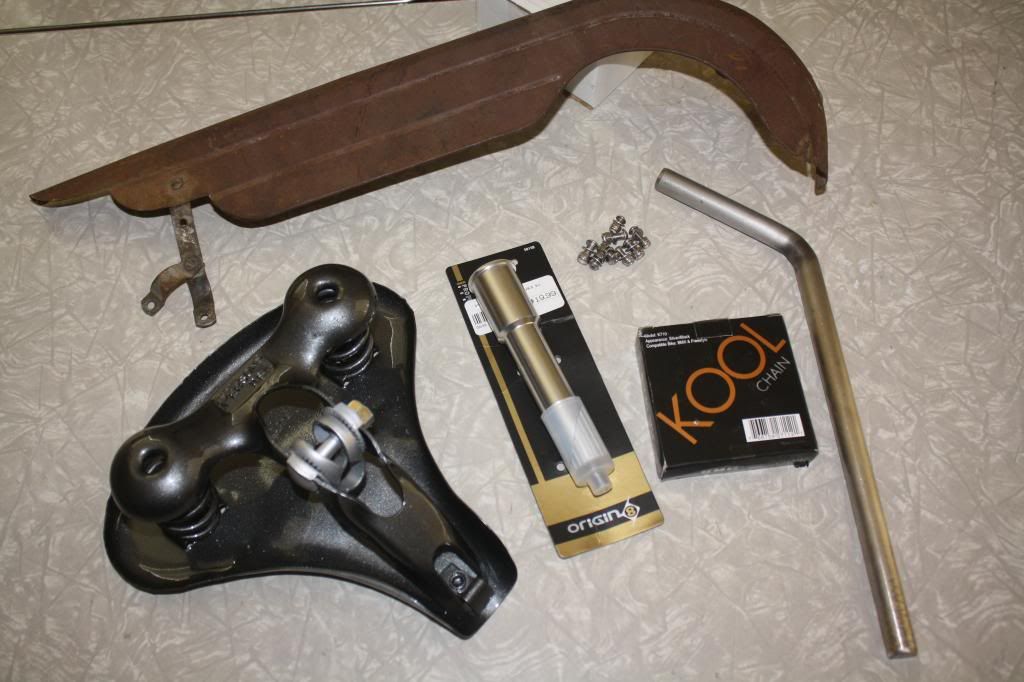
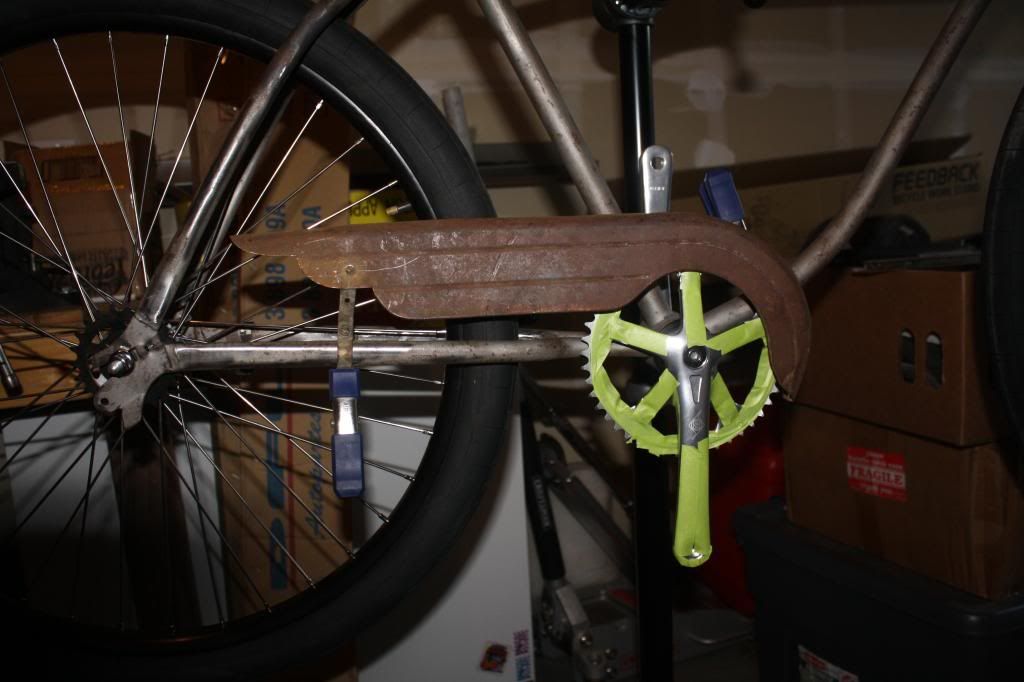
After I welded up the holes and the crack in the frame, it was time to sort out the bottom bracket. I had originally thought the bottom bracket conversion cups would press right in.. I was wrong! There was lots of material to remove inside the bottom bracket to get them to fit. Some grinding and sandpaper rolling and checking and grinding and sandpaper rolling and checking... you get it. I finally won that battle and got them locked into place. Sorry, no pictures of that process. I didn't stop til they were in. The sealed bottom bracket and track cranks went on without a hitch. I don't know why I didn't go this route in the past on previous builds. Those cranks spin like BUTTER!!

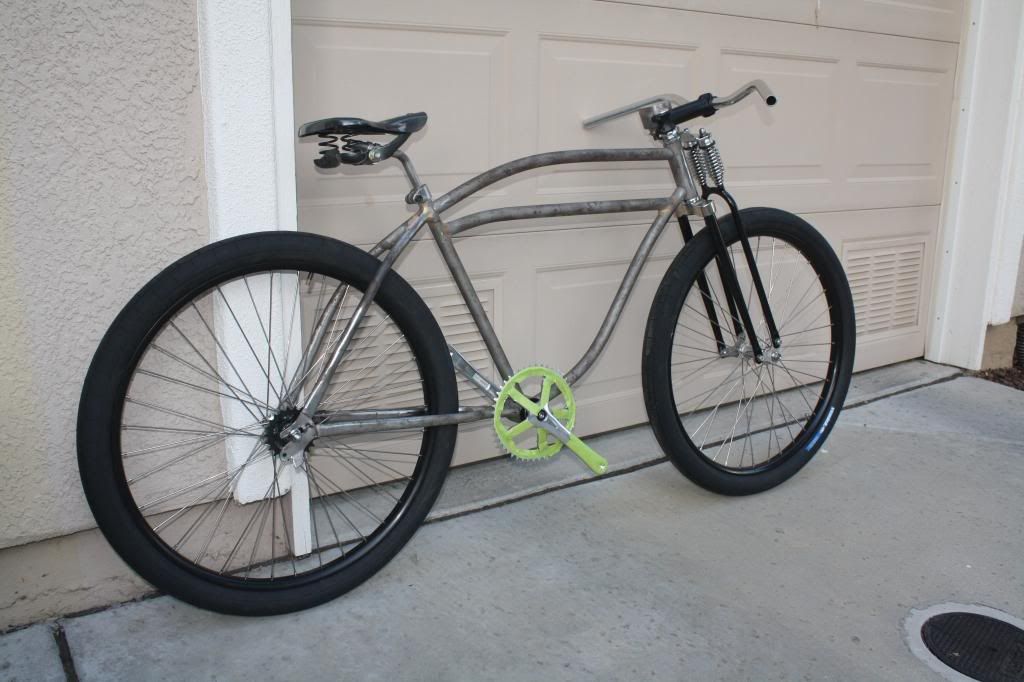
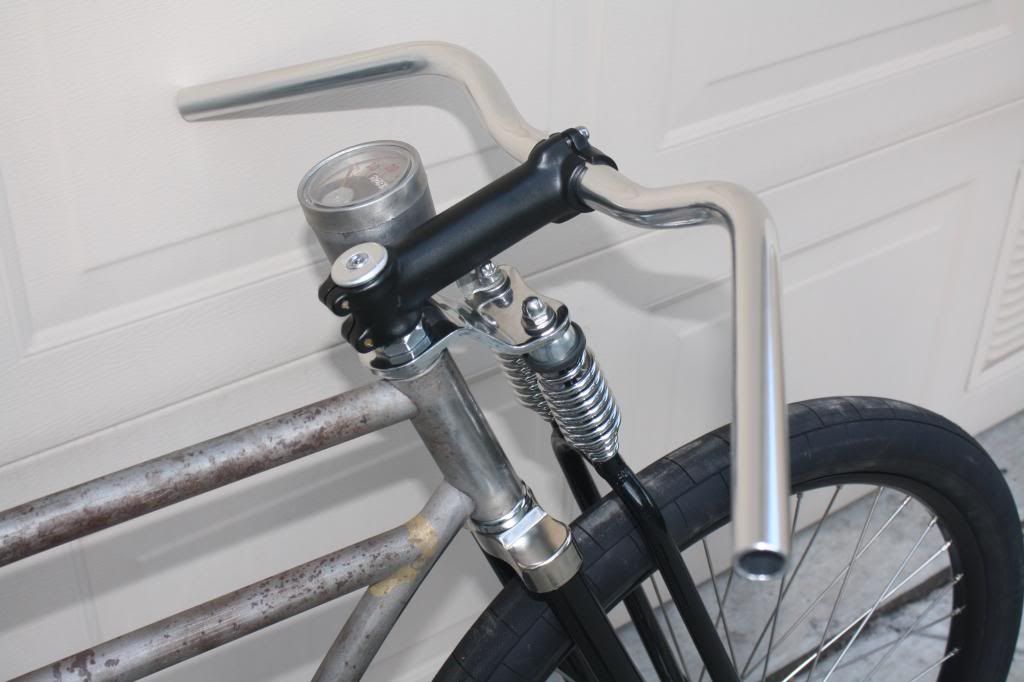
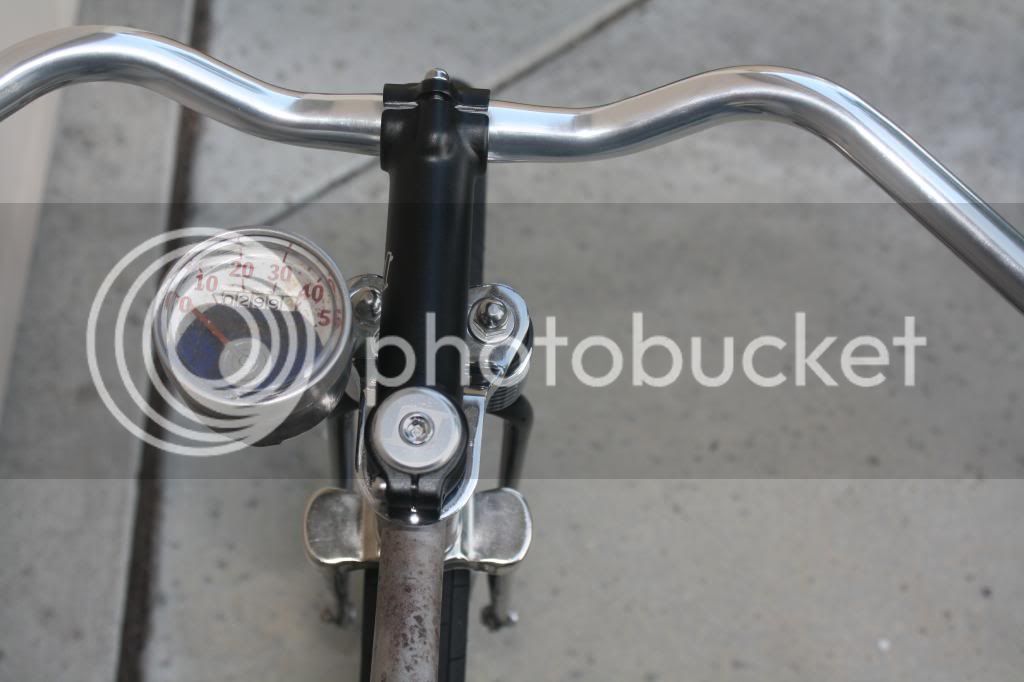
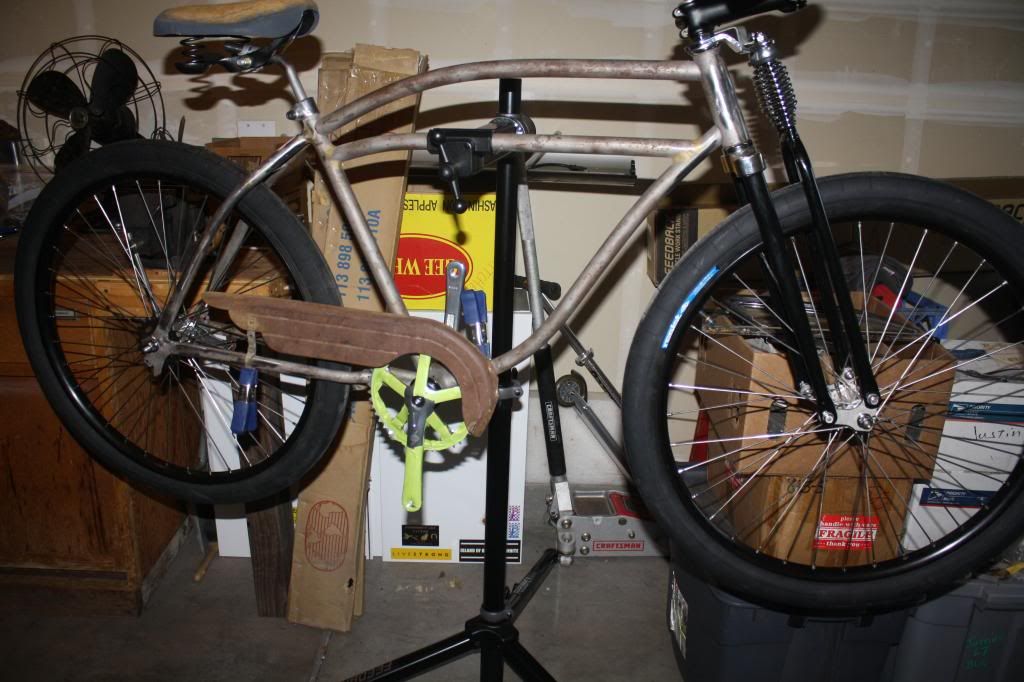
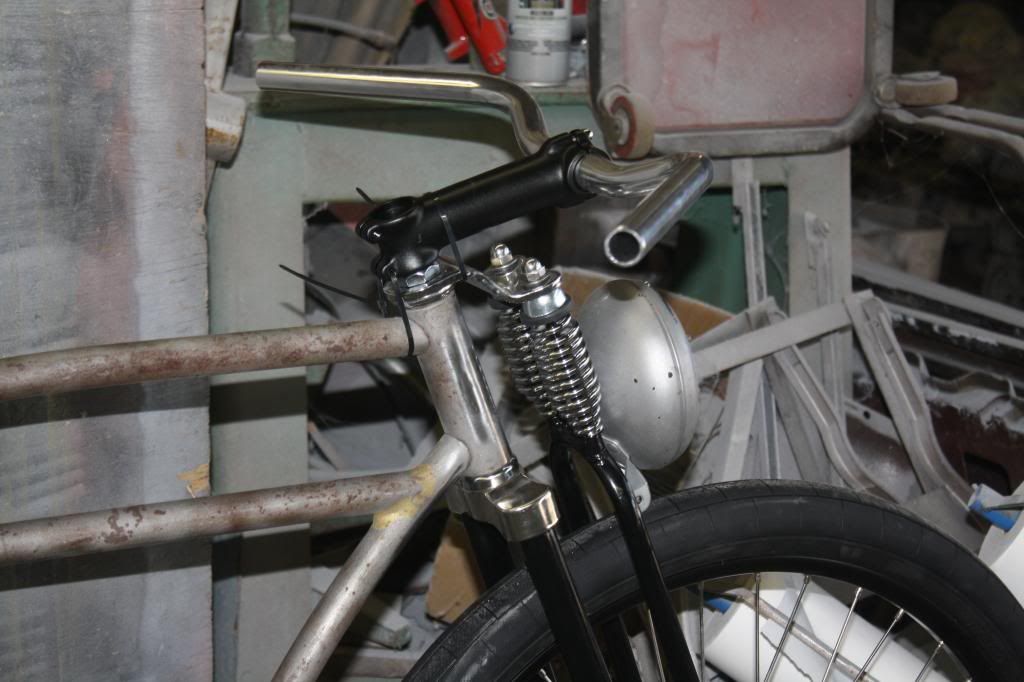
My handle bars came in, from Fyxation. I like em.. they have that cafe racer feel to them. I'm still waiting on the quill stem adapter so I can mount them up. In the pics I used a couple zip ties to hold the stem in place so I could get a feel of how they'd look together. I'm not totally sold on my stem choice. Its a 130mm, Swobo stem. Its a little long, but it may just work once I get it all together. We'll see.

IMG_2818.jpg

IMG_2817.jpg

IMG_2816.jpg
 
hey Justin this thing is looking great! are you going to put a drop stand on it? have always wanted to do one but never had the frame for it!

Troy
 
This has taken the lead on my favorites list...VERY awesome rig!!! I used the BB conversion on my spaceliner build, just got it all installed last night.
 
jats said:
hey Justin this thing is looking great! are you going to put a drop stand on it? have always wanted to do one but never had the frame for it!

Troy
No drop stand for Old Soul.. Although it'd be cool, I'm not using a full rear fender. I'll be going with a bobbed fender (again..). No where for the drop stand clip to mount. When I got this frame it had a regular kick stand that I'm cleaning up and reusing.

supergoob said:
This has taken the lead on my favorites list...VERY awesome rig!!! I used the BB conversion on my spaceliner build, just got it all installed last night.
Thanks! Did your BB conversion slide right in and bolt up with no issues?? ..or was there some clearancing involved like with mine?
 
Terry66 said:
Awesome badge and guard my friend. I also dig the color choice. You think outside the box when it comes to color and you nail it. I think the gray is going to be smoking hot. I'm thinking about some color this year.
Outside the box is a fun place to be Terry. Do it.. go for some color!! HRH had some color in the pinstripes & lettering! :D
 
Critter1 said:
jats said:
hey Justin this thing is looking great! are you going to put a drop stand on it? have always wanted to do one but never had the frame for it!

Troy
No drop stand for Old Soul.. Although it'd be cool, I'm not using a full rear fender. I'll be going with a bobbed fender (again..). No where for the drop stand clip to mount. When I got this frame it had a regular kick stand that I'm cleaning up and reusing.

supergoob said:
This has taken the lead on my favorites list...VERY awesome rig!!! I used the BB conversion on my spaceliner build, just got it all installed last night.
Thanks! Did your BB conversion slide right in and bolt up with no issues?? ..or was there some clearancing involved like with mine?

Lots and lots of clearancing. It was a little aggravating, I was a couple hours getting mine smoothed out.
 
This is looking SHARP!!
Those bars would look good flipped as well.
Loving this build!
 
kingfish254 said:
This is looking SHARP!!
Those bars would look good flipped as well.
Loving this build!
Thanks KF! They may just end up flipped. In that pic the stem is actually flipped. It had too much rise IMO. If I keep this stem, It'll stay flipped. As for the bars.. I'll try em both ways when it comes time.
 
More parts rolling in.. I painted my Persons seat frame with the accent color.. its a dark gray "graphite" metallic. Other parts will receive the same color. Had to get the seat done right away so it can get covered. I used a Kool chain last year and I really liked it, so I figured I'd use one again this year. The 5/8" stainless steel seat post came from Slowriderz. It'll polish up nice! Finally got the quill stem adaptor too. Now lets see if it all works together! I searched and searched for a chain guard to use on this build until I found this one. It's pretty rough and has a crack that needs welded, but I'll try to make it new again. I'm assuming its prewar but who knows... it's a WING, and I dig it!! Does anyone know what it originally came on? The pile of hardware is SS button heads for the chain guard brackets.

IMG_2827.jpg

IMG_2830.jpg

IMG_2836.jpg

IMG_2837.jpg

IMG_2838.jpg

IMG_2840.jpg
 
Re: Old Soul... Wing and a prayer!

I didn't have time today to dive into the chain guard. The original hardware needs drilled out and It'll need a good bead blasting, then welding, bodywork, etc... I kinda set it in place to see what clearance issues I'll have. Its gonna be tight with the track crank, but it'll work.

IMG_2845.jpg

IMG_2848.jpg
 
Nice bars,Have the same on my 1939,except flipped over....
Lookin great,loved your bike last year.... :D
 
Here is what this Western Auto Supply Co. speedo looked like when I got it.
CIMG1814r-1.jpg

CIMG1822r-1.jpg


This speedo was going to be used on my sons Firestone build from a little while back. It was for that build that I restored the lens... I took the old lens to Michael's hoping to find something similar... BINGO! You know those plastic buttons/key chains you can put a picture inside of? The top half of one of those was the perfect fit!
CIMG1823r-1.jpg

CIMG1824r-1.jpg
 
Way to go on all the progress Critter, i wish i had half the talent you have as well as more time! I was taking a gander at that rear light you have and i so happened to do an LED conversion on a light with similar dimensions :arrow: viewtopic.php?f=3&t=39771 You seem to be a smart guy so you may have something in the works but hopefully you find it useful in some manner. 8)
 
Great work on that speedo lense.
Guard lloks great as well as everything else.
Smooth and clean build! Everything jut fits together.
 
Brentley said:
Way to go on all the progress Critter, i wish i had half the talent you have as well as more time! I was taking a gander at that rear light you have and i so happened to do an LED conversion on a light with similar dimensions :arrow: viewtopic.php?f=3&t=39771 You seem to be a smart guy so you may have something in the works but hopefully you find it useful in some manner. 8)

Brentley, I checked out that LED thread.. cool stuff!! That'd be perfect for my taillight. I do like me some LED's. But I'm going to try to keep the regular bulb for this one. Since my headlight is 6 volt and the bulb is all one unit, I have to stay with the original bulb there. My plan is to come up with a compact 6volt battery set up to wire both lights to. Any suggestions on the battery back would be great!!
 
kingfish254 said:
Great work on that speedo lense.
Guard lloks great as well as everything else.
Smooth and clean build! Everything jut fits together.
I think thats exactly what I try to do on my builds... Make everything fit as if it was that was from the factory.. :D
 
I'm going to use a bobbed fender on the rear of Old Soul. I had planned to use a deep Monark front, but the contour just doesn't work on the back. :| SO I have this black repop (Schwinn I think) with a duck tail I'll use, it contours nicely to my wheel. I'll get to cutting it up and fitted. It's not near as deep as I'd have liked it to be but it's all I have right now, so I'm going with it.

IMG_2843.jpg
 
Re: Old Soul... Wing and a prayer!

Nice work so far :wink: I like those handlebars 8)
 
I worked on Old Soul for a while today. Powered by Rockstar!
IMG_2873.jpg


The wing chain guard cleaned up real nice with a bead blast. It had zero rust, and this one little rip. I also replaced the original hardware.
IMG_2854.jpg
IMG_2856.jpg


After that it was time to bob a fender.
Normally I'd cut the back end off to shorten a fender but since i was saving the ducktail part of this one, I had to recreate the lower mounting point.
IMG_2857.jpg


The seat stays on this Hawthorne frame are very narrow at the fender mount. It took a couple of deep presses on each side for the fender to fit nicely.
IMG_2860.jpg

IMG_2861.jpg


Mounted the taillight.
IMG_2880.jpg

IMG_2881.jpg


Had some clearancing to do. The chain rubbed the fender after I had to move the chain ring to the inside of the crank and also flip the rear cog to get the chain line perfect.
IMG_2868.jpg

IMG_2876.jpg

IMG_2883.jpg


Straight as a string. :)
IMG_2849.jpg
 
Back
Top