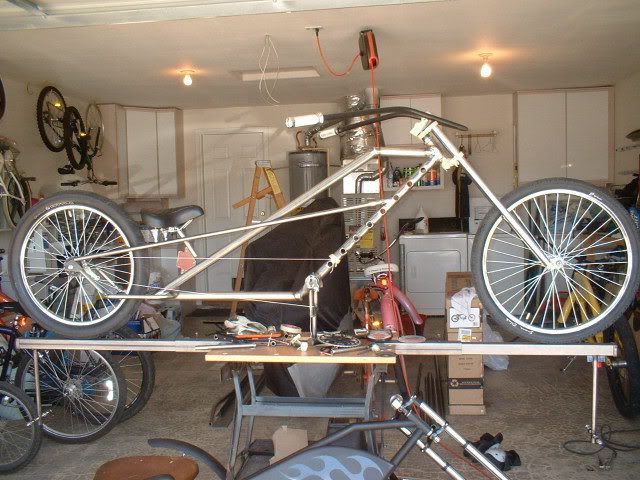
So as any good project should go, this was sort of unintended.
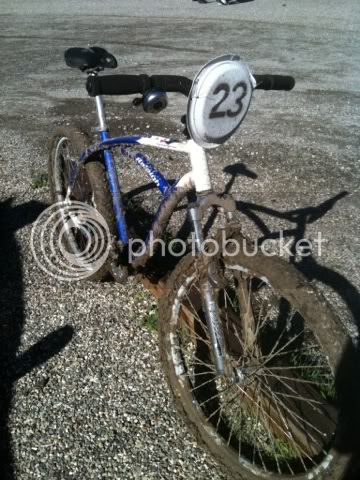
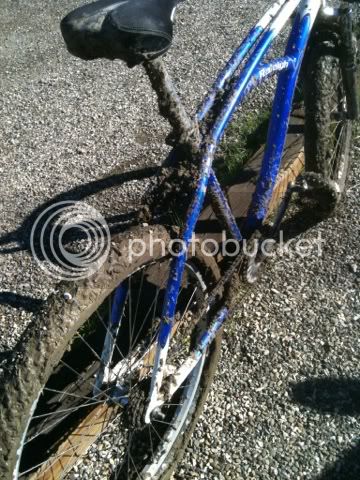
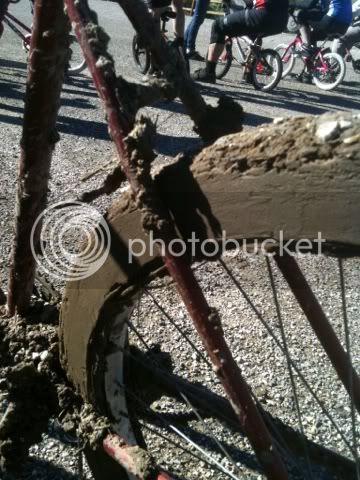
After the last coaster brake challenge race my bike was packed with mud like mad. Mad mud yo. (I don't think I saw pics of that race posted, it was ridiculous) the bike got washedB right after race but bearings sounded gritty when it was dry. So of course I just took it apart to clean out and regrease everything. "Well, I've got it apart this far, why not go ahead and strip it for a coat of paint?" Sure! So I stripped the frame, which looks kinda cool in aluminum, then had the next thought, "why not drill some holes in it?" Why not? No reason not too! So once I thought that would be cool enough to do I decided it should done proper and I enlisted my friend Joe for his mill and his welding skill. Next thing you know, cleaning up the bearings caused this:
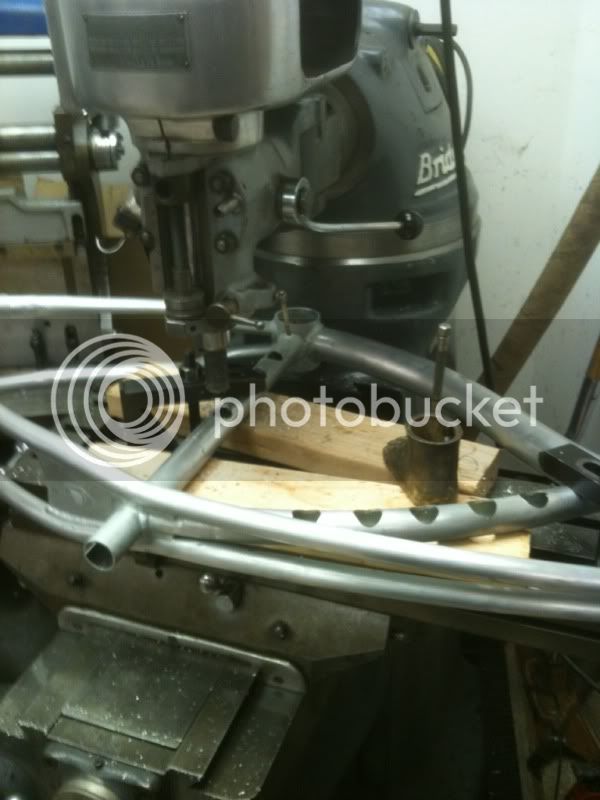
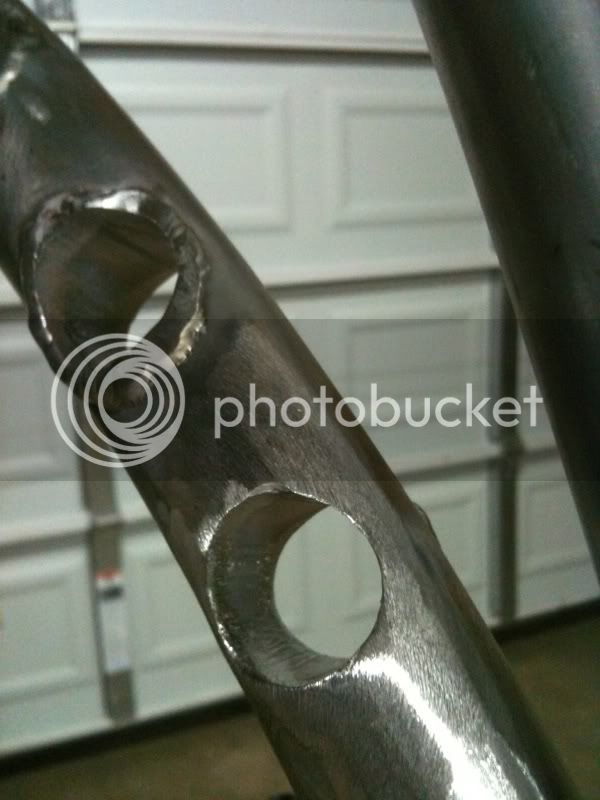
Boring 1 inch holes through the frame
Then 1 in diameter pipe was cut to go in the holes
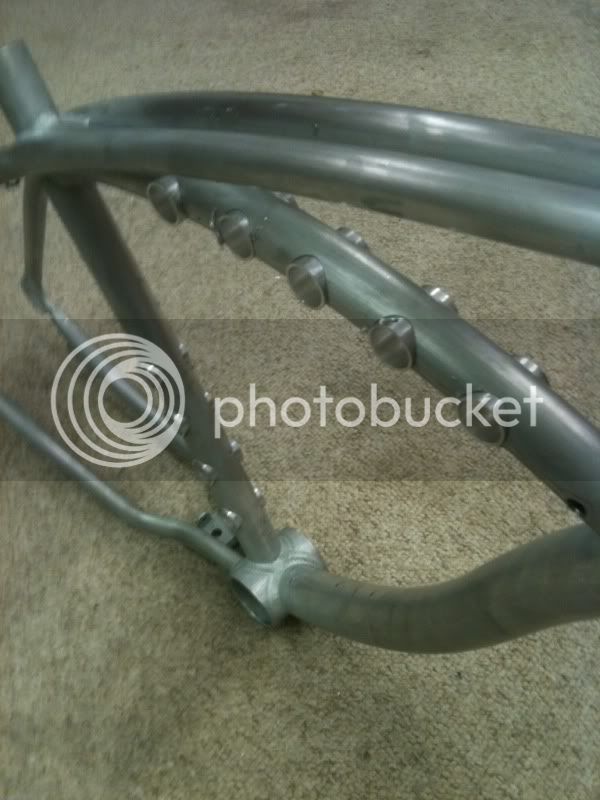
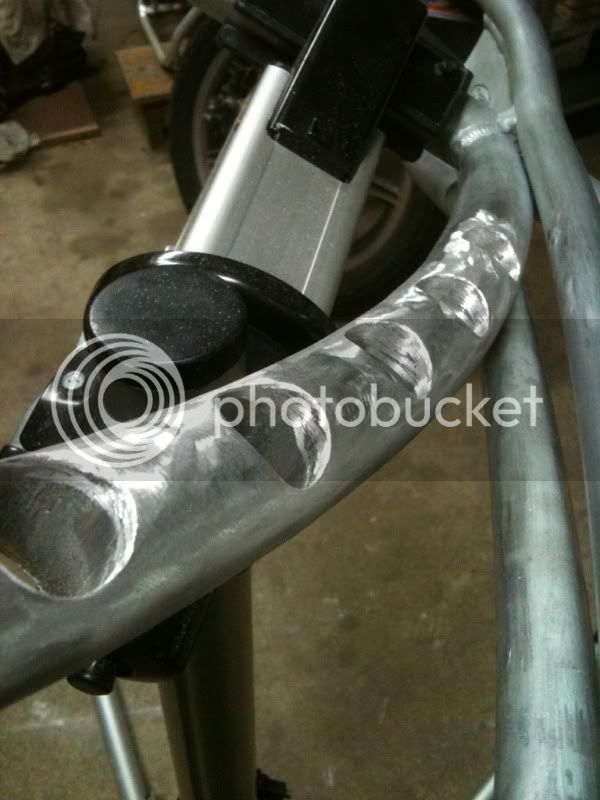
After tacking them in place they were ground down close to the frame
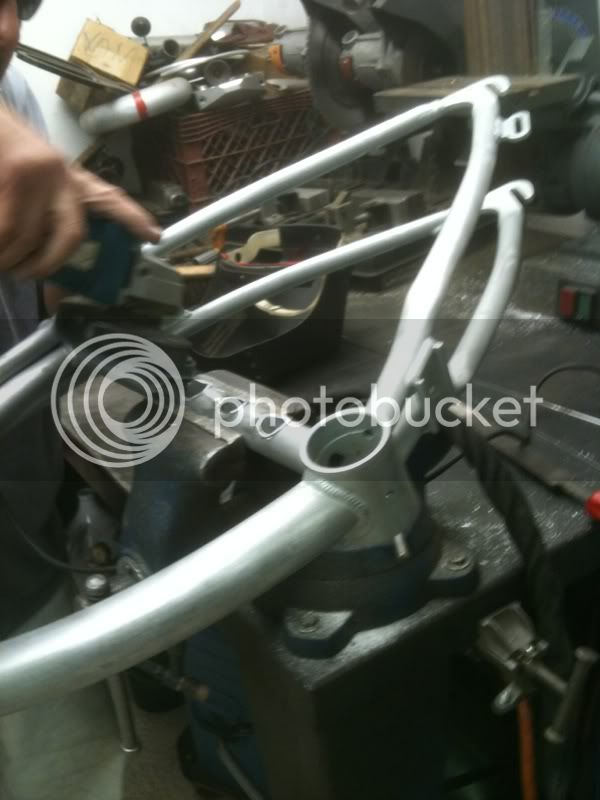
Then Joe tigs them in
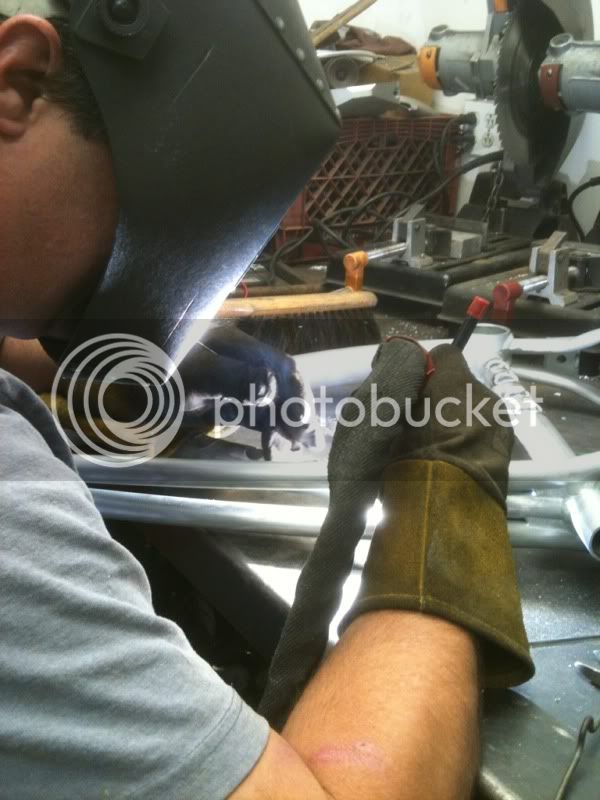
After that I take the welds down smooth with the frame
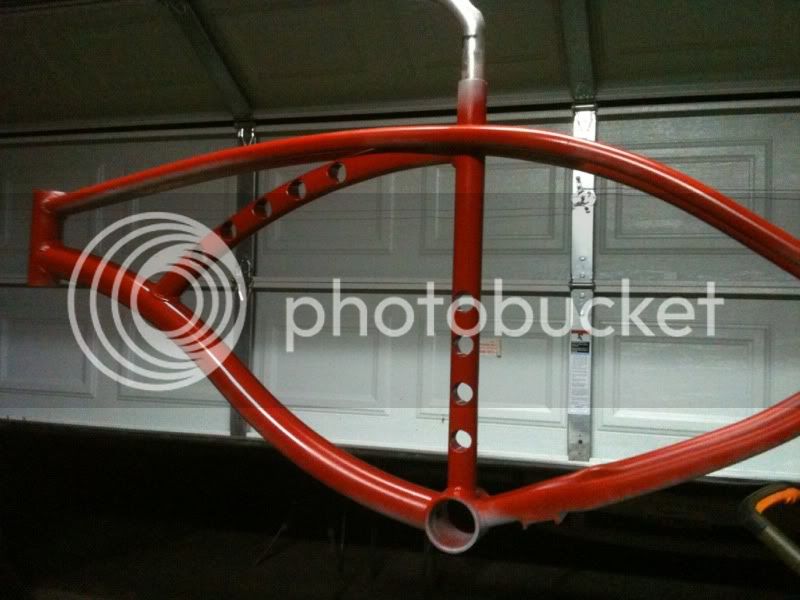
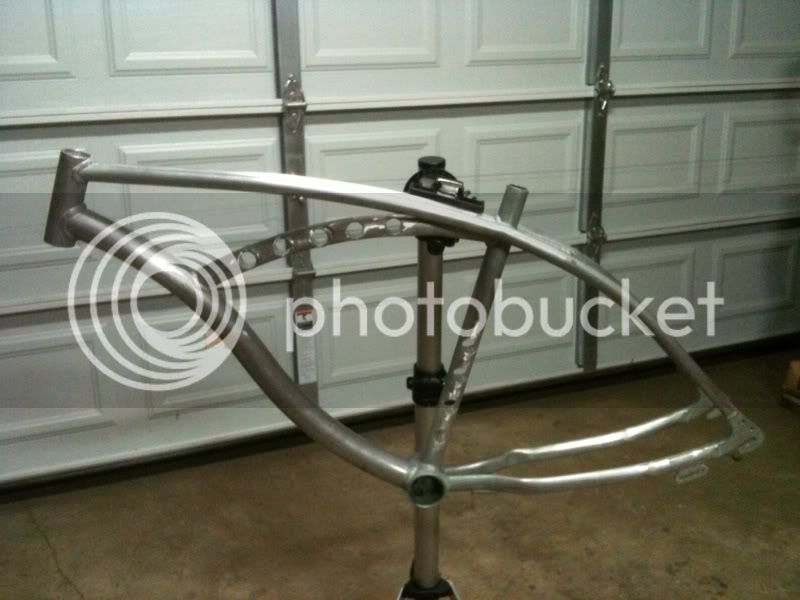
So this is as far as I am on it now. A few more welds to smooth out, then ready for a wicked paint job that is yet undecided. A medium/ light matte green? Flat blue like Air Force - Navy style? Something.....
After the last coaster brake challenge race my bike was packed with mud like mad. Mad mud yo. (I don't think I saw pics of that race posted, it was ridiculous) the bike got washedB right after race but bearings sounded gritty when it was dry. So of course I just took it apart to clean out and regrease everything. "Well, I've got it apart this far, why not go ahead and strip it for a coat of paint?" Sure! So I stripped the frame, which looks kinda cool in aluminum, then had the next thought, "why not drill some holes in it?" Why not? No reason not too! So once I thought that would be cool enough to do I decided it should done proper and I enlisted my friend Joe for his mill and his welding skill. Next thing you know, cleaning up the bearings caused this:
Boring 1 inch holes through the frame
Then 1 in diameter pipe was cut to go in the holes
After tacking them in place they were ground down close to the frame
Then Joe tigs them in
After that I take the welds down smooth with the frame
So this is as far as I am on it now. A few more welds to smooth out, then ready for a wicked paint job that is yet undecided. A medium/ light matte green? Flat blue like Air Force - Navy style? Something.....
 nice to have access to proper tools too. for some reason, i like the initial mock up with the pipe sticking out of the tubing! reminds me of the portholes on early 50`s buicks. 8)