You are using an out of date browser. It may not display this or other websites correctly.
You should upgrade or use an alternative browser.
You should upgrade or use an alternative browser.
Project Bike #1 UPDATED (October 2011) Even More New Pics!!!
- Thread starter Big_Daddy_Sloth
- Start date


Help Support Rat Rod Bikes Bicycle Forum:
This site may earn a commission from merchant affiliate
links, including eBay, Amazon, and others.
Re: Project Bike #1 UPDATED More Pics!!!
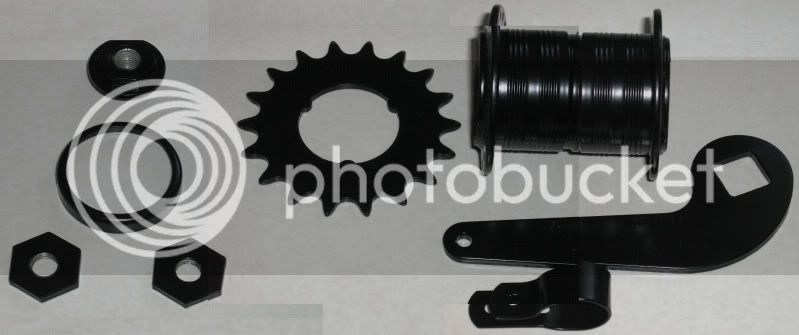
New pics!!! Just got my parts back from the powder coater. Bonus: The price!! Dude was very reasonable for all the little pieces I had. And they didn't lose any of it. I'll be taking my rims to him as soon as I get my 24''er from ind-chuckz.
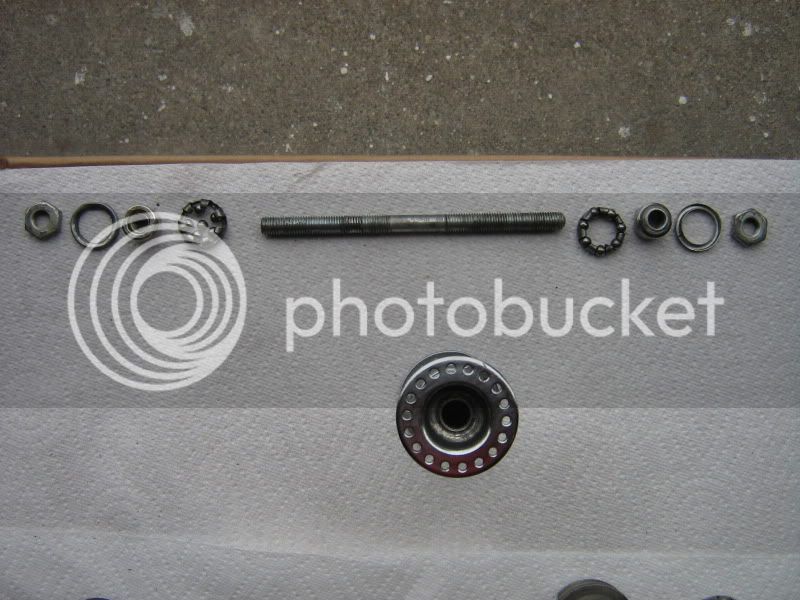
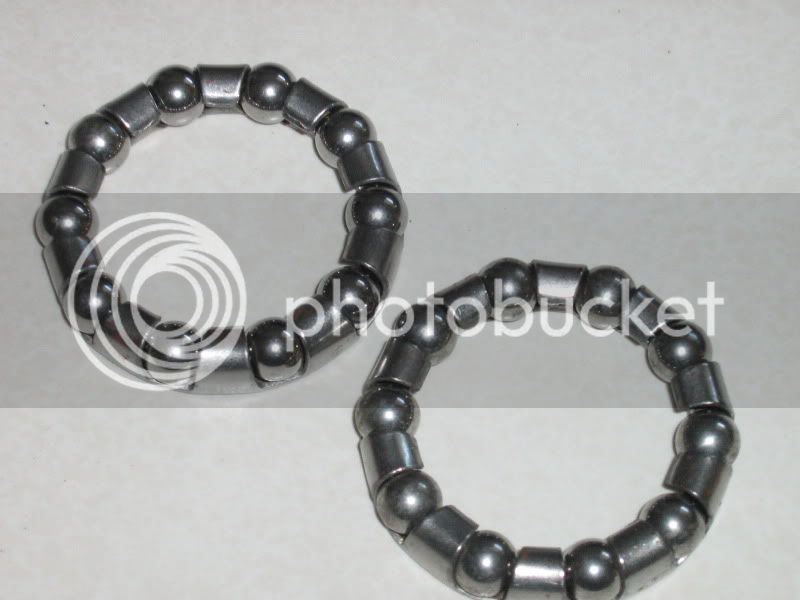
Front hub disassembled and cleaned.
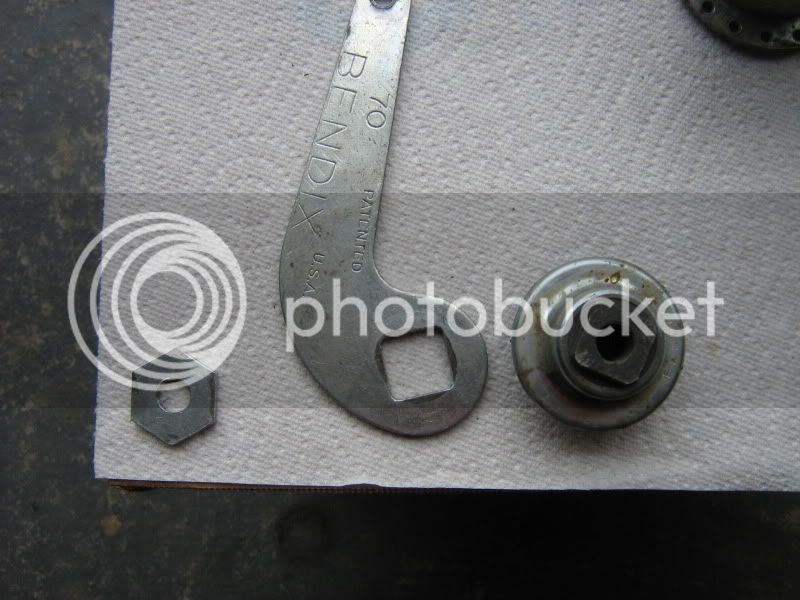
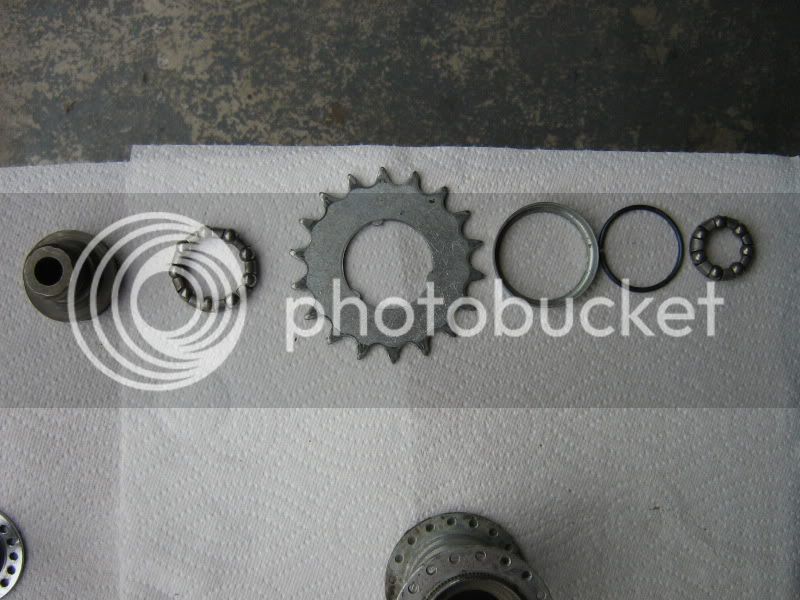
Rear hub disassembled and cleaned.
Now for the improved pics:
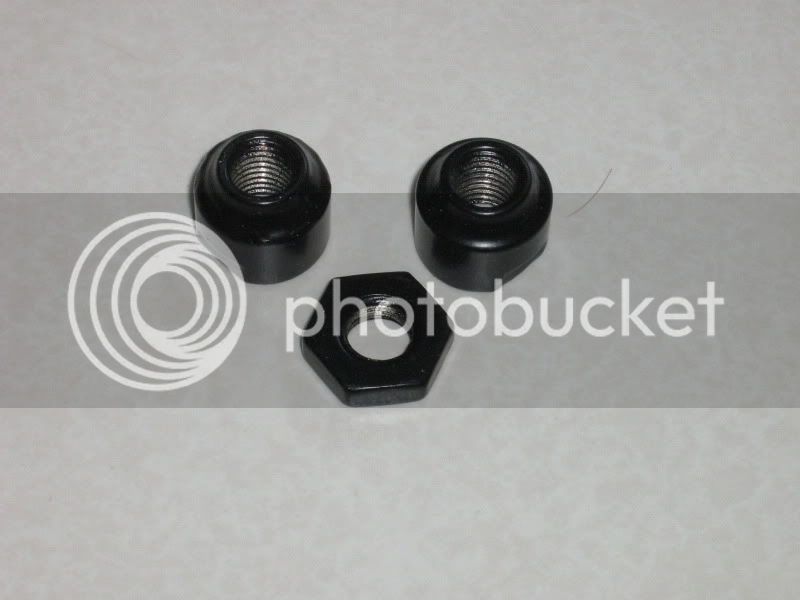
I'm missing a nut in this photo because it fell under the flaps in the bottom of the box. Hahaha.
Rear hub, before.
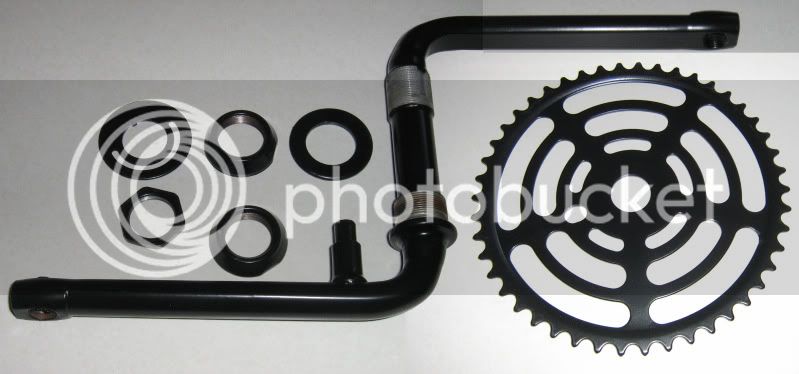
Bottom bracket/crank before.
I cleaned everything!!
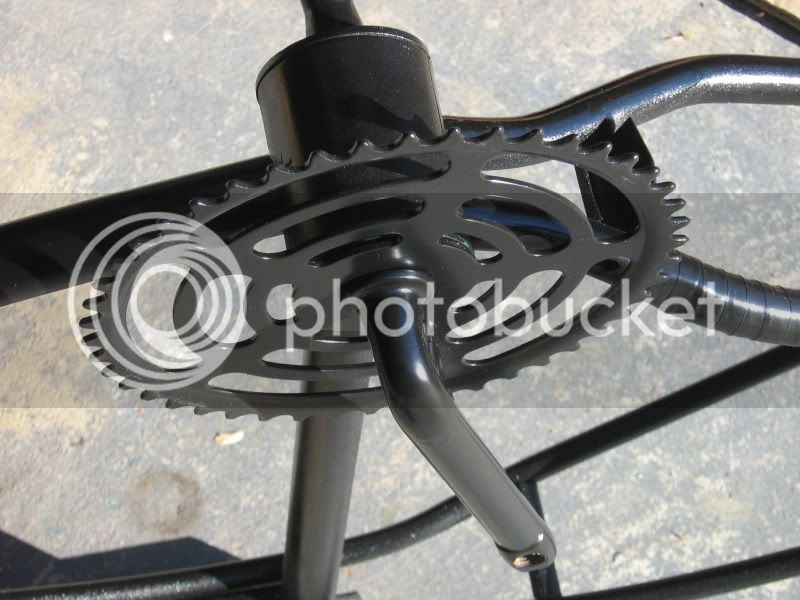
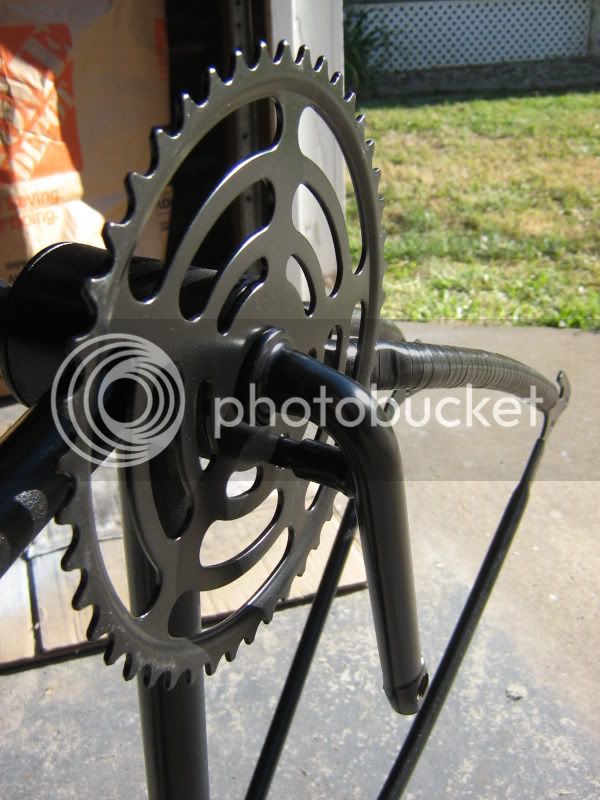
Bottom bracket/crank after.
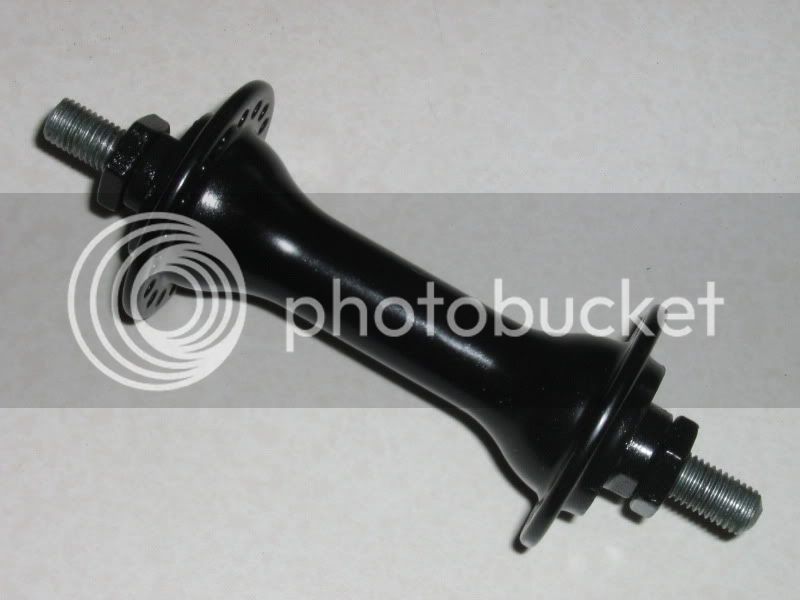
Front hub after.
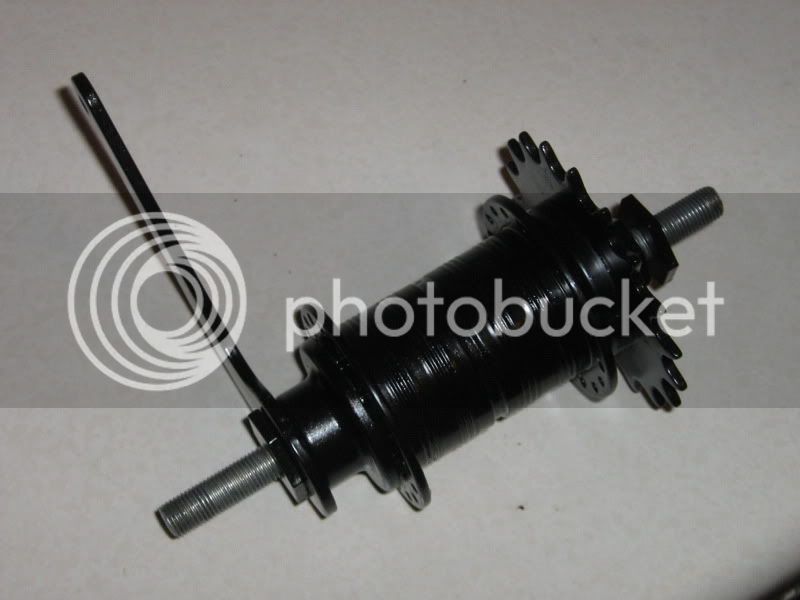
Rear hub after.
I only wish I knew about this place before I did my frame. Oh well. Next one.
New pics!!! Just got my parts back from the powder coater. Bonus: The price!! Dude was very reasonable for all the little pieces I had. And they didn't lose any of it. I'll be taking my rims to him as soon as I get my 24''er from ind-chuckz.
Front hub disassembled and cleaned.
Rear hub disassembled and cleaned.
Now for the improved pics:
I'm missing a nut in this photo because it fell under the flaps in the bottom of the box. Hahaha.
Rear hub, before.
Bottom bracket/crank before.
I cleaned everything!!
Bottom bracket/crank after.
Front hub after.
Rear hub after.
I only wish I knew about this place before I did my frame. Oh well. Next one.
Re: Project Bike #1 UPDATED More New Pics!!!
Rim just arrived from ind-chuckz! I will be dropping it and the other one off at the powdercoater in a few hours. I hope they get done quicker this time....
And then I will attempt my first lacing project. Anyone have any tips or pointers for me?
Rim just arrived from ind-chuckz! I will be dropping it and the other one off at the powdercoater in a few hours. I hope they get done quicker this time....
And then I will attempt my first lacing project. Anyone have any tips or pointers for me?
Re: Project Bike #1 UPDATED More New Pics!!!
Never laced a wheel myself, but I'd start by laying it next to an existing wheel and copying the pattern. Sorry all I can offer is well wishes. :mrgreen:
Cheers,
Dr. T
Big_Daddy_Sloth said:And then I will attempt my first lacing project. Anyone have any tips or pointers for me?
Never laced a wheel myself, but I'd start by laying it next to an existing wheel and copying the pattern. Sorry all I can offer is well wishes. :mrgreen:
Cheers,
Dr. T
Re: Project Bike #1 UPDATED More New Pics!!!
I hate saying this but go to you tube! There are great directions and links here on the site, but until you see somebody actually doing it while they tell you or as you are reading it, it won't make much sense. So go on over to youtube and do a search for how to lace a wheel.
btw hows that speedo I sent u?
here is the one I used it works pretty well
http://www.youtube.com/watch?v=rmHk5gk7HKI
Big_Daddy_Sloth said:Rim just arrived from ind-chuckz! I will be dropping it and the other one off at the powdercoater in a few hours. I hope they get done quicker this time....
And then I will attempt my first lacing project. Anyone have any tips or pointers for me?
I hate saying this but go to you tube! There are great directions and links here on the site, but until you see somebody actually doing it while they tell you or as you are reading it, it won't make much sense. So go on over to youtube and do a search for how to lace a wheel.
btw hows that speedo I sent u?
here is the one I used it works pretty well
http://www.youtube.com/watch?v=rmHk5gk7HKI
Re: Project Bike #1 UPDATED More New Pics!!!
Cool, thanks! The owner of the LBS here in town (we have one! ) offered to help me, to basically teach me how to do it. But I don't know if he wants payment for it....
The speedo is awesome, I can't wait to get it on this bike! My brother and I took a drill to it to try to wind it forward, but took too long. So I just rounded it up to 900. I'll just have to write it down somewhere.
That seems familiar, like I said this to you or someone else already....
I just think it would be fun and useful to learn.
someguy83 said:I hate saying this but go to you tube! There are great directions and links here on the site, but until you see somebody actually doing it while they tell you or as you are reading it, it won't make much sense. So go on over to youtube and do a search for how to lace a wheel.
btw hows that speedo I sent u?
here is the one I used it works pretty well
http://www.youtube.com/watch?v=rmHk5gk7HKI
Cool, thanks! The owner of the LBS here in town (we have one!
) offered to help me, to basically teach me how to do it. But I don't know if he wants payment for it.... The speedo is awesome, I can't wait to get it on this bike! My brother and I took a drill to it to try to wind it forward, but took too long. So I just rounded it up to 900. I'll just have to write it down somewhere.
That seems familiar, like I said this to you or someone else already....
I just think it would be fun and useful to learn.
Re: Project Bike #1 UPDATED More New Pics!!!
man those pwder coated pieces look nice ...if u dont mind what kinda price did u get on those ..and.is it a u only price or anyone price ? just lookin for prices rite now ...
man those pwder coated pieces look nice ...if u dont mind what kinda price did u get on those ..and.is it a u only price or anyone price ? just lookin for prices rite now ...
Re: Project Bike #1 UPDATED More New Pics!!!
Hahaha. Thanks. The first one of anything is always kind of...goofy.
I went to a local place and they have a minimum of price of $50 and that's what they charged me for the whole lot. The owner said if he can piggyback my stuff with someone else's (same color or similar shade (pink & red, orange and red, etc.)) he wouldn't charge me as much. So I think that's fair. And he does bikes for a non profit group out of Iowa, so he's pretty cool about doing small parts for me.
Where are you at? Are you near me at all?
YOUBUGME2 said:Its not that bad just take your time and don't get agrivated. First one stinks after that its a breeze, just remember over 2 under 1
Hahaha. Thanks. The first one of anything is always kind of...goofy.
mikesbikes36 said:man those pwder coated pieces look nice ...if u dont mind what kinda price did u get on those ..and.is it a u only price or anyone price ? just lookin for prices rite now ...
I went to a local place and they have a minimum of price of $50 and that's what they charged me for the whole lot. The owner said if he can piggyback my stuff with someone else's (same color or similar shade (pink & red, orange and red, etc.)) he wouldn't charge me as much. So I think that's fair. And he does bikes for a non profit group out of Iowa, so he's pretty cool about doing small parts for me.
Where are you at? Are you near me at all?
Re: Project Bike #1 UPDATED More New Pics!!!
im up near blomington normal .....so no not really ....LOL but thats a killer price i think !!!
im up near blomington normal .....so no not really ....LOL but thats a killer price i think !!!
Re: Project Bike #1 UPDATED More New Pics!!!
Hahaha. I think it could be a little bit less. But you know humans, we are never happy with everything. We always have to find something wrong.
In retrospect, that includes sandblasting. So the two axles I had I got blasted clean for free. So I guess that makes it all good. Especially since I couldn't get down in the threads. I have some rims that should be coming back this weekend.
mikesbikes36 said:im up near blomington normal .....so no not really ....LOL but thats a killer price i think !!!
Hahaha. I think it could be a little bit less. But you know humans, we are never happy with everything. We always have to find something wrong.
In retrospect, that includes sandblasting. So the two axles I had I got blasted clean for free. So I guess that makes it all good. Especially since I couldn't get down in the threads. I have some rims that should be coming back this weekend.
Re: Project Bike #1 UPDATED More Pics!!!
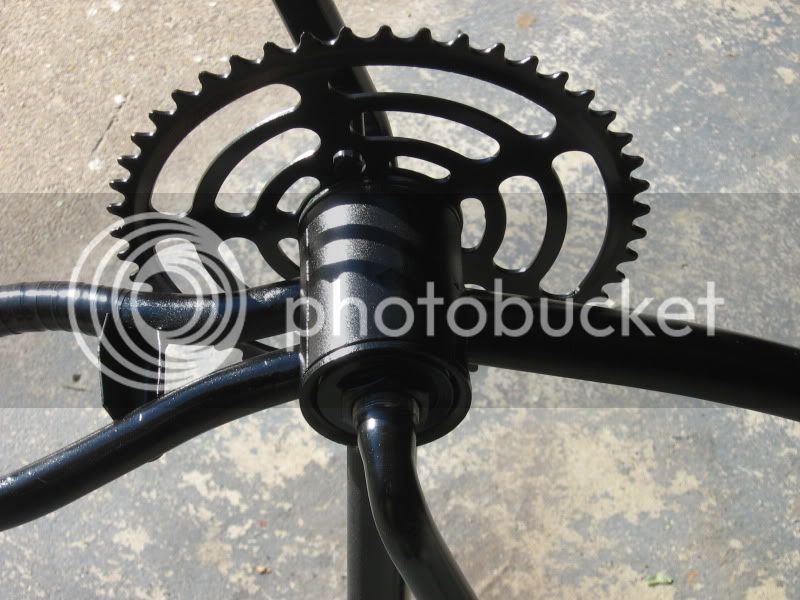
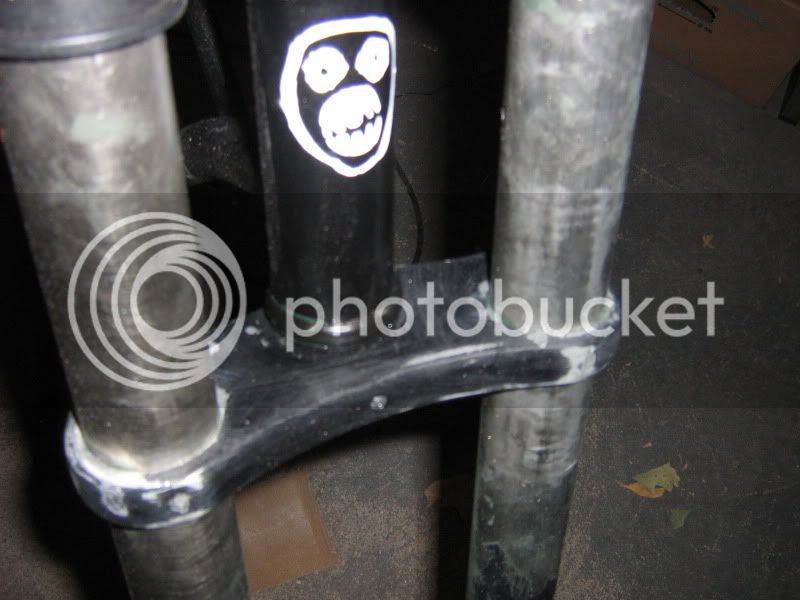
The Mighty Boosh "come with us now on a journey through time and spcae..."
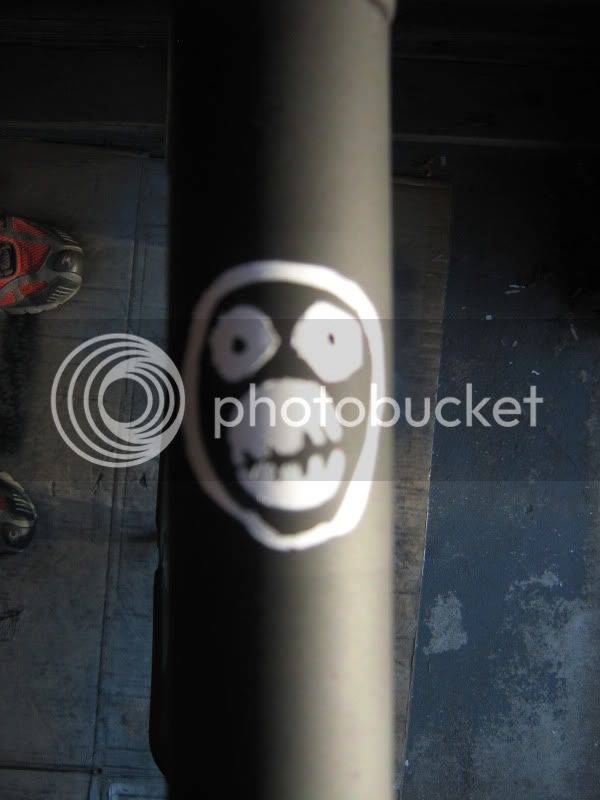
Big_Daddy_Sloth said:My 'head badge'. Bonus points if anyone knows what it is.
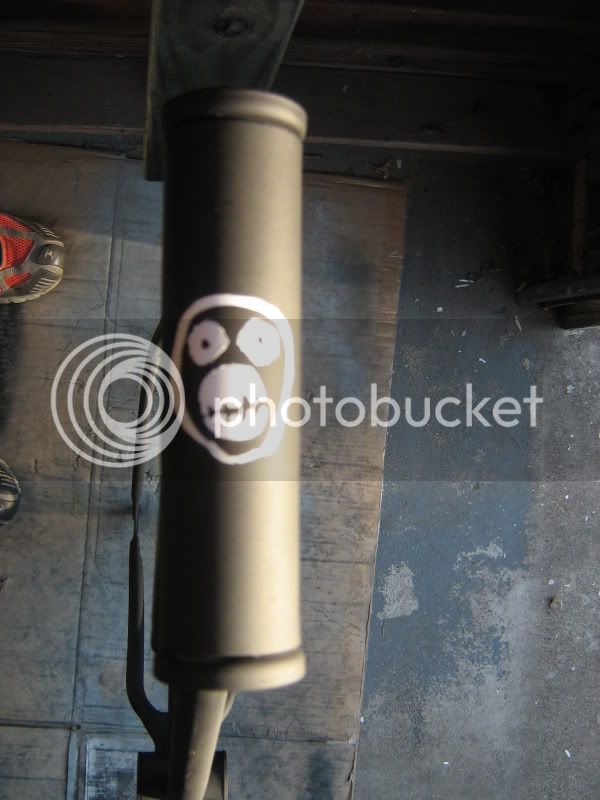
I am letting the clearcoat dry now, will see how it looks in a few days. Also, letting some greasy bottom bracket parts soak, until I mi hermano returns his drill to me.
Yes, you read that right.
The Mighty Boosh "come with us now on a journey through time and spcae..."
Re: Project Bike #1 UPDATED More New Pics!!!
[/quote]I went to a local place and they have a minimum of price of $50 and that's what the charged me for the whole lot. The owner said if he can piggyback my stuff with someone else's (same color or similar shade (pink & red, orange and red, etc.)) he wouldn't charge me as much. So I think that's fair.[/quote]
That sounds about what any powder coater will charge around the quad cities or in the midwest for that matter. Any time they can do it with another order is great, it saves you money by them not having to clean equiptment or waste product so much. It may not take long to shoot the parts but the prep and switching colors is a pain.
Re: Project Bike #1 UPDATED More Pics!!!
:wink:
funbobbee said:Big_Daddy_Sloth said:My 'head badge'. Bonus points if anyone knows what it is.
The Mighty Boosh "come with us now on a journey through time and spcae..."
:wink:
Re: Project Bike #1 UPDATED More New Pics!!!
love the black on black
love the black on black
Re: Project Bike #1 UPDATED More New Pics!!!
Me too.
Mugen_Stumpo said:love the black on black
Me too.
Re: Project Bike #1 UPDATED More New Pics!!!
I'mmmmmmmmm back!!! After a small hiatus due to a busy class and working the occasional odd job, I am ready to return to the garage! I was able to manage to get a few small things done in the interim, but now I am ready to get my wheels laced and finish this beast of a project.
I went nuts ordering parts that I needed, as I do not have access to a cache of parts laying around, as most of you do. Nor do I have the equipment or the know-how to fabricate the parts I wanted. So I went the easy route and bought them. I hope that doesn't make it less of a rat rod. I will also spare you the comedy of errors that was me trying to paint the rims fork. It was a nightmare and disaster on so many levels, but I will provide a few details. But first, some pictures!!!!
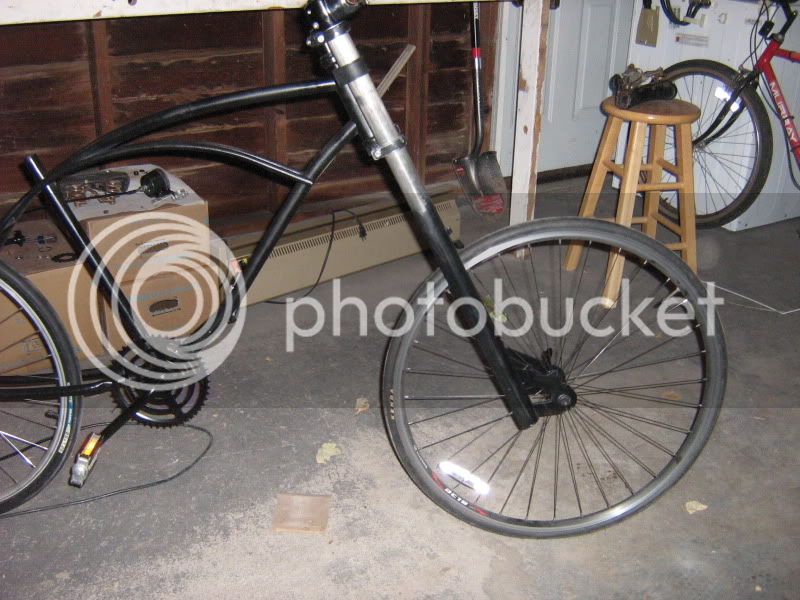
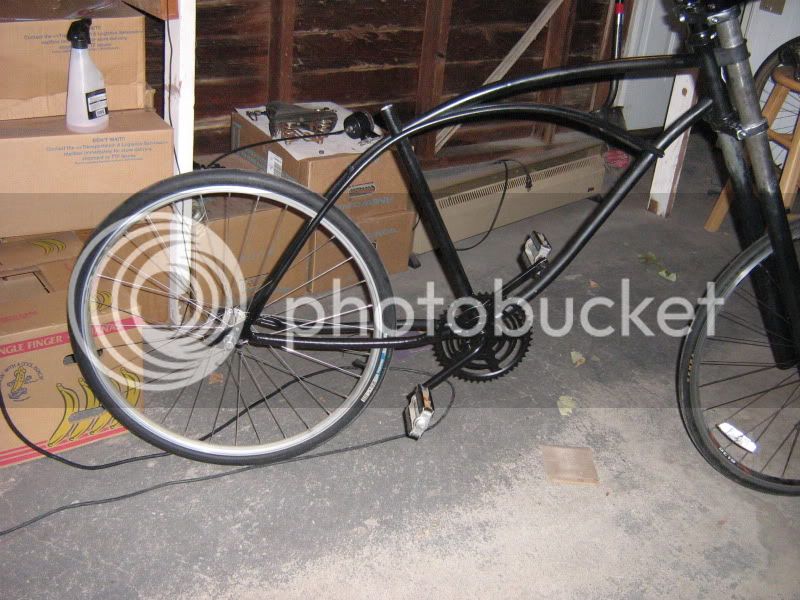
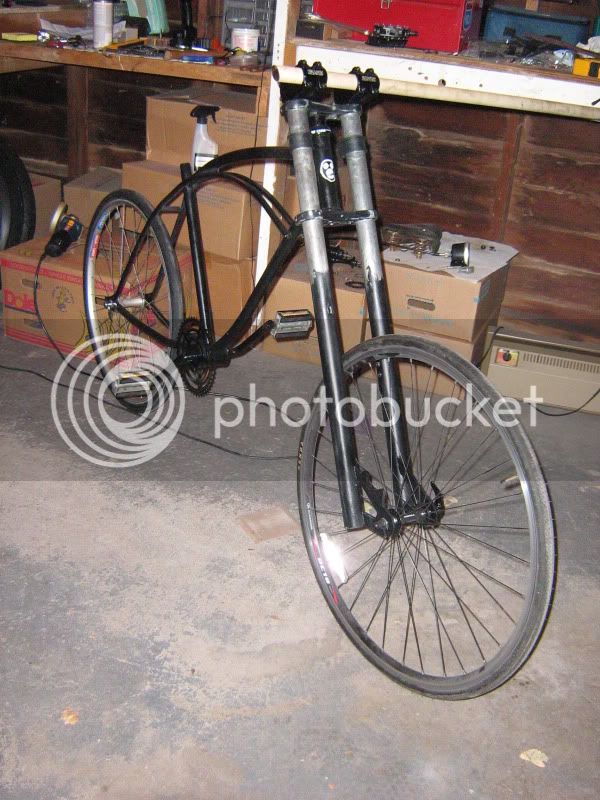
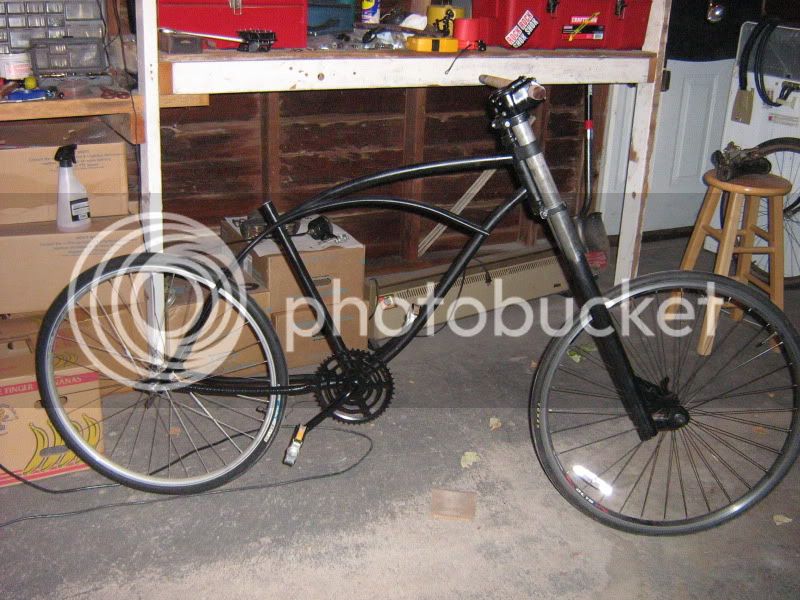
First up:
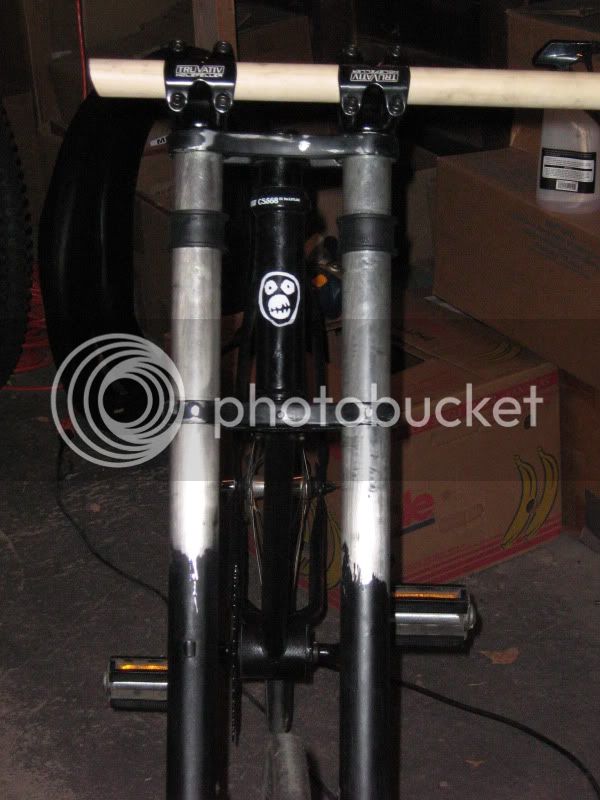
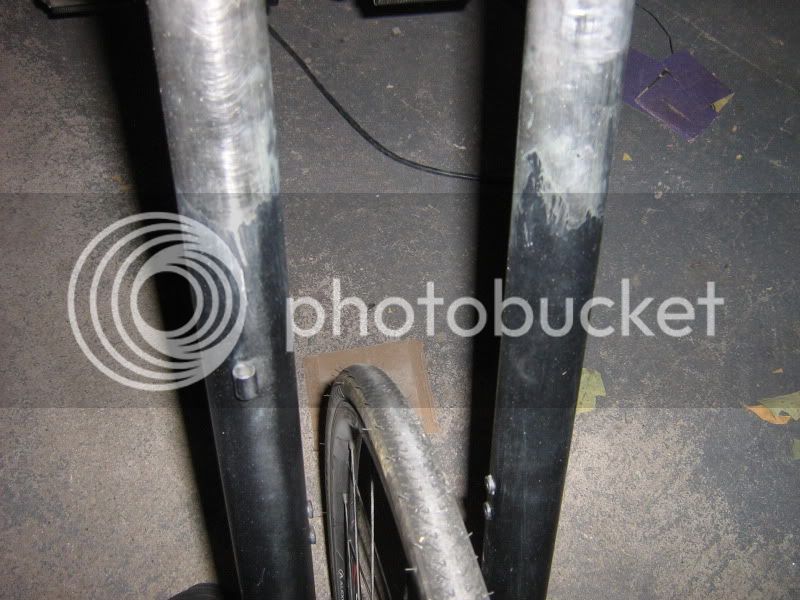
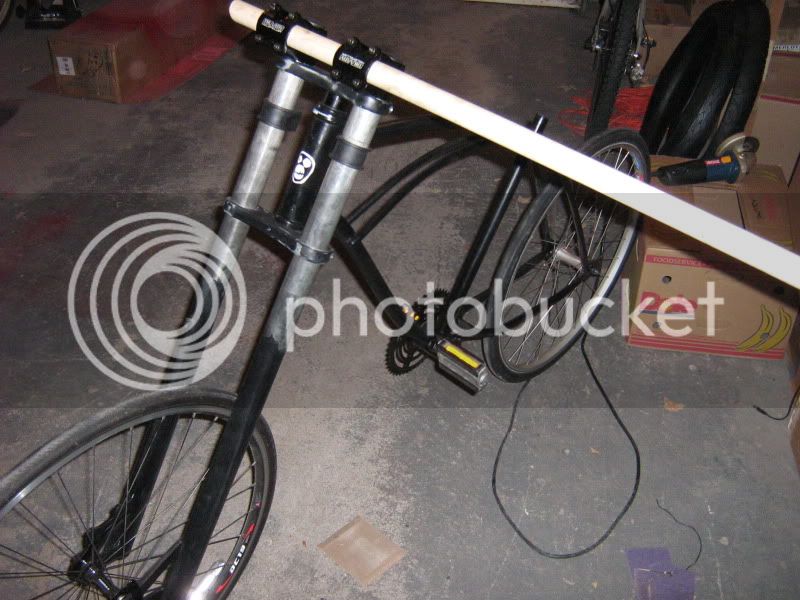
The mock up. I used two front tires off of two other bikes (aka ones within reach) to see how it looks. I think the fork gives it the rake that i wanted, without any cutting and welding. Also, the rear tire will be a 24, not a 26.
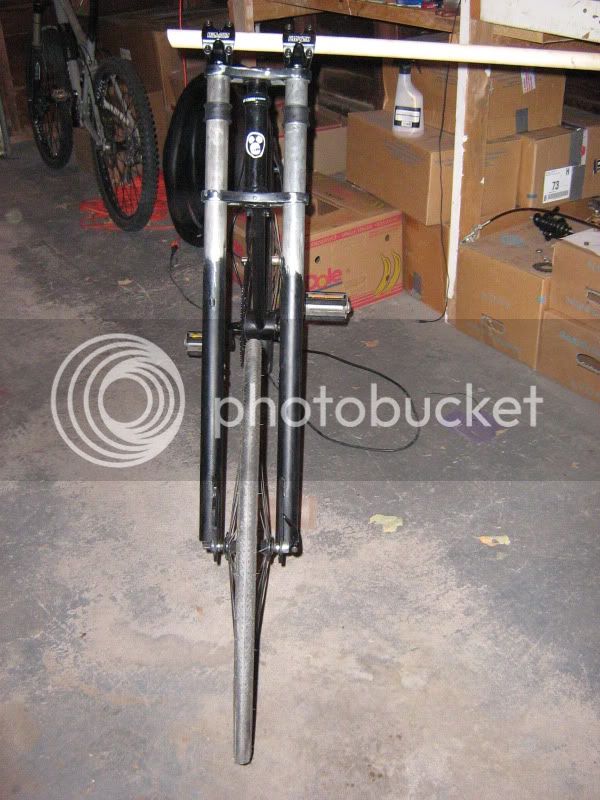
The Fork Story, aka How I almost Forked Myself:
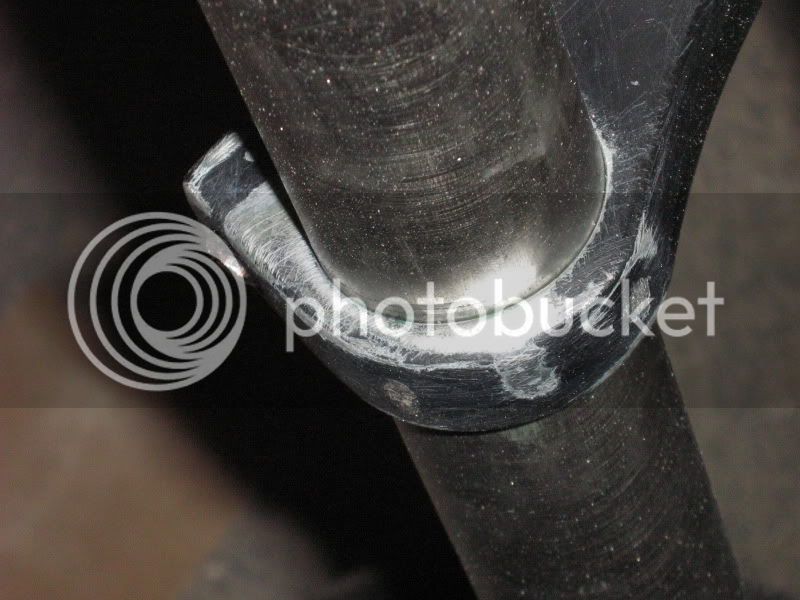
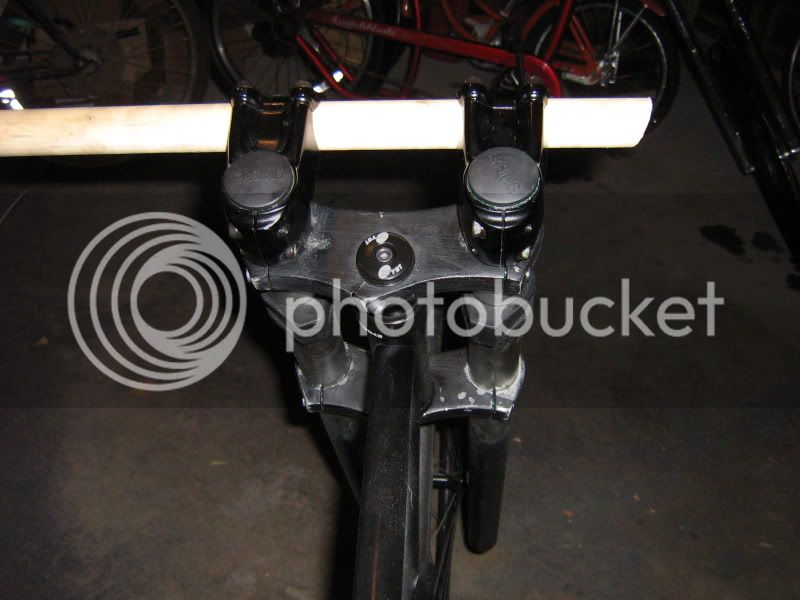
My 'daily driver' is a Nirve Switchblade and I love the fork on it. (Seen here, last item: http://www.nirve.com/cruiser-bike-acces ... p?cid=3002). I broke down and bought one, since I don't know anyone that could make one for me. And I had a feeling that I would be charged just as much if not more to make one than if I just bought it. And keeping with the theme of the bike, I dismantled it and gave it two coats of black and one coat of clear. But it did not want to go back together! I didn't account for the fact that the crowns were milled for an unpainted fork leg. Major disappointment and anger. Mostly disappointment. What was I going to do? I decided to strip it again and just leave it clear. Then it would be all scuffed up, yet shiny. But as I started this, I got half way on one leg and got tired. And I liked the look of it. So I did the other leg the same way. Then I just removed all the paint from inside of the crown and then just scuffed it all up. And when I got it all back together, I was in love with it!!! Even more so once I got it on the bike! I slapped my stems on there and viola!
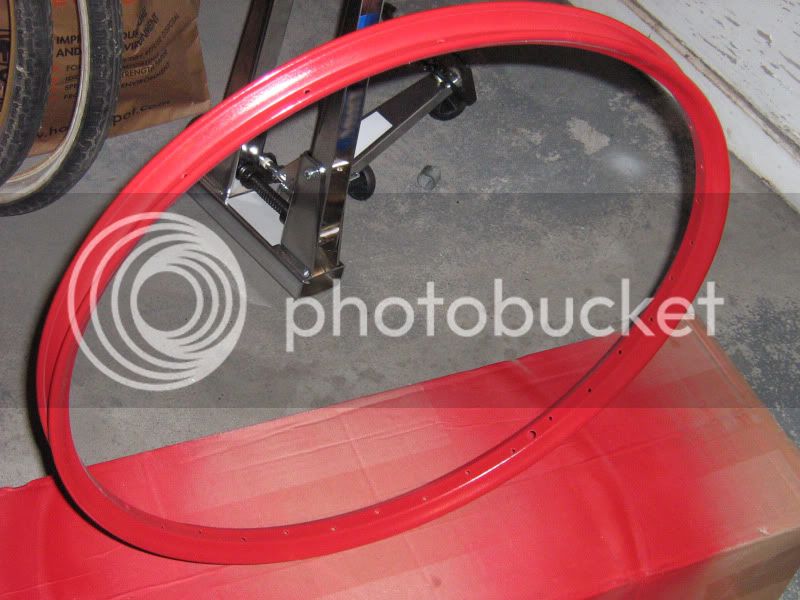
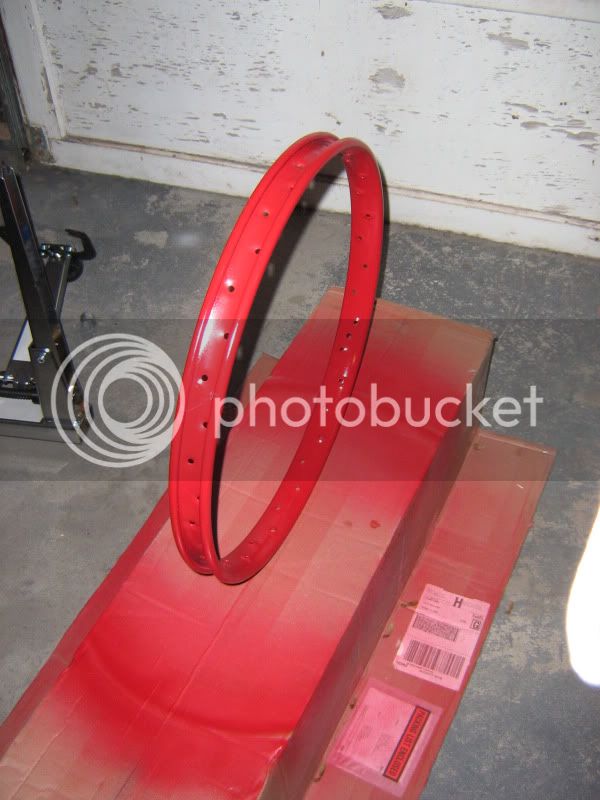
The Rims (I can't think of any innuendos here that won't get me yelled at or banned):
The primer and first coats went great. Kind of. I need to do research on how others on here paint their rims as I didn't like the hanging or mounting of them. So I just laid them flat, sprayed, dried and then flipped and repeated.
I also brought them inside to dry and because I thought they would fall over in the garage. But then they got knocked over a few times, resulting in needed touchups.
In the end, I got them painted and I love the color. It is exactly what I wanted.
And finally, the kicks:
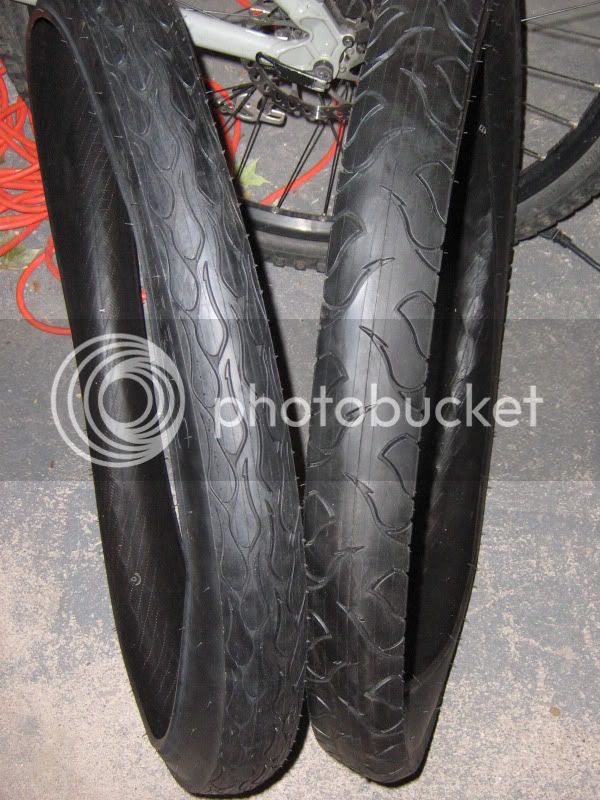
Left to right: Nirve BadA and Nirve FatA.
The owner of the only LBS here (super small farm town) said he will give me a wheel building lesson. I hope for free. So I will get that done and then use that knowledge and the How To's on here to redo my Nirve back tire. That thing is going through spokes like I go through gum! Ridiculous. I will probably throw some DT Swiss's on it and be done!
Now I have to track down the guy that offered to make me a seat post and see if he is still up for it!
I'mmmmmmmmm back!!! After a small hiatus due to a busy class and working the occasional odd job, I am ready to return to the garage! I was able to manage to get a few small things done in the interim, but now I am ready to get my wheels laced and finish this beast of a project.
I went nuts ordering parts that I needed, as I do not have access to a cache of parts laying around, as most of you do. Nor do I have the equipment or the know-how to fabricate the parts I wanted. So I went the easy route and bought them. I hope that doesn't make it less of a rat rod.
I will also spare you the comedy of errors that was me trying to paint the rims fork. It was a nightmare and disaster on so many levels, but I will provide a few details. But first, some pictures!!!! First up:
The mock up. I used two front tires off of two other bikes (aka ones within reach) to see how it looks. I think the fork gives it the rake that i wanted, without any cutting and welding. Also, the rear tire will be a 24, not a 26.
The Fork Story, aka How I almost Forked Myself:
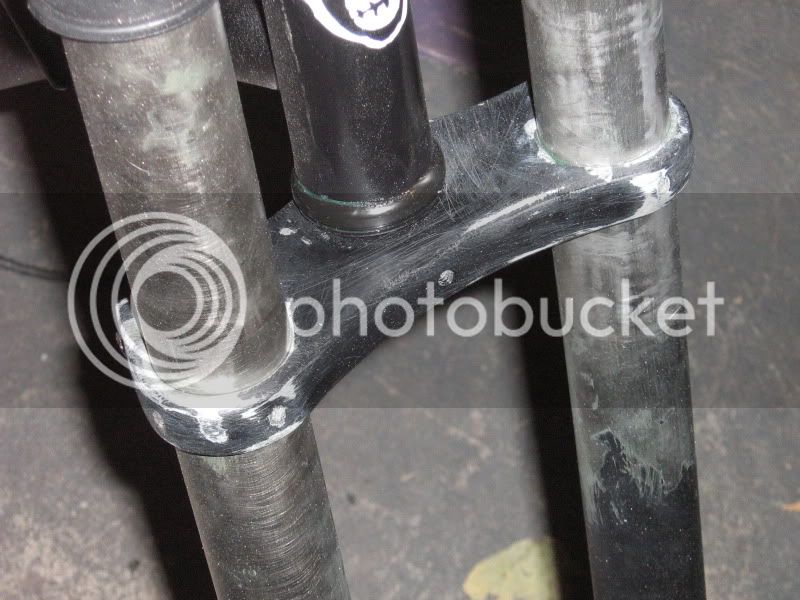
My 'daily driver' is a Nirve Switchblade and I love the fork on it. (Seen here, last item: http://www.nirve.com/cruiser-bike-acces ... p?cid=3002). I broke down and bought one, since I don't know anyone that could make one for me. And I had a feeling that I would be charged just as much if not more to make one than if I just bought it. And keeping with the theme of the bike, I dismantled it and gave it two coats of black and one coat of clear. But it did not want to go back together! I didn't account for the fact that the crowns were milled for an unpainted fork leg.
Major disappointment and anger. Mostly disappointment. What was I going to do? I decided to strip it again and just leave it clear. Then it would be all scuffed up, yet shiny. But as I started this, I got half way on one leg and got tired. And I liked the look of it. So I did the other leg the same way. Then I just removed all the paint from inside of the crown and then just scuffed it all up. And when I got it all back together, I was in love with it!!! Even more so once I got it on the bike! I slapped my stems on there and viola!
The Rims (I can't think of any innuendos here that won't get me yelled at or banned):
The primer and first coats went great. Kind of. I need to do research on how others on here paint their rims as I didn't like the hanging or mounting of them. So I just laid them flat, sprayed, dried and then flipped and repeated.
I also brought them inside to dry and because I thought they would fall over in the garage. But then they got knocked over a few times, resulting in needed touchups.
In the end, I got them painted and I love the color. It is exactly what I wanted.
And finally, the kicks:
Left to right: Nirve BadA and Nirve FatA.
The owner of the only LBS here (super small farm town) said he will give me a wheel building lesson. I hope for free.
So I will get that done and then use that knowledge and the How To's on here to redo my Nirve back tire. That thing is going through spokes like I go through gum! Ridiculous. I will probably throw some DT Swiss's on it and be done! Now I have to track down the guy that offered to make me a seat post and see if he is still up for it!
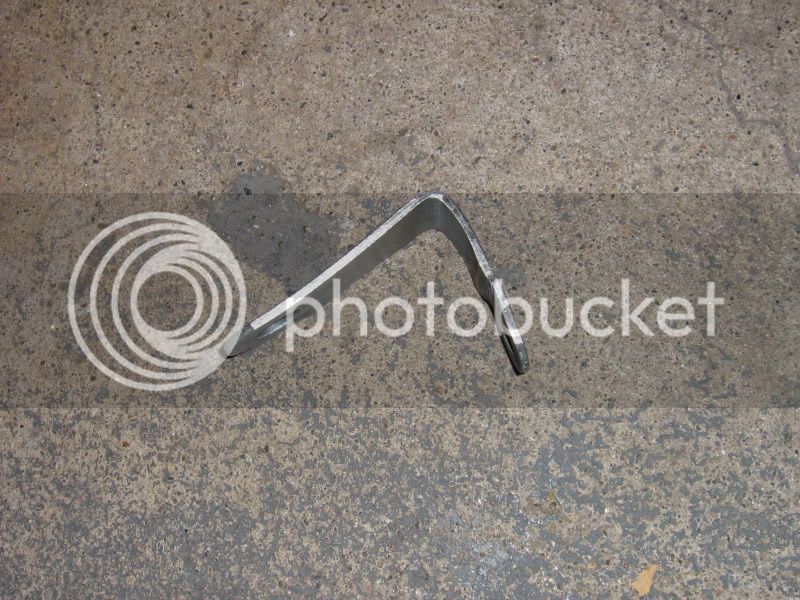
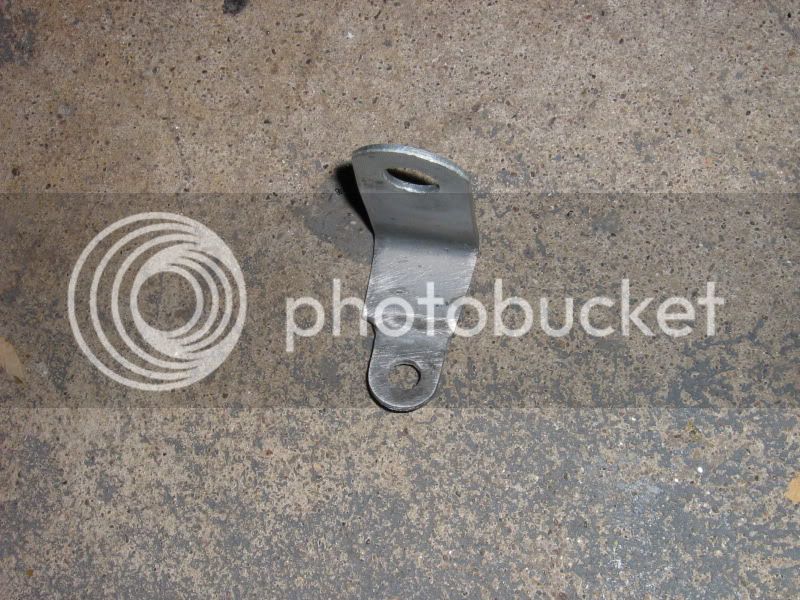
I have to contain my excitement, this being a family forum and all, but I just managed to roll back both of my speedometers!!! I am so...happy. And then I managed to bend and shape the bracket off of the exercise bike I recently found into a shape that will fit on my build.
The bracket: I forgot to take before pictures.
The new and improved speedometers!!!
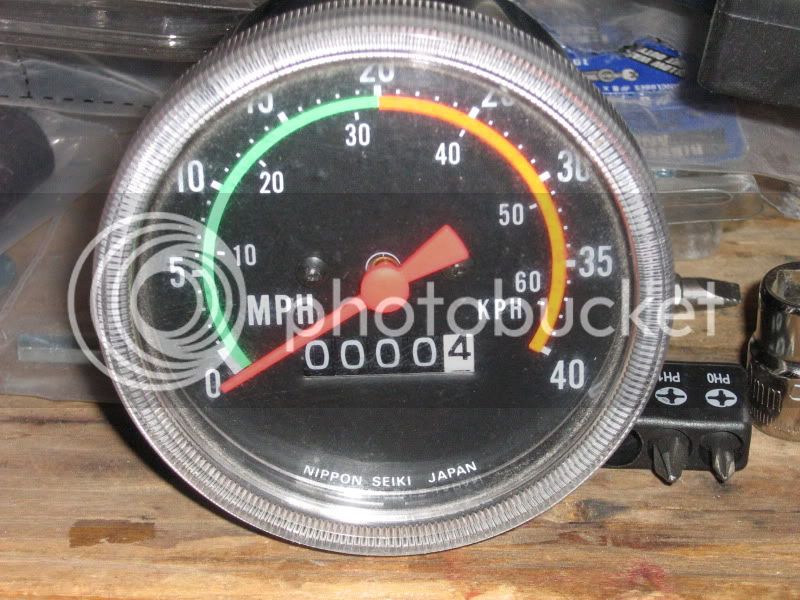
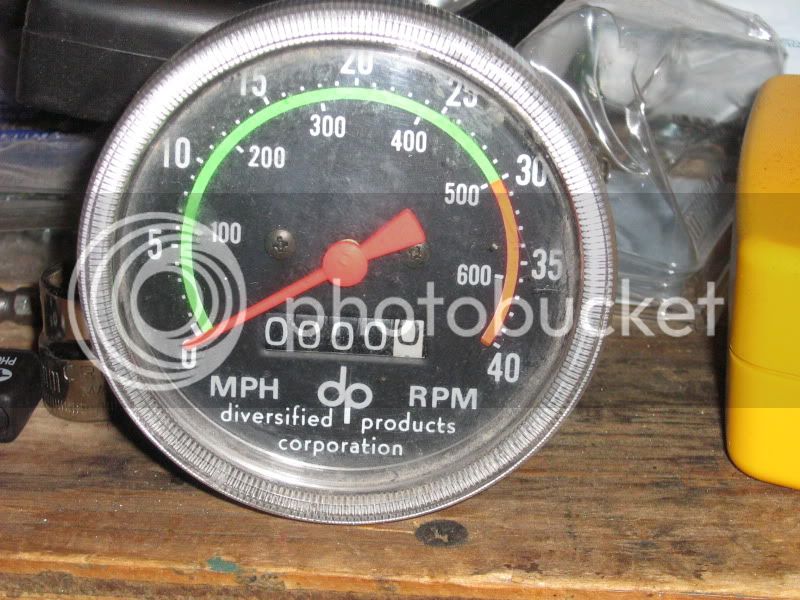
I'll chalk up the 4 tenths to 'testing and moving'.
The bracket: I forgot to take before pictures.
The new and improved speedometers!!!
I'll chalk up the 4 tenths to 'testing and moving'.
Latest posts
-

-

-
 TRADITIONAL THUNDERBOLT Boredom To Boardtrack
- Latest: marshall hudson
-
-
-
-

-
-
TRADITIONAL SHAOLIN SPITFIRE (Wu Tang Forever)
- Latest: marshall hudson
-
