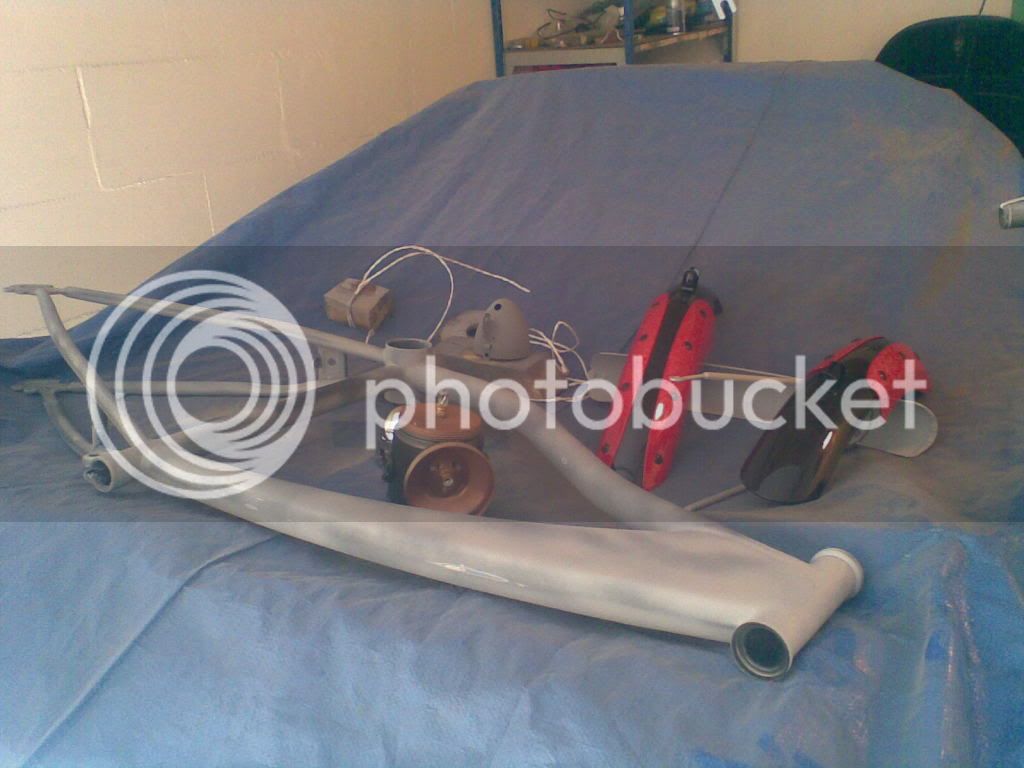
Molested, no way back now!!(fun intended).

Rat Rod Bikes Bicycle Forum

Help Support Rat Rod Bikes Bicycle Forum:

This site may earn a commission from merchant affiliate links, including eBay, Amazon, and others.
sensor said:
wish i wouldve caught this sooner i had a way to salvage that rear triangle


I'm still like to know what your suggestion would be,probably i can use the knowledge for a future build.
And i still got the triangle piece, maybe there's use for it in the future too.

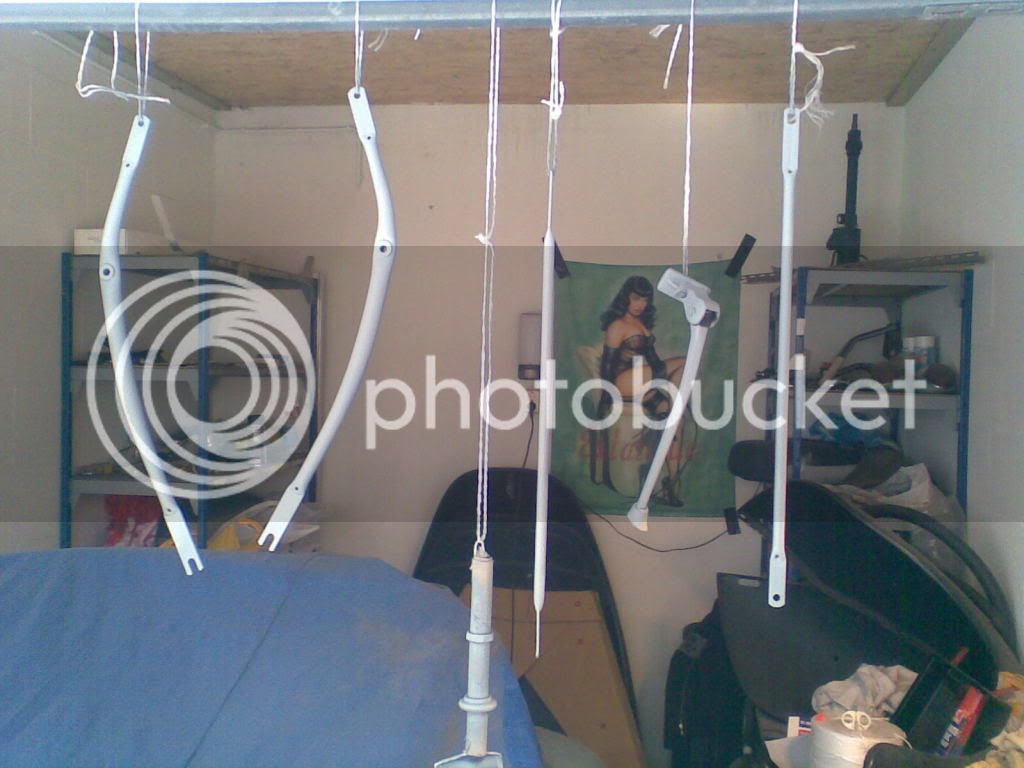
I had a top bent from an mtb fork welded in the cainstays, just behind the bb already( to (try and)widen it)

The new triangle allows for a bigger front sprocket too, i
m ordering a new crankset with a 44 teeth sprocket.

Is that big? its the biggest i could get my hands on.

thnks
 
1zgt1k4.jpg
 
if im understanding correctly...the issue was the stays were too narrow at the front correct?
if thats the case cut them about 1/2 behind where they need spread stick something solid into them (thats going to fit tightly)and then get a long piece of tube to use as a cheater bar...clamp the bike in a vice and walk the cheater bar out a little at a time until you get the extra room you need....then sleeve the part you cut and weld it back on.....

looking forward too seeing this one done :mrgreen:
 
sensor said:
if im understanding correctly...the issue was the stays were too narrow at the front correct?
if thats the case cut them about 1/2 behind where they need spread stick something solid into them (thats going to fit tightly)and then get a long piece of tube to use as a cheater bar...clamp the bike in a vice and walk the cheater bar out a little at a time until you get the extra room you need....then sleeve the part you cut and weld it back on.....

looking forward too seeing this one done :mrgreen:

Oh wow, that's a neat trick, i'll have to use next time thanx.
 
I welded the seatstays on, looks like there bolt on but one eye was damaged so used the welder on both.
with mockup wheelset.
bhchk.jpg

with FF wheelset.
ehwtw7.jpg

These wheels are very different, front is a polished aluminum and rear is flat aluminium with a groove along the side(breakpadcooling?). just let that front get dusty a bit in time. or is it easy to polish the rear too?
 
icyuod2 said:
wicked build bud! you gonna put a motor on it?

Thats the great dilema when building a boardtrack bicycle aint it, if you succeed in making it look right,
it will look somewhat odd because there's no motor.

Another thing is all motorized vehicles in The Netherlands need to be registrated.
In order to do so you have to get it evaluated by the RDW (DMV), on their website they state that (in such a case as this)
"costs of getting it registered can exceed the value of the object many times"

only thing to do is buy an old motorized bicycle and try and modify it slightly,
too much and they take it off the road too.
Or buy an old moped(50cc) and modify it

so to answer your question, no no motor as of yet.

i've been dreaming of motorized bicycles many times.
it just is not worth it to get into overhere. :cry: :cry:
 
Hoi Badmuller,
I really like what you're doing to the Raleigh... it's looking great, especially with the white tires :D

badmuller said:
... rear is flat aluminium with a groove along the side(breakpadcooling?)
You know what that groove is for? It' s sort of an indicator. When there is no more groove it means the aluminium has become to thin (wear from the brakepads) and the rim needs to be replaced.

I have a similar Raleigh in my collection... Perhaps I'll give it the same kind of 'behandeling' some day :wink: :D

Grtz,
Peter
 
al the time I was looking if i could come up and find stuff that would make a nice taillight for this bike,
made from stuff not having anything to do with a light or anything.

first i found this litle can
fz99g7.jpg


Than ifound this device that is a candle sharpener(to fit the holder),
it had the right color to be used as a red lens
208g1hd.jpg


when you look closely you see it has a slot in it i figured i could close it up with something.
Then my girlfriend says "give it to me and ill fix it for ya at work tomorrow!"
she filled the gap/slot with some wax(in the pic its still in the slot) and made a putty mold from it
1z3crxt.jpg


A collegue of her then made some dentalplastic with red dye in it,
and cast a new one without slot and had it polished smooth.
mvk9xk.jpg


set up for now,
ve3tc9.jpg


I have a bezel waiting in the fridge, its going to be made out of
a cap from a jar that still has something in it
 
O.K.
The frame i had going for this build didn't come out as i wanted,
I want to be able to ride a bike pretty easy without my knees hitting my chin.

And another thing is i want a real cool frame for another build.
So I gotta make some money.
thus i went for the KISS method on this one.
here is a pic with the latest mockup. the drumbrake front wheel is gone and the derailler will go too,
the rear will will be this bikes original coasterbrake one, that was in there when i bhought it.
(not too bad for a phone pic i hope).
2ypbsdw.jpg

still going for the excelsior paint sceme, wich i think will look very different on this bike.
 
Thanks Galtbacken, I wish i could make things work like you do.

been working on the fenders a bit, today.
got the rear fender cut down to size and welded the fender strut to size too.
I had too the fat franks are fitting the full fenders exactly, hardley any room inside the fender left for hardware.
next is to cut the front fender to match the rear.
Oh, and changed out the front fork (again) for this electra one.

b97kbb.jpg
 
Back
Top