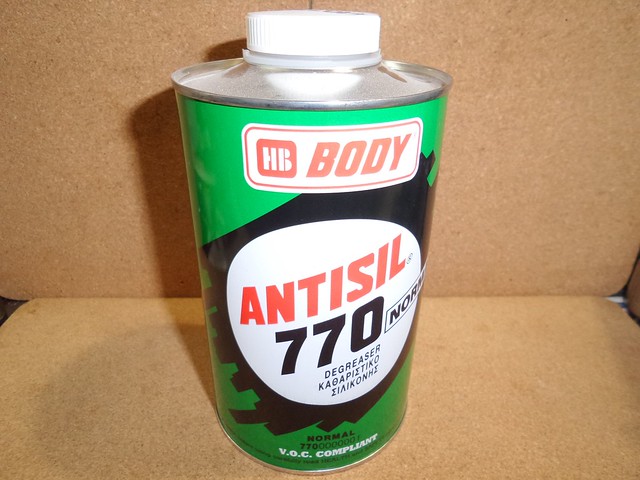
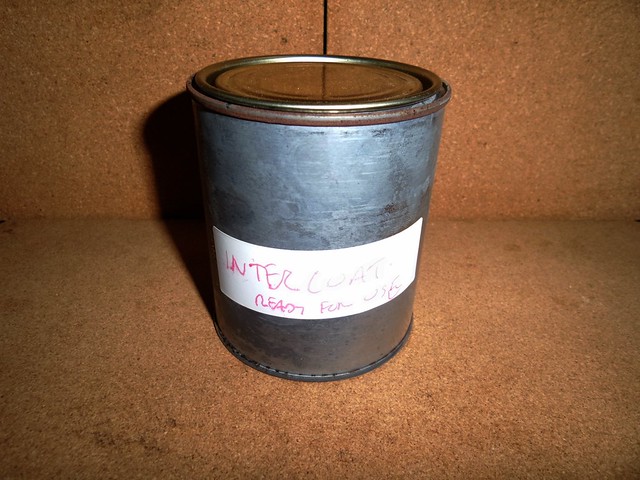
Paint!! Whoa now that's gonna really make us sweat.
Sent from my SAMSUNG-SM-N900A using Tapatalk
Sent from my SAMSUNG-SM-N900A using Tapatalk


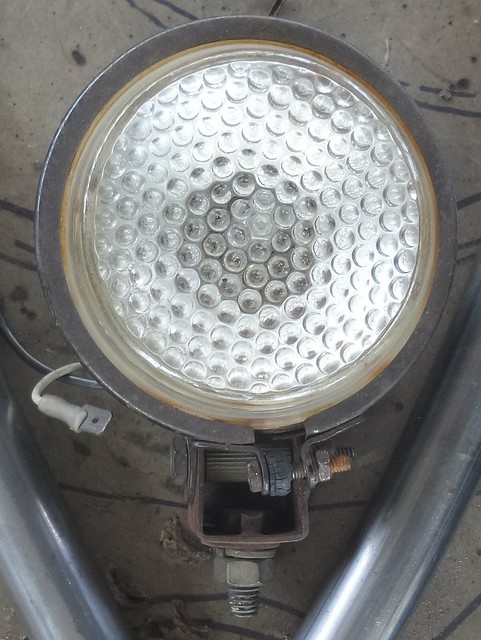

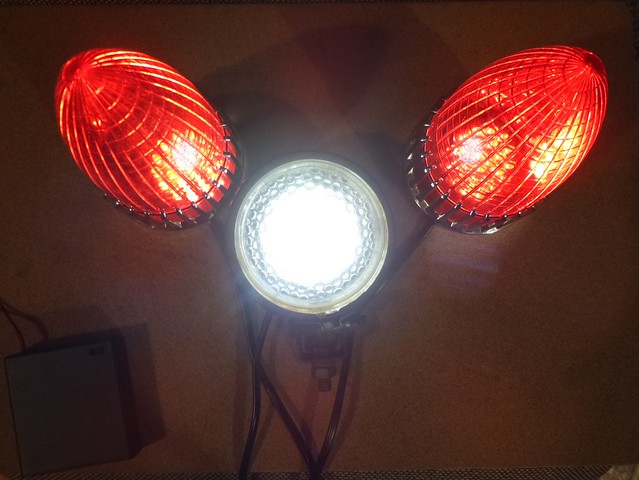

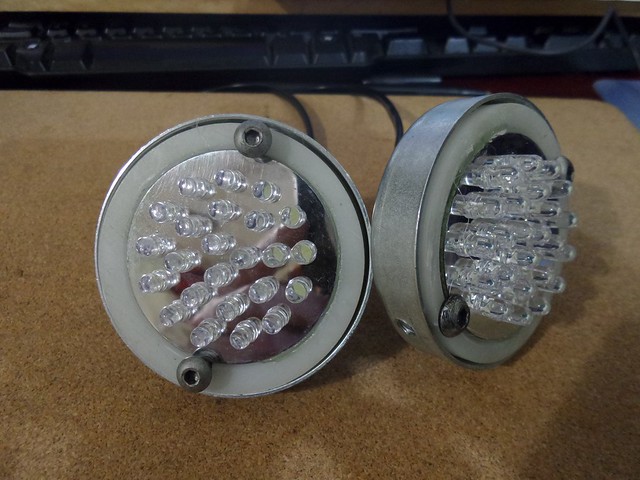
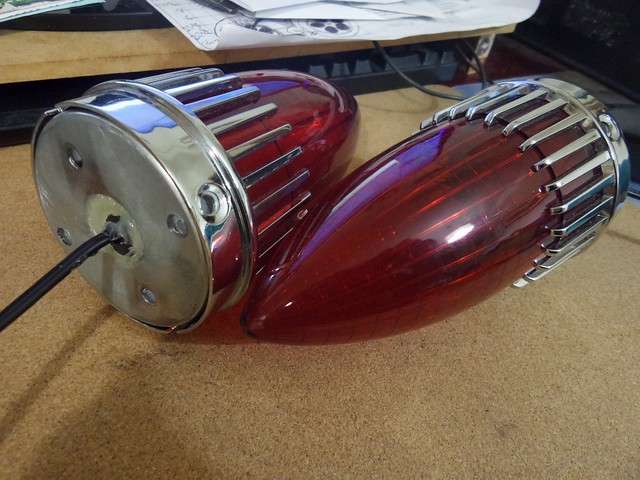
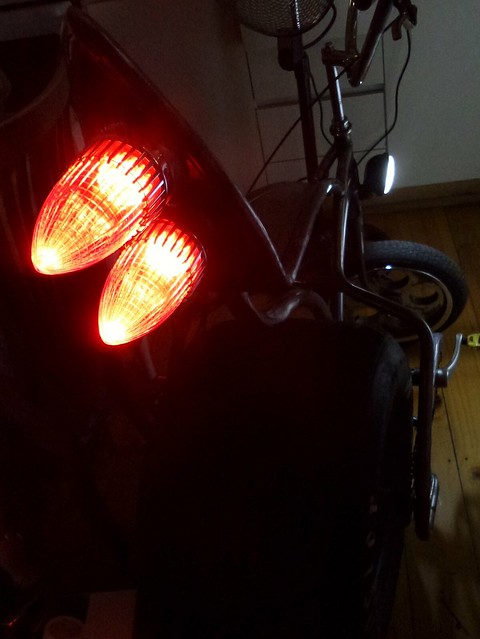
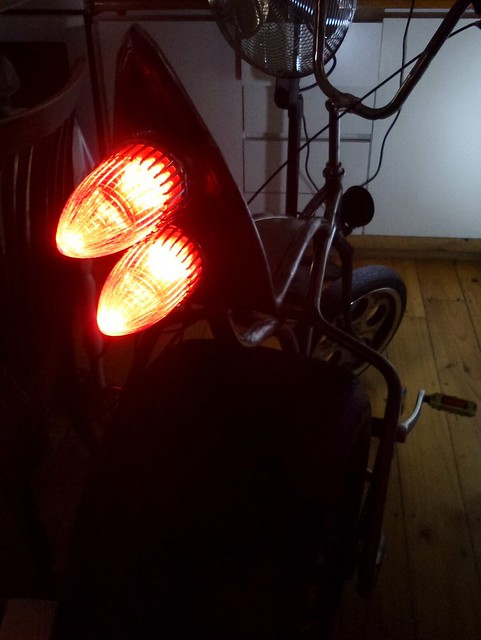
Yeah, very bright!Should be able to see where you're going just fine.
Sheer genius Luke! Very well electrocuted....er, executed.
 Nice!
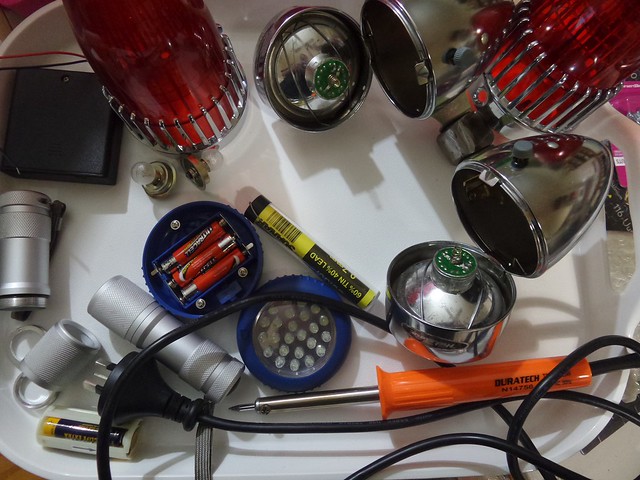
Nice!That is a cool idea for those lights... I wonder if I can get one to run on 4.5 volts?I found replacement bulbs for a flashlight that are LED, a little pricey too.
Then I found some flashlights at the Big Lots that used those same bulbs and were cheap. So I grabbed the lights and used the bulbs in a light I modded for SGT.ROCK They're brite too! Standard size to replace the old incandescent... might keep a look out, they'd probably fit in them old lights with no modding.
Carl.

Paint!! Whoa now that's gonna really make us sweat.
Sent from my SAMSUNG-SM-N900A using Tapatalk
Paint is here!Wow Luke you are out of control on this one! Looking great. Can't wait to see what you have in mind for paint.
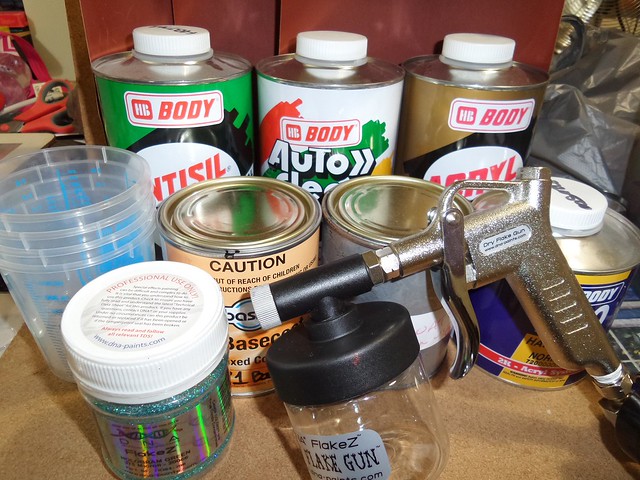


I have seen amazing things done with spray bombs...Kinda makes our rattle can job look ehhh...rattled.
Sent from my SAMSUNG-SM-N900A using Tapatalk

 99,999 paint jobs and counting...I just think about your paint sequence of steps / intensity and think to myself, "This is why we need to have categories in these build offs". Hopefully RRBBO #11 will follow suit and institute at least two categories as well.
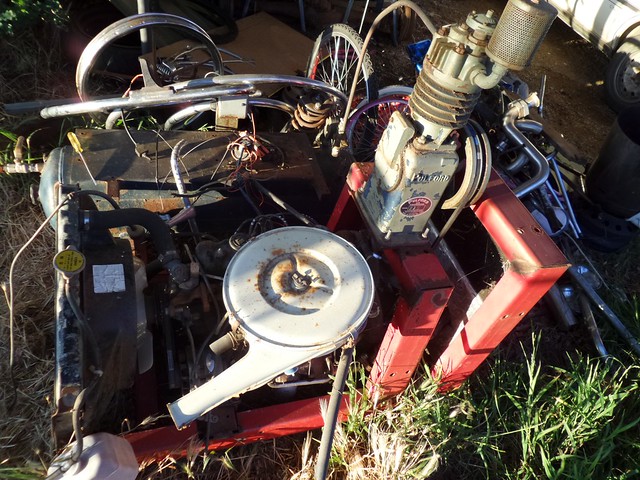
A Toyota powered compressor, MacGyver would be proud.
That motor came out of a '79 Hilux I drove for years before rust killed it, it had 99,000km when I bought it, it had 99,000km when I stripped it, who knows how long the odometer was not working?What's the odometer reading on that compressor motor...?
I can't see the big build-off's getting more categories, it was tried for BO#08 and dumped afterwards...I just think about your paint sequence of steps / intensity and think to myself, "This is why we need to have categories in these build offs". Hopefully RRBBO #11 will follow suit and institute at least two categories as well.
Yes, I echo your sentiment and also welcome you to the group Slappy! First step: join RRB. Second step: enter a build off. Third step: savor the imagination, creativity, and ingenuity of the group. Fourth step: repeat steps 2 and 3!Hi I know I am new to the forum but looking through all hard work and effort that has gone into this build and other builds I just had to post a comment, the thought and engineering that has gone into this build is great can't wait to see the painted bike.
Slappy.
Enter your email address to join: