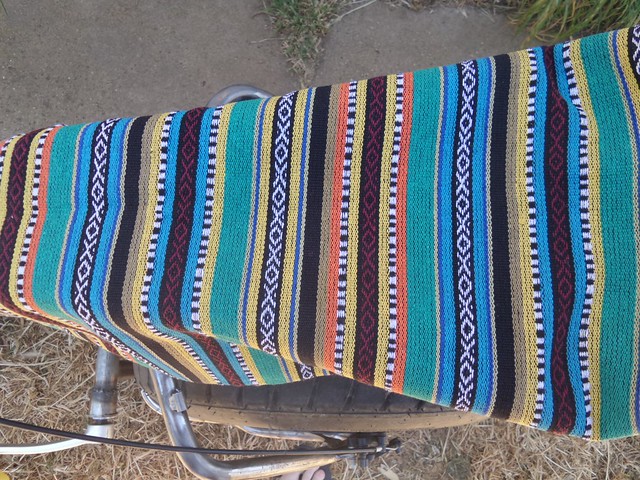
That seat material is so southwest united states of you. Have you been at the airport lately, it reminds me of my old parka. Dig it.
Glad you Guys like it!Dig the seat cover
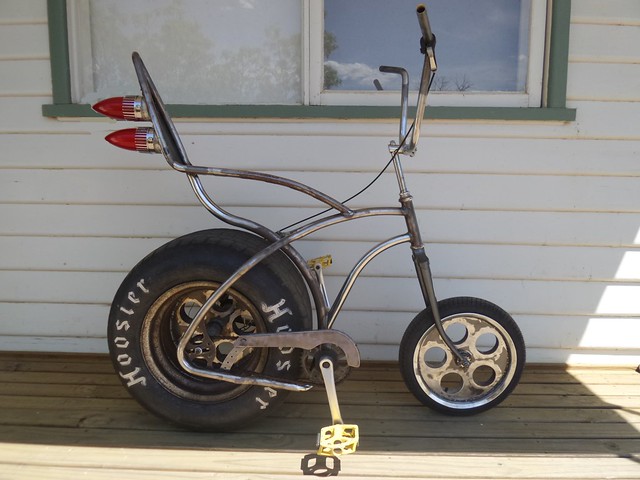
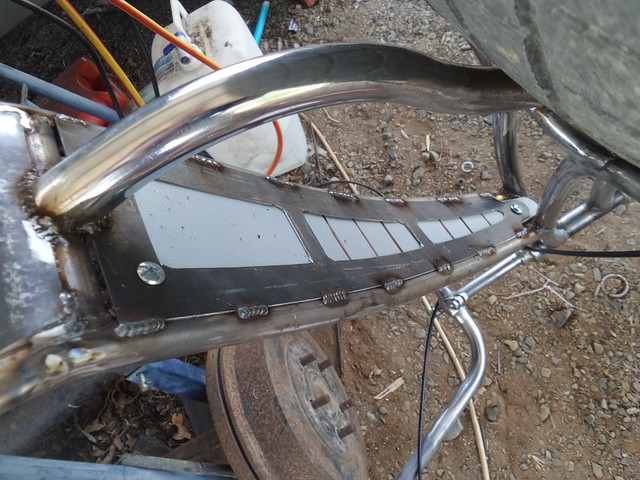
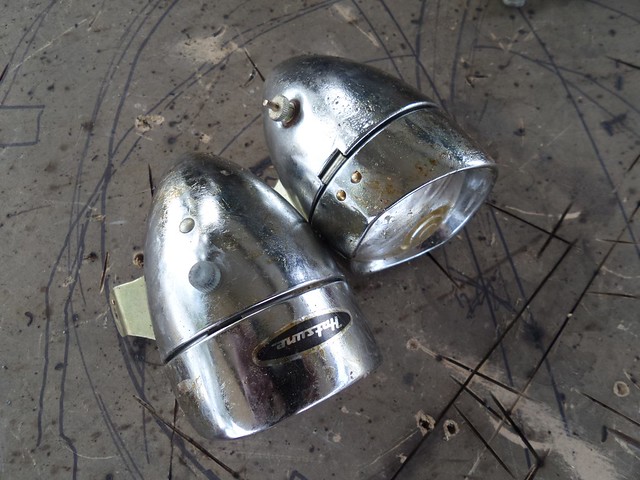
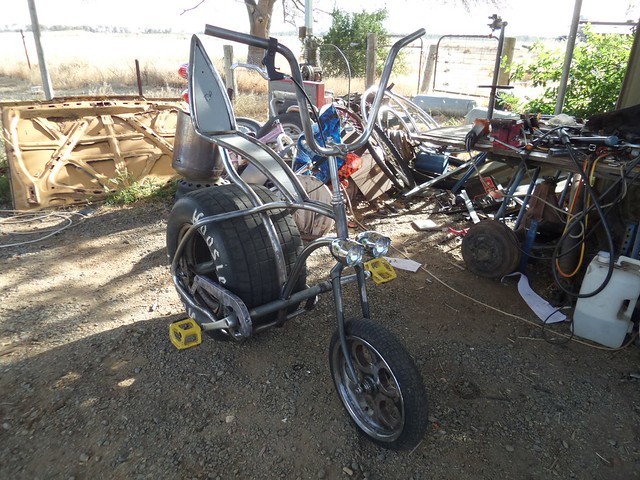
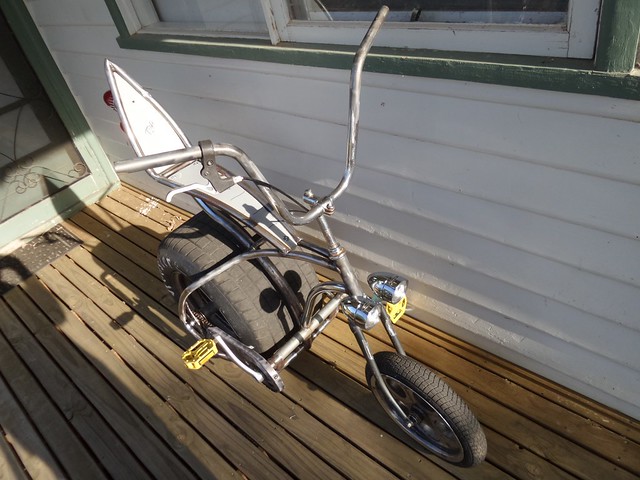
Together, with tailights..
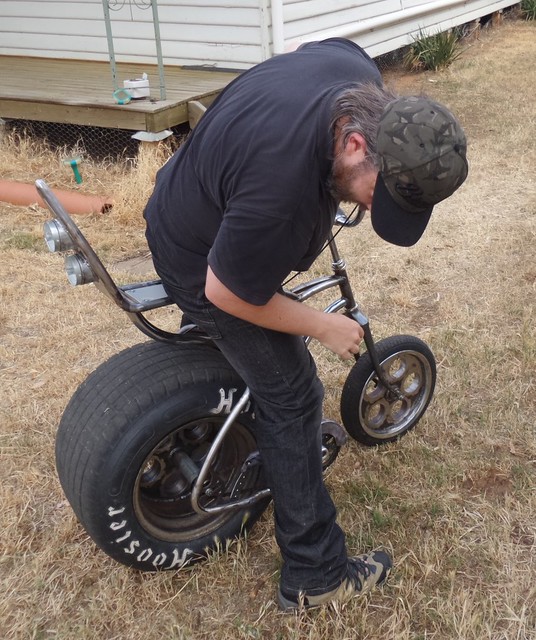
"El Pedro".


I got a better pic of the fabric in natural daylight, shows the colours better:
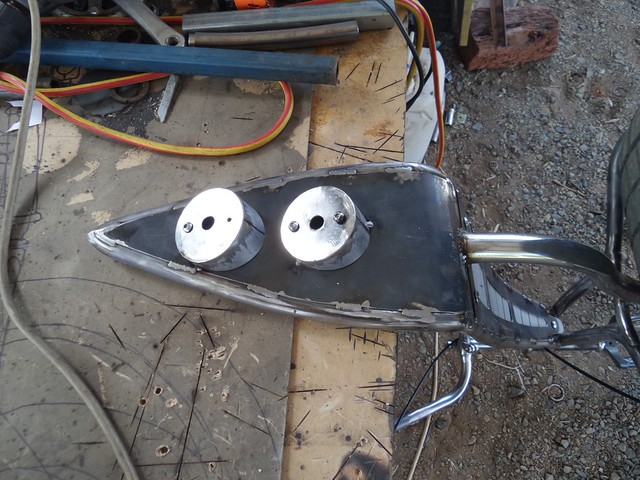
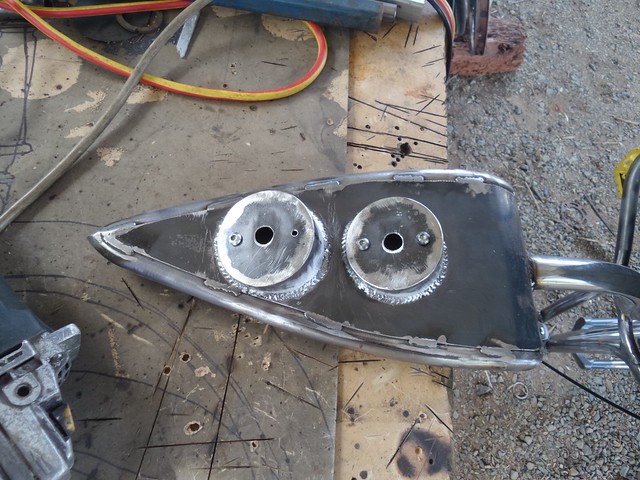
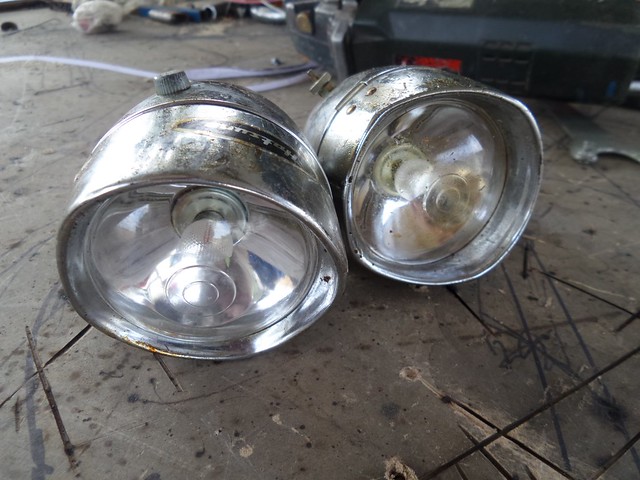
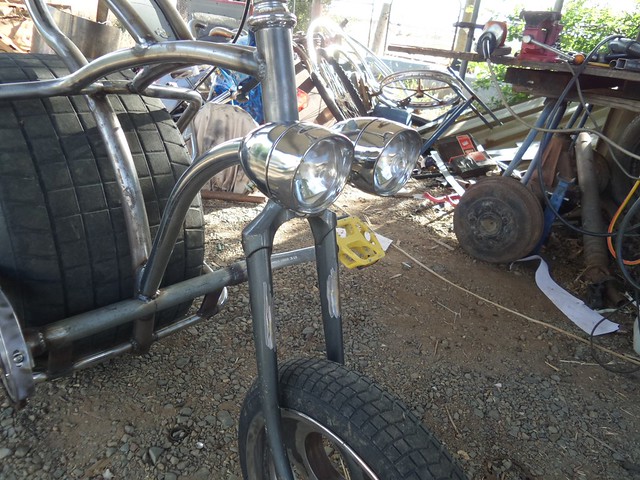
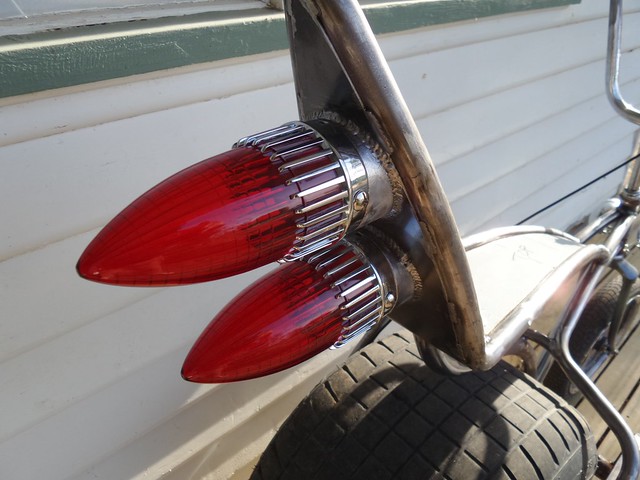
I also tacked the tail-light housings on for a proper photo:
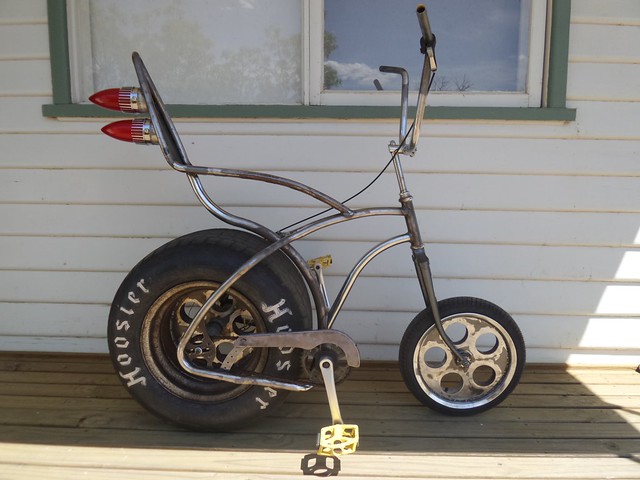
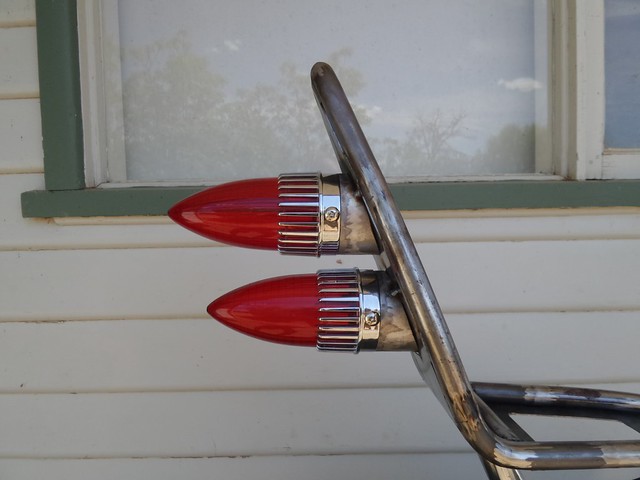
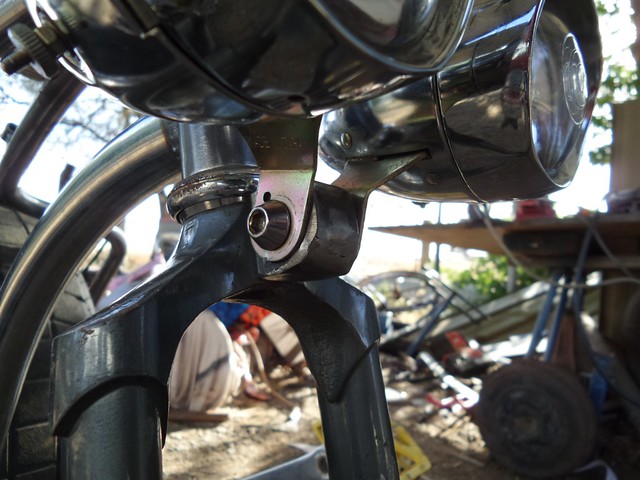
The pics do not really do them justice, they look truly awesome on there, pretty sure I will be welding those mounts on permanently next time I am working, unless someone comes up with a good argument not to...
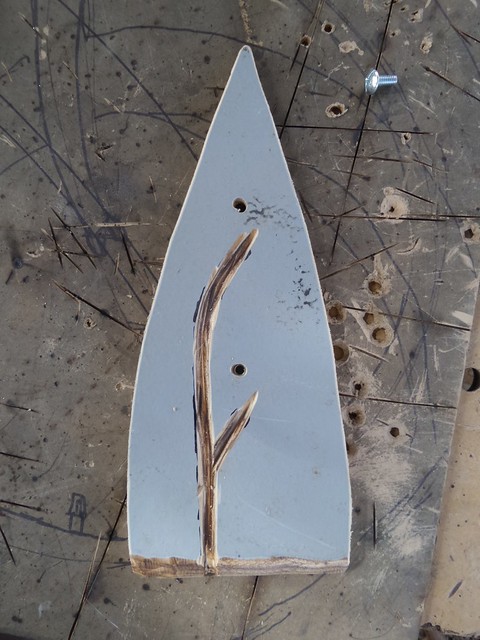
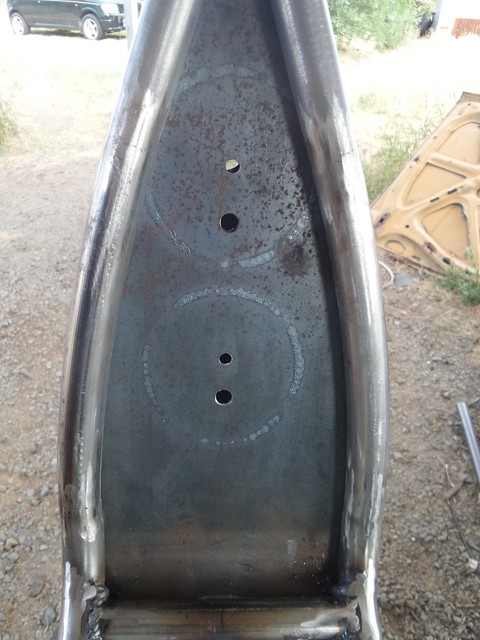
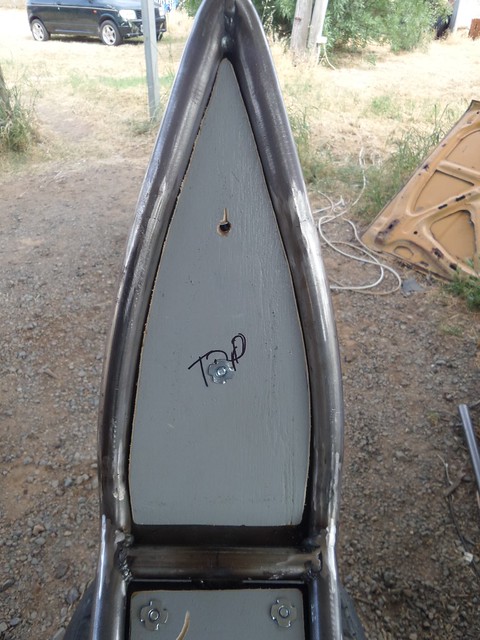
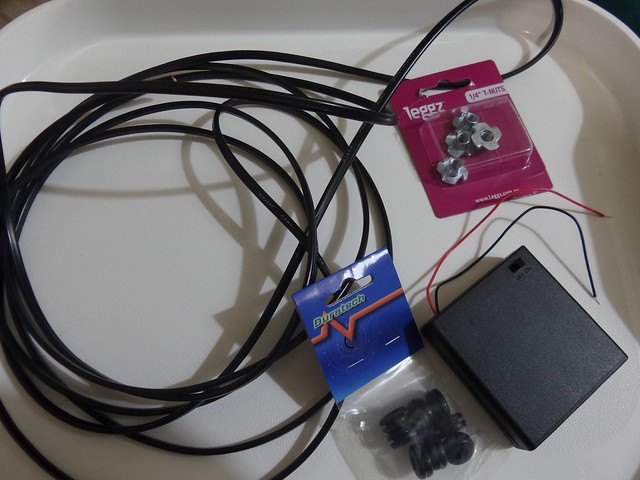
Then on to the seat bases, made these out of 1/2" plywood, I cut some 1/2 way through relief cuts to help the bottom one curve and mounted it up with some 1/4" T nuts. The rear section will be mounted the same way, just have to decide on hiding the bolts behind the lights if they stay or not...
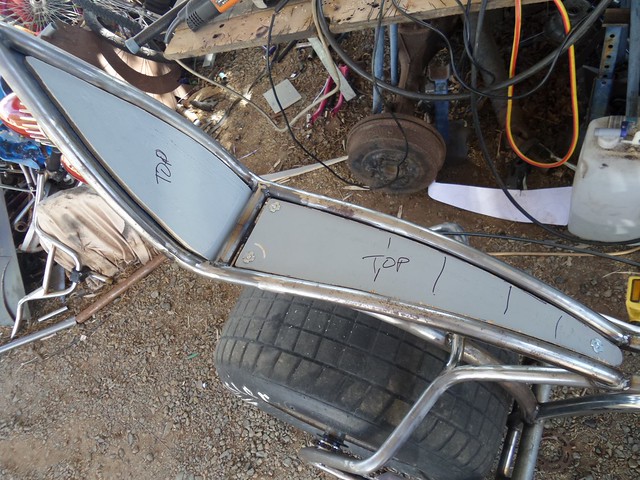
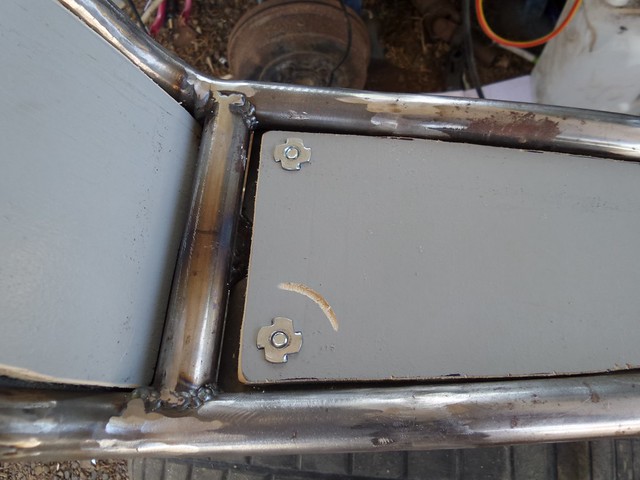
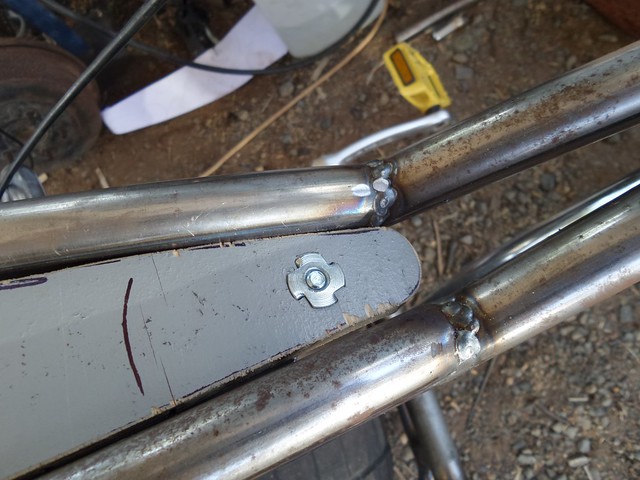
Love the T nuts, not sure who it was I saw using them, but they are perfect for this. They lock nicely into the wood and can be completely covered by the upholstery but the seat can still be easily removed by just undoing the bolts underneath...
Luke.