El Borracho first build

Rat Rod Bikes Bicycle Forum

Help Support Rat Rod Bikes Bicycle Forum:

This site may earn a commission from merchant affiliate links, including eBay, Amazon, and others.
Joined
Aug 17, 2009
Messages
103
Reaction score
10
Location
Lynnwood WA
Rating - 0%
0   0   0
Day 1:
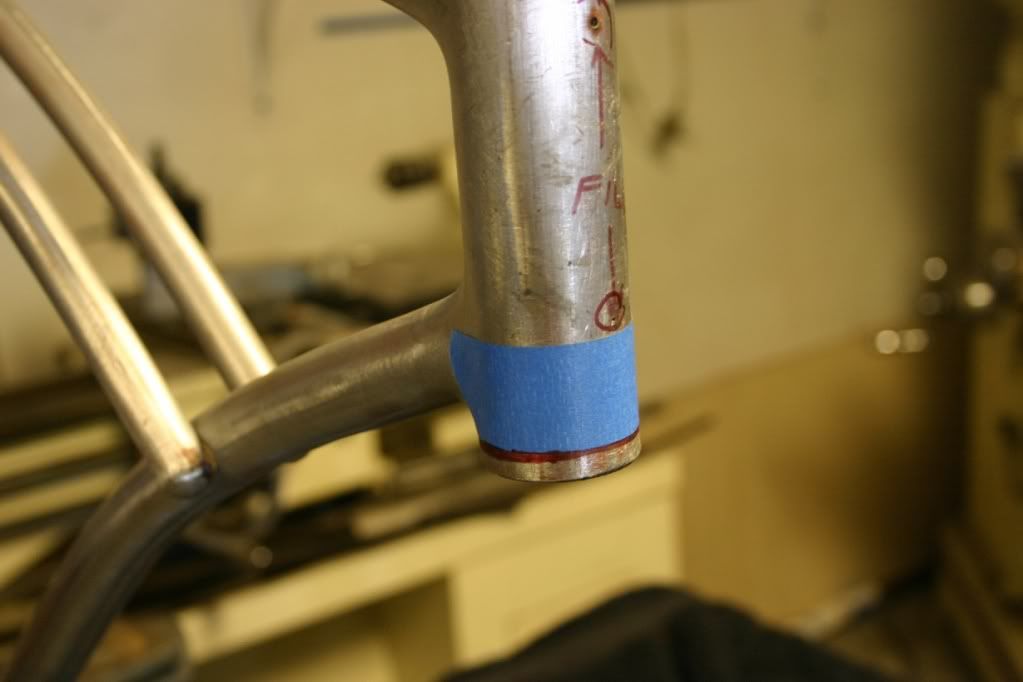
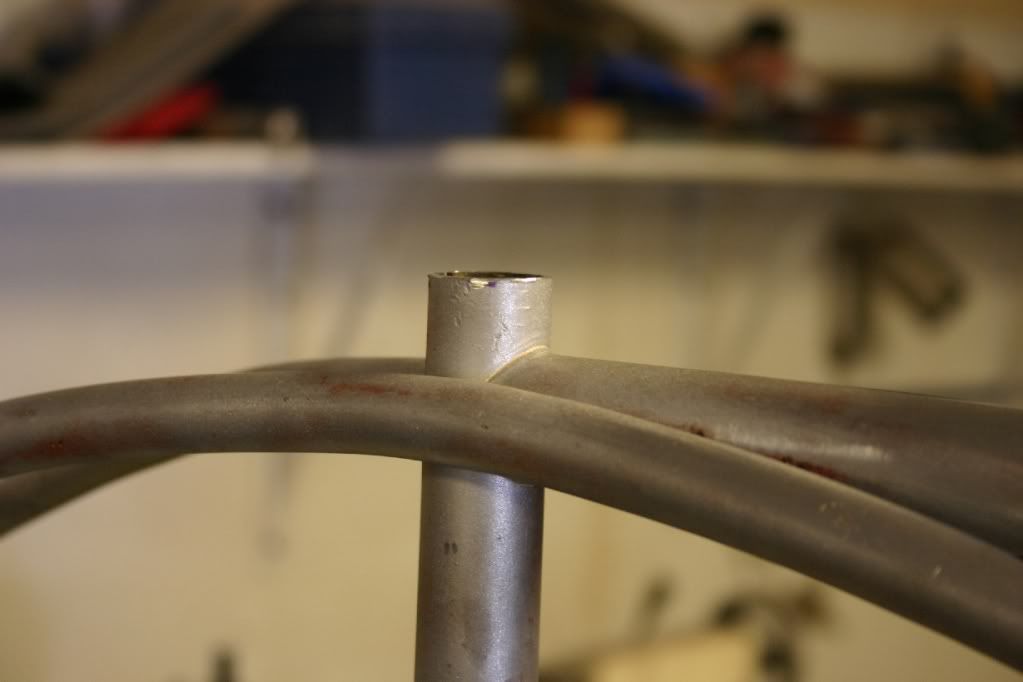
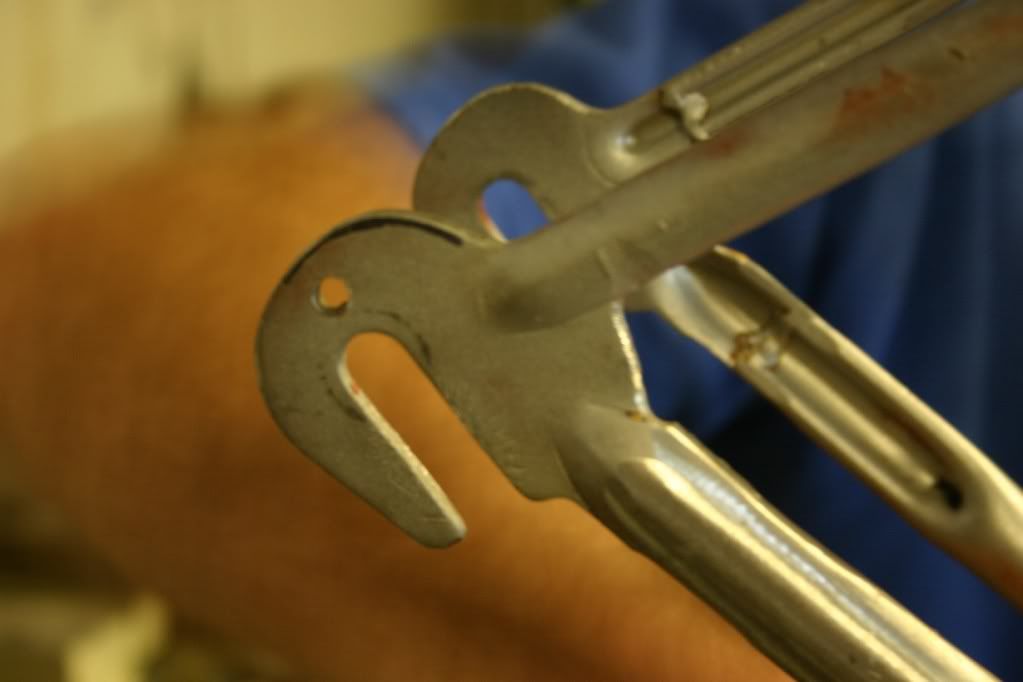
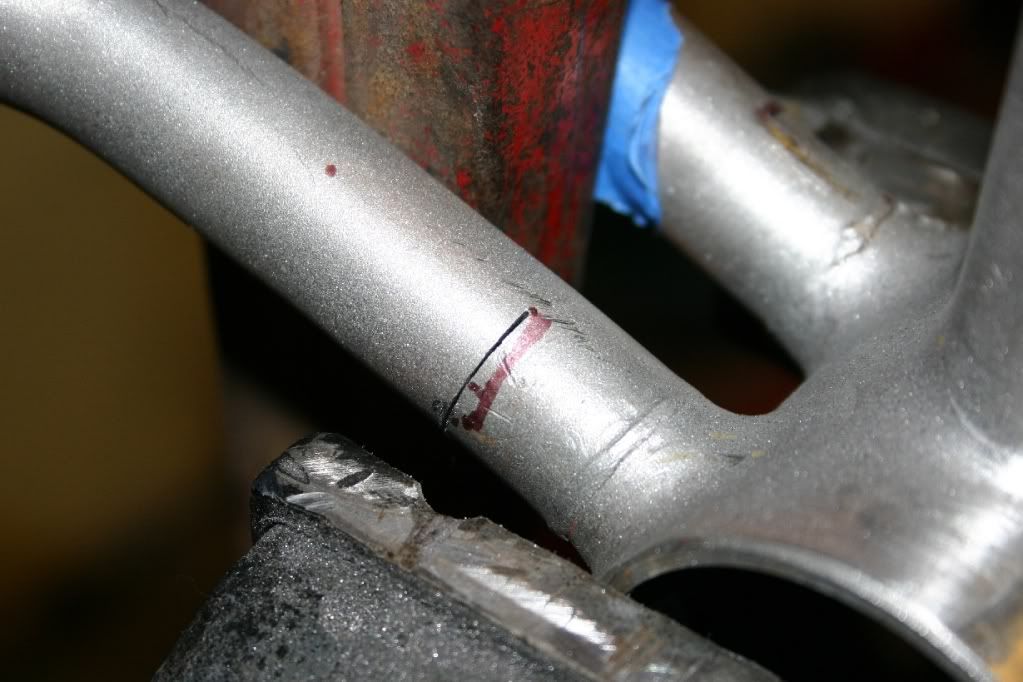
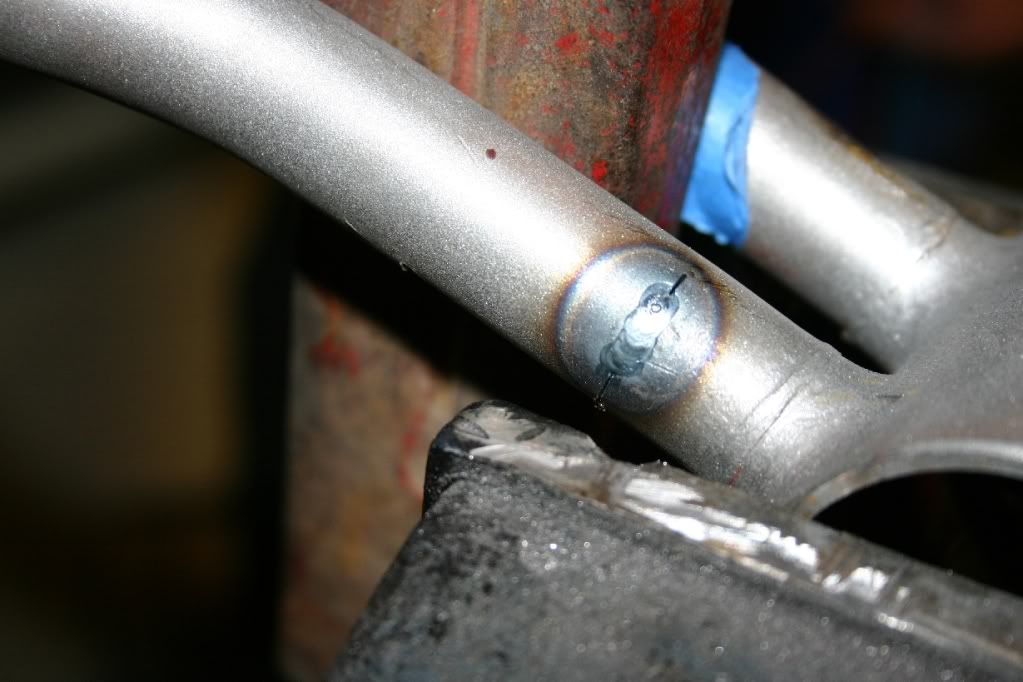
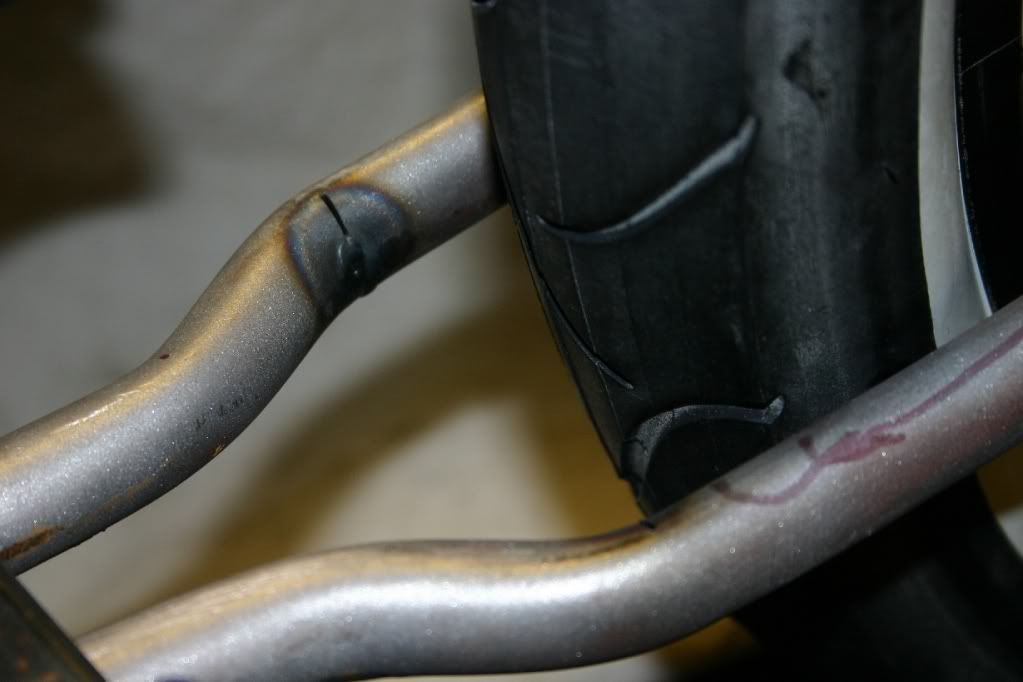
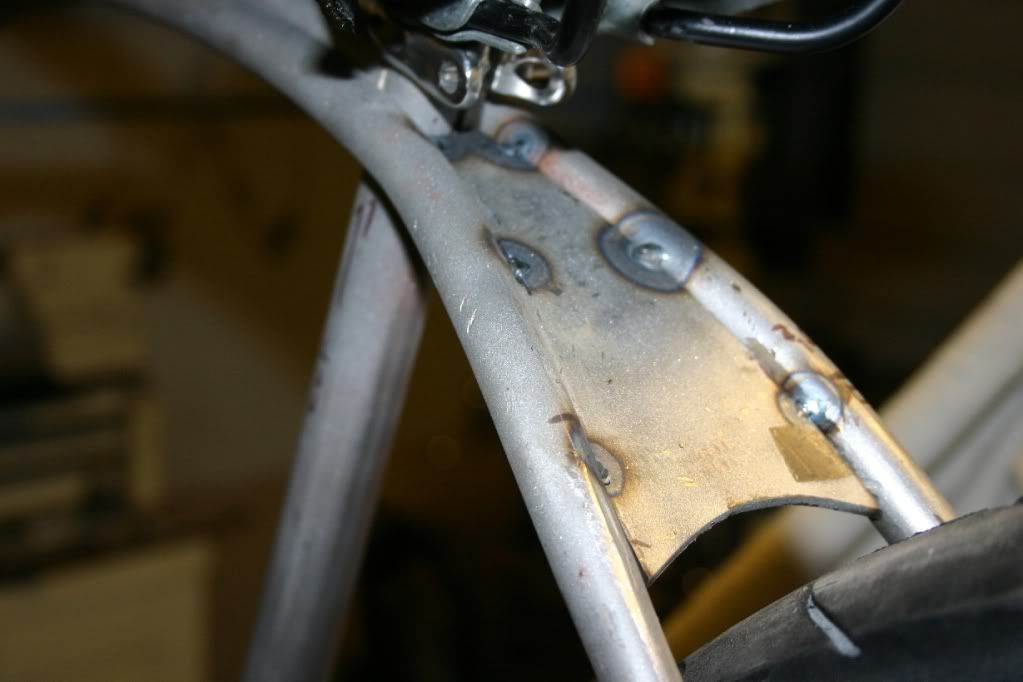
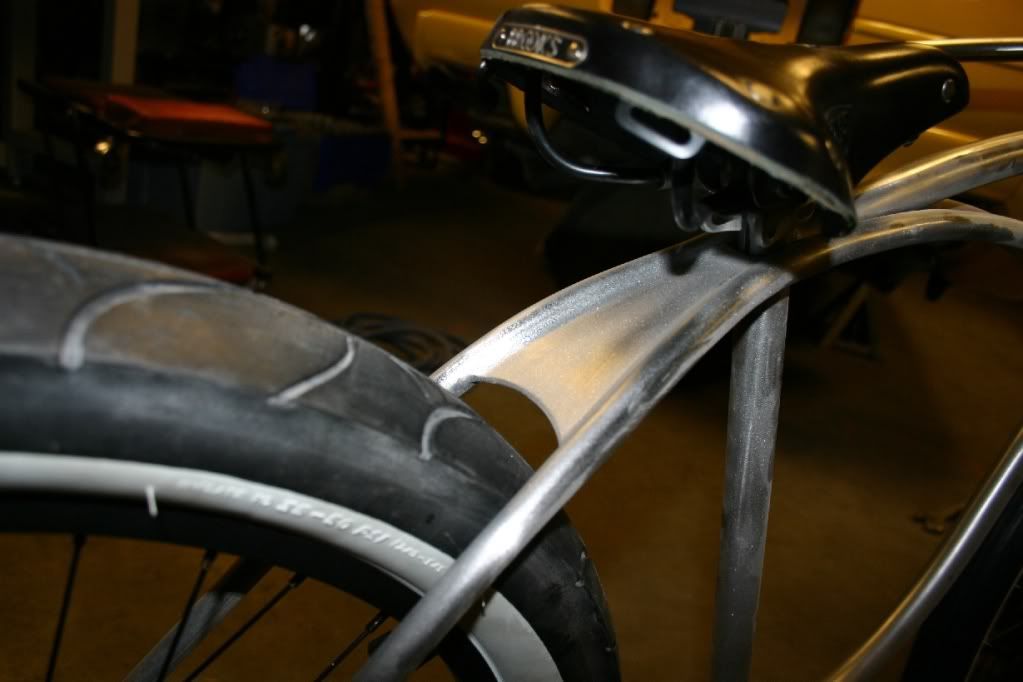
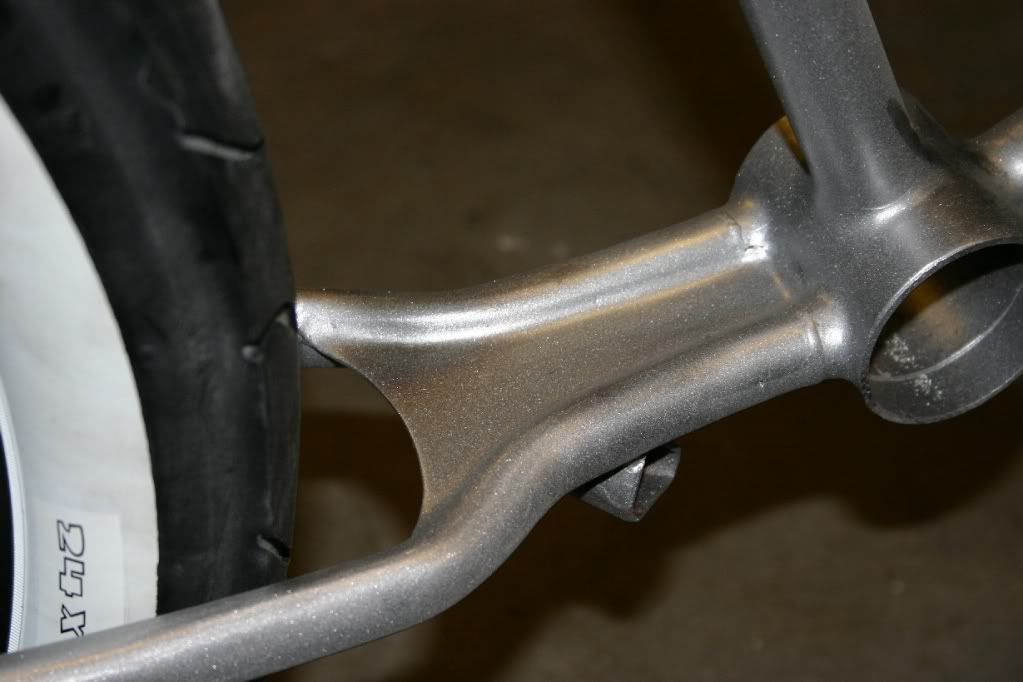
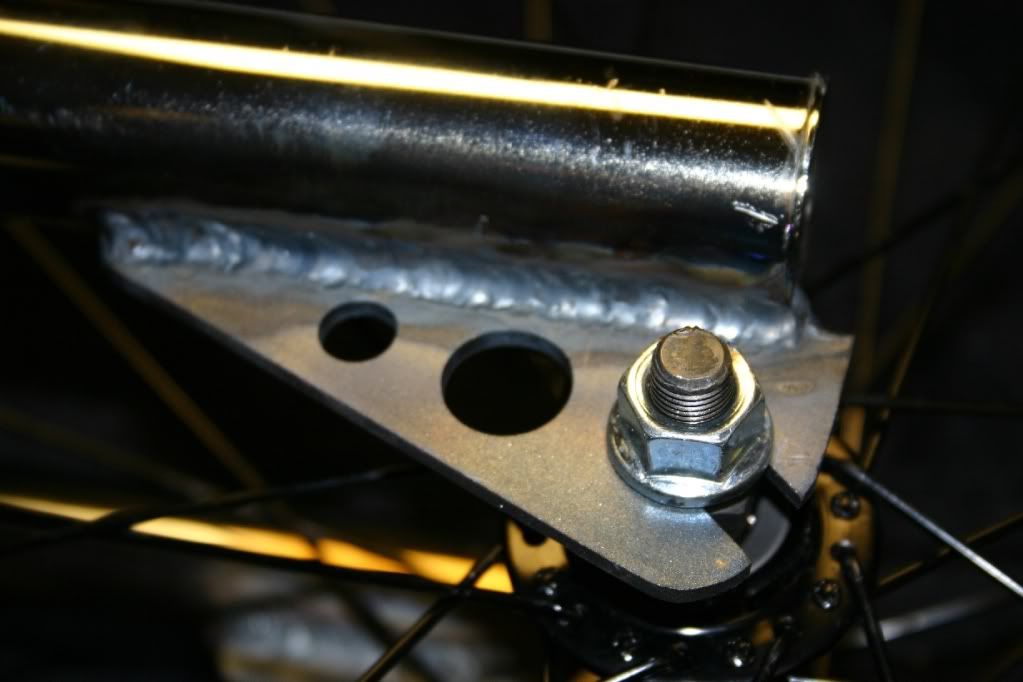
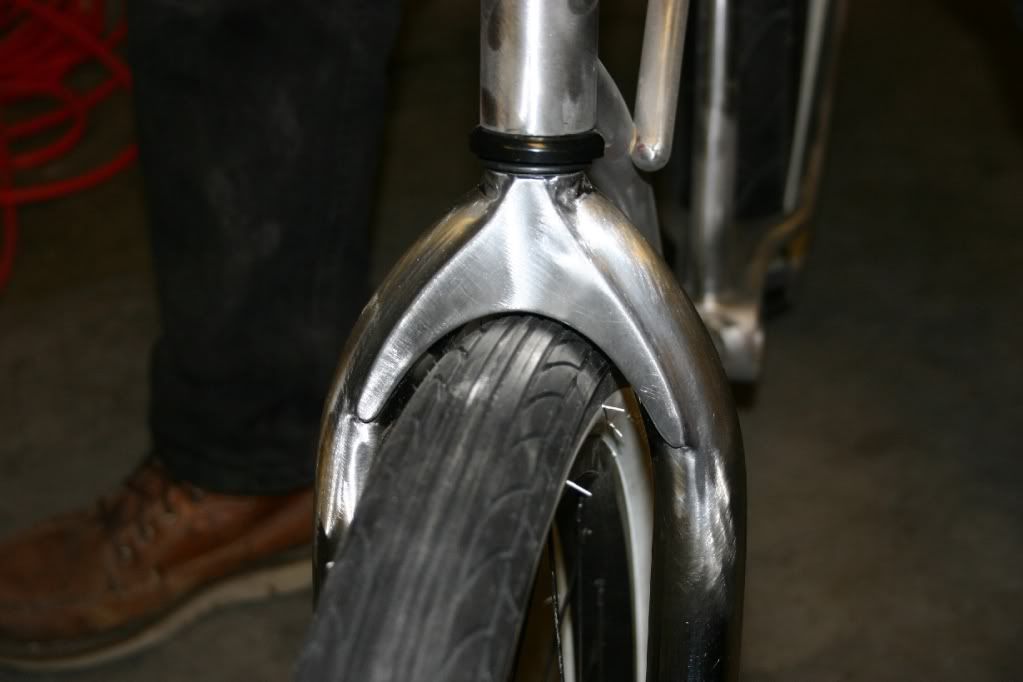
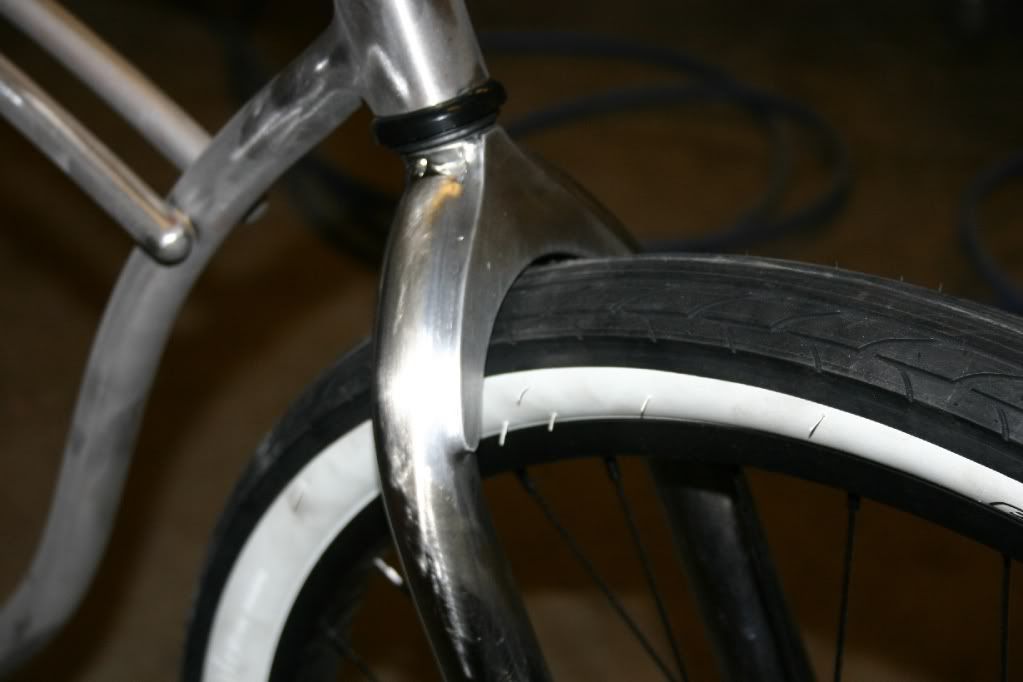
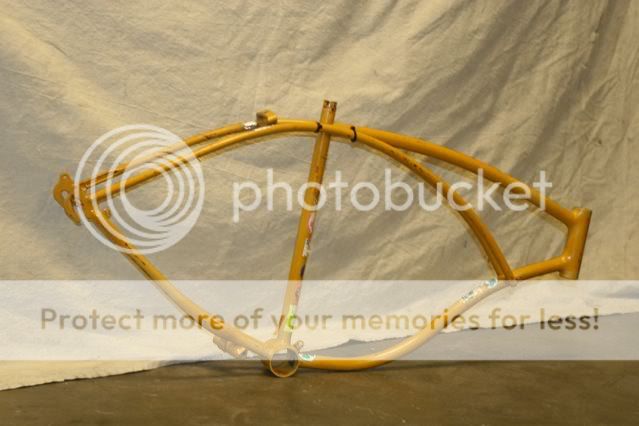
Today is day one of my first bike build. I decided to do a Schwinn 26 and just picked up this bare frame (1964 I think) to start with. Today I am media blasting all the old paint and grunge off and getting ready for some minor surgury to the frame. It will have a 3" rear tire have a low seating position. Most of the parts to complete have been identified, bought and are in route so this should go together fairly quick. I will post up progress photos at build intervals.
This bike will be used as a pit bike at the SCCA races on the west coast and should turn some heads. Stay tuned.


cid_946C2309-019E-4A57-B988-A28D463.jpg
 
Day 2:
I blasted the frame and started with some basic modifications, I trimmed down the head tube a little to help lower the front, chopped down the seat post tube to get the seat closer to the frame and cut off the unneccessary mounting tabs for the chain guard, fenders and the extended tabs on the rear dropouts for fender struts.
The back half needed to be widened a little for adequate tire clearance so to gain the extra room I cut the frame in several areas half way through the tubing then bent the tubing enough to close the sawblade gaps. This was repeated in several areas until the tire fit with enough clearance. The cut areas were then Tig welded back up.

Bike01.jpg

Bike02.jpg

Bike03.jpg

Bike06.jpg

Bike07.jpg

Bike09.jpg
 
DAy 3;
I decided to fill in the areas behind the bottom bracket and behind the seat clamp area. The upper plate was made a bit oversized to help spread the frame rails for tire clearance. The welds will be metal finished so they can't be seen after powdercoating and at this point the rest of the frame has had all the little dings or other flaws repaired and is ready to go.

Bike08.jpg


Shawn02.jpg


Shawn01.jpg
 
Intense fab work. Really love all the little touches you did. Its those tiny things that people dont really stare at but make the bike amazing overall....
 
Very nice. Looking forward to seeing the finished product. I really admire you guys with the skills and tools to build these customs. 8)
 
metalman72 said:
i like it ,those top and bottom plate you did look killer ,great work ,also like the silver powder coating

Actually, its not powdercoated yet. I ran it through the glass beading machine looking for flaws or pinholes in the welds. This is how the metal looks raw. If I was painting it I could get away with some filler to smooth out the welds but for powdercoat it has to be all metal finished. There is 11 labor hours in finish welding those upper and lower plates so far. i am knocking out the forks today so everything can be powdercoated tomorrow. Full on Thrash!!
 
Day 4.
Forks were done today. I used some cheap 26" Ebay BMX forks but had to modify them to look right on this bike. The dropouts were removed and new ones installed about 1/2 inch higher up on the fork legs to get the top of the tire up higher to close the gap between the top of the forks and the tire. The axle also mounts a little farther outward now so that the curve of the lower frame rail and the tire are at equal distance for a cleaner look. The gap above the front tire at the fork was better but still not too clean so I made up a wishbone filler plate with a radius at the opening similar to the tire profile. With the tire mounted there is very little space but enough for clearance issues.
The wishbone looking plate was then welded in place and the welds ground and smoothed for powdercoat. I get a day off now!!

Bike05.jpg


Shawn07.jpg


Shawn03.jpg
 
hillsmith, that looks bad ........ I love the plateing and the tire clearance on the fork....
I cut mine at these welds and put in some thick wall pipe about 5 3/4" long and adjusted everything else to fit and weld back, but be careful the more you stretch the lower it will be and unless you want to move your cranks to a different spot you can't go much further..
Shawn01.jpg
 
excitebike said:
thats some of the best welding ever. that front tire clearance is amazing to look at

Exactly what i was gonna to say. The gap between the fork and front tire is so amazing, Hella flush!!
 
Impressive to say the least. I would like to know what you used to grind the welds that smooth and not get into the surrounding metal. I just did some gussets on a frame and used a die grinder. It was alot of work and didnt turn out anywhere near that good. You got the skillz for sure. :mrgreen:
 
Uncle Stretch said:
Impressive to say the least. I would like to know what you used to grind the welds that smooth and not get into the surrounding metal. I just did some gussets on a frame and used a die grinder. It was alot of work and didnt turn out anywhere near that good. You got the skillz for sure. :mrgreen:

You can clamp some scrap to the tubing first so the tubing does not get accidently dinged then use the die grinder to take down the high spots only. Finish it off with sanding cones that will attach to your die grinder. Different grits are available, I get them from Eastwood. If you use a wire feed welded there will be more work to dress the welds. I used a Tig and am able to run over the welds again without adding anything to smooth things out. Even with the right equipment it is still labor intensive.

I am picking up the parts from Powdercoat in an hour. When they have cooled enough, some of the final assembly can happen tonight. The UPS gods just dropped off some goodies to help complete it.
 
sinwagn said:
hillsmith, that looks bad butt..... I love the plateing and the tire clearance on the fork....
I cut mine at these welds and put in some thick wall pipe about 5 3/4" long and adjusted everything else to fit and weld back, but be careful the more you stretch the lower it will be and unless you want to move your cranks to a different spot you can't go much further..

I had not checked the crank clearance but did check it before powdercoat this morning. It is close but barely clears, I machined a little off the back of the cranks where the pedals attach, the pedals will probably need cutting down also if the shaft extends thru the crank too far. I am glad you brought it up because I was able to adjust the cranks this morning before they got powdercoated also. Close call!
 

Latest posts

Back
Top