Wow those are some crazy grips..the hammered paint idea, can't wait for results.
Yeah, they are handmade, probably for a motorcycle. Rockit got them at a swap meet.
I think the paint is going to work well.


Wow those are some crazy grips..the hammered paint idea, can't wait for results.


That's a good match on the paint!

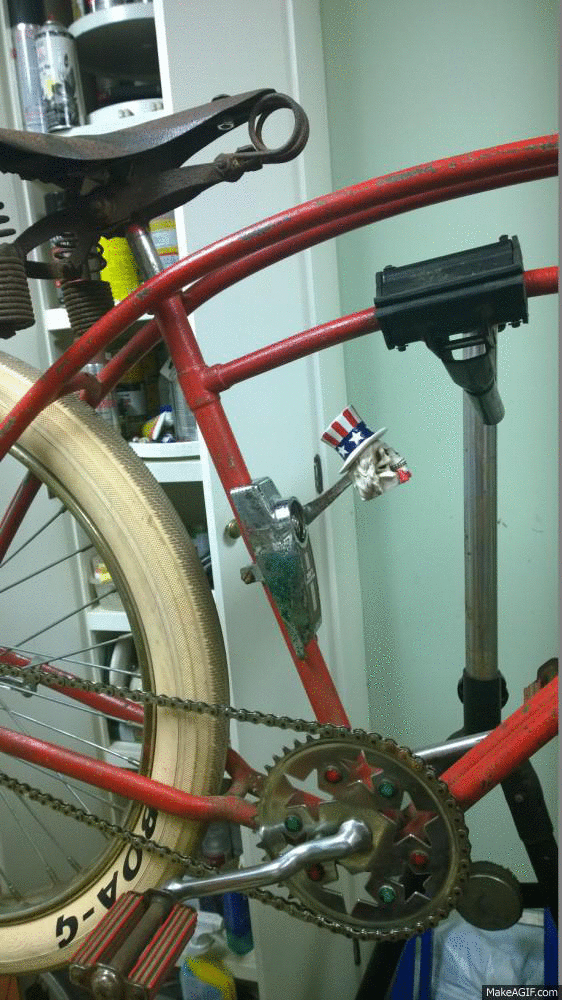
Wow KF, that turned out better than I could ever imagine! Is that really a clean chainguard under the textured and hammered paint? You really got it spot on with the brown, and it being on the opposite side of the bike, no one will be able to tell the difference
 Cant wait to see how it turns out!
I think between the two textured colors, I can mimic the seat and handlebar rust pretty good by mixing them up.
View attachment 3469
Fast trial and error, I now know that I don't want to start with hammered followed by textured on top. The textured is way too thick and it makes for horrible masking lines. Plus the hammered is too slick to be an accurate base coat to the polished rust.
View attachment 3470 View attachment 3471
But the hammered black on top of the textured looks like it will work well to mimic the polished rust. I'll still need to knock down the sheen a little.
View attachment 3472 View attachment 3473
Looks great. I'm glad to see you actually have a vision for this bike and not just throwing things on it just for the heck of it. You're taking the time to see what works and what doesn't work, that is why this bike is going to be amazing when finished.


Enter your email address to join:


