Some real progress, finishing in time just might be possible yet! Spent some time this evening on it, finished up at 10:30pm working under lights so you will have to forgive the orange tinted photos and reflected shine...
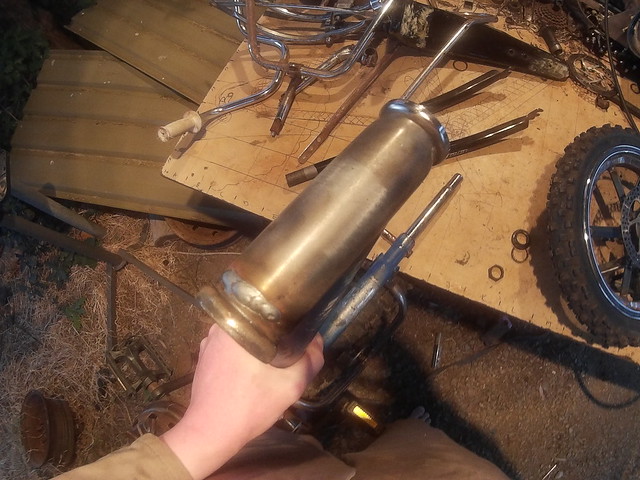
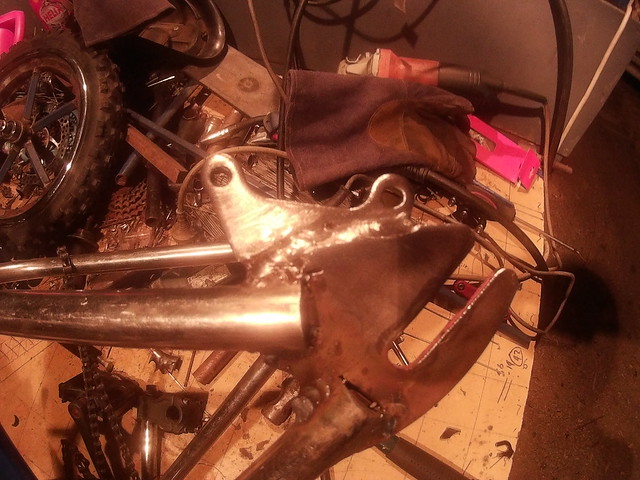
Started by welding an extra piece to the bottom of the head tube rather than replacing it, will shape it later to match the taper on top. Will still have to cut some of the excess threads off the fork, but a much better fit now:
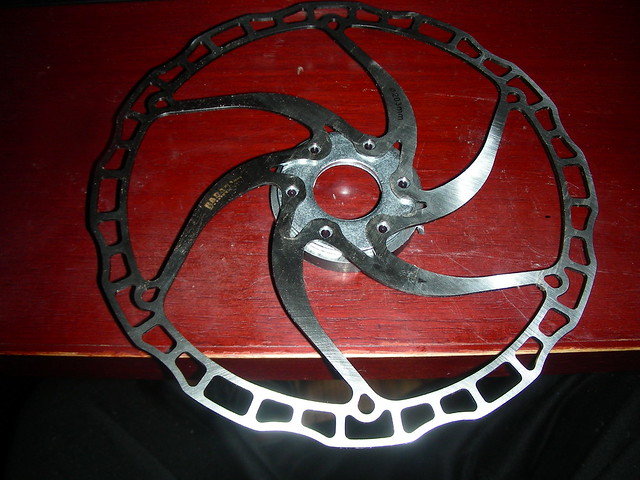
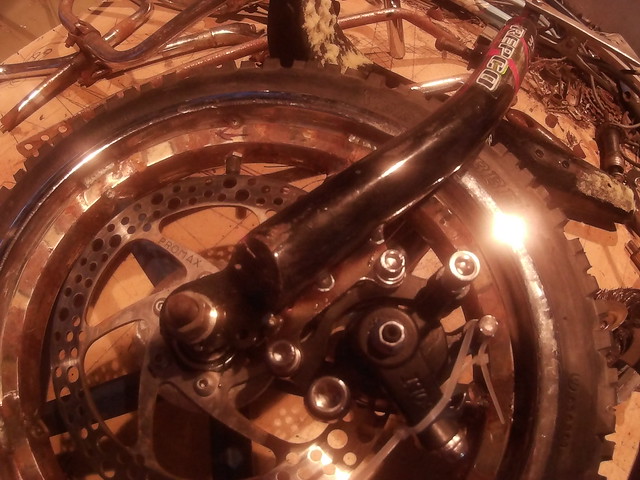
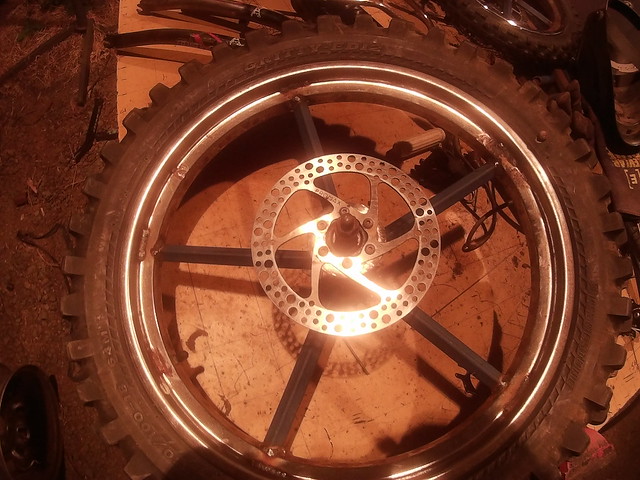
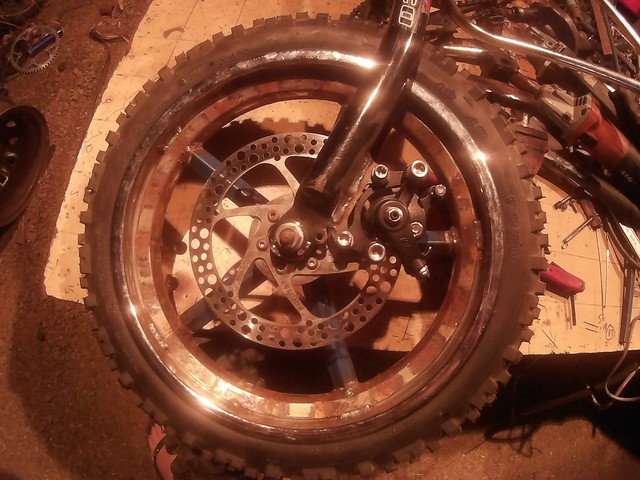
Then bolted on the disc to the front wheel:
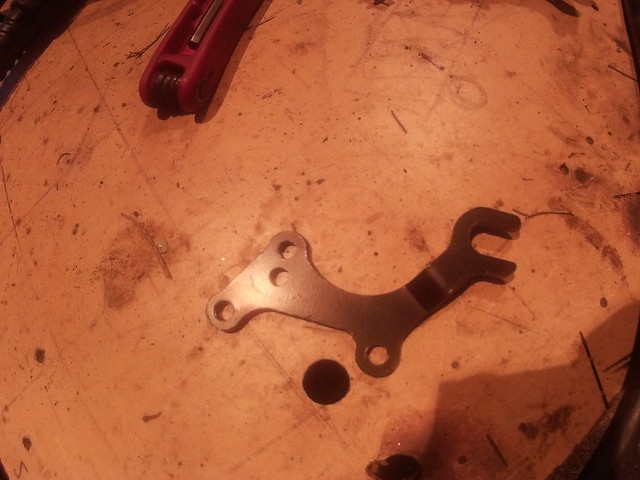
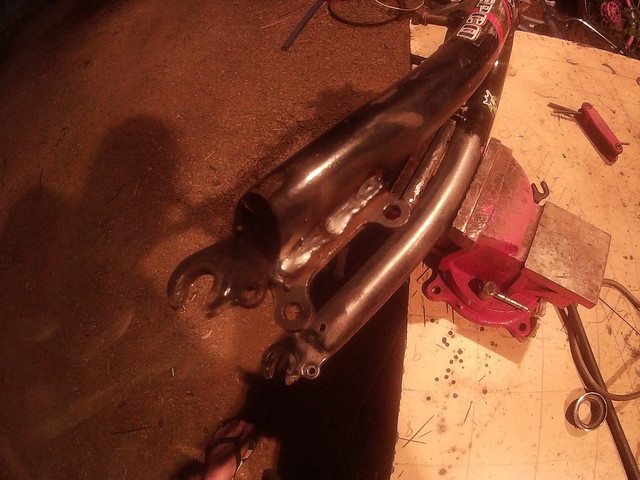
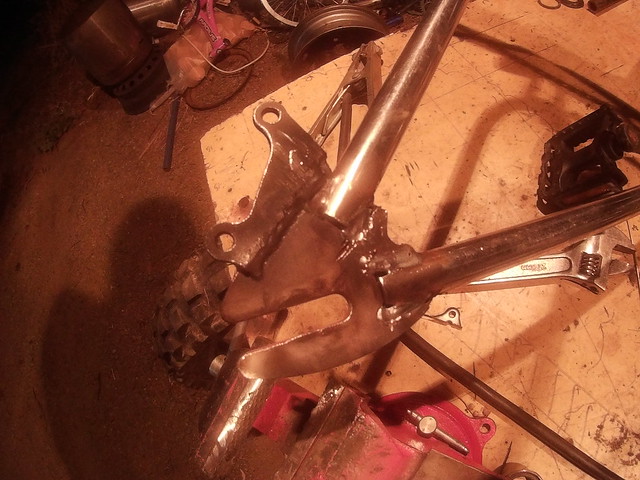
Decided due to the short time left I would cut up some disc mounts I bought for another project rather than build some from scratch:
A little cutting and wire brush the paint off and I have this:
Notice the cable tie holding the brake "on" I have found it helps to get the calliper centred over the disc so that the mount is welded in the right spot, saves a huge amount of adjustment later...
Disassembled and fully welded:
Other side:
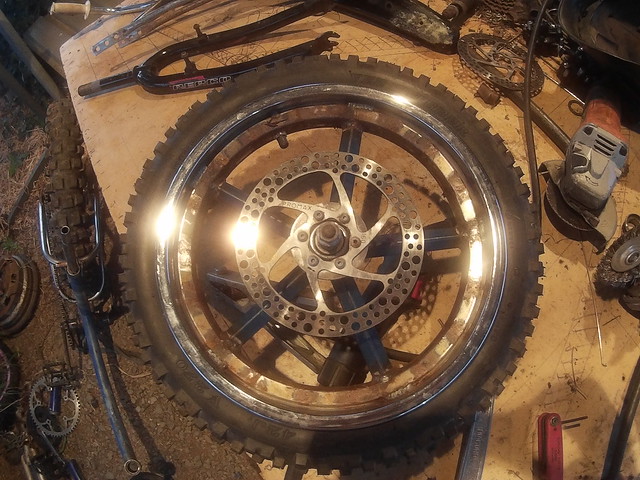
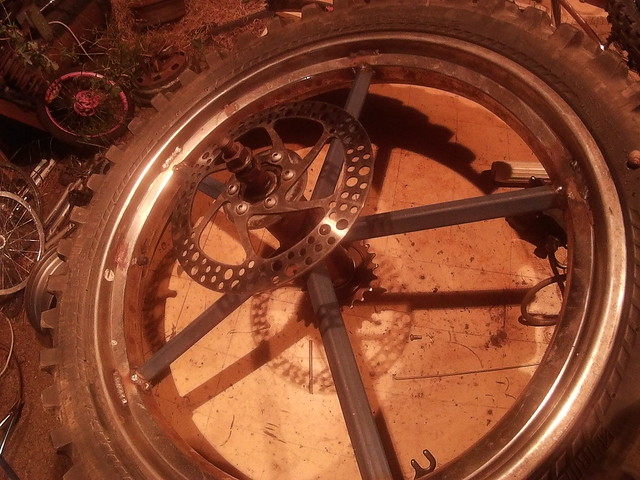
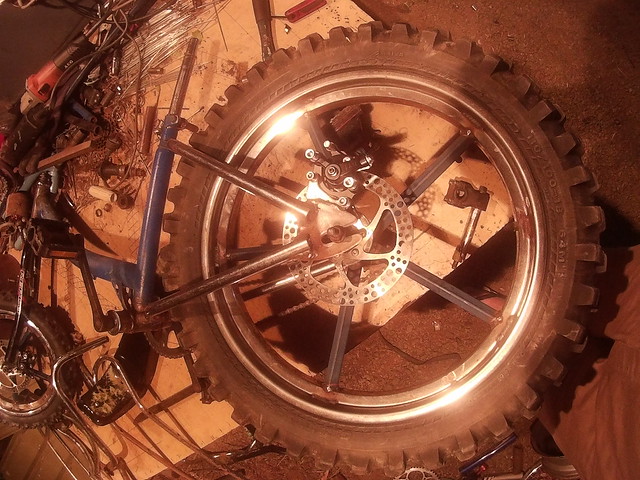
Mounted the disc on the rear, also note the 20 tooth freewheel is on too!
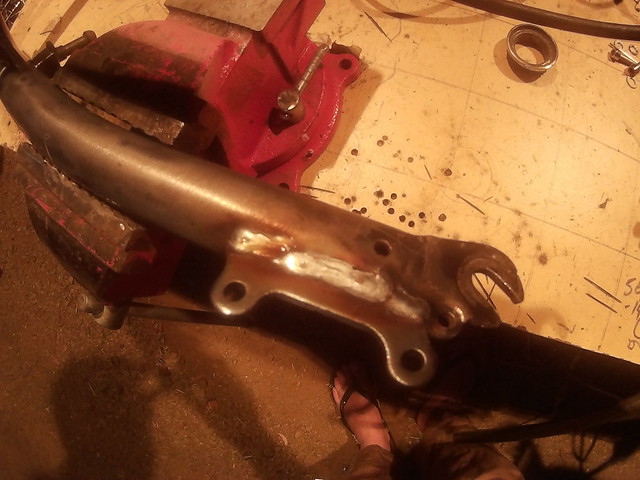
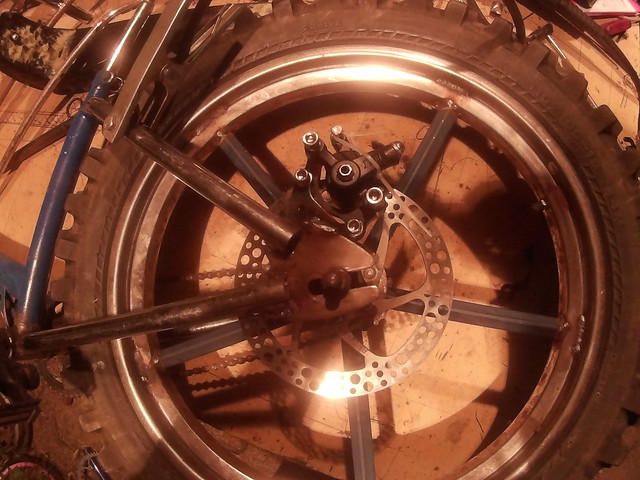
Mocked and tacked the calliper mount, I like to mount the calliper either directly on top or directly under the disc on a single speed, it allows for adjusting the wheel forward and back in the dropouts better than if it was more forward:
Fully welded:
Other side:
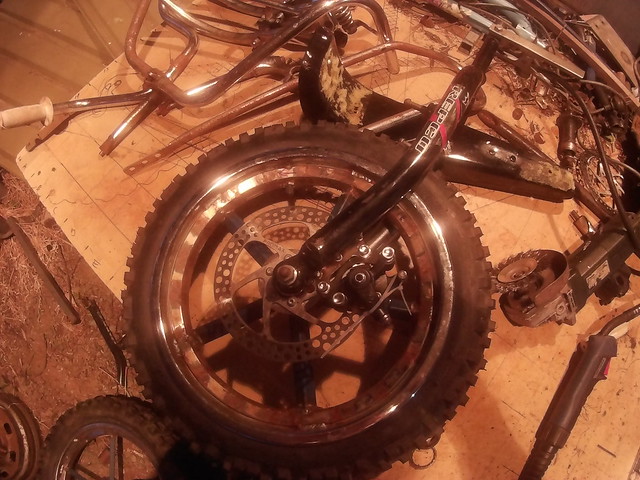
Then it was time to reassemble it all and see how it was looking, started by adding 2 links to the chain to allow for the bigger freewheel and then assembled the front end, very happy with how the front wheel, tire, brakes and forks look:
Assembled the rear, also looking good:
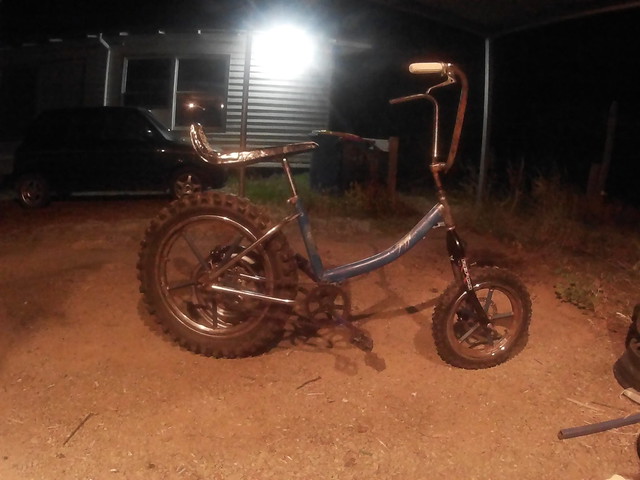
Both brake discs ran perfectly true and did not need any adjustment, very happy with that!
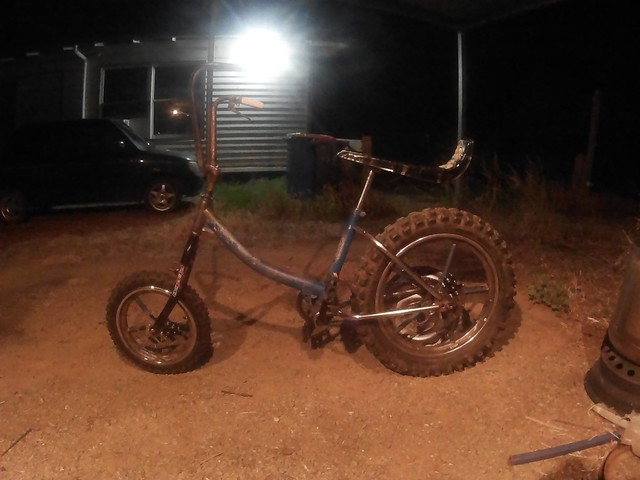
As it currently sits, the seat will come down a bit and back further, and I am thinking of making a long stem for it rather than extending the apes:
Brake side:
A good evening of work, still lots to do though!
Luke.


") Great looking disc setup!!!
Great looking disc setup!!!


