Hi ,
I am gonna share my successful experiment with you , it consist of building 1 wide rim with 2 junk tiny rims .
I have heard that in the old days , people use to weld 2 rims together to make wide snow tires ...
well... i don't have a welder ,did not want to have a weld in the middle,have only aluminum rim to work with.
But i found a way to make my wide rim anyways ,and being good looking also :mrgreen:
If you have the tools already , this should cost between 20 and 50 $
*NOTE* i use to speak french , so i don't know all the therms in english for tools and other stuffs , but i do my best !
you need :
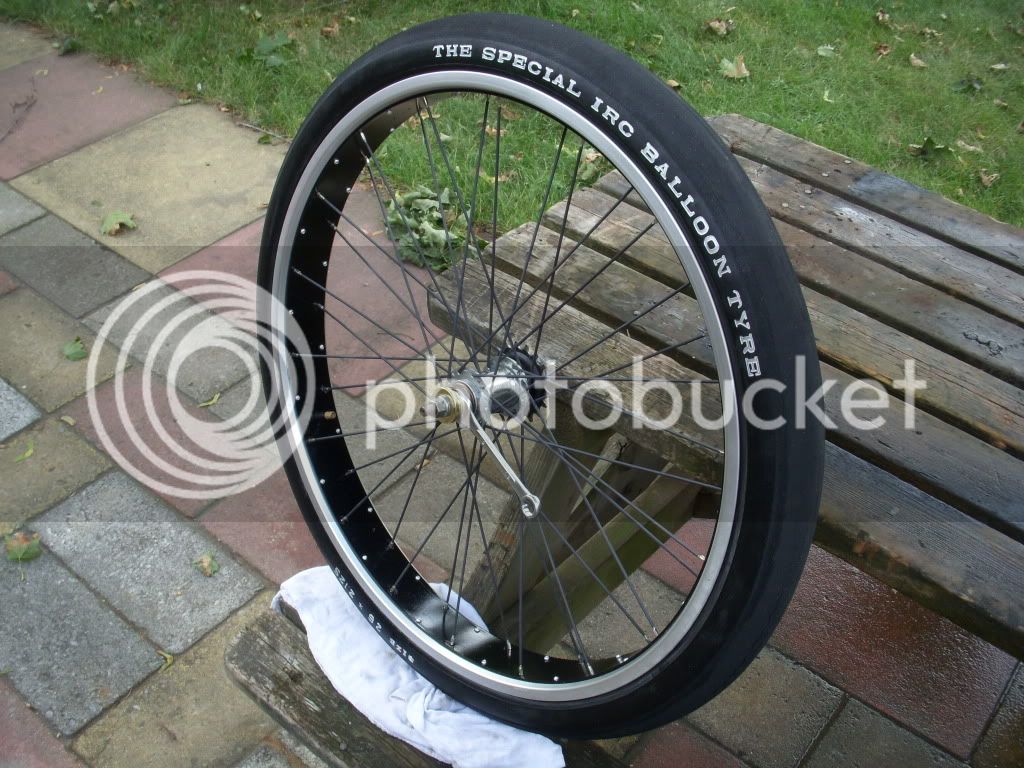
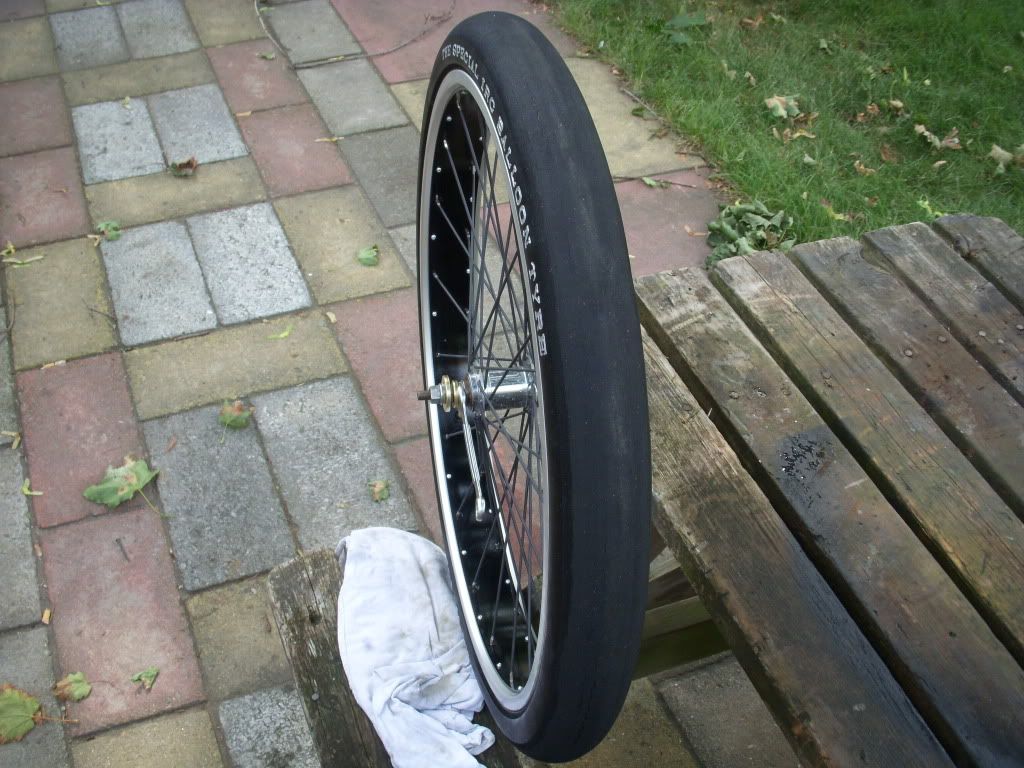
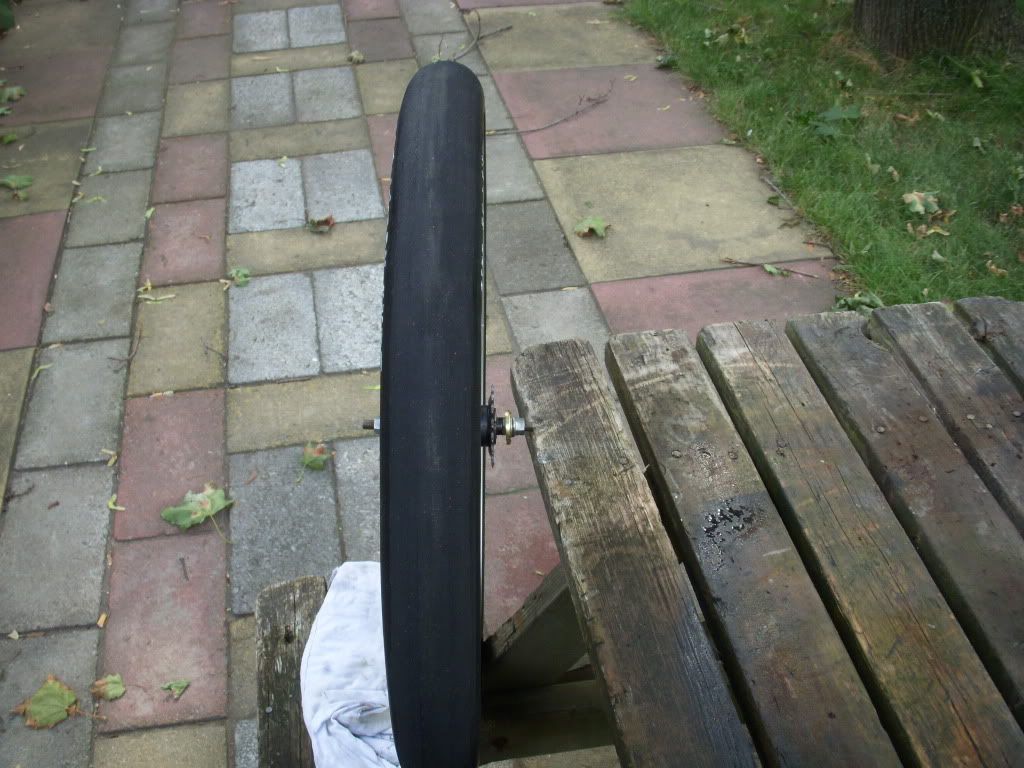
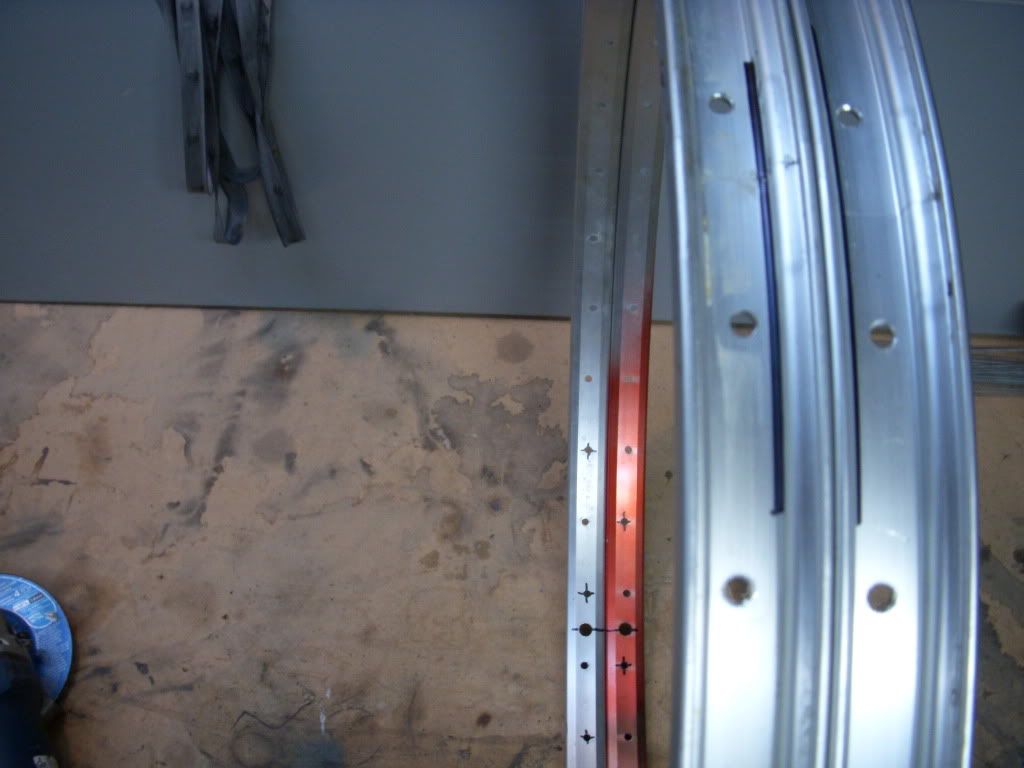
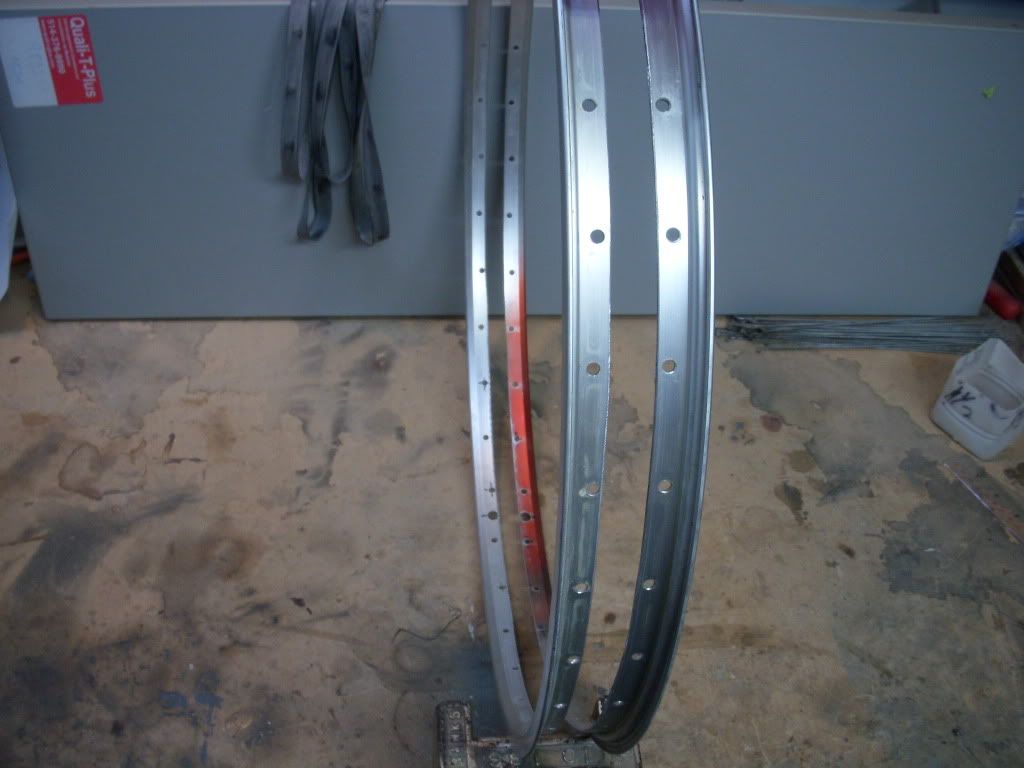
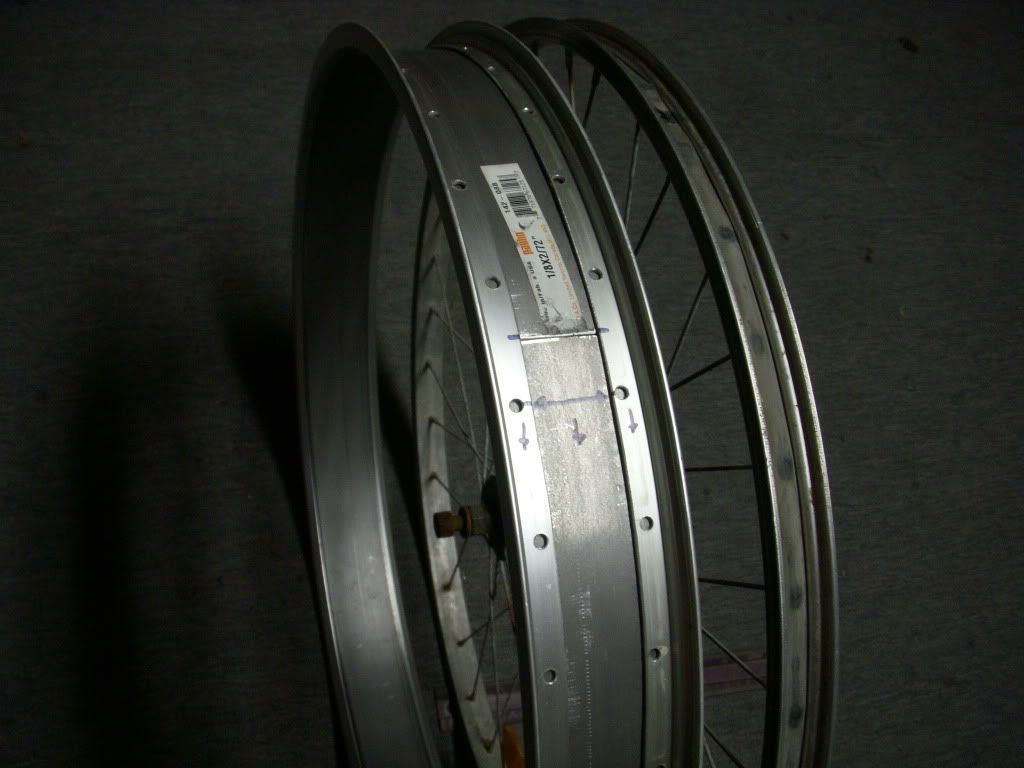
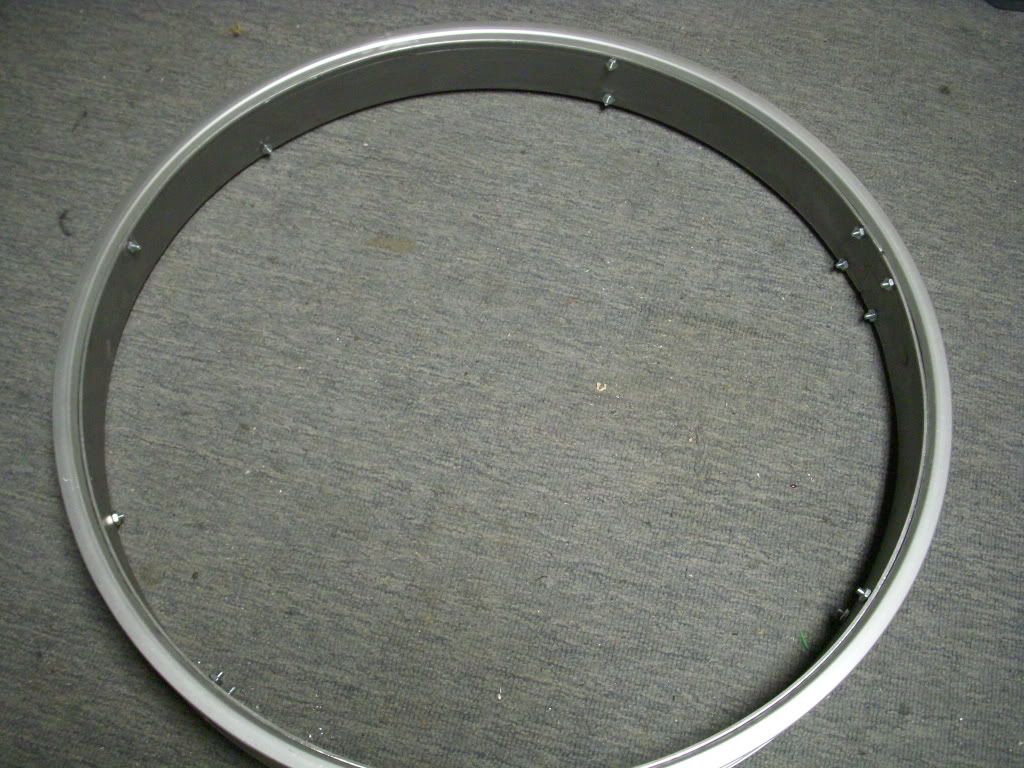
-a pair of same Rims (with flat middle) witch have a laced back wheel (or have a hub and buy spokes)
-Grinder with a cutting and a grinding disk
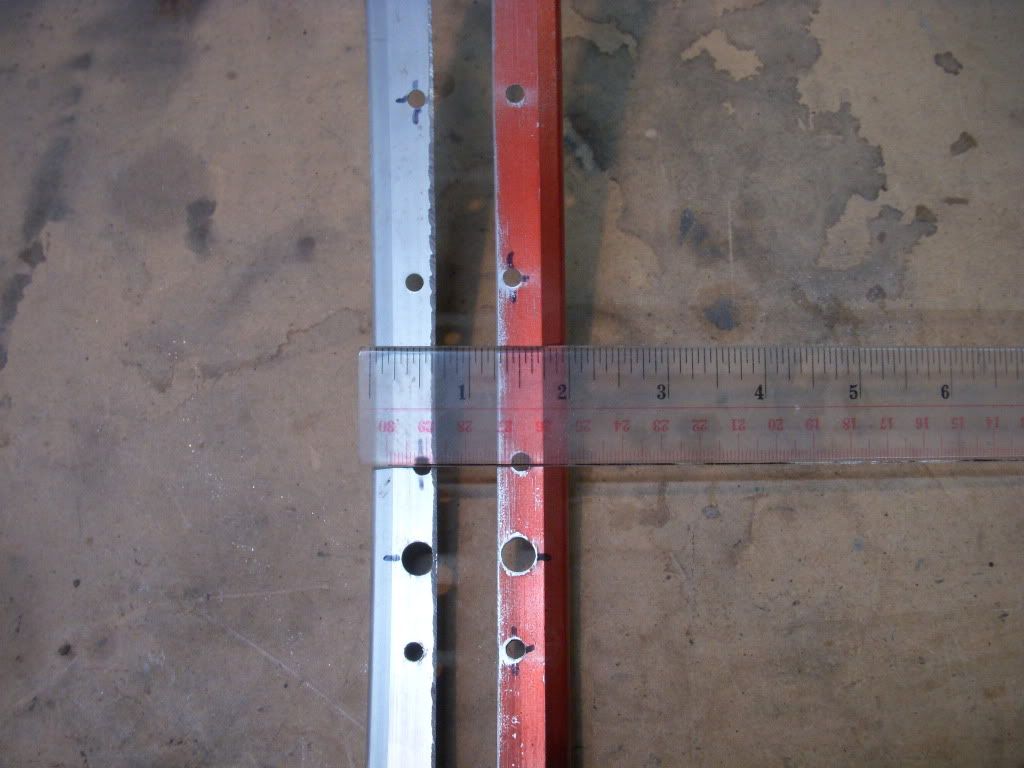
-Drill with (spoke hole diameter) and one very slightly larger and one with (air "thing" diameter) and (a 45*"thing")
-Rivet popper
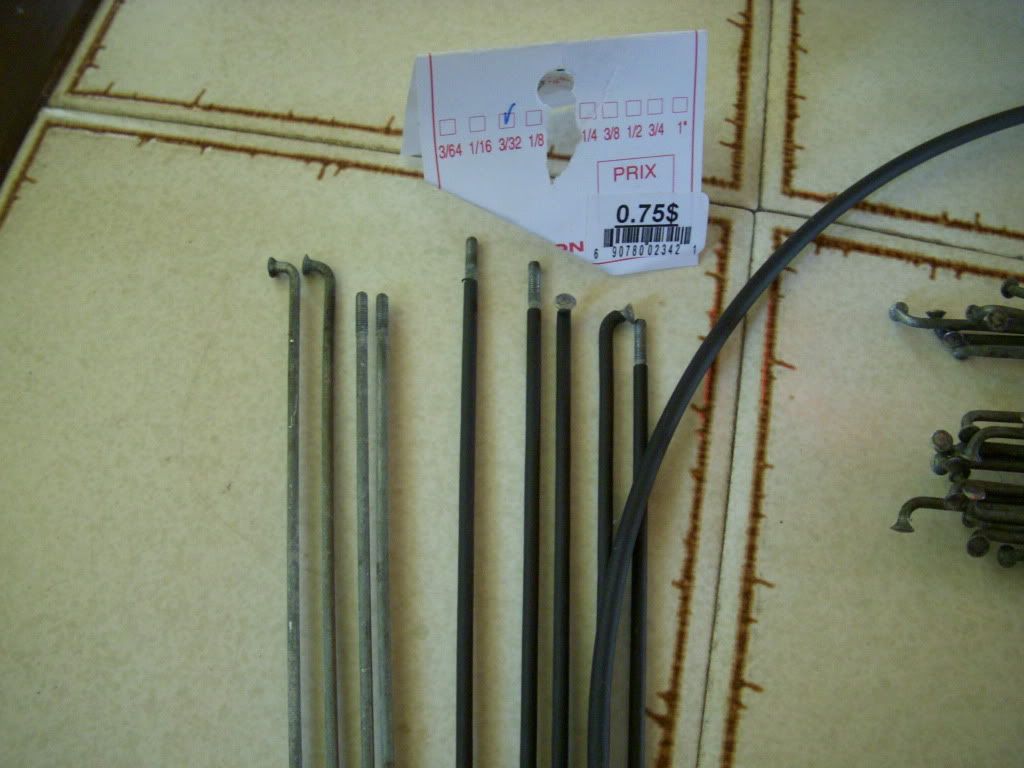
-Rivets (spoke hole diameter)
-(spoke hole diameter Bolts)
-Spoke tool
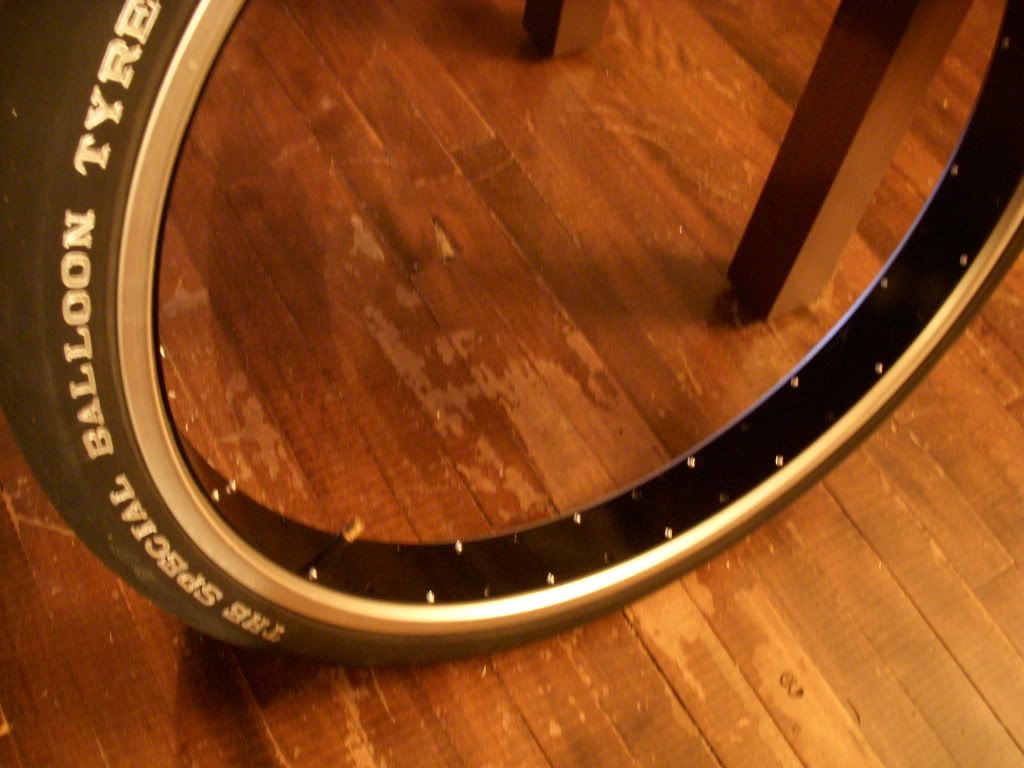
-used/flat tire tube
-sand paper
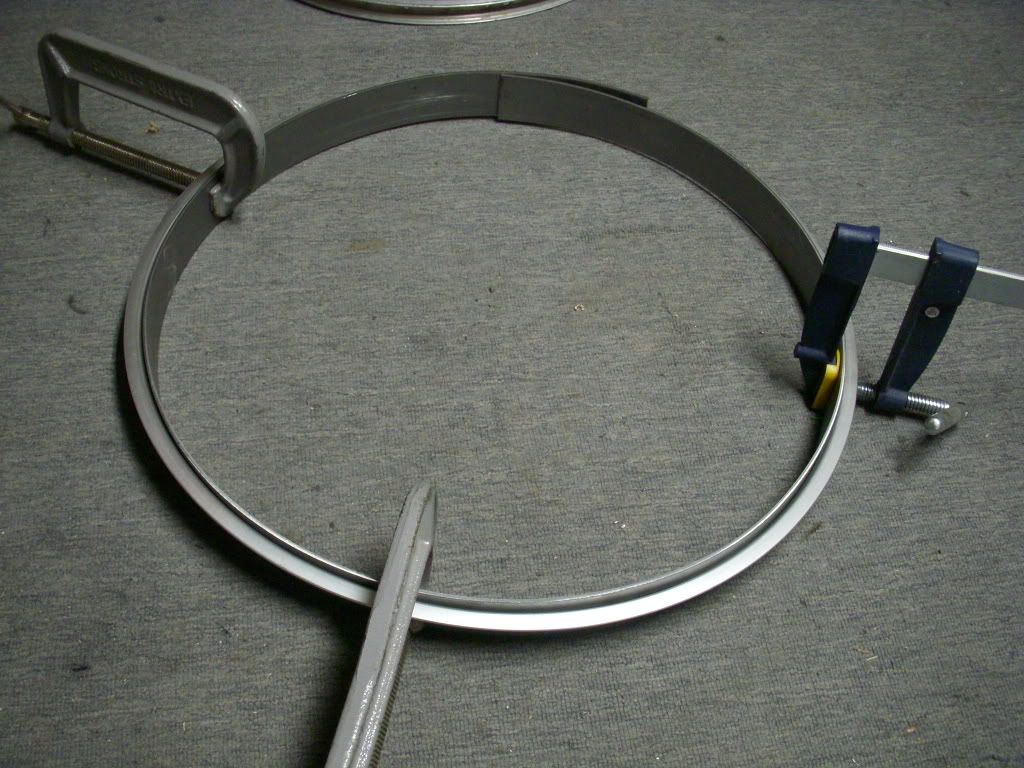
-(in this case) 1/8" X 2" x 72" aluminum plate found at hardware store (i took steel to save money , but it is 3 time heavier ,i don't recommend)
-File
-scissors
-ruler
-pen/marker
-few clamps
-minimum tool skills and precision
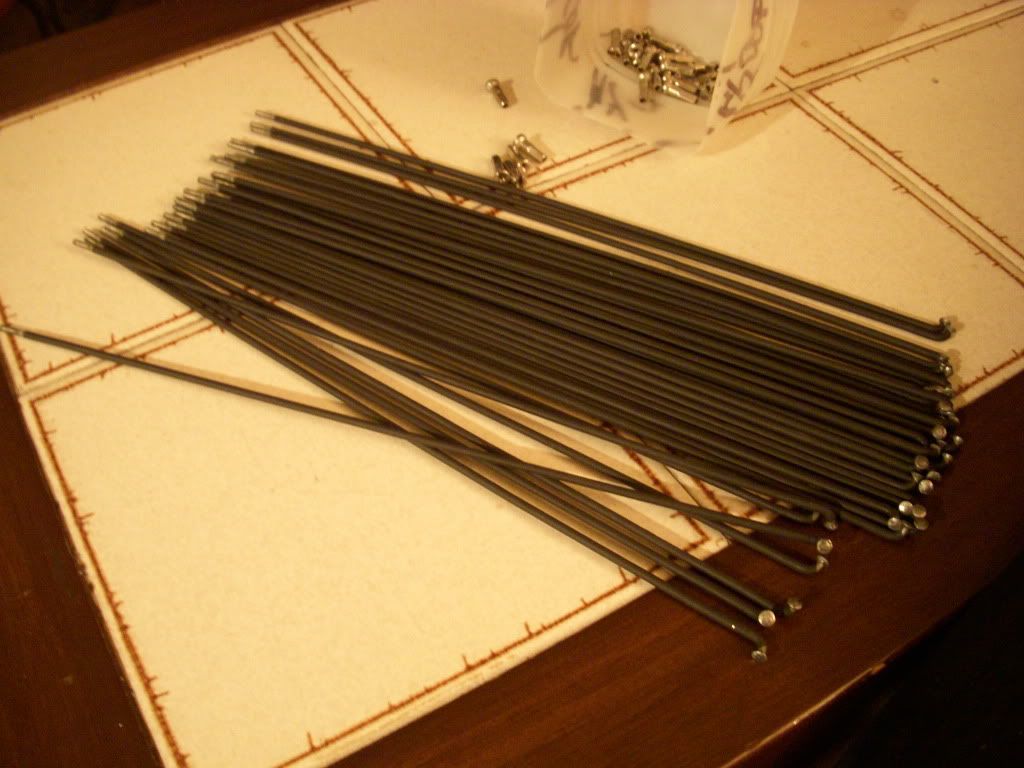
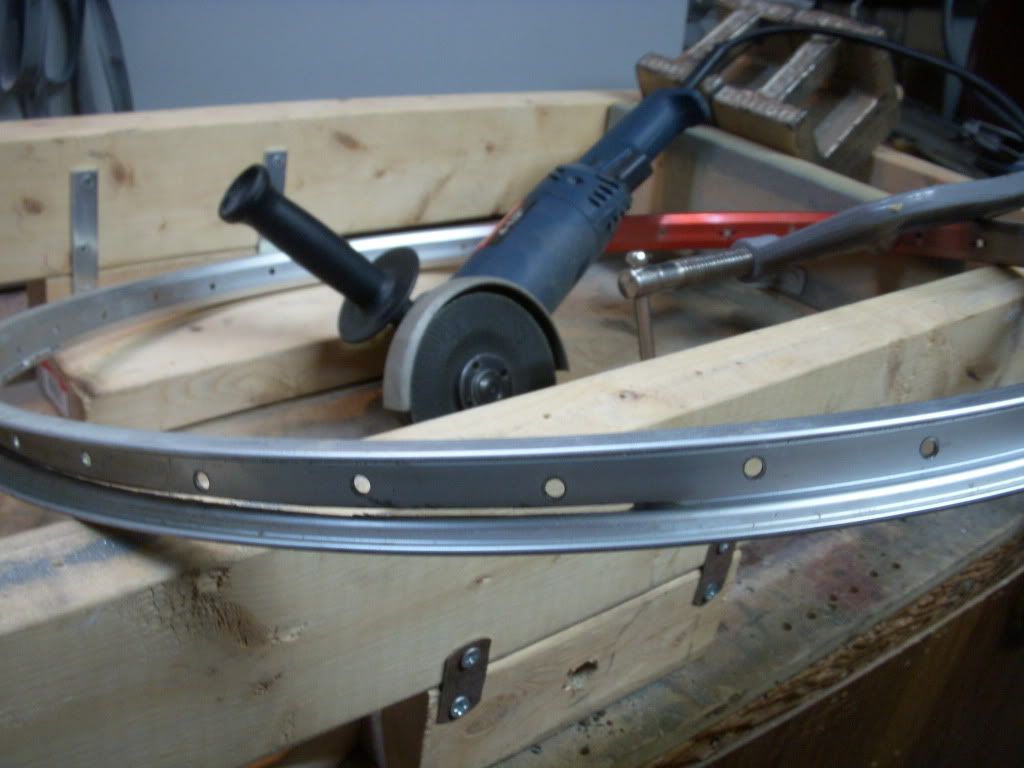
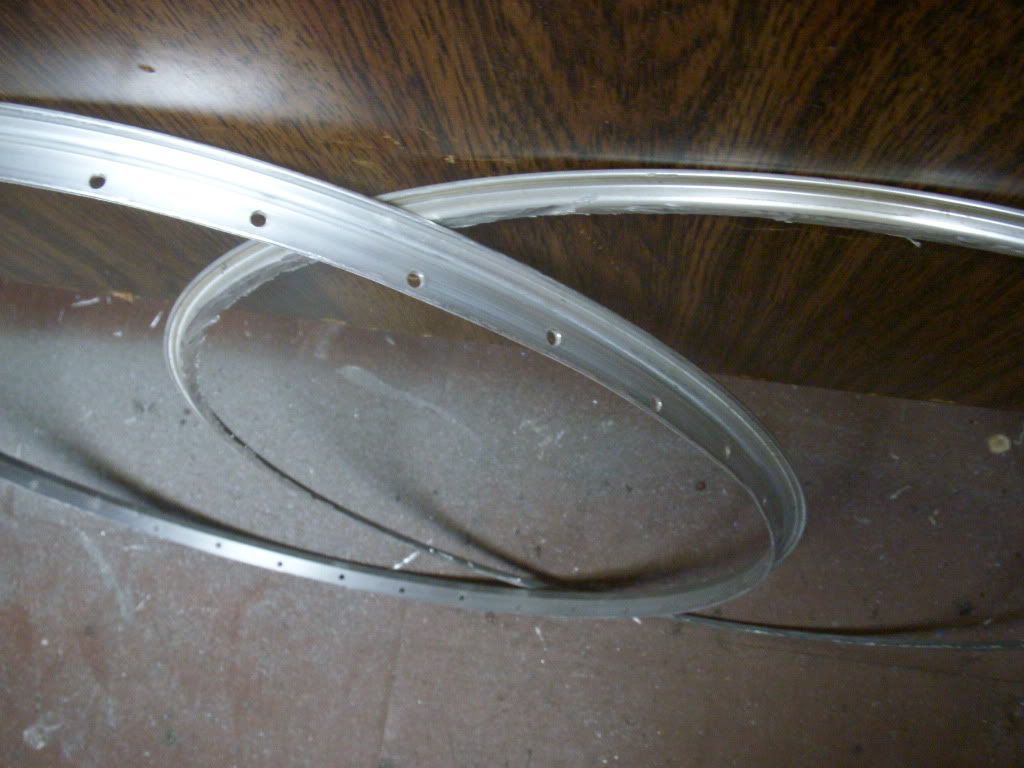
>Start by disassemble the 2 rims while taking care of the rear spokes if you don't want to buy new ones
I am gonna share my successful experiment with you , it consist of building 1 wide rim with 2 junk tiny rims .
I have heard that in the old days , people use to weld 2 rims together to make wide snow tires ...
well... i don't have a welder ,did not want to have a weld in the middle,have only aluminum rim to work with.
But i found a way to make my wide rim anyways ,and being good looking also :mrgreen:
If you have the tools already , this should cost between 20 and 50 $
*NOTE* i use to speak french , so i don't know all the therms in english for tools and other stuffs , but i do my best !
you need :
-a pair of same Rims (with flat middle) witch have a laced back wheel (or have a hub and buy spokes)
-Grinder with a cutting and a grinding disk
-Drill with (spoke hole diameter) and one very slightly larger and one with (air "thing" diameter) and (a 45*"thing")
-Rivet popper
-Rivets (spoke hole diameter)
-(spoke hole diameter Bolts)
-Spoke tool
-used/flat tire tube
-sand paper
-(in this case) 1/8" X 2" x 72" aluminum plate found at hardware store (i took steel to save money , but it is 3 time heavier ,i don't recommend)
-File
-scissors
-ruler
-pen/marker
-few clamps
-minimum tool skills and precision
>Start by disassemble the 2 rims while taking care of the rear spokes if you don't want to buy new ones

")