Elgin Klunker

Rat Rod Bikes Bicycle Forum

Help Support Rat Rod Bikes Bicycle Forum:

This site may earn a commission from merchant affiliate links, including eBay, Amazon, and others.
Joined
May 28, 2009
Messages
384
Reaction score
330
Location
Central Valley California
Rating - 0%
0   0   0
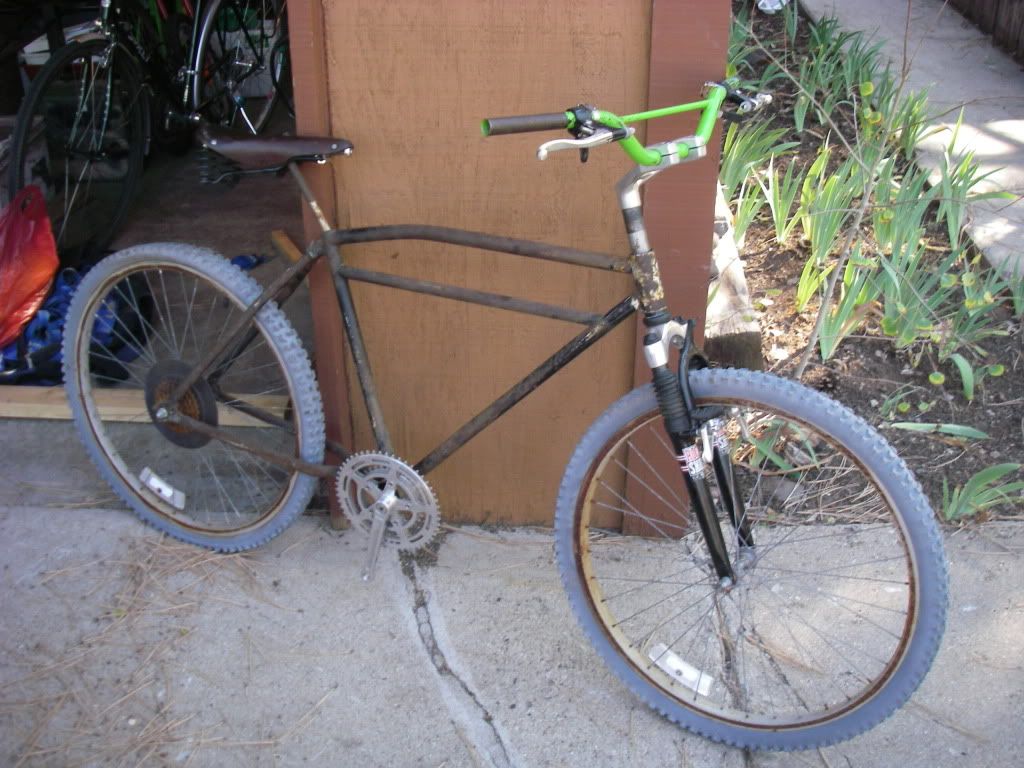
I've been slowly picking up parts here and there for a klunker build and I finally got enough together that it's time for this build to step up out of the dream pile. I'm doing a mix of vintage and oldschool parts on this build because (A) I can't afford to buy the parts to build it the way they did in marin (B) because there are plenty of other really cool oldschool parts available it would be a shame to leave them gathering dust.
IMGP6110.jpg

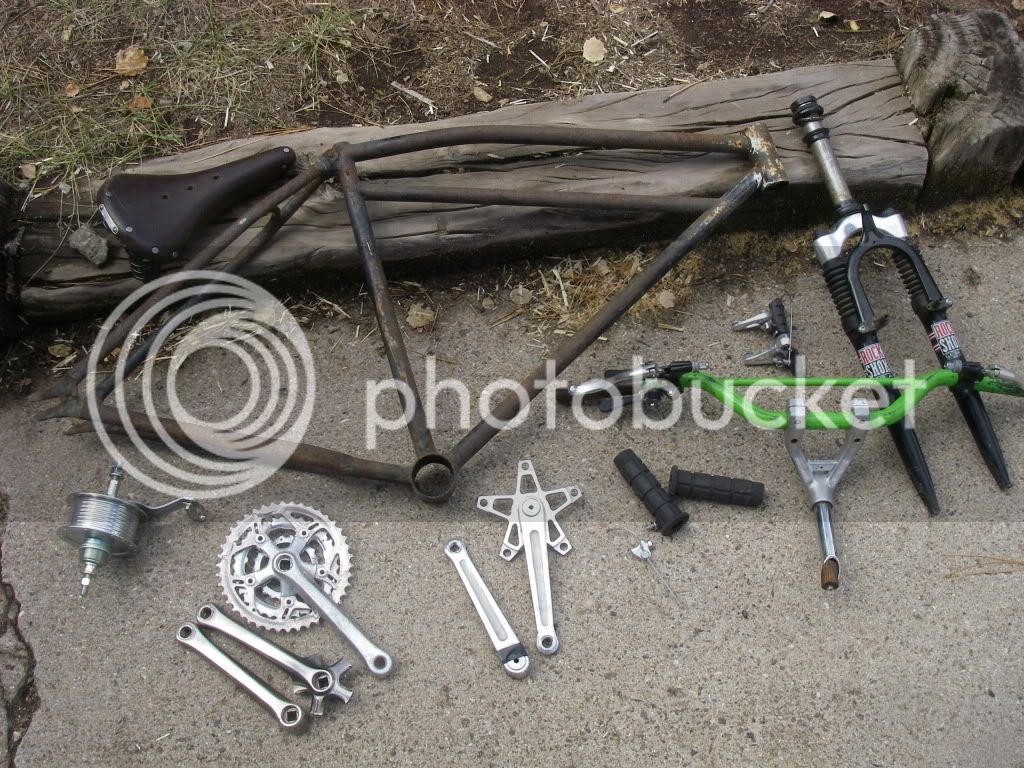
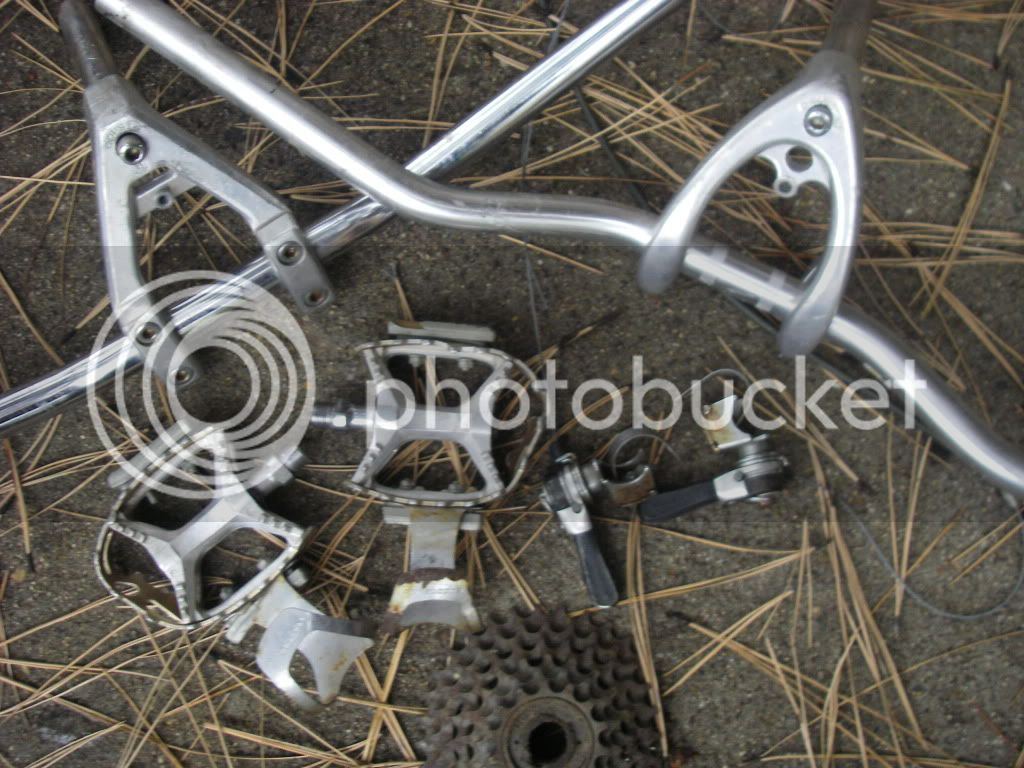
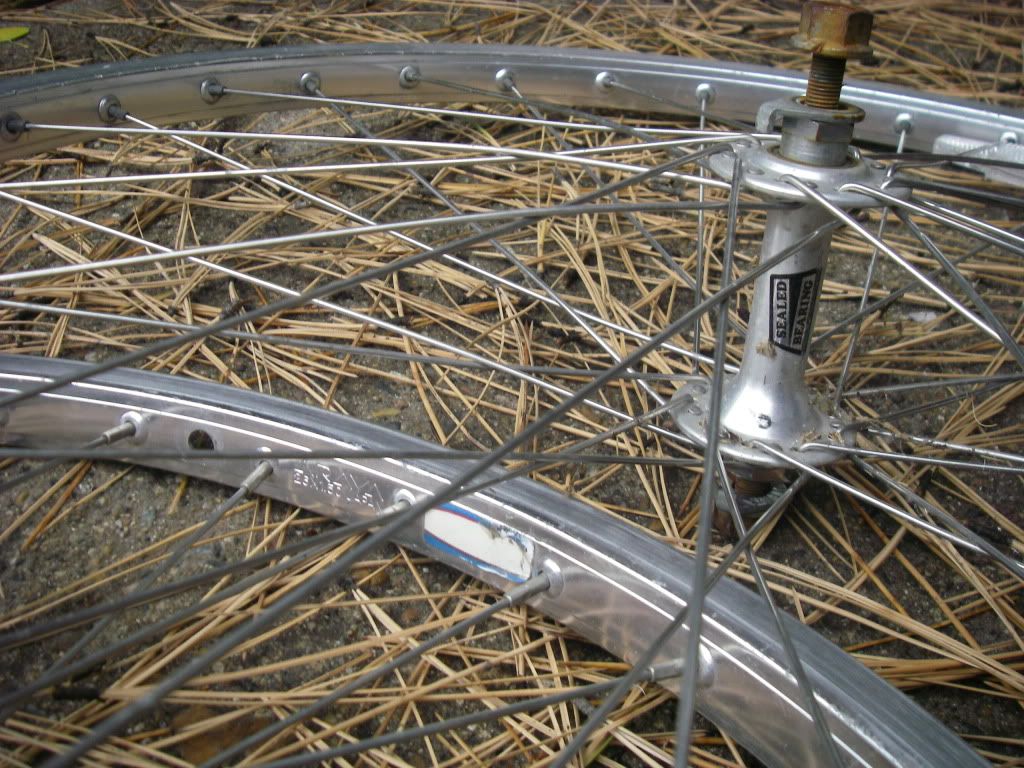
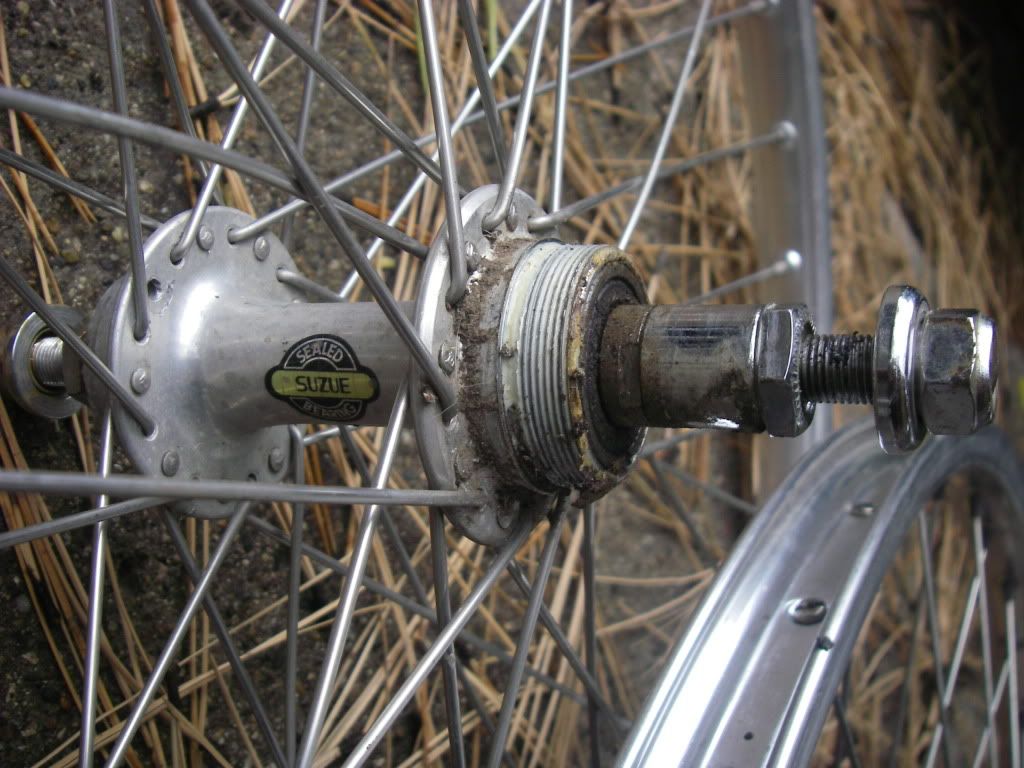
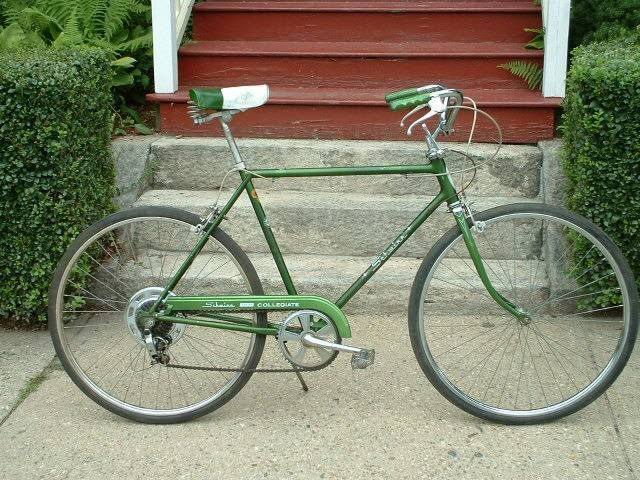
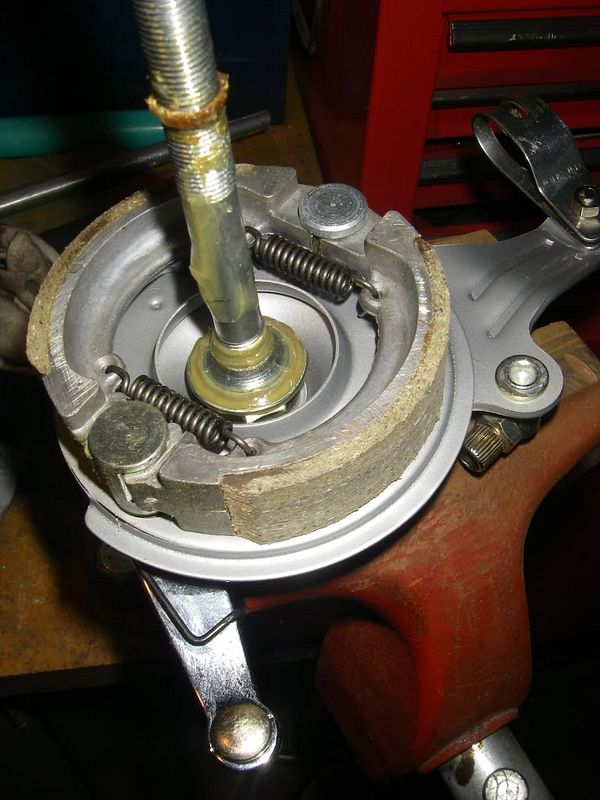
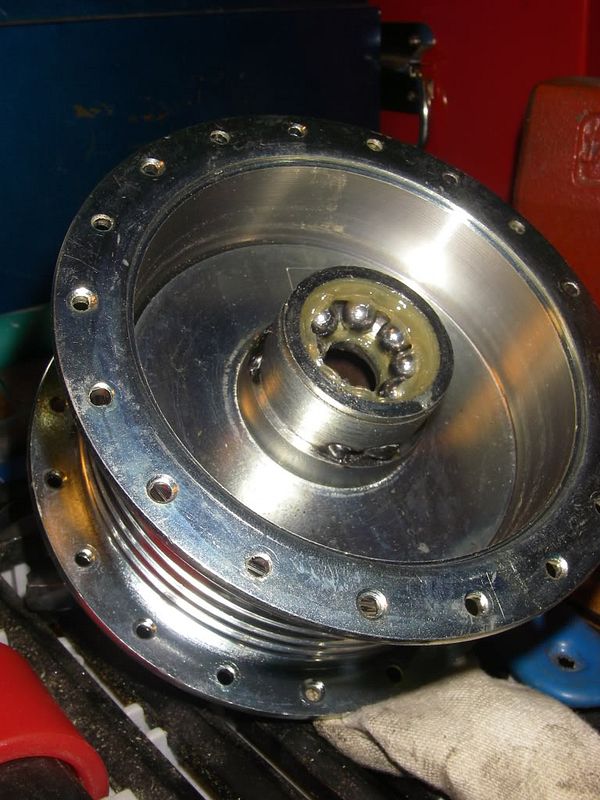
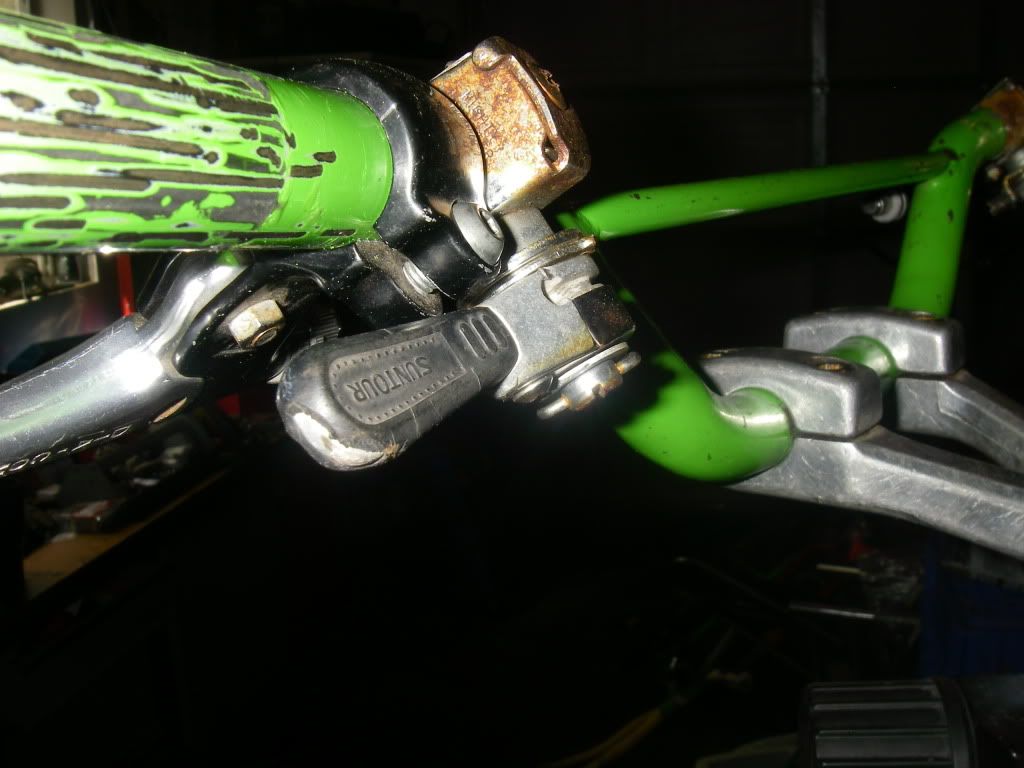
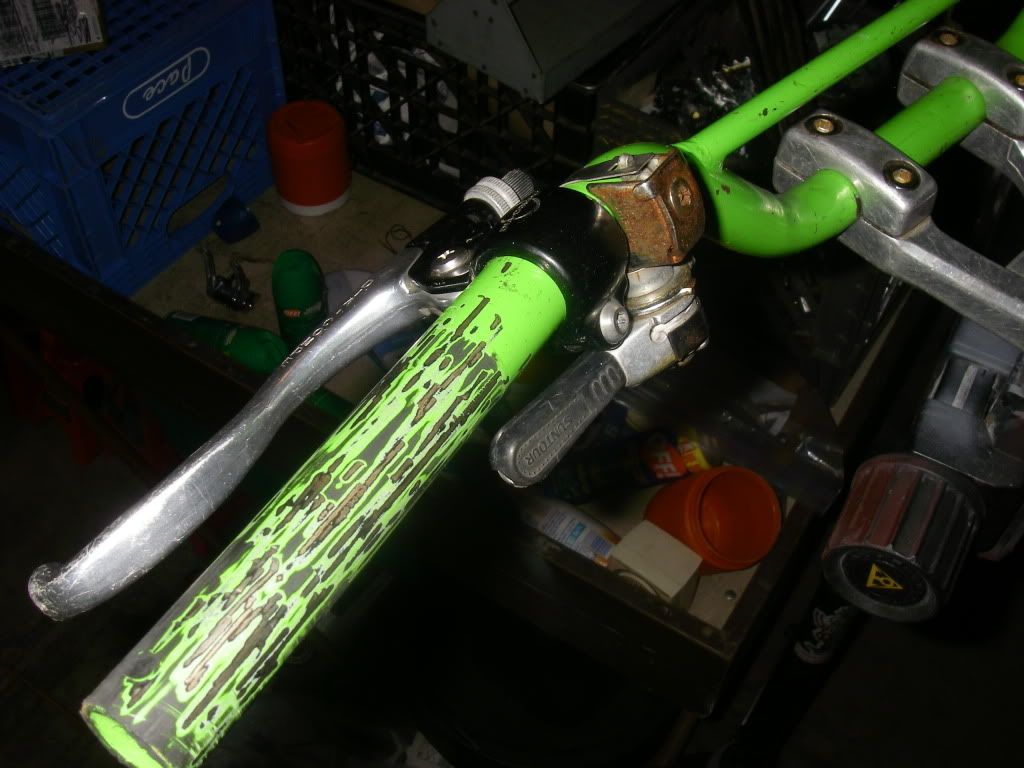
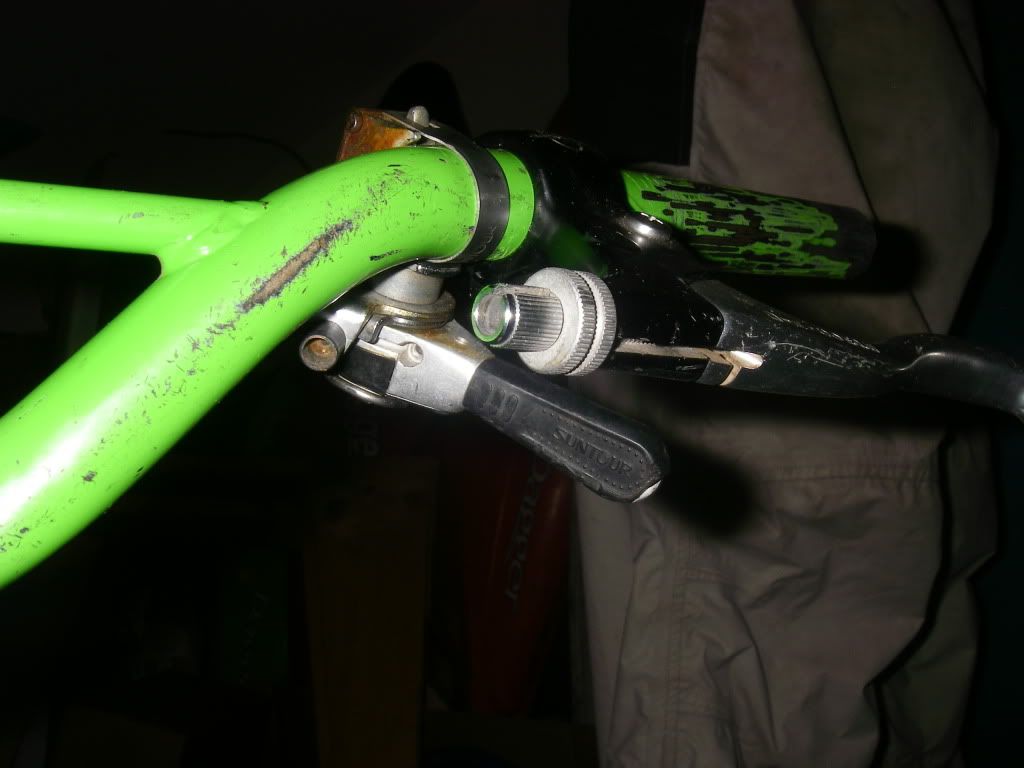
Here's the parts pile so far... Frame I got on ebay in bad enough condition I don't mind not restoring it. Seller said they thought it was an Elgin but I have no way of knowing. Brooks Champion Flyer Arai Drum Brake rear hub SR split stem and Dia Compe brake levers Cranks both StrongLight and shimano Motorcross Bars (free) Fork (Leftover) Grips (trash can) Canti Brakes (free)
IMGP6111.jpg

IMGP6112.jpg

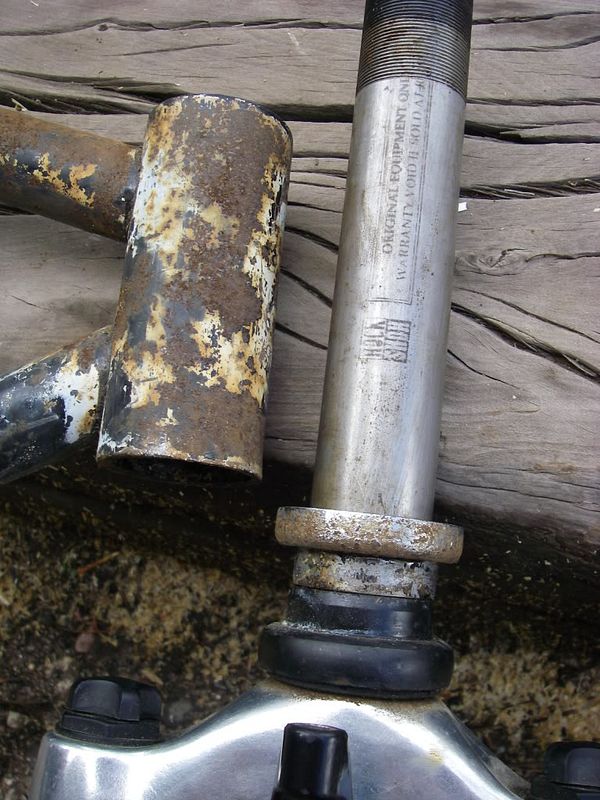
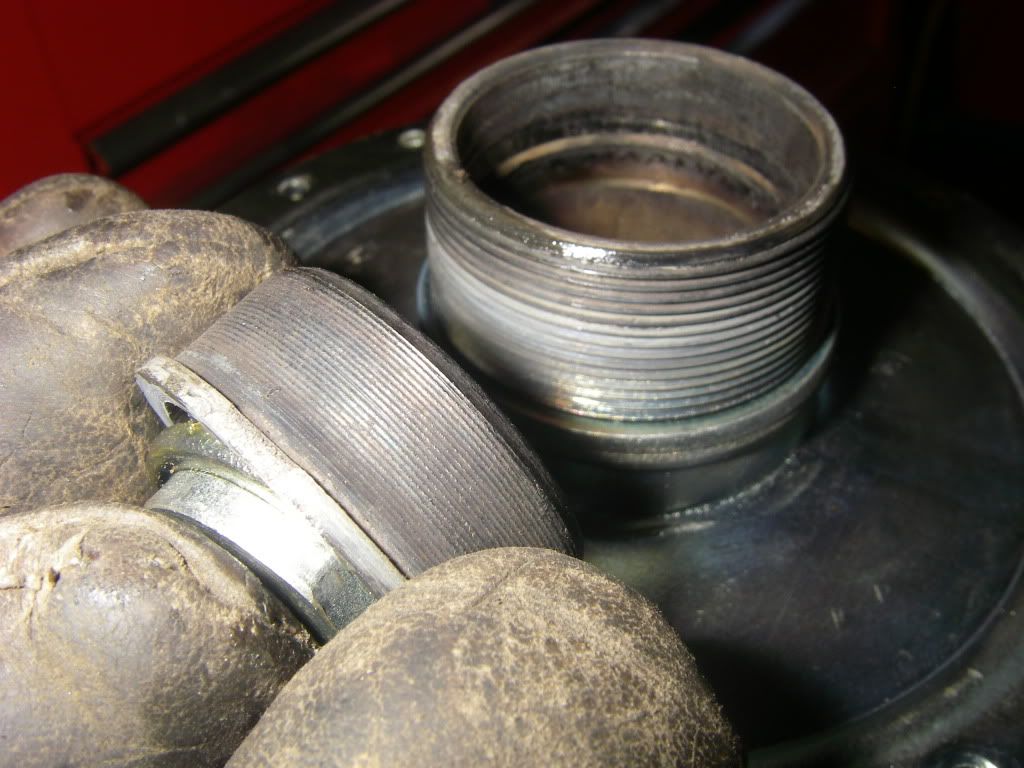
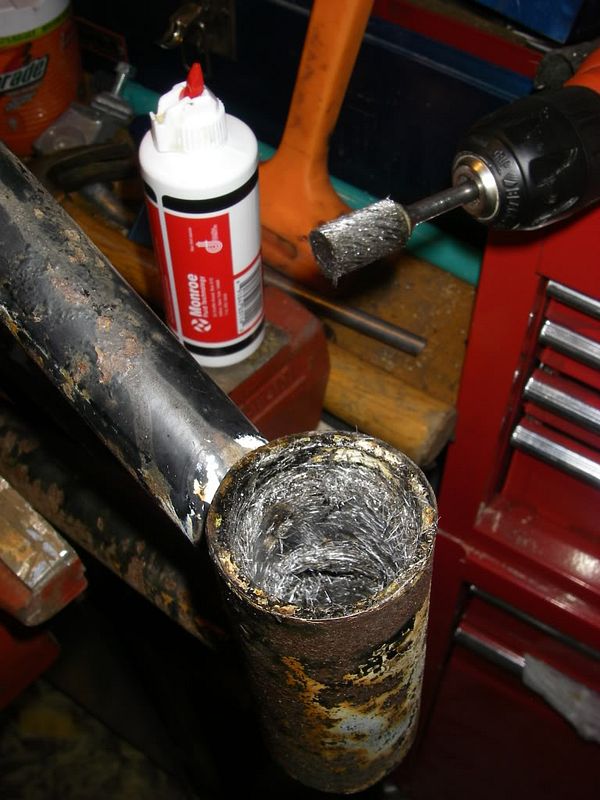
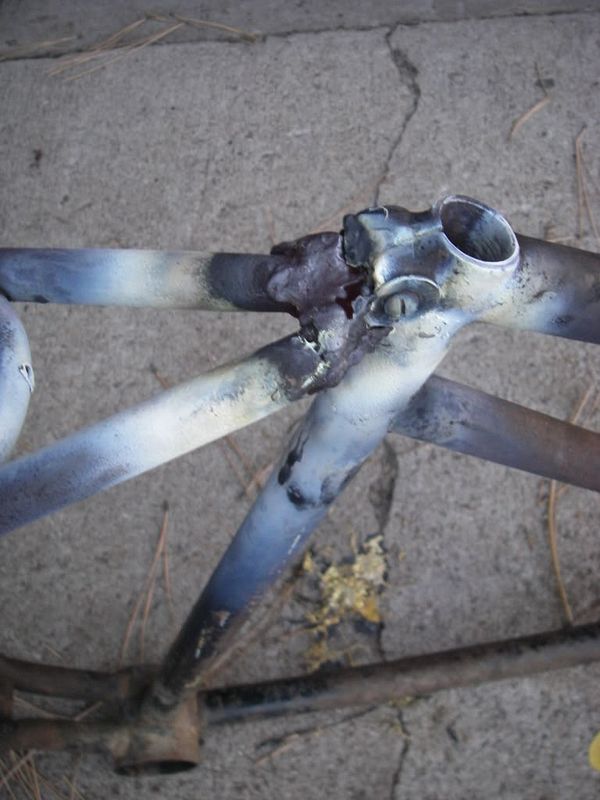
The head tube on this frame is really big! To a look at a 1 & 1/8" threaded rockshox I had around and the bearing cups are almost the same size! Anyone ever machined out an old headtube to accept a 1 & 1/8" fork? I'm going to have the frame sandblasted then take it over to a machine shop and see what they can do.
IMGP6113.jpg

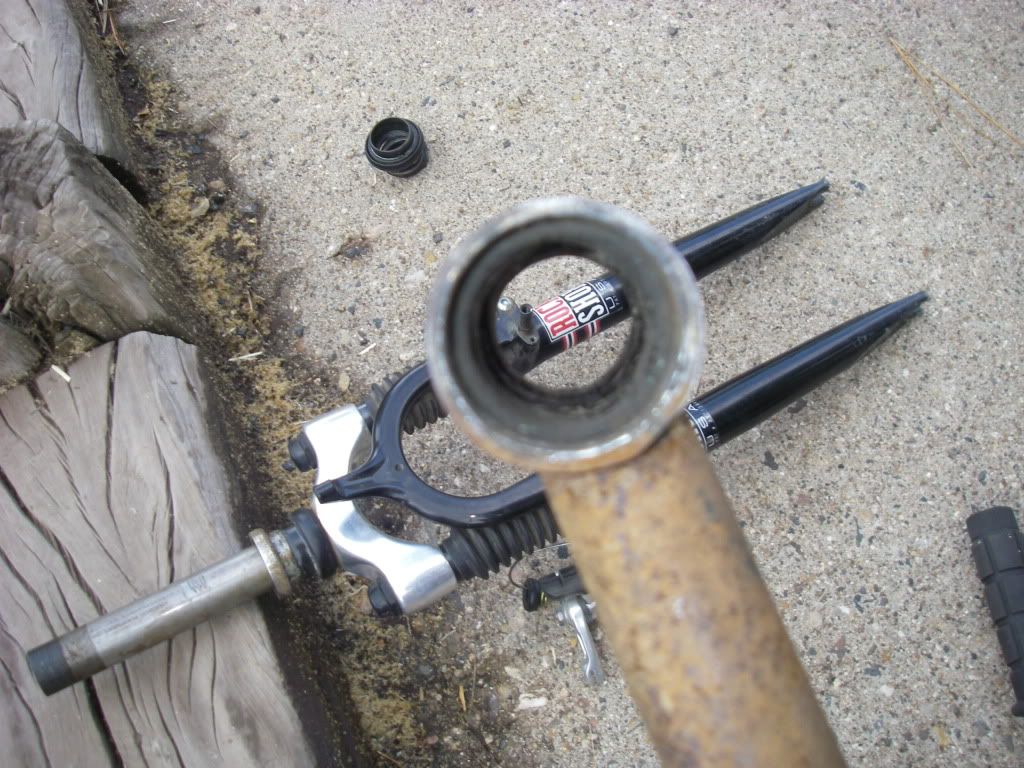
The steer tube looks to have plenty of material that 1/16" or so out of the inside shouldn't affect its strength.
IMGP6114.jpg

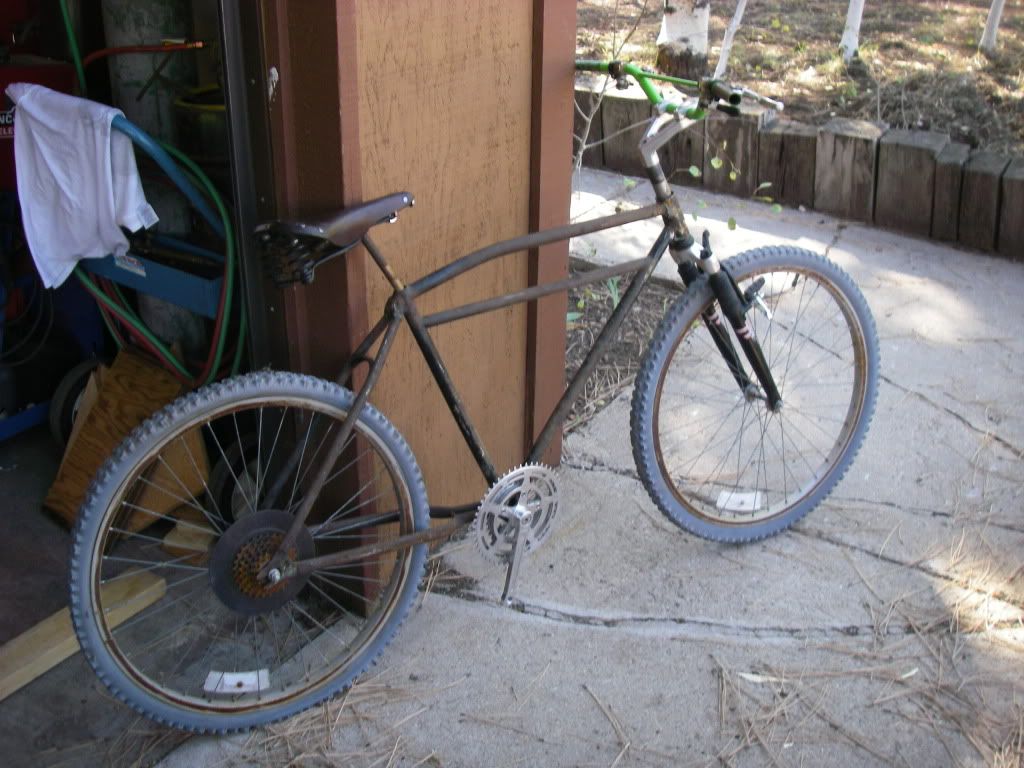
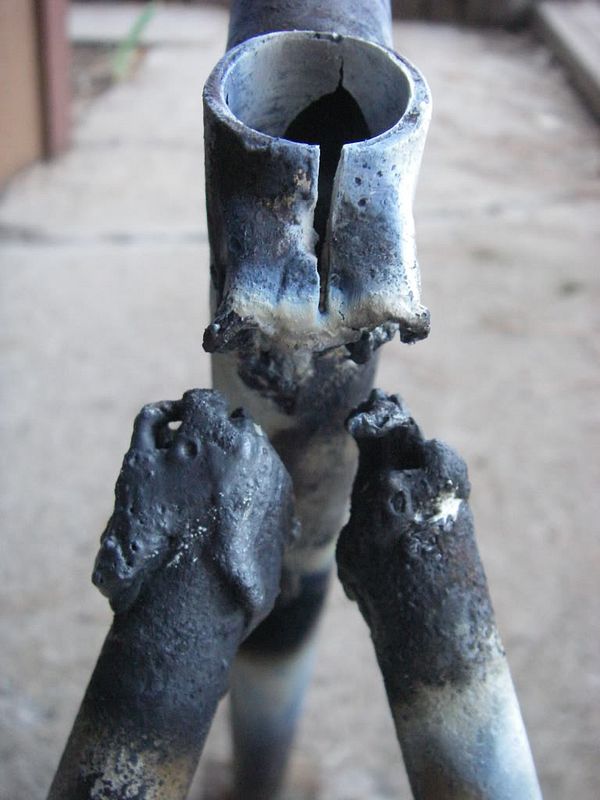
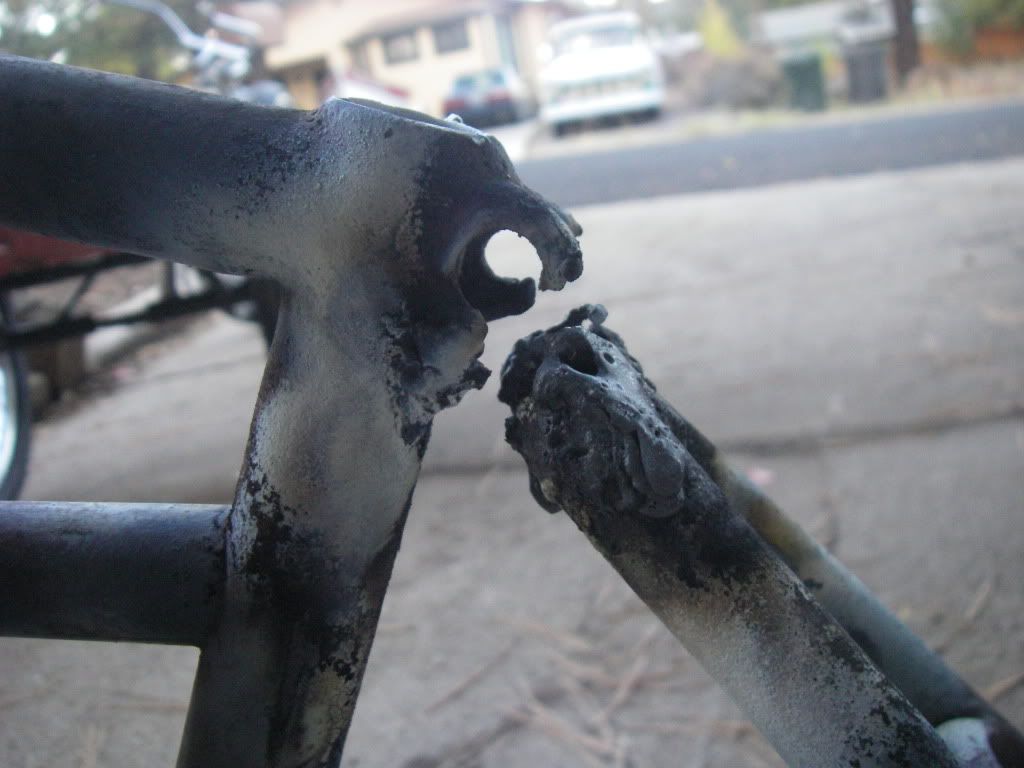
The seat stays need to be repaired but fortunately it looks like it was brazed so I'll be able to melt it off and weld it up nice and strong. May add a gussett with a bottle opener since this spot looks a little weak!
 
Nice start. Look forward to the finish. :mrgreen: Let us all know how the 1" to 1 1/8" retro-fit goes on the head/steer tube.
 
I actually was able to fit a 1-1/8th threadless fork into a Stringray frame. I just used the old cups but then used the rest of the threadless headset stuff. It worked but being how raked those forks are compared to a newer bmx fork. It made for an interesting ride. lol. That's strange that it has all that material in the headtube. I really like those Stronglite cranks. Looks like it's going to be one of those bikes Gary Fisher put together before MTB were invented.
 
Pinche said:
I really like those Stronglite cranks. Looks like it's going to be one of those bikes Gary Fisher put together before MTB were invented.

I just have to find chainrings for the stronglite cranks now :roll: But it's just like those bike Gary Fisher and the gang made back in the day. Check out this cool website run by Alan Bonds... He's still making "Clunkers" or (Klunkers) the way they used to back in the 70s. cool site and loads of good pictures and ideas.

http://clunkers.net/
 
Finding the chainrings could be difficult or expensive. Have you checked the Bold Circle Diameter (BCD)? More than likely 122.

Cool collection of parts for the build.
 
The BCD is 122 and I've found a few options online... all around $40 a ring :( 
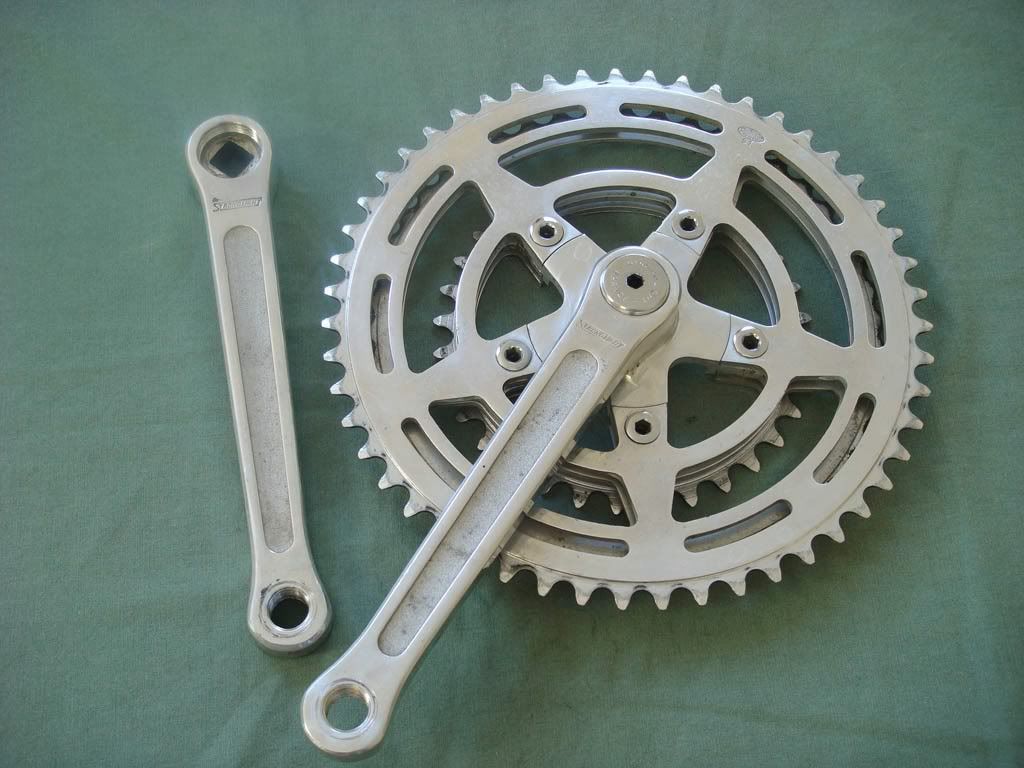
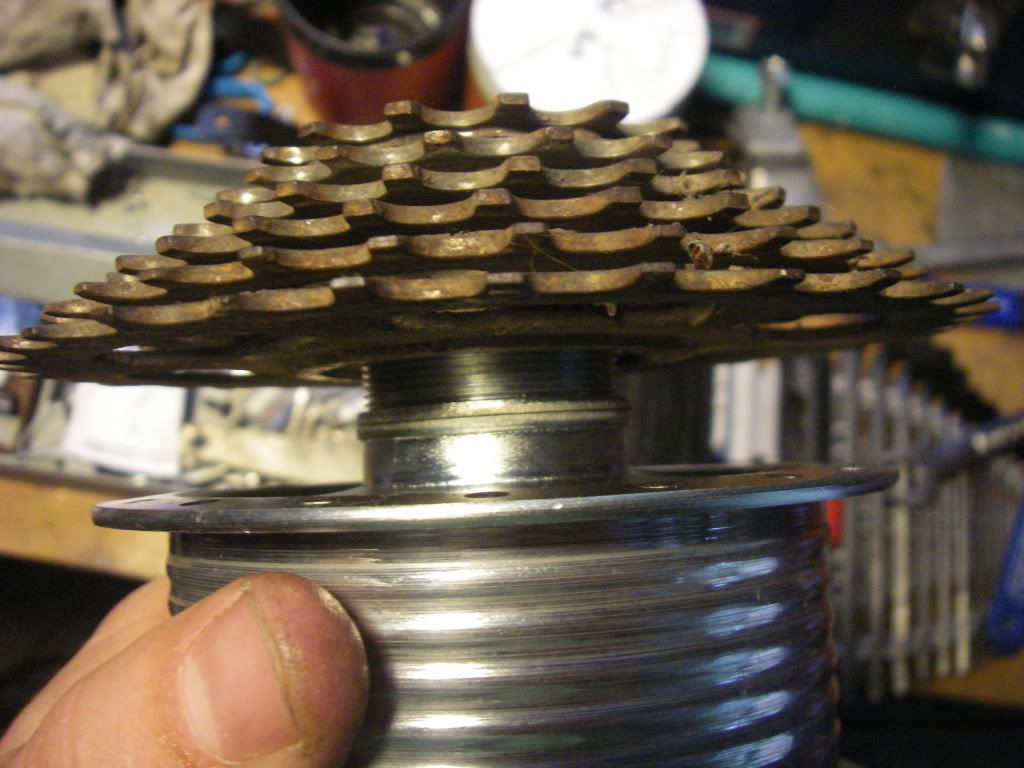
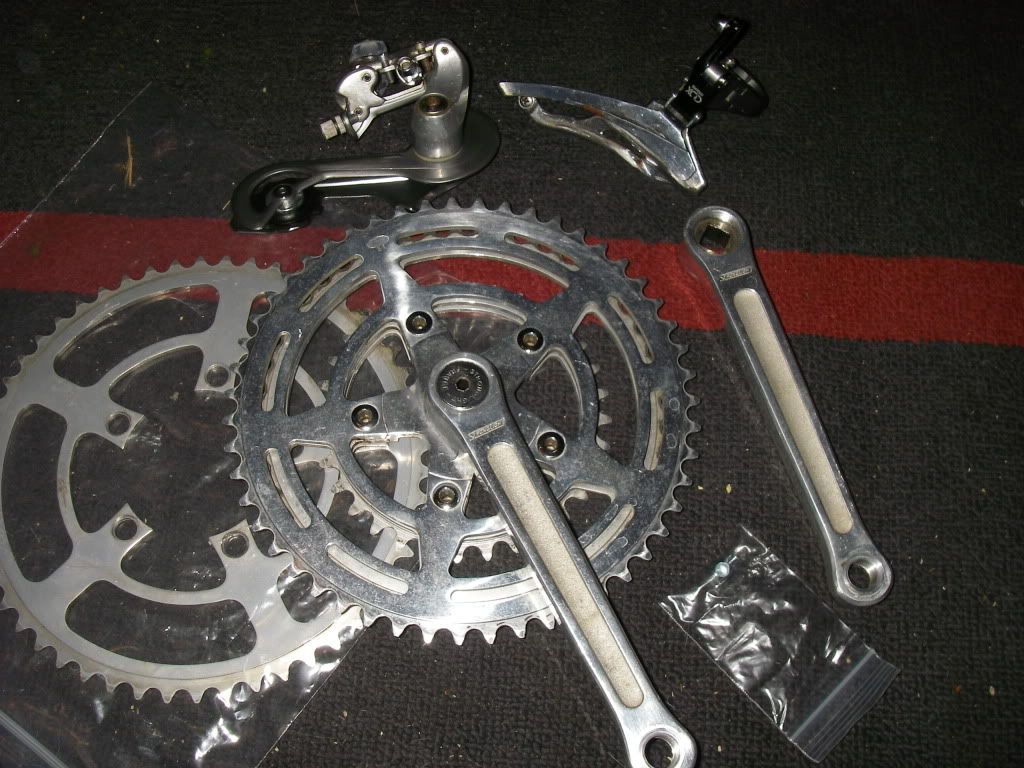
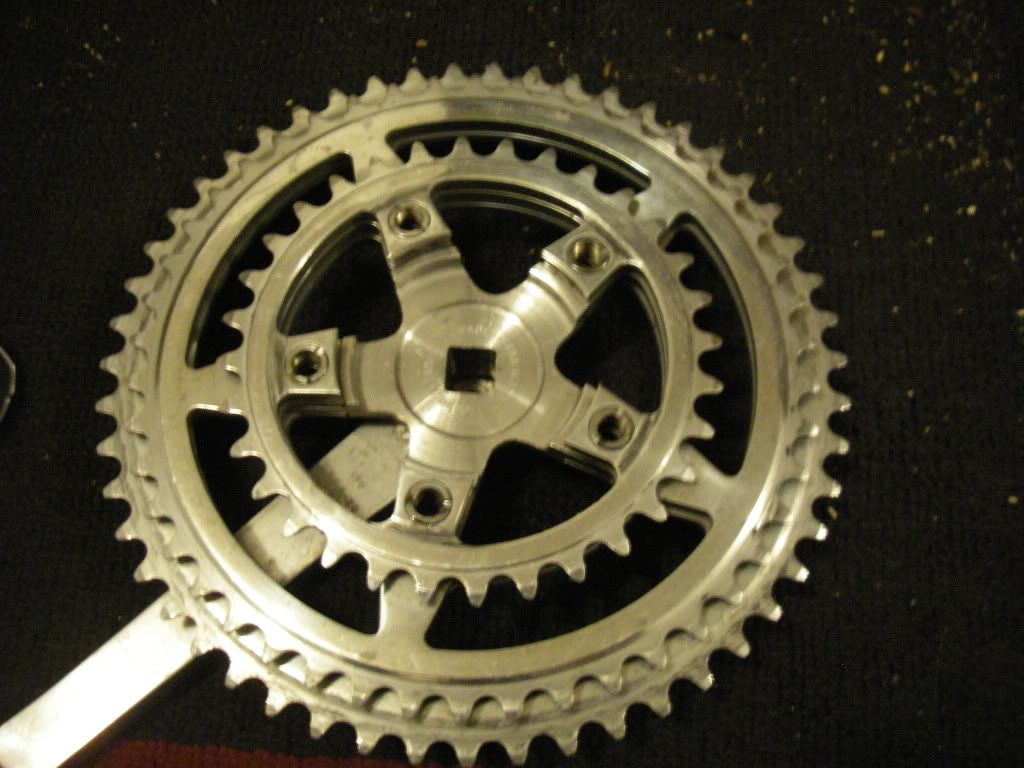
I also found some info that the taper may be different than standard so I have to get a bottom bracket to try them on. They might have to hang in the shop and wait for more funds! that or there is a road frame here locally that looks like it may be french so I might save them for that. Would really like to use a triple up front anyway. Maybe a TA triple :lol:
 
Wow! made some good parts purchases the last few days! Found an early 80s mountain bike that I bought some parts off of. Araya 7x rims front has a sealed bearing SR front hub. Some Suntour thumb shifters, old trap pedals with christophe mini clips, some more bull moose stems (I have to decide which I want to use now) and an old suntour 6 speed freewheel. Freewheel needs to be soaked and greased, front wheel needs the bearings serviced and a slight true. rear rim will get laced into the drum brake but i will try to use the original axle bolts they are pretty sweet.
IMGP6185.jpg


IMGP6186.jpg


IMGP6187.jpg


Also scored a Stronglight triple crankset on ebay so I don't have to work about the other cranks for now... just save them for another time. I did order another 52T outside chainring so I can cut off the teeth if I want a pants protector.
stronglightcranks105.jpg


I want to go a vintage color and I've always wanted one of the green schwinns... anyone have a paint code or powdercoat number that matches these old bikes? I would like to powdercoat but will paint if I need to.
collegiate5spd1.jpg


I think I should get some of these green anno DT swiss spoke nipples to match and give it a little more flash!
spokenipples.jpg
 
Ran into my first problem today mocking up some of the parts... The threads for the freewheel are too long and don't allow the freewheel to spin down very close to the hub. I took it apart to see how it was all put together and the races appear to be pressed in. This is good news because if I can press it out then I can turn down the threads to get a perfect spacing on the freewheel.
IMGP6190.jpg


IMGP6188.jpg


IMGP6189.jpg


On a postive note the thumb shifters fit on the bars perfectly and just clear the dia-compe brakes. I'm running them below for easier access.

IMGP6191.jpg


IMGP6192.jpg


IMGP6193.jpg
 
Sweet! I got the drive side race out :D Took a bit of brute force (hammer) and some heat to get it out but it's done now. I have to swing it by a machine shop tomorrow and have the threads cut down. Then it will need to be reassembled, have a spacer added under the freewheel then laced into my araya rim. It's been a good day!

IMGP6195.jpg
 
Got some of the last components in from ebay today. Stronglight 99 cranks and suntour XC deraileurs. Now if I could only find the time to work on the frame I could put this bike together!!!
IMGP6313.jpg


IMGP6314.jpg


IMGP6315.jpg


IMGP6317.jpg


Monday I'm going to order the spokes for my rear wheel and the green anno DT Swiss nipples so I can build the wheels up.
 
I'm using a YST bottom bracket. It's not the really nice one that is adjustable. it uses the normal races and bearings but has "sealed" covers. It's just to get it going. If I can find the true sealed bearing version I'll swap it out. I'm also thinking about the conversion that bolts through the american bottom bracket and allows you to thread in new cartridge bottom brackets.

http://store.citygrounds.com/store/prod ... rsion-Kit/
 
Finally got some time to do some work on the headtube. It wasn't too hard to get it cut out. I got a $40 tool to help out so that may have made a big difference. A little more detail work and I can have a LBS face the races for 1 1/8 cups. I may fillet braze the top and down tubes at the headtube just to reinforce the joint...

IMGP6319.jpg


a quick mock-up because I couldn't resist seeing it with the rockshox in place!

IMGP6320.jpg


IMGP6321.jpg
 
Finally I'm starting to get some work on this frame started! this weekend I hope to do some sandblasting so then I'll really be cookin'. I did get the chance this afternoon to melt most of the brass out of the seat stay joint at the seat clamp. lots of it in there but now it's eyeballed back into place. do a little more cleanup of the brass and I can start welding this back together. The first picture is a reminder of the mess I started with.

IMGP6114.jpg


starting to melt away the brass.
IMGP6361.jpg


it's not pretty but at least it's straight!
IMGP6363.jpg


I'll pull it back up to the seat clamp after I finish cleaning up the brass.
IMGP6362.jpg
 

Latest posts

Back
Top