TOOLS FOR BIKE BUILDERS

Rat Rod Bikes Bicycle Forum

Help Support Rat Rod Bikes Bicycle Forum:

This site may earn a commission from merchant affiliate links, including eBay, Amazon, and others.
IMG_2861.jpg

IMG_2894.jpg

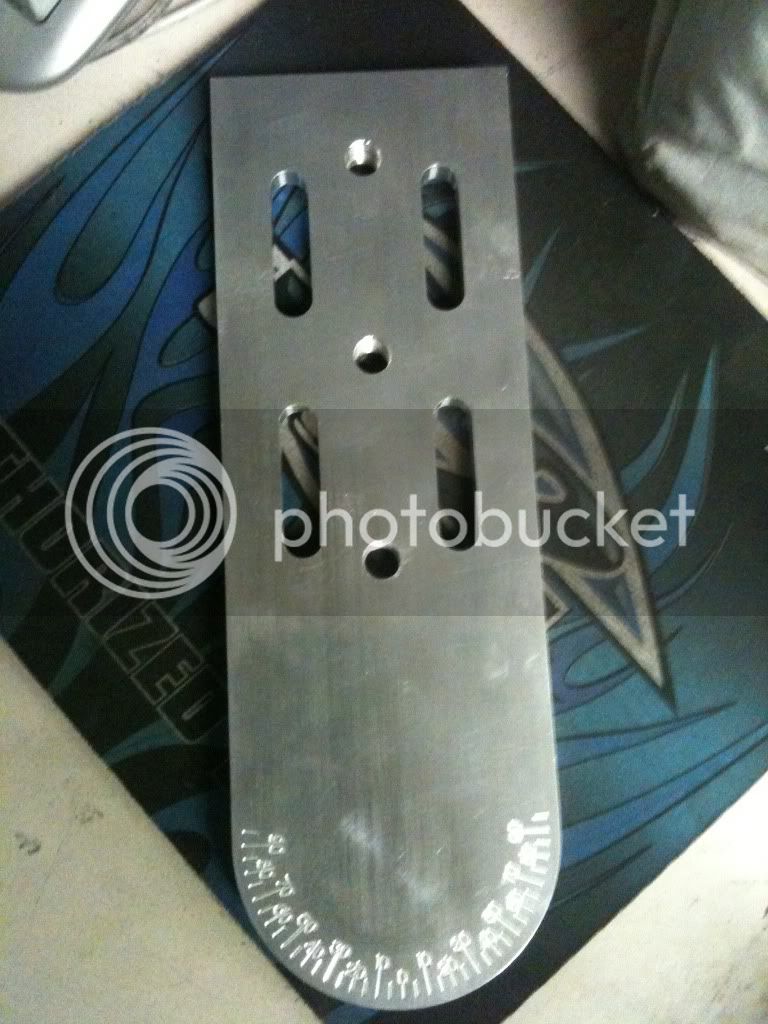
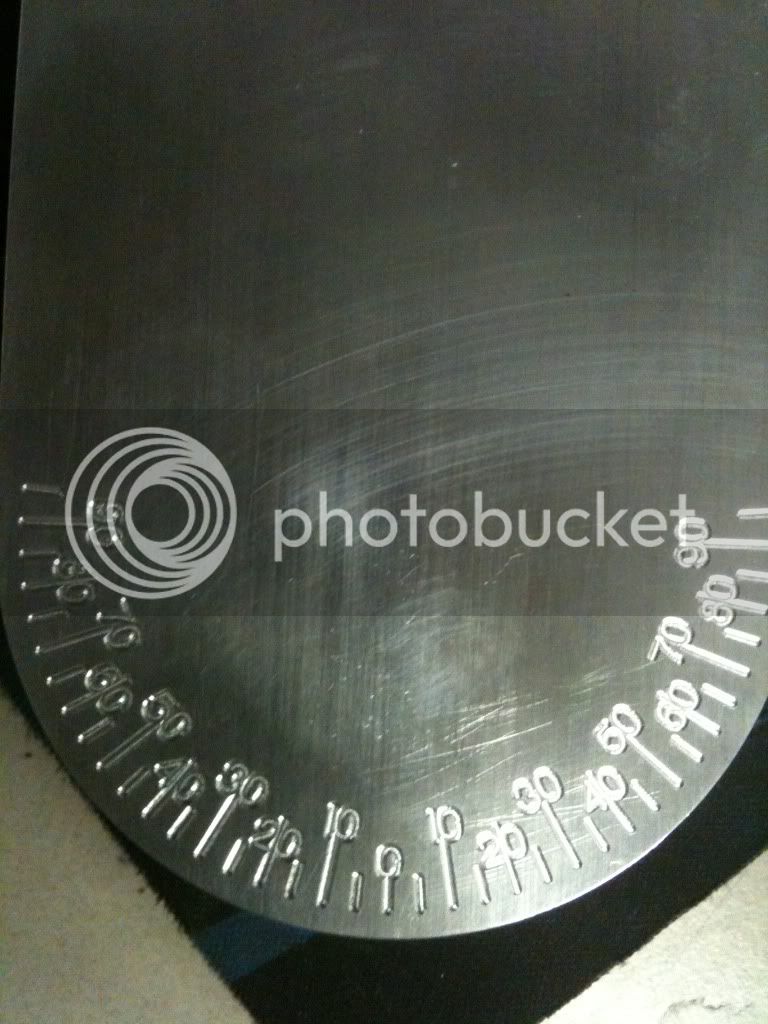
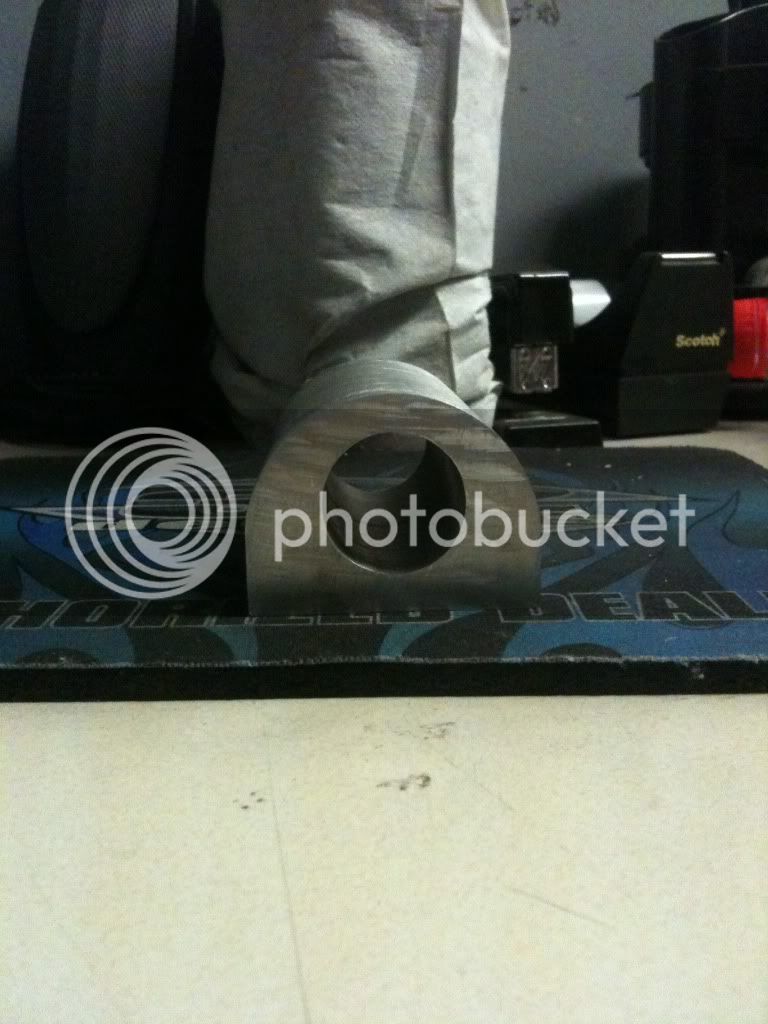
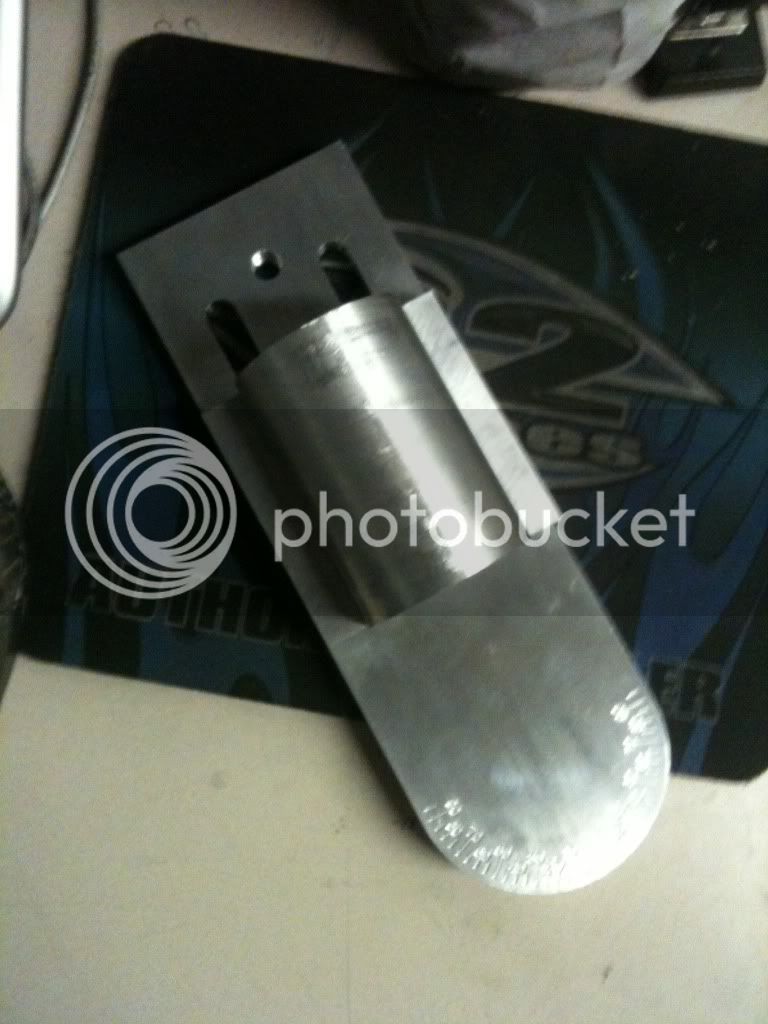
polishing the chanel
IMG_2895.jpg
IMG_2896.jpg
IMG_2897.jpg
IMG_2898.jpg
IMG_2899.jpg
IMG_2900.jpg
IMG_2901.jpg
IMG_2902.jpg
IMG_2903.jpg
IMG_2904.jpg
IMG_2905.jpg

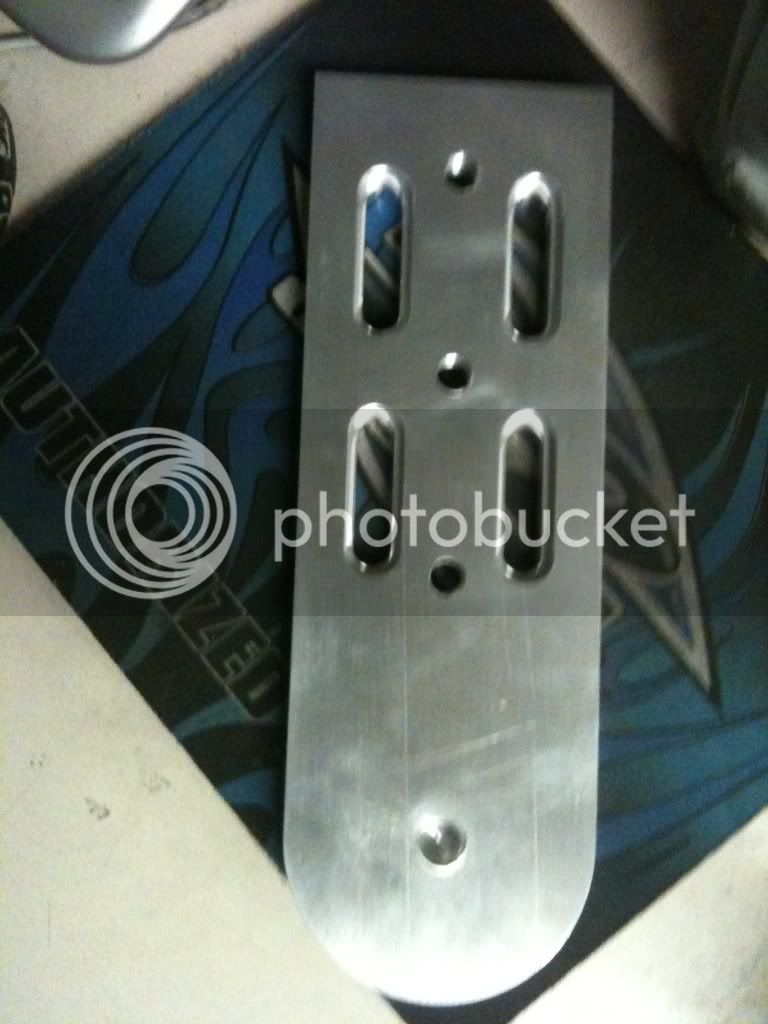
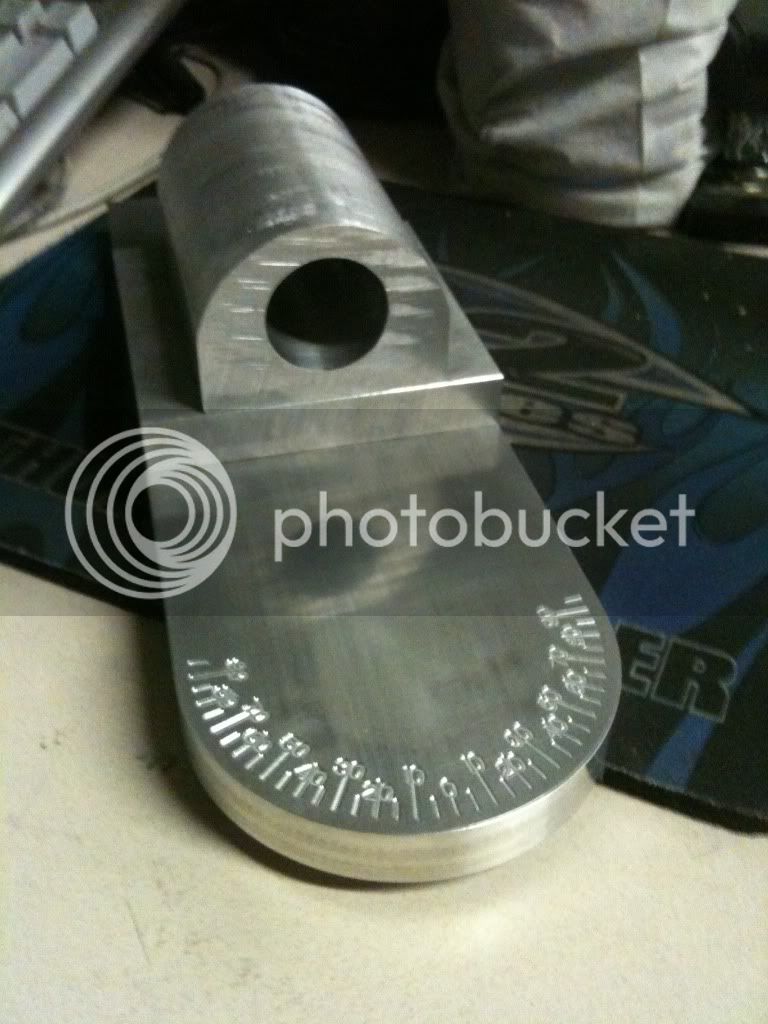
and this it is the final product
IMG_2906.jpg
IMG_2907.jpg
IMG_2909.jpg
IMG_2911.jpg
IMG_2912.jpg

I hope you guys enjoy my work and you like what I do hire :D 
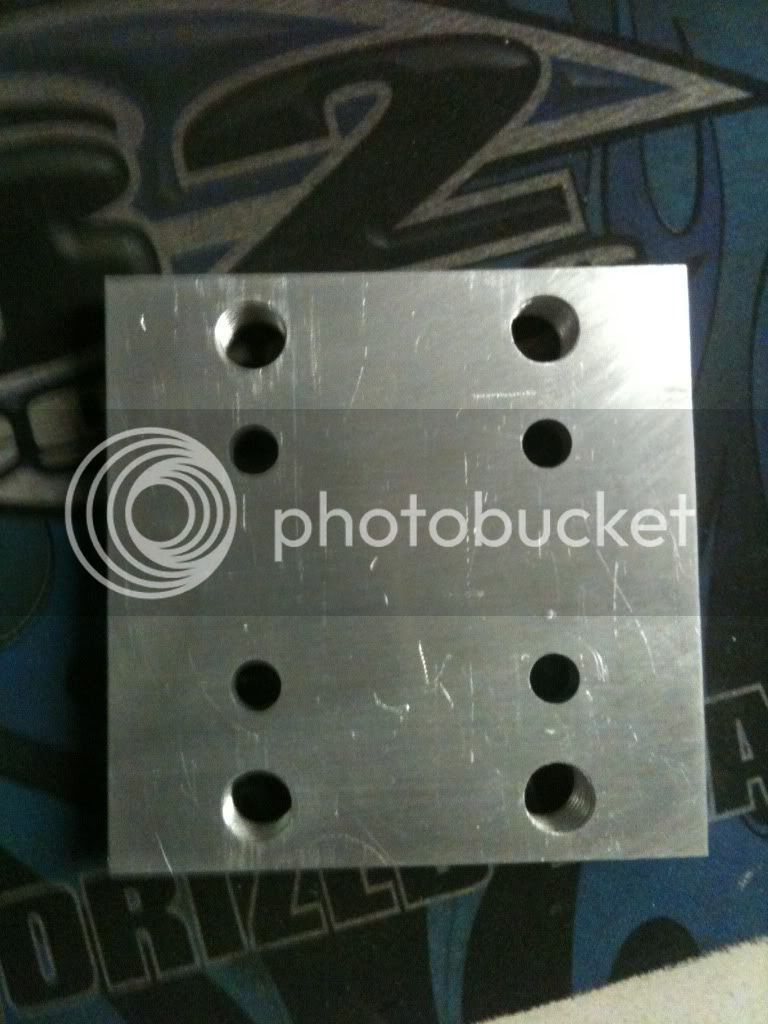
it is come more picture with tork arms for my other bikes .
I will start to buildthem next week :D :wink:
 
hello guys today I have picture with pipe cut with my notcher .I build my self a home made water cooling with a mini pool pump and a shower handel :D
IMG_2974.jpg
IMG_2975.jpg
IMG_2976.jpg
IMG_2977.jpg
IMG_2978.jpg

the cutter will have a long life because the teeth of it never become hot an lose the power
IMG_2979.jpg
IMG_2980.jpg
IMG_2981.jpg
IMG_2982.jpg
IMG_2983.jpg
IMG_2984.jpg
IMG_2985.jpg
IMG_2987.jpg
IMG_2988.jpg

and the pipe fit perfect
IMG_2989.jpg
IMG_2990.jpg

my notcher is working perfect and I m very very happy with it :D :D :D
maybe I will start to build some tube notchers to sell :D :lol: :?:
 
hello guys I have more pictures with new tork arms :D
IMG_3070.jpg

IMG_3071.jpg

IMG_3072.jpg

IMG_3108.jpg

IMG_3110.jpg

IMG_3112.jpg

IMG_3113.jpg

IMG_3114.jpg

IMG_3115.jpg

IMG_3116.jpg

IMG_3117.jpg

IMG_3118.jpg

I can build diferent models easy to fit in yours drops off .if you send me a picture with each side.
the picture must to be cleare and in detail :D
 
valy said:
I hope you like this one better
IMG_62741.jpg
IMG_63231.jpg
IMG_63241.jpg
IMG_63271.jpg
here is another tube notcher
Bf2FKB2kKGrHqJhoEv1z2mzUBMNvQdZgw_121.jpg


Valy, would you mind giving me some basic dimension on the two main plates?? such as leght, width ???
Thanks
 
hello hondataeh6 it is not a fix dimension you can have any dimension what you wish .
but if you like mine plates they are 200mm x 70,5mm x 15mm and 240mm x 60mm x 12mm :D
sorry I wos late with ansure.
 
valy said:
hello hondataeh6 it is not a fix dimension you can have any dimension what you wish .
but if you like mine plates they are 200mm x 70,5mm x 15mm and 240mm x 60mm x 12mm :D
sorry I wos late with ansure.


what about the cutter shaft, can you post more picture on it??

Thanks
 
hello guys
X-RAY do you talk aboute my mini pool pump what I use for water cooling
I use the pump for the notcher and for drillind and milling machine
sorry but I dont understund what is a parts washer I m very bad in english :oops: :oops:
you can translate for me in pictures or drawing please.
 
hello honda you can go back to the pictures I have some there but if you want some details tell me what you want and I will took some pictures for you with wich details you wish to see :) take a picture of the shaft and draw in paint some arows with direction of the detail you want to see :) kindly Valy
 
hello guys
some guys want to know what I use for polish aluminiun or steinless steel
here I have some tools what I use now for the moment
when I will have a garage I will build one automatic for polishing pipes in one go. :)
IMG_3213.jpg

polish machine for cars with variable rotation
IMG_3212.jpg

IMG_3214.jpg

and a bosch grender
IMG_3215.jpg

first time I use sand paper brush from 60,80,120 to take away the welding ecses
IMG_3216.jpg

second time I use sand paper brush 120 and after 350
IMG_3217.jpg

IMG_3218.jpg

and the last I use the wool disk or textil material disk.with polish paste. red or brown is for steinless steel and wite paste for aluminium
IMG_3219.jpg

IMG_3202.jpg
 
hello guys
here I have some picture with polish steps,
IMG_3160.jpg

this cost 300 sw kr
IMG_3192.jpg

after 120 sand paper brush
IMG_3194.jpg

after 350 sand paper brush
IMG_3195.jpg

after wool disk and paste
IMG_3198.jpg

IMG_3196.jpg

IMG_3197.jpg
:) :)
you can see more polishing work when I build the aluminium tork arm in a page 3 of this topic :) :)come more picture later :)
kindly Valy
 
Valy, I would like to see picture on how you attached the quick change chuck to the shaft. I got started on mine yesterday. I knocked out the drilling shaft base, I will post pictures on my progress on monday...
 
Heres some pictures of the parts i got done last friday and today...

Main cutter Block...
75775219.jpg

8c63d268.jpg

The back of the main cutter block...
4c784a29.jpg

Shaft Guide adapter block
acce1ae5.jpg

Back of the shaft guide adapter...
063915c1.jpg

Cutter Shaft Guide. I still need to ream this for the bearings... I could have left this as a rectangle but i wanted try some surface milling...
f18bf18b.jpg

b24a3223.jpg

6ceefc6a.jpg

This is how i will attach the actual cutter guide block to the adapter, these are threaded holes...
486333ca.jpg

Shaft guide and adapter bolted together...
99bd86c5.jpg

62f7fb75.jpg

7e4f559c.jpg

All tree parts together...
15184ff7.jpg

a2a3d81c.jpg


Im still waiting on some parts... but I will update when I get some more parts done...
 
hello hondataeg6 you did a very good job there :shock: looks like original one :)
you will have sow mutch fun with it :D :D :D Im very impressed :roll: continue puting more picture
Valy
 
Thanks for the compliments. i just hope it works just as the original :lol:. Those pictures are just what i needed thanks, know i just have to wait for the precision shaft, and a couple bearing to get here.
 
You have shown us a very good set of materials you need for your bike. They seem to be very durable especially the steels. Welding will do an important role in the fixing of garage things like this.
 
hello guys
because I dont have a lathe [yet :D ] I have to build a tool to cut my drops off with my press drill :idea:
IMG_3529.jpg

IMG_3530.jpg

IMG_3531.jpg

IMG_3532.jpg

IMG_3533.jpg

IMG_3534.jpg

I will use lathe cutters but you can use and others :idea:
IMG_3535.jpg

IMG_3536.jpg

IMG_3537.jpg

IMG_3538.jpg

you can use one or 2 cutters in and out
IMG_3539.jpg

IMG_3540.jpg

IMG_3541.jpg

IMG_3542.jpg

next days I will show you guys how this cutter works :D :idea:
 
Back
Top