The Wagon Queen Family Truckster

Rat Rod Bikes Bicycle Forum

Help Support Rat Rod Bikes Bicycle Forum:

This site may earn a commission from merchant affiliate links, including eBay, Amazon, and others.
Joined
Aug 18, 2010
Messages
528
Reaction score
10
Location
S.C.
Rating - 100%
1   0   0
When I was building Brown Sugar for the buildoff, there was a discussion as to whether or not I should keep the wood grain decal that was on the Montgomery Ward chain guard that I used. The wood grain was removed but a really good bad idea was planted in my head by a couple of fellow ratters....
wagonqueen.jpg


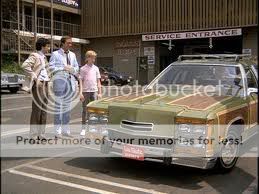
I immediately began a search for an affordable tandem to match the vision (hallucination?) that popped into my head. There was not a lot of luck to start with, there were a few vintage tandems around here for a decent price but they were obviously 50's or 60's bikes and that wood not do in a tribute to one of the finest custom automobiles to grace the silver screen in that golden age of mankind known as the '80s. :roll:
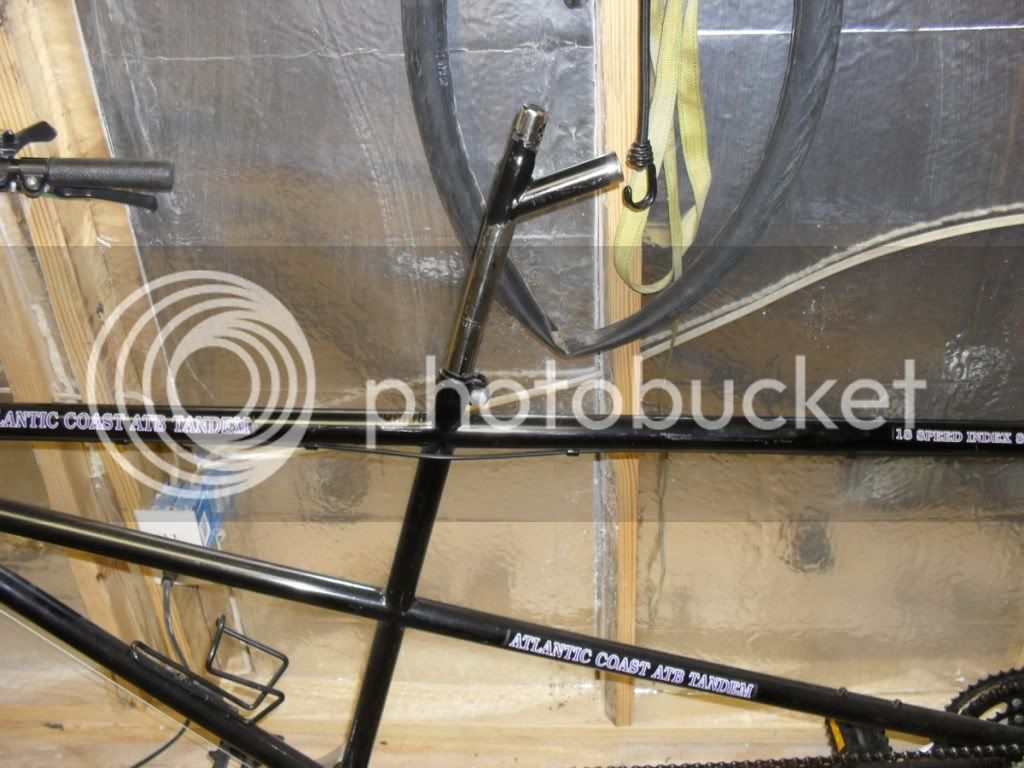
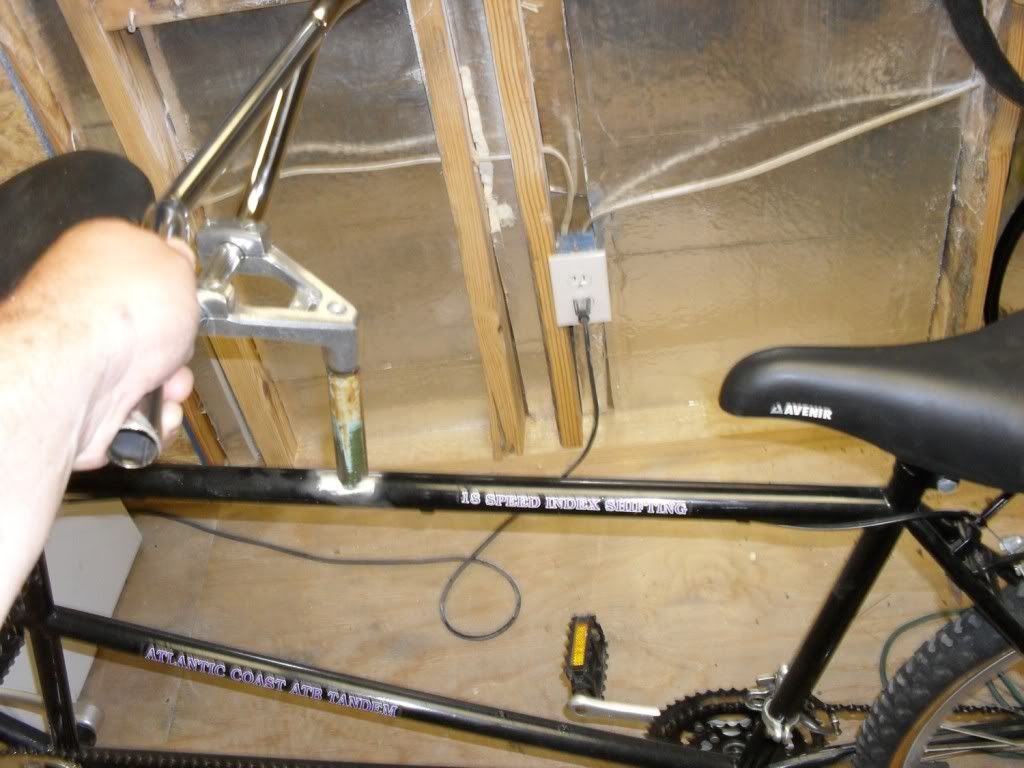
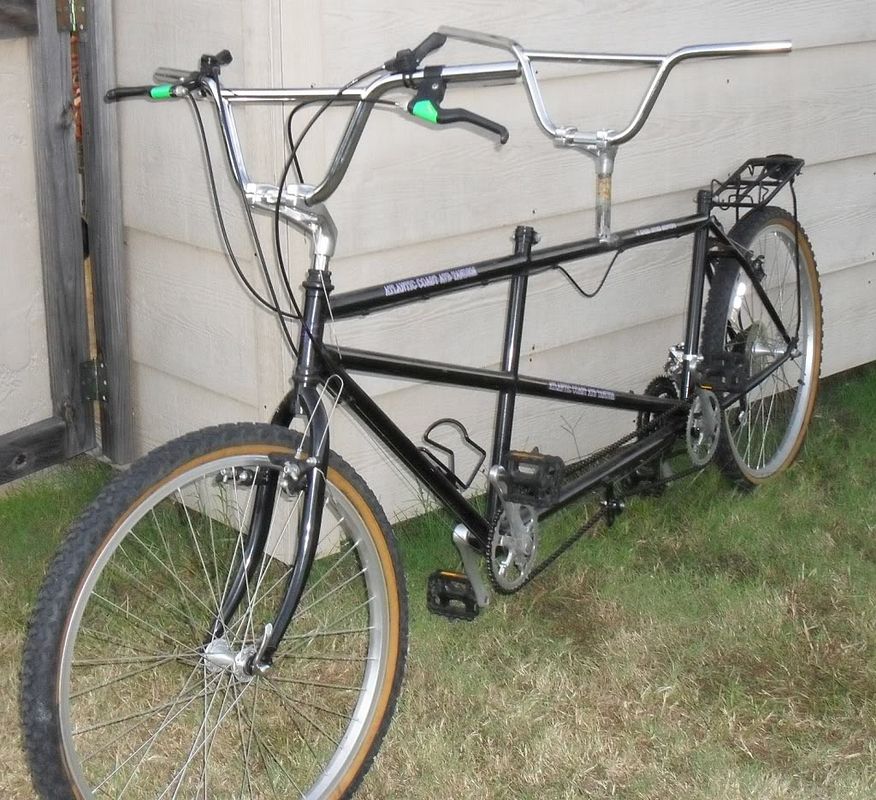
Fast forward to the 1st annual Durham N.C. Tour de Fat where I purchased a raffle ticket to benefit the Durham bike co op. Not expecting to win I left early and returned home. The next morning just before church I got the call saying that I had won the Atlantic Coast ATB tandem. :mrgreen:
74rtt3.jpg

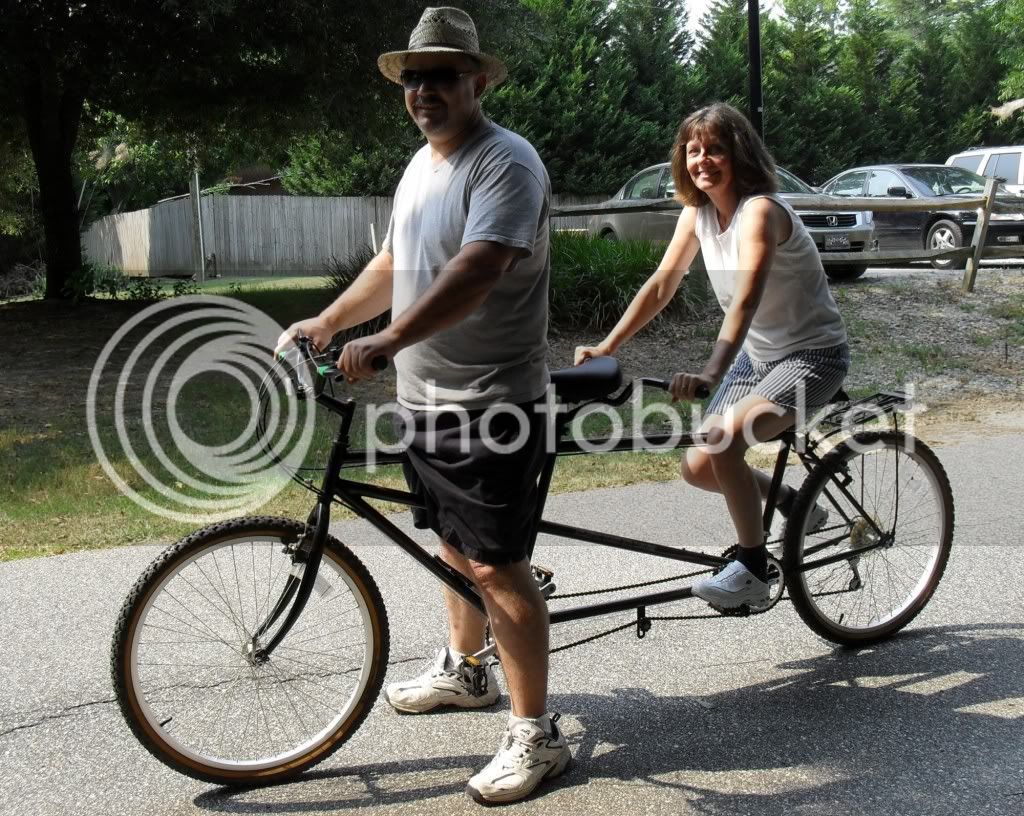
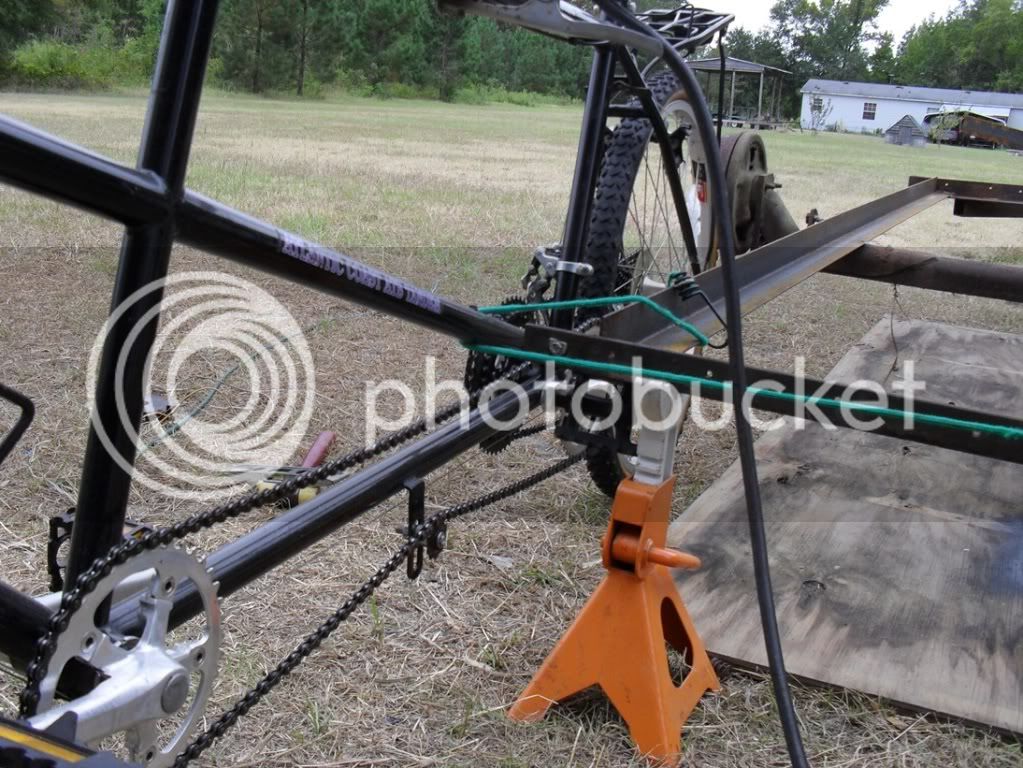
Believe it or not my wife and I actually enjoy riding this together, as long as I don't' go too fast. Even though it has mountain bike style this is not a real off road bike. It's only slightly more comfortable than your average road bike and the chain tensioner sticking straight down from the center of the frame is not only cheap looking but will hang you up on typical off road obstacles. When I get done it will be a more comfortable and stylish bike path special. :wink:
I'm not doing vintage style here thinking more along the the lines of an excess of tacky gadgets, at least 4 headlights, some bmx bars, and of course some green paint and plenty of wood grain!

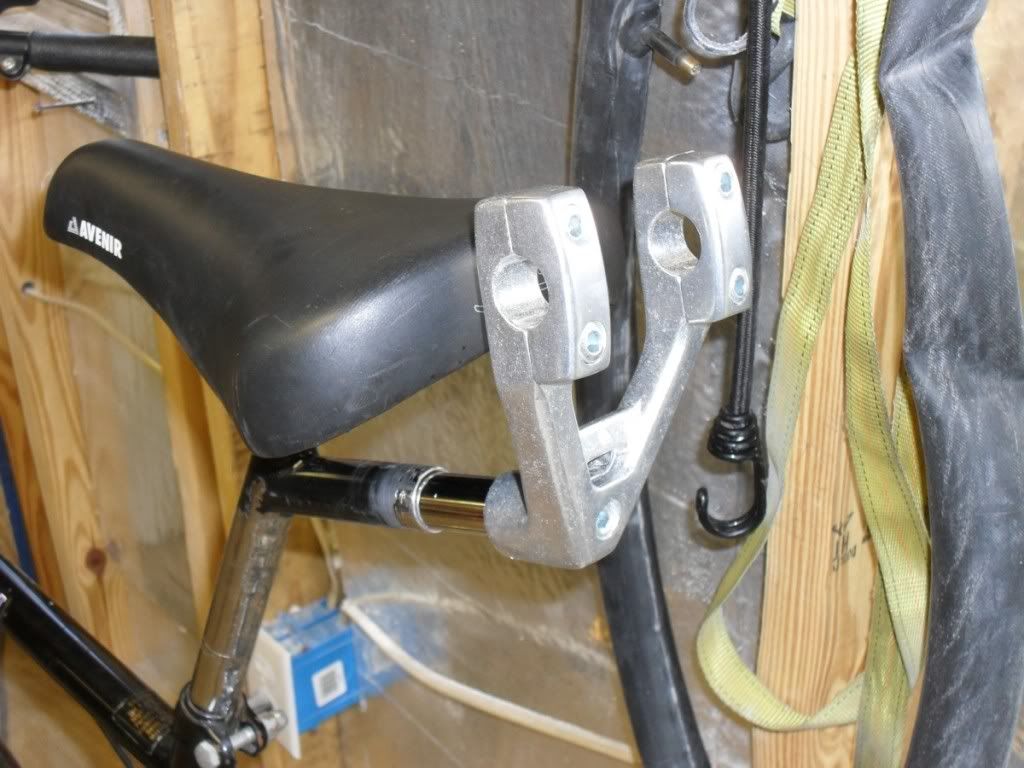
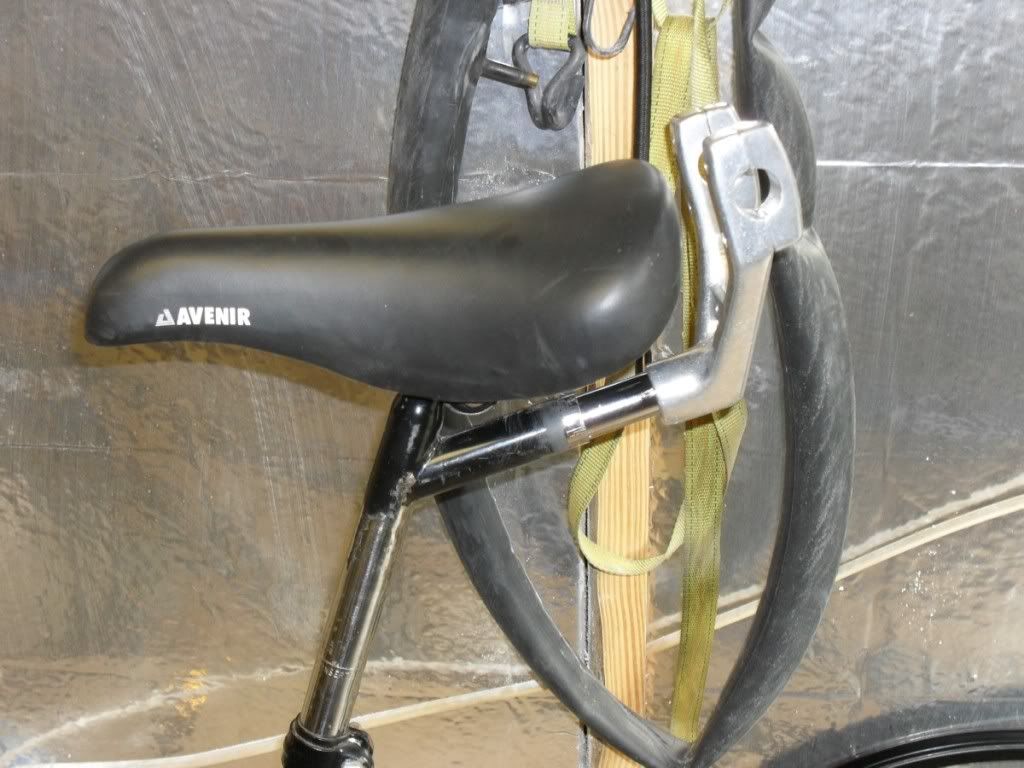
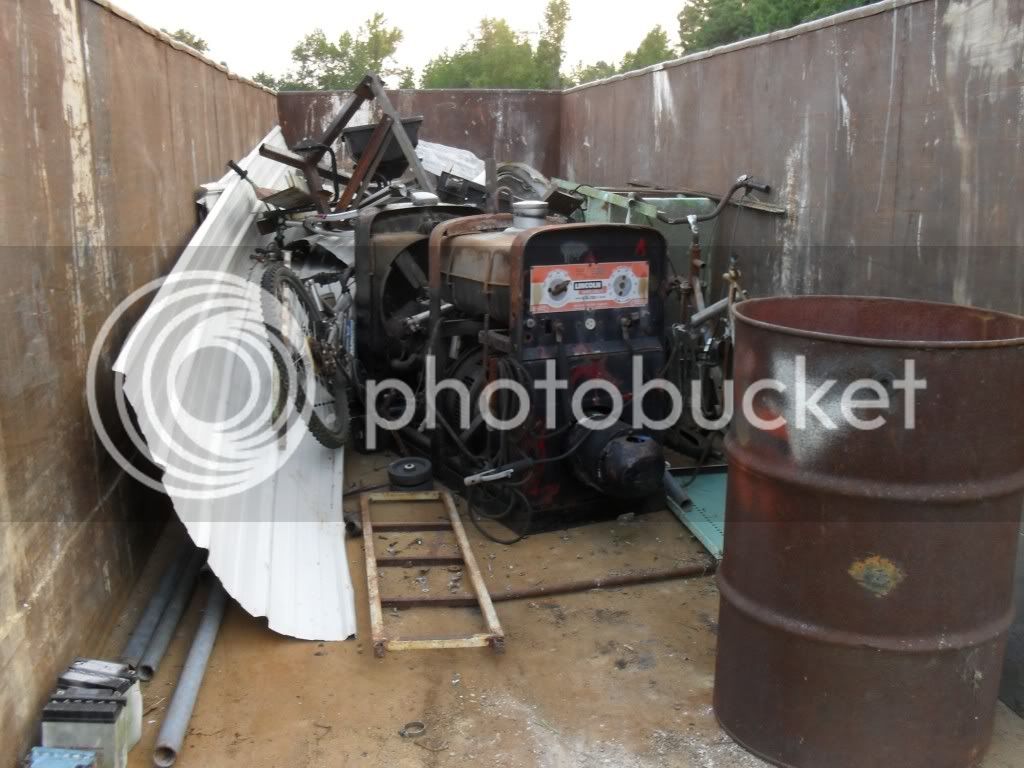
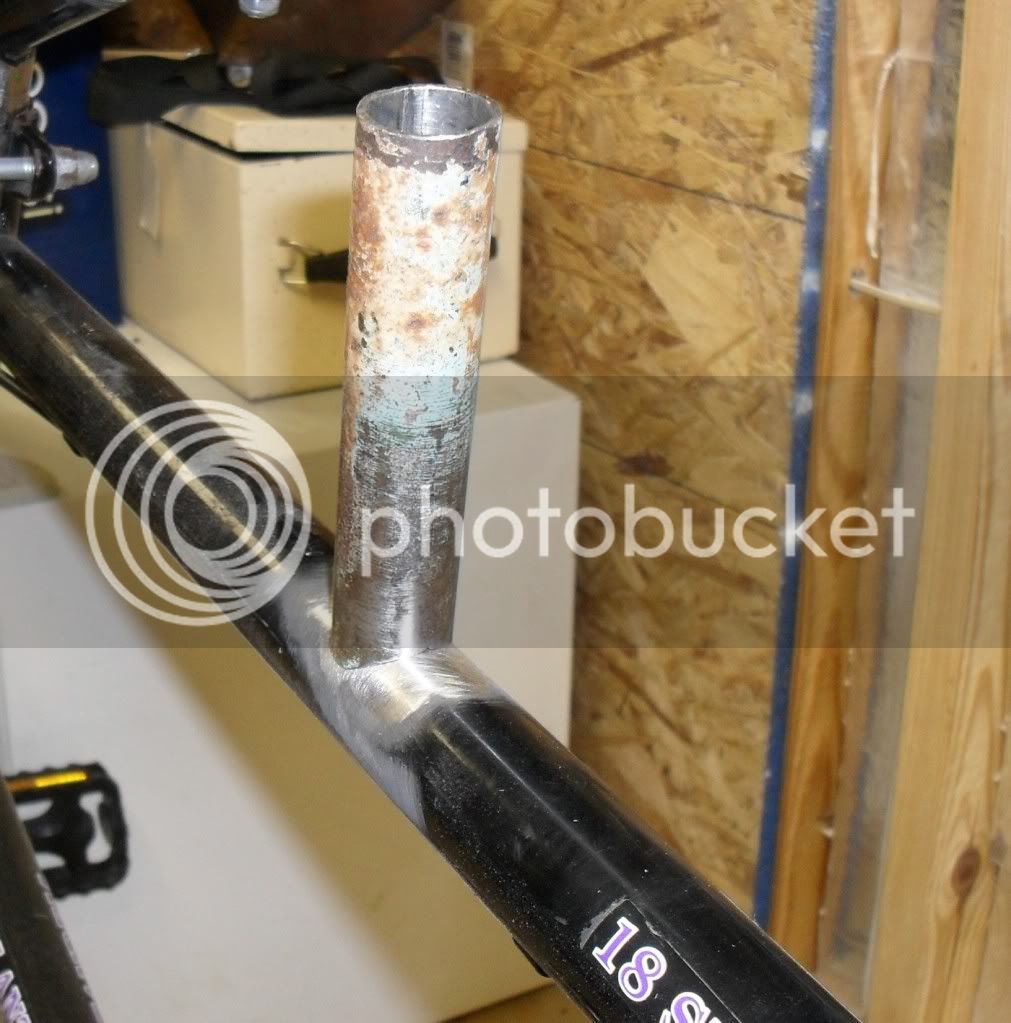
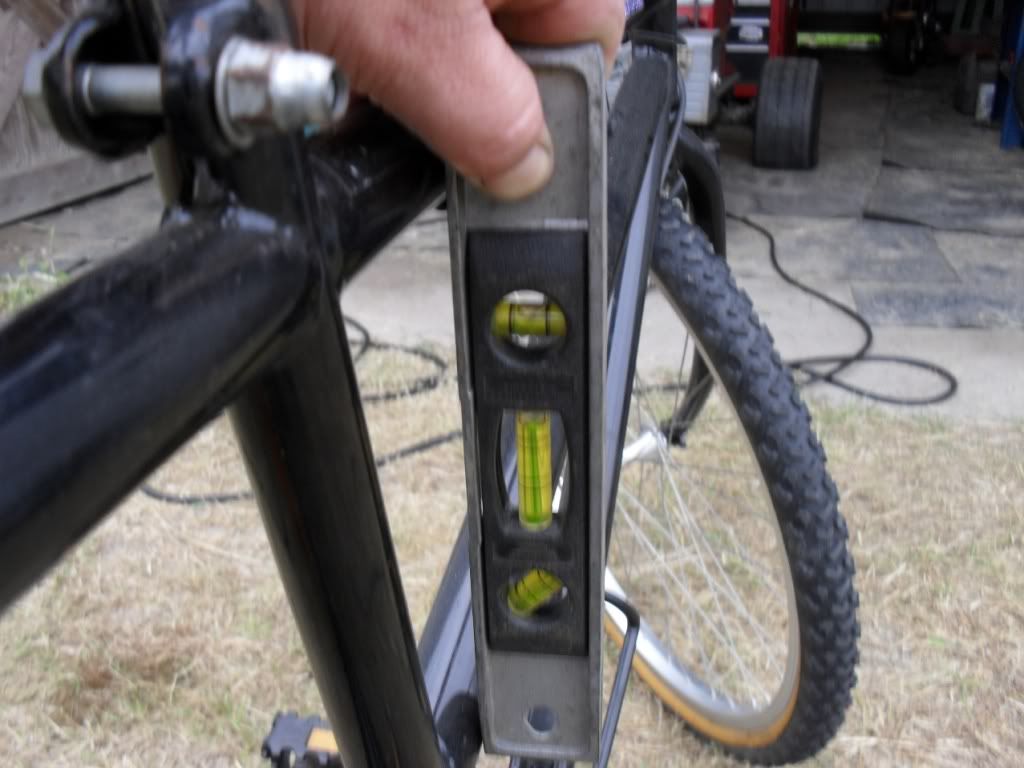
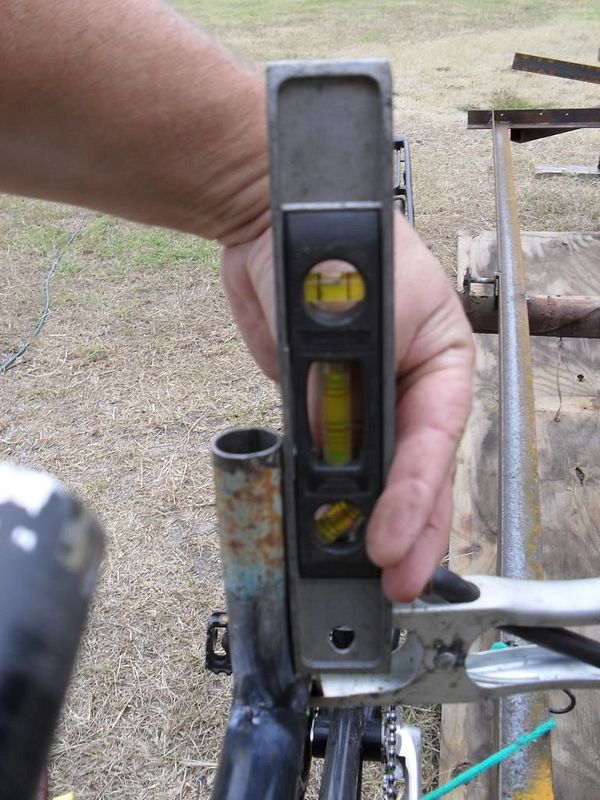
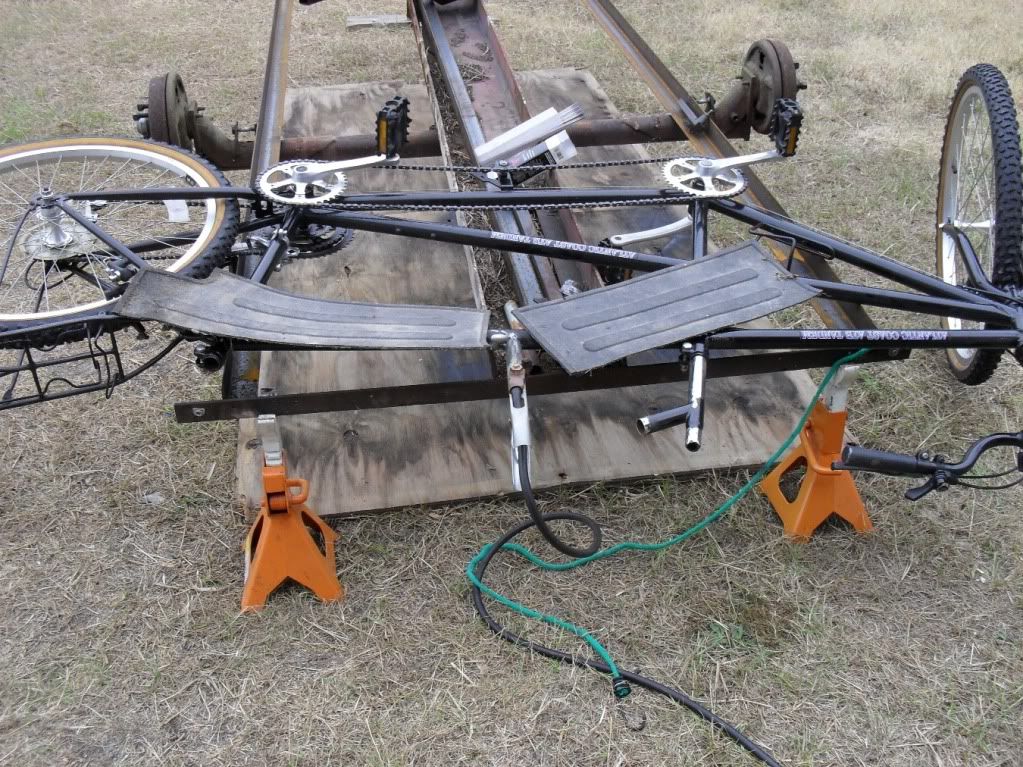
P.S. I've already started the cutting and dis-assembly, will post more pics later!

Peace Y'all
 
Are you going to have an empty dog collar and lease trail behind it?
"The sad thing is the little guy probably kept up for the first couple of miles." :p
 
Cool idea! Looking forward to this one, Clark. :roll:

"Hey, hey, easy kids. Everybody in the car. Boat leaves in two minutes... or perhaps you don't want to see the second largest ball of twine on the face of the earth, which is only four short hours away?" - Clark Griswold


Cheers,
Dr. T
 
Wonderful ideas gentlemen, now Doc you know why I thought the wood grain seat you posted was so cool. But alas it's a bmx seat intended for skinny teenagers and not for a muscle bound middle aged stud like me. :roll: The first item up for improvement on this thing is a more comfortable riding position for my stoker, So I removed the seat post/handlebar combination thingy
SDC11266.jpg

Then a tubing cutter jumped up out of my toolbox and attacked it cutting off the handlebar clamp.
SDC11265.jpg

That was a few days ago. Today my mail delivery person brought me 2 new handle bar stems that I thought were really cool so I bought a matching pair.
SDC11284.jpg


I do think that I need to extend the quill on the back of this post a little so that I have a little more room for a larger seat.
SDC11285.jpg


The rest of this weekend I'll be studying up for a job interview/competence test that I'll be taking next week in my relentless pursuit of better employment and a nicer place to live. Then hopefully I can get down to business on this bike.
Peace Y'all
 
Nice work on the rear handlebar extension. I think I have that same stem from an old trashed Columbia MTB that I stripped down for parts.
 
sumnermclain said:
watching this for sure. i love the vacation movies, you look like cousin eddie in the pic


no offense lol

:D I try not to act like him when I'm out in public :wink:
This build is temporarily semi interrupted as I am starting a new job, in a new town that is in another state, in exactly 12 days. I haven't moved since '97 and I have the most amazing stash of scrap metal and old lumber to clean up so I can sell this place. But I will get this one finished because that little lady on the back seat in the picture above will kick my big butt if I don't.
 
Good day (or night) everyone. You would think that with all I got going on that I would be better off not to work on bikes but sometimes you just have to relax a little. Before I jump into the bike build let me show you a pic of the scrap metal bin that was just removed from my workshop. This is only about 2/3 of the way full :shock:
scrapbin.jpg

My wife and I put even more stuff in it after this picture was taken.

I really needed a little break so I decided to work on this bicycle some more. When I last posted I had planned to put an extension to the handlebar stem on the seat post. Well I have decided that that just will not cut it because I would like to be able to lower the seat a little more than is possible now.. So I grabbed the tubing cutters and salvaged a little section of tubing from a bike in the dumpster. To make sure I had the right clearance I installed the largest saddle that I own in the front position and then after assembling the handlebars & stem I asked my wife to sit on the rear seat and hold the bars in exactly the position she wanted them so I could mark the frame for welding.
97111.jpg

97112.jpg

Here's a close up showing the notched stem and the paint removed from the frame. Hopefully I can sneak in a little welding this weekend.
97113.jpg
 
Between starting my new job and moving it's been a little difficult to keep up with everything I want to get done. but I did manage to squeeze in a little bicycle work this past weekend while at home packing up some more stuff.
I started out doing some upgrades to my motorcycle trailer. In SC it is not required to have lights, fenders or any other misc. stuff that has nothing to do with hauling a motorcycle so now I am overhauling a trailer I have not used in nearly 10 years (gotta love a Ninja 8) ) because my new home requires me to get it inspected and put a tag on it. It's almost enough reason to stay home and stay broke....
Now back to the subject since the welder was full of gasoline and I had plenty of rod on hand so I brought the tandem out to weld up the seat post. First I strapped it to the aforementioned trailer.
strapped.jpg


Then I use a level to insure that it was standing up straight.
levelframe.jpg


Next step is to set the tube on top and holding it in place with a magnet put some quick tack welds to lightly fasten it in place.
Then check the tube again with the level.
leveltube.jpg

If it needs any adjustment now is the time to either tap it with a hammer or grind it off and start over. I always tack weld at least 4 spots around a tube, this really cuts down on the warping when it's welded up solid.

Since a horizontal weld is always easier I laid the bike over on it side to finish welding, flipping it over as needed.
horizweld.jpg


Here's some shots to give an idea of how it's looking so far.
frtquartr.jpg

Set the seats on it for this one.
sideprevu.jpg


Peace Y'all
 
Back
Top