Tecumseh Rambler

Rat Rod Bikes Bicycle Forum

Help Support Rat Rod Bikes Bicycle Forum:

This site may earn a commission from merchant affiliate links, including eBay, Amazon, and others.
Joined
Jun 6, 2011
Messages
32
Reaction score
0
Rating - 0%
0   0   0
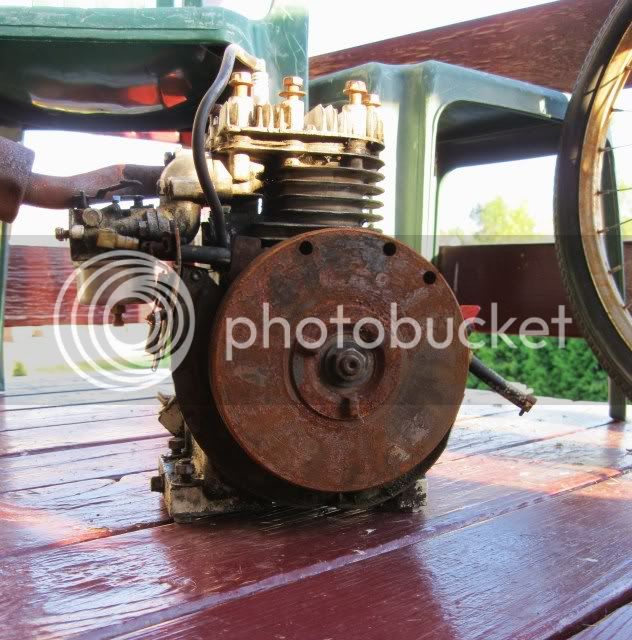
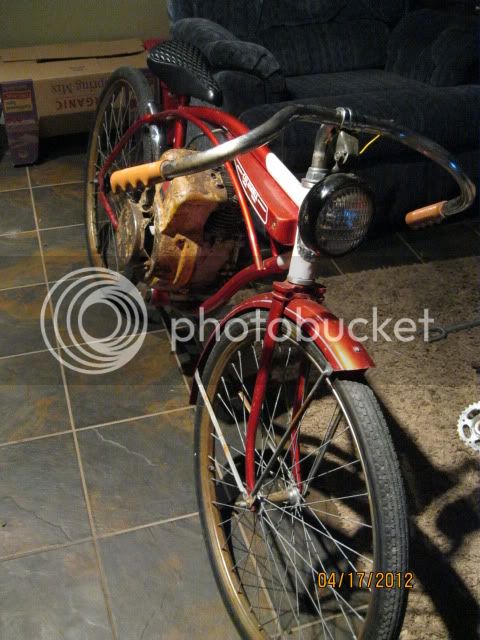
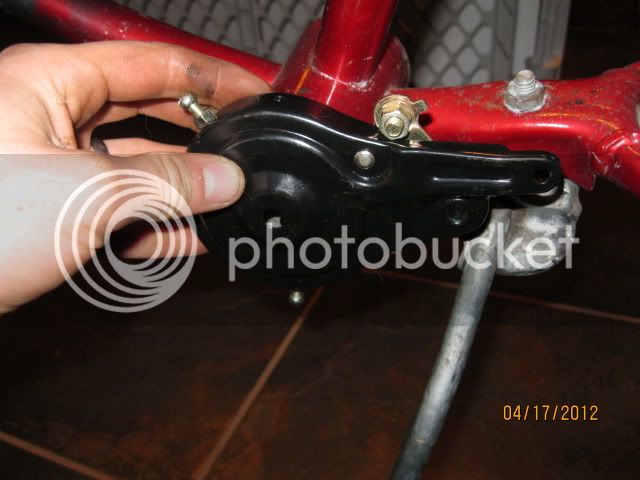
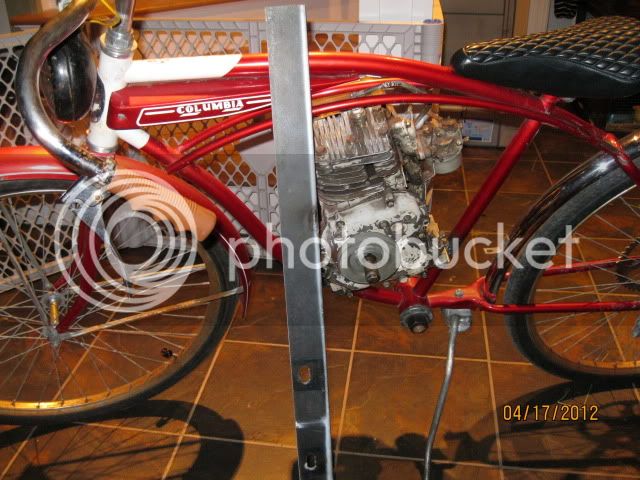
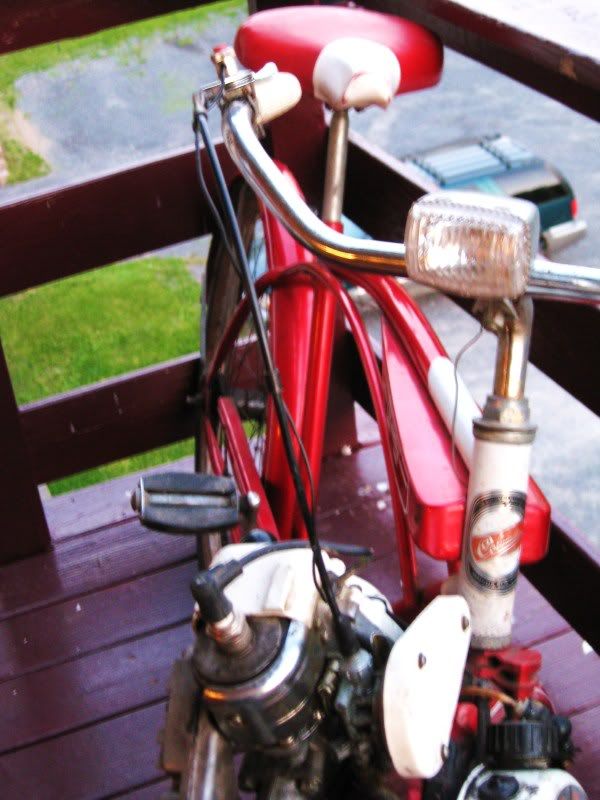
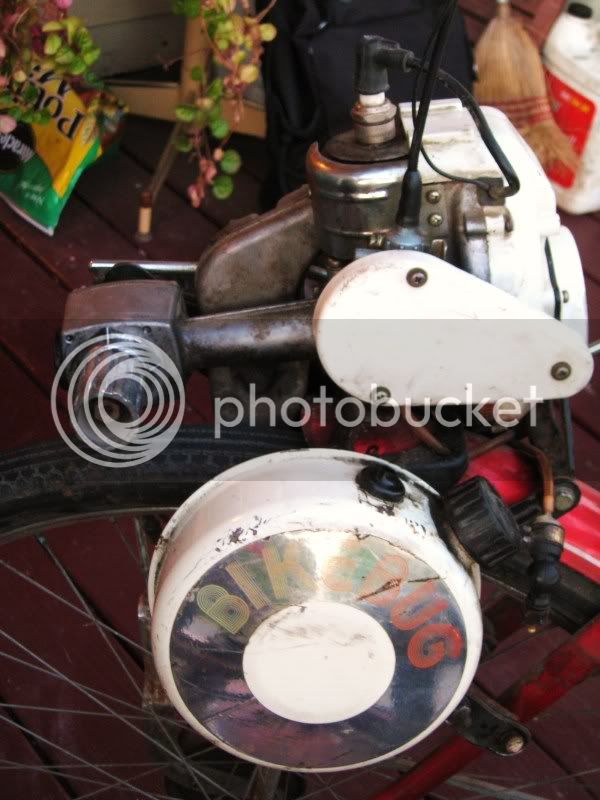
I picked this Columbia Rambler up the other day at a yard sale. It has a Bike Bug mounted on it that runs pretty well.
The plans are to keep the build simple (mostly out of neccesity due to lack of tools).
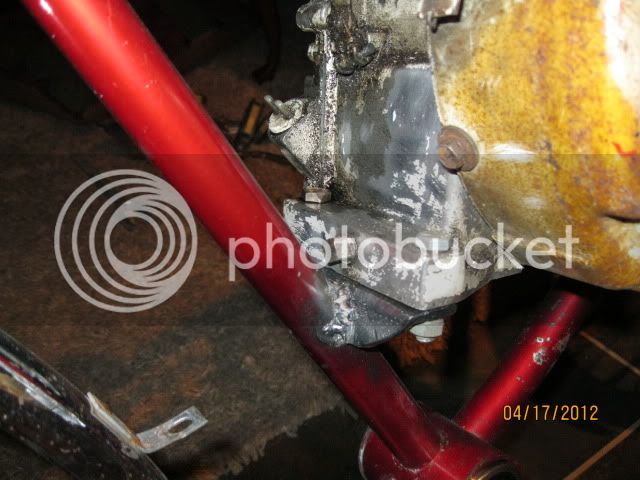
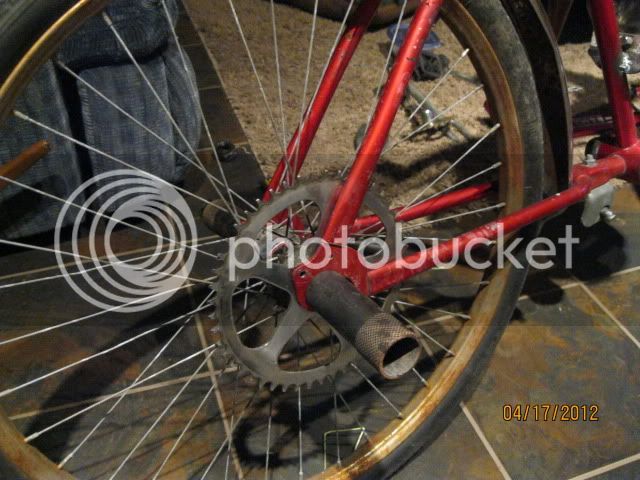
I was thinking of maybe retrofiting the engine to the rear wheel.
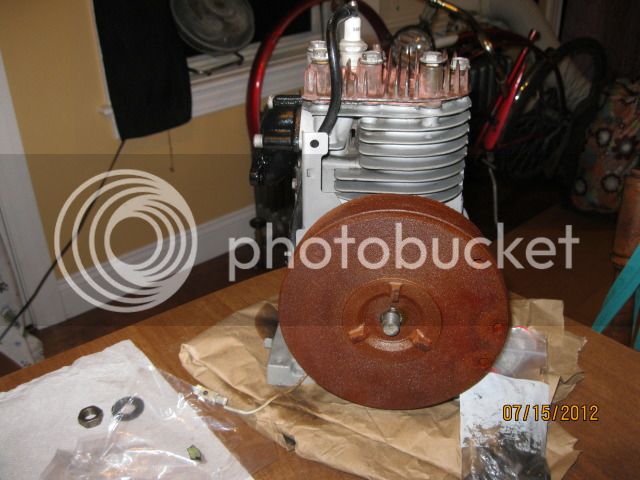
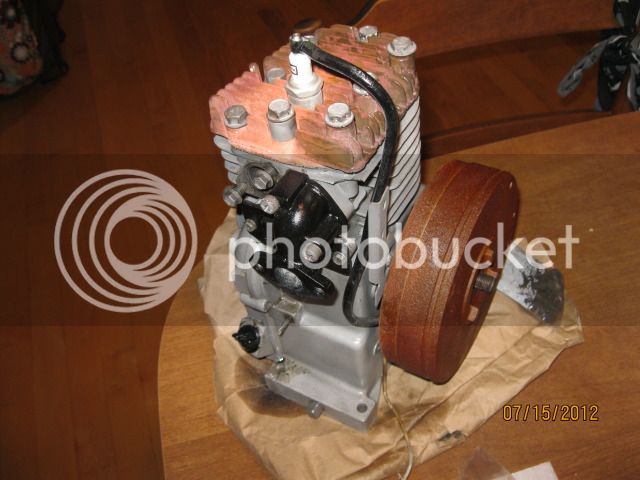
I don't have much experience with small motors.
What are some ways to get this bug making the power its supposed to or more? :lol:

100_0008-1.jpg


100_0010-1.jpg


100_0009-1.jpg
 
Re: Friction drive Rambler

If it runs well, there's probably not much more to wring out of it without machine shop work. If it has a remove-able steel cylinder or cylinder liner and you can find the correct rings, you could scuff the bore lightly and re-ring it. :|
 
Re: Friction drive Rambler

Decided to rework the headlamp. This is how it started with the same old filament bulb.

100_0002.jpg


After some LED's, resistors and solder.

100_0004.jpg


I found it's hard to take a piture of bright things (who'd a thought) so it's hard to tell the difference in the pic.s.
It is a bit brighter though and I like the color more, i think it wil complement the red nicely.
Also it uses less current than the normal setup which means I'll have enough power to run some ail lights or something.
It even turns on at a lower speed. (It's kinda cool to watch because instead of fadig in like filament lights it'smre of a flicker on.)

However it still flickers like the normal setups due to the uneve pedalling. Does anyone know if a capacitor in line would solve this?
 
Re: Friction drive Rambler

I know someone with a Kettler bicycle that has some sort of capacitor in the tail light fixture that keeps the light lit for a while after stopping.
 
Re: Friction drive Rambler

Not too much done. I pulled it apart and cleaned it up and it looks a bit better but it's hrd to tell in pictures.
I also mounted the motor how I want it to sit on the back, it engages well and the "shift" lever comes up to a spot that can be comfortably grabbed just behind the back.
Also flipped the bars, spun the headset, and mounted the light.
I liked the look of the swept back headset but once I was on the bike it was to short so I'm gonna have to change it back.

129_2410.jpg


I then made a friction roller out of an old roller skate wheel. It works great and has a slightly larger diameter.

129_2413.jpg
 
Re: Friction drive Rambler

The motor wasn't running. It seemed like it wasn't getting gas again. But I also have to pull it apart and see if it fires at TDC otherwise it's not gonna work due to it rotating the motor in reverse on the back. Are there ways to change the timing if this is the case?
 
Re: Friction drive Rambler

So I took the motor apart, notched the flywheel, and adjusted the points. However, I must not have got it entirely right. It will fire and run but it doesn't even make enough power to pull me. I just coast until she stalls. I'm sure It's just needs to be timed better but I'm lazy and annoyed so it's going back on the front where I know it will run. However, I may be interested in selling the setup after I prove it still runs fine on the front......
Heres how it was looking.

A well balanced look I think
133_2450.jpg


new curved bars
133_2451.jpg


seat and a slick bobber fender I found on the ground at school that saved me from having to chop my original.
(Which I am thankful for seeings how i'm already switching back to front drive.)
133_2453.jpg


133_2454.jpg
 
Re: Friction drive Rambler

I reattatched the motor to the front and it ran fine and pulled me around. The Bike Bug is now For Sale (check the classifieds)

My brother just bought a welder so I will be able to start doing more custom builds.
I am now planning on putting this Tecumseh h35 on the columbia. I forgot to take a before picture but this is what it looked like after I stripped off all the stuff that won't be used. The motor has some great patena with some beat up white paint. It should match the bike great.
134_2461.jpg


The fan fingers on the flywheel were just a plastic cover so I was able to simply yank it off, No Need For Machining! and it looks nicely rat and rusty :p 
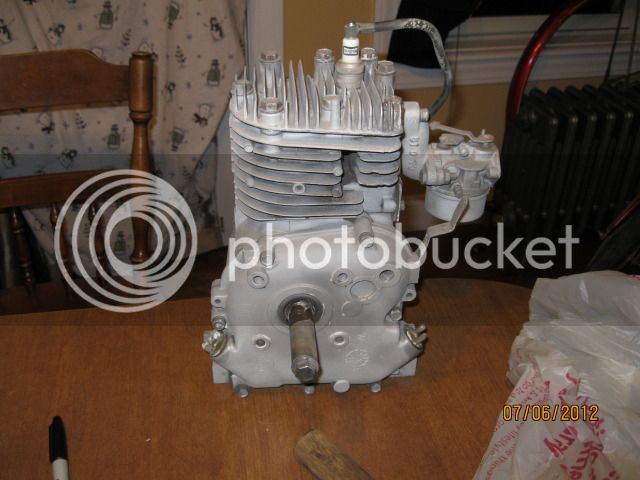
I think the motor may be from the 70's.
134_2457_r1.jpg

134_2458.jpg


Here's what I'm hoping it will look like
134_2467.jpg


However the tecumseh shroud has a great look to it so I, may end up using it I haven't decided. Maybe use it without the pull start mechanism.
134_2465.jpg


Thats it for now, this will be a slow build.
 
Re: Friction drive Rambler

The govenor can be removed- goes from 0.8 hp to 1.2 hp 18 -20 mph to 20-25 mph
 
I've finally found the time/motivation to get started on the bike again.
I got the motor mounts welded in place and am working on getting the jack shaft figured out.
Will post pictures when there is something to see.
 
You may have problems with it over heating if you strip it down. Many of those small engines are designed so the flywheel fins move air under the shrouds to cool the engine.
 
However, you legs are not usually an inch away from the rusty flywheel while using a lawn mower. :wink:

But yes I agree and I will likely end up taking them off.
 
I've made a little progress and I'll take pictures later.
Mostly I've been trying to find cost effective parts to fit my non existent budget.
I believe I've decided on,
-left grip lever activated band brake on the jack shaft.
-right grip lever activated throttle.
-frame mounted lever arm tensioner pulley clutch.
-eventually a mucle style stick shift for a shimano 3 speed hub I have.

Does anyone know if old shimano 3 speeds will hold up under motor power? I don't see why not.

I've got most of the pieces for the jack shaft setup but I need to source a cheap 9in or so congress style spoke sheave for the major v-belt reduction onto the jackshaft and a small gog for off the jack shaft.

Once final exams are done the progress should be a bit quicker.
 
I'm out of school now, so hopefully I'll have a bit of time to work on this.
But for now,

I welded some angle mounts on for the motor.
008-1.jpg


The drive gear and foot pegs. Probably gonna be welded to the hub.
013-1.jpg


Sweet light.
004-2.jpg


...... scooter band brake due to budget.
011-2.jpg


Clutch arm material nabbed from the scrap bin at the schools shop.
015-1.jpg
 
Well, I'm not making the progress I'd like but it's slowly coming along. Slow is better than nothing.
My summer job allows me to use their sand blaster. So.....
007-Copy.jpg


I then decided to try my hand at some metal plating. I have decided to take a steampunk approach to my styling.
I tried several times without much luck to plate my aluminum head with copper. (Aluminum is more noble than copper.)
I finally just called it good enough. I also did my flywheel.
Here's the results.
009-Copy.jpg


012-Copy.jpg


014-Copy.jpg


I also got my sheetmetal cut for my gastank, just waiting on fittings, then I can weld it up. We'll see how that goes. :lol:
005-Copy.jpg
 

Latest posts

Back
Top