Sears fixed gear

Rat Rod Bikes Bicycle Forum

Help Support Rat Rod Bikes Bicycle Forum:

This site may earn a commission from merchant affiliate links, including eBay, Amazon, and others.
Joined
May 26, 2008
Messages
123
Reaction score
20
Location
Worland, Wyoming
Rating - 0%
0   0   0
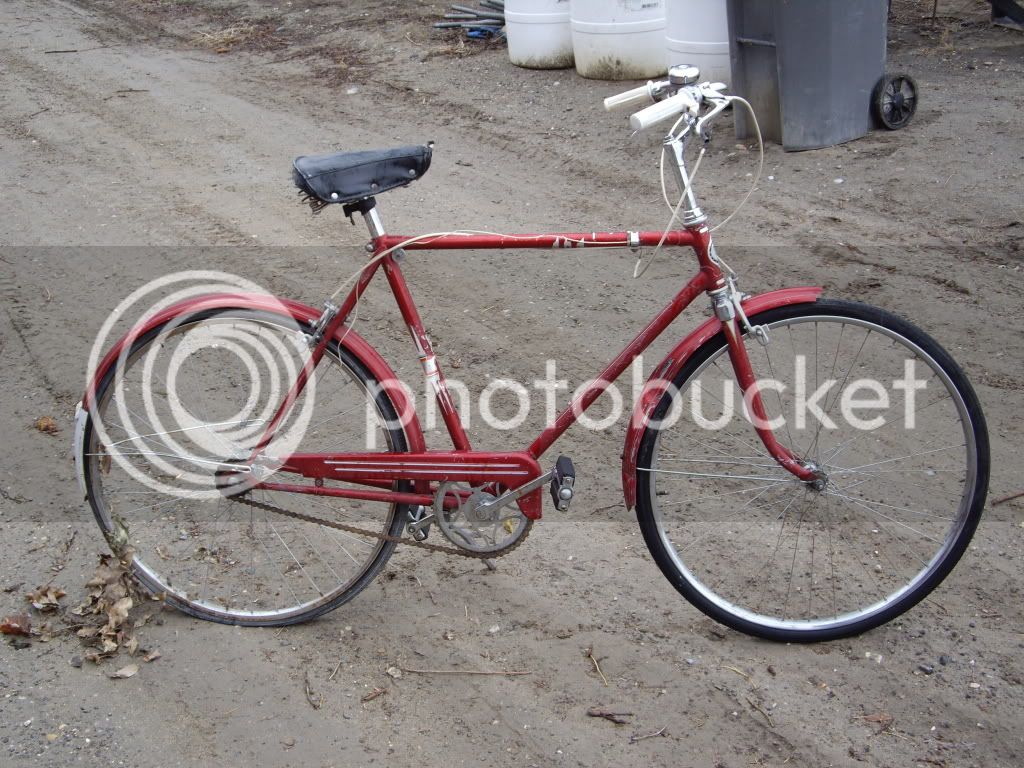
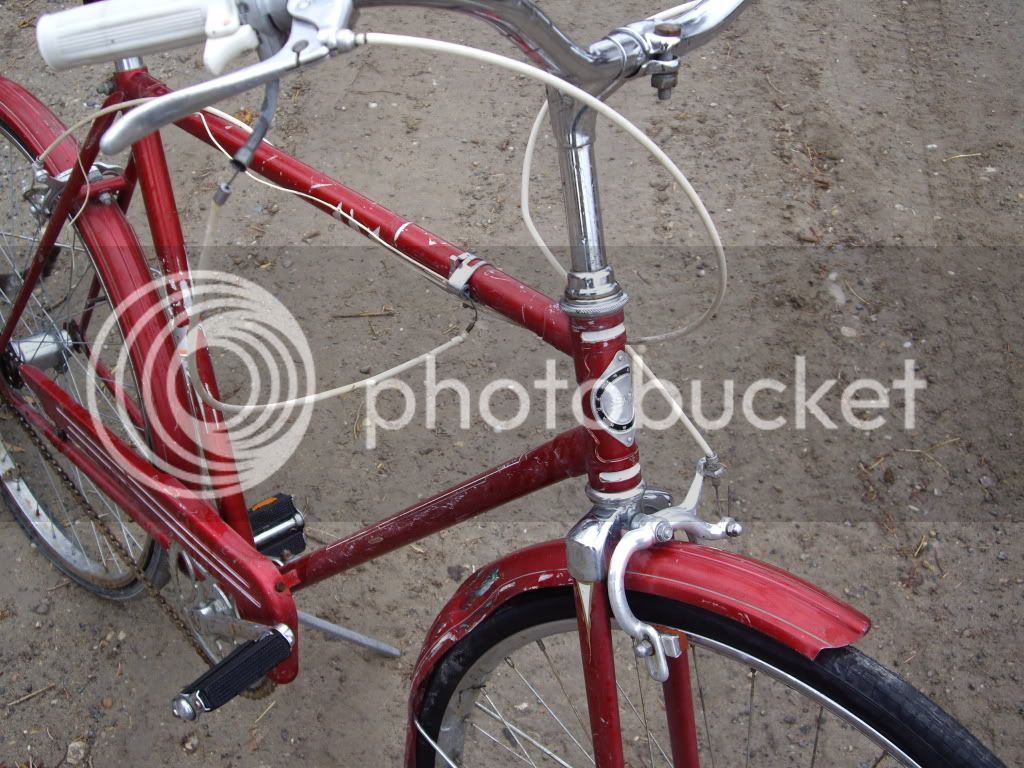
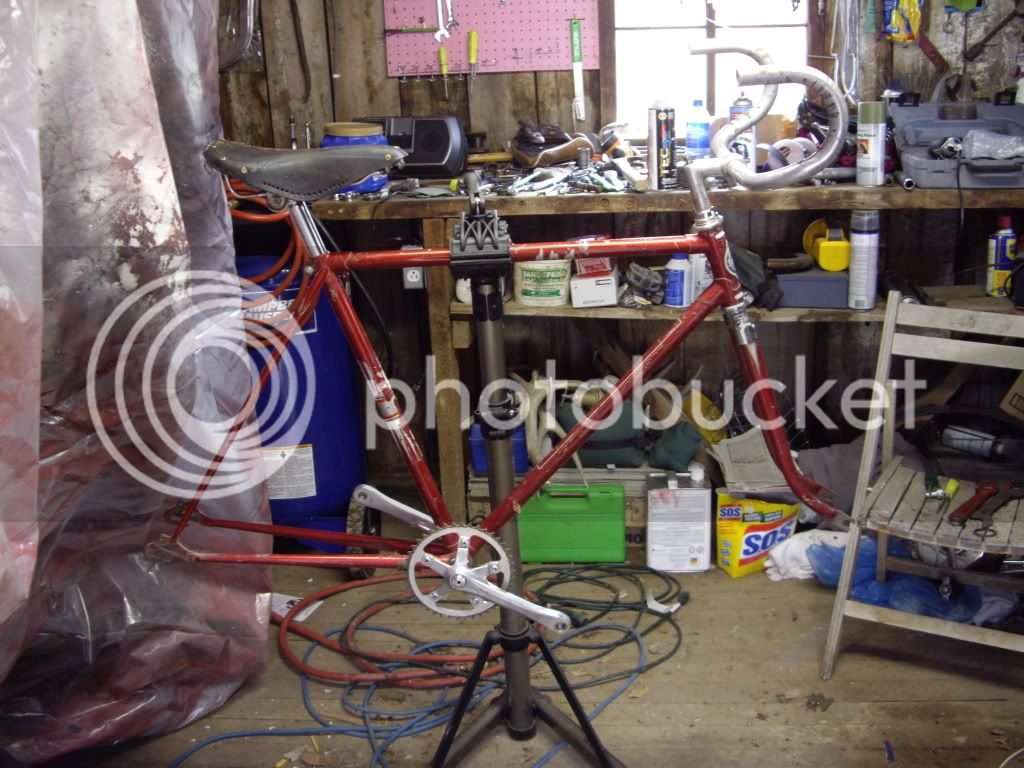
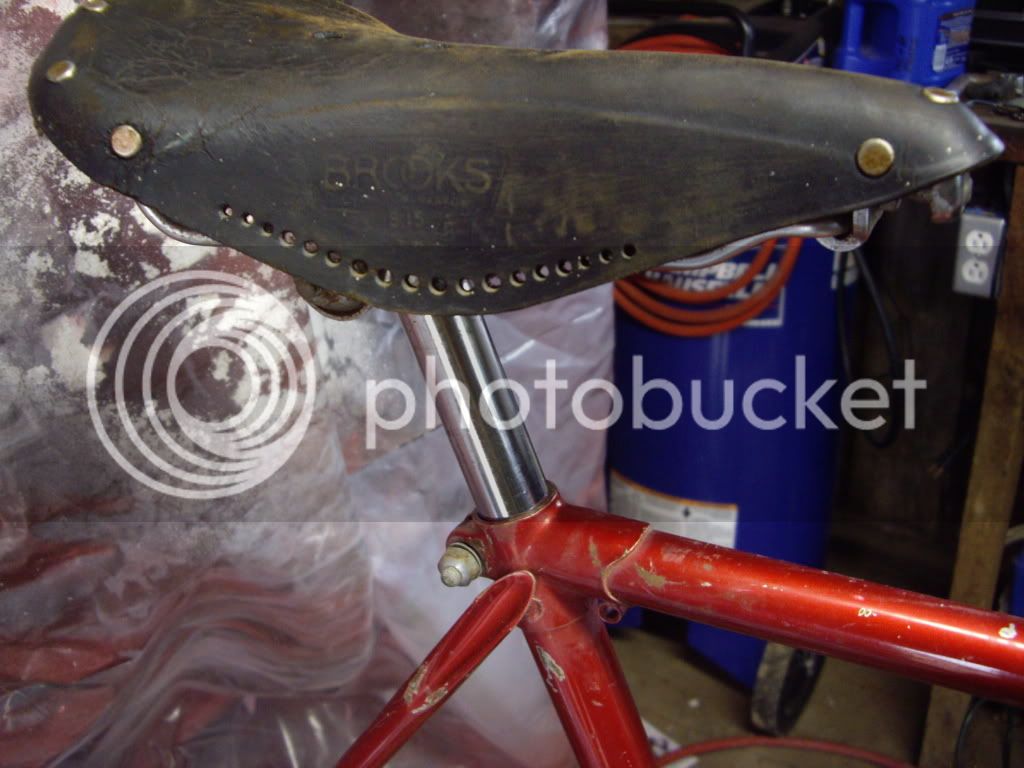
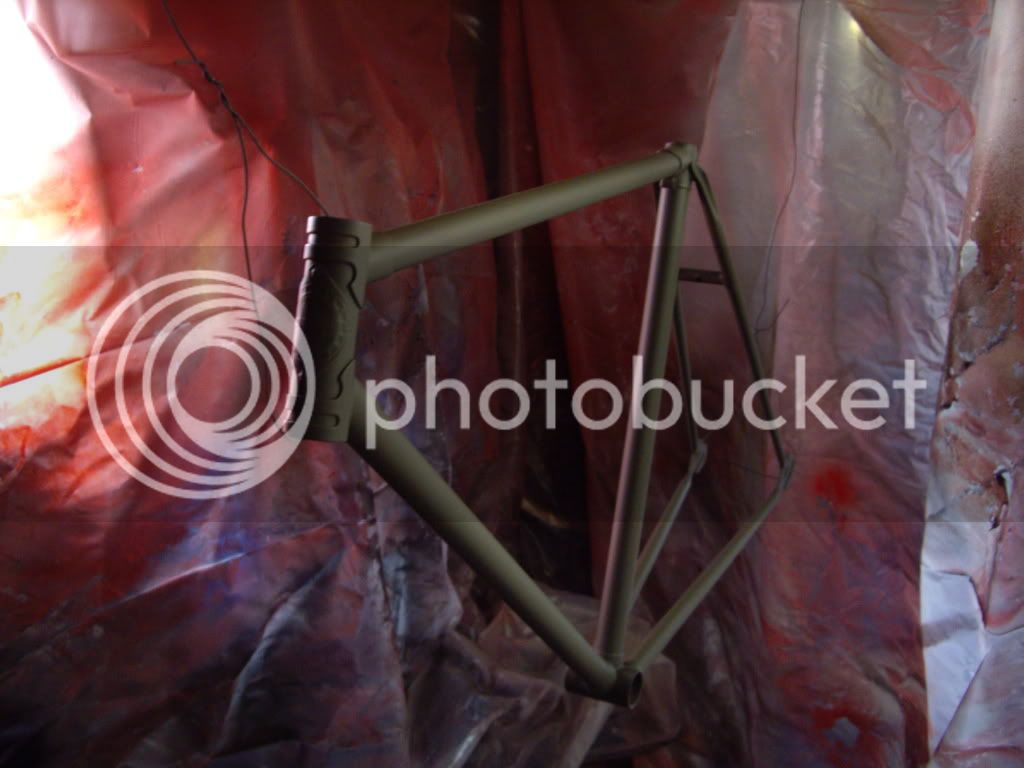
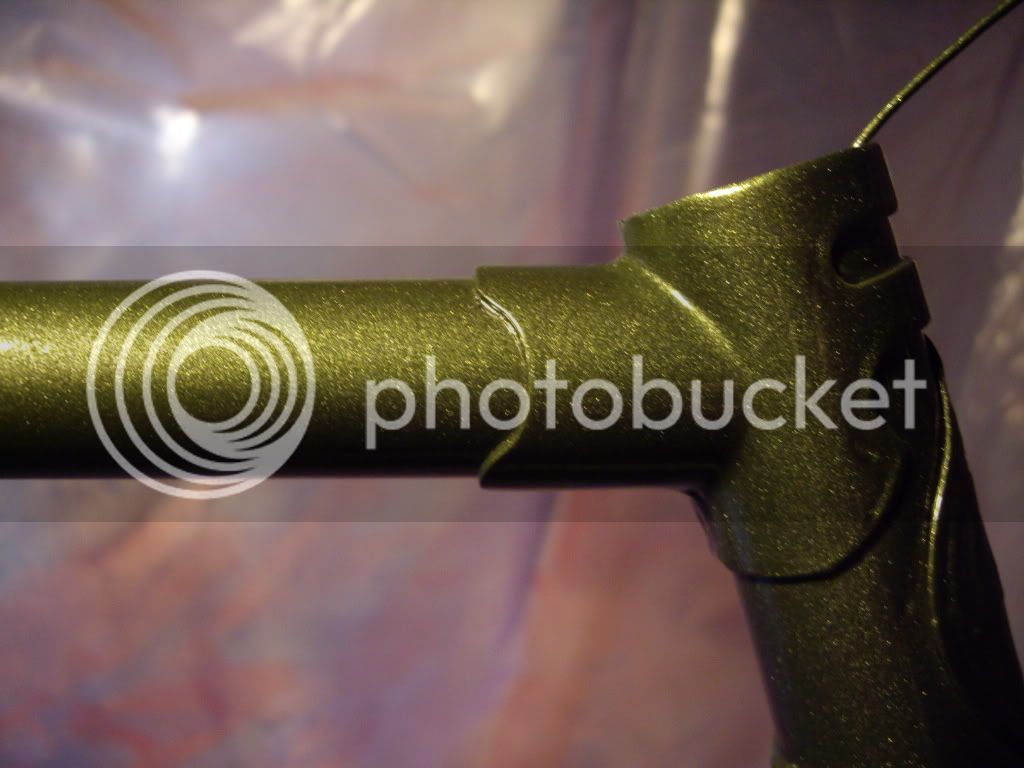
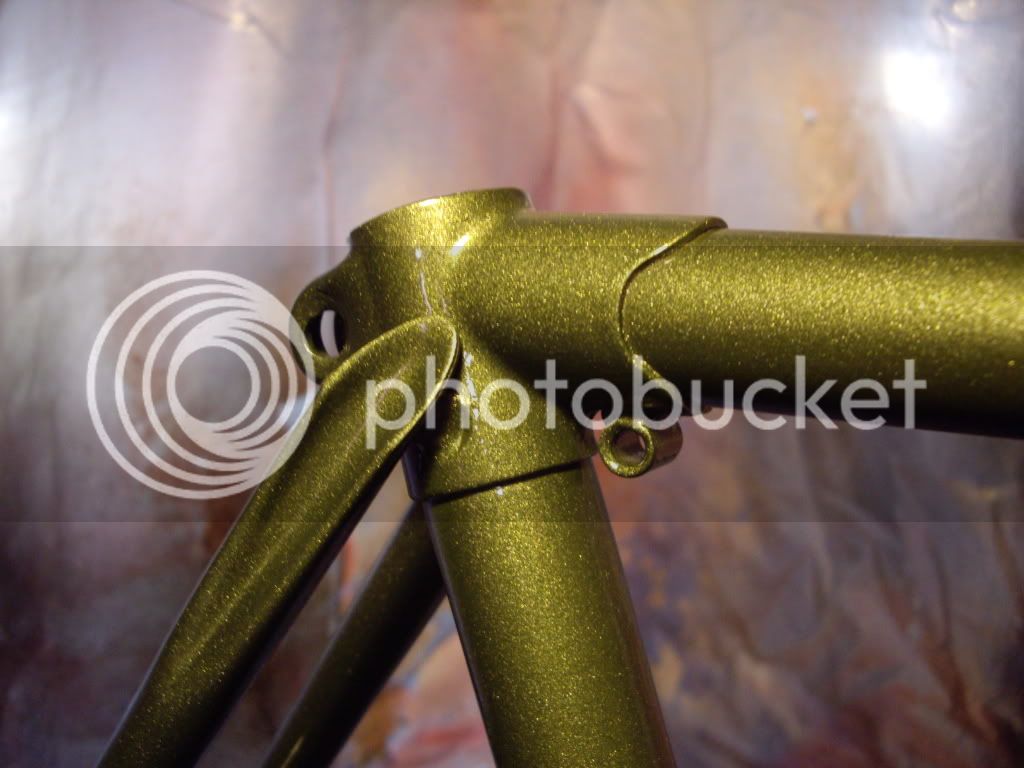
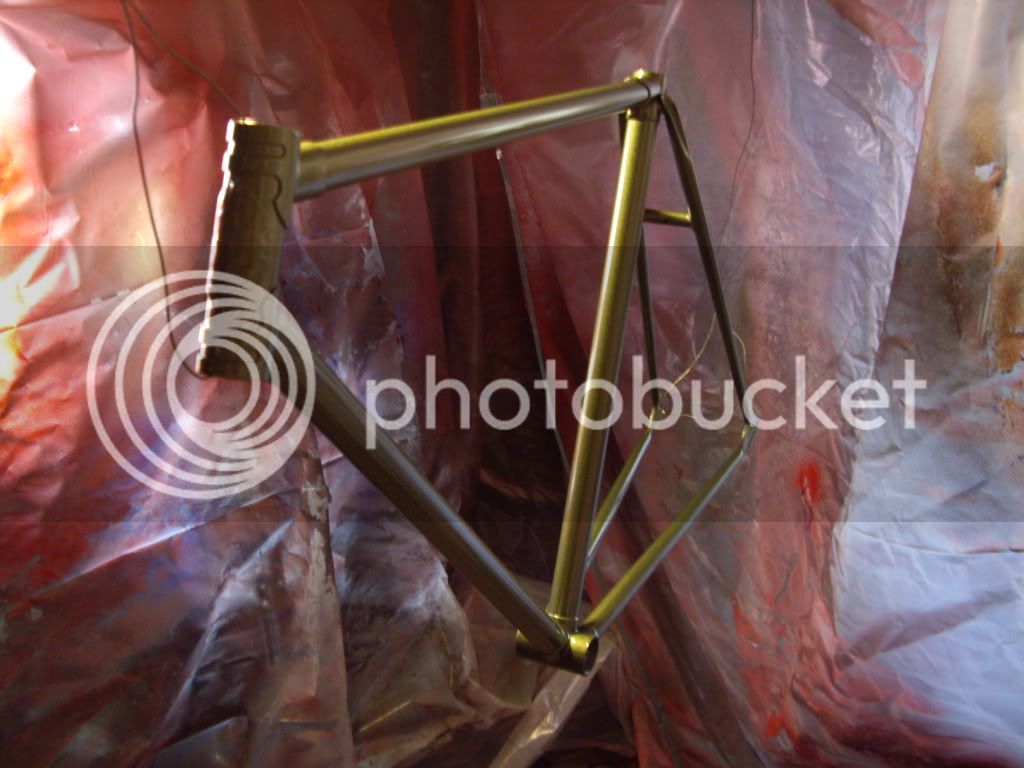
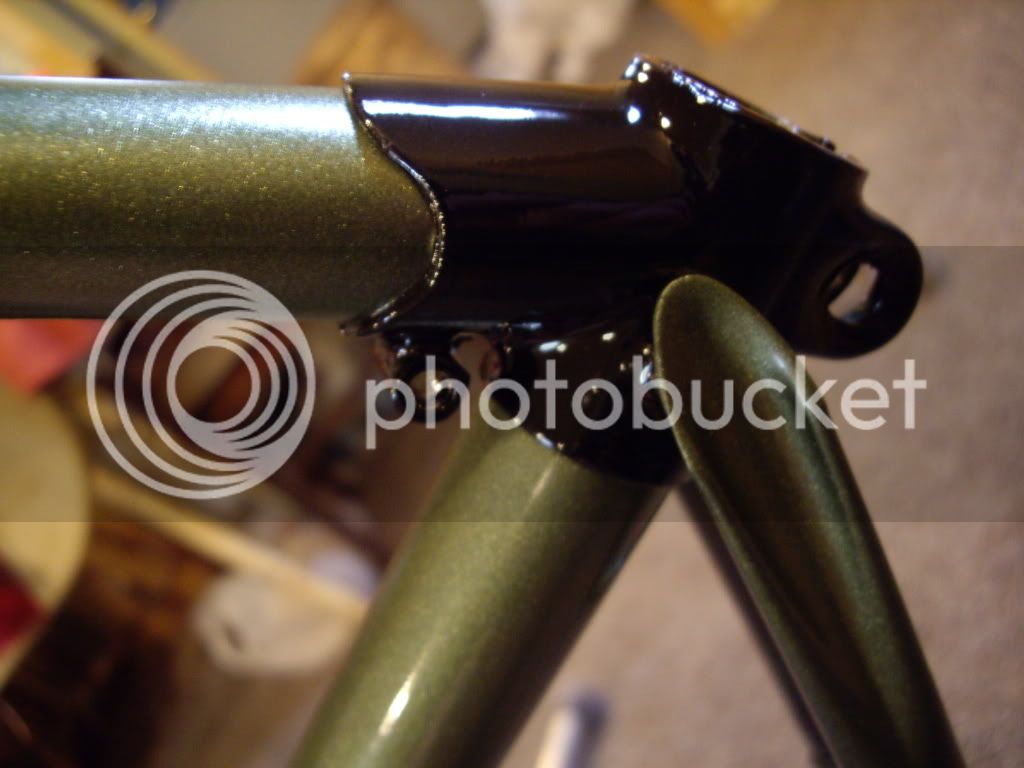
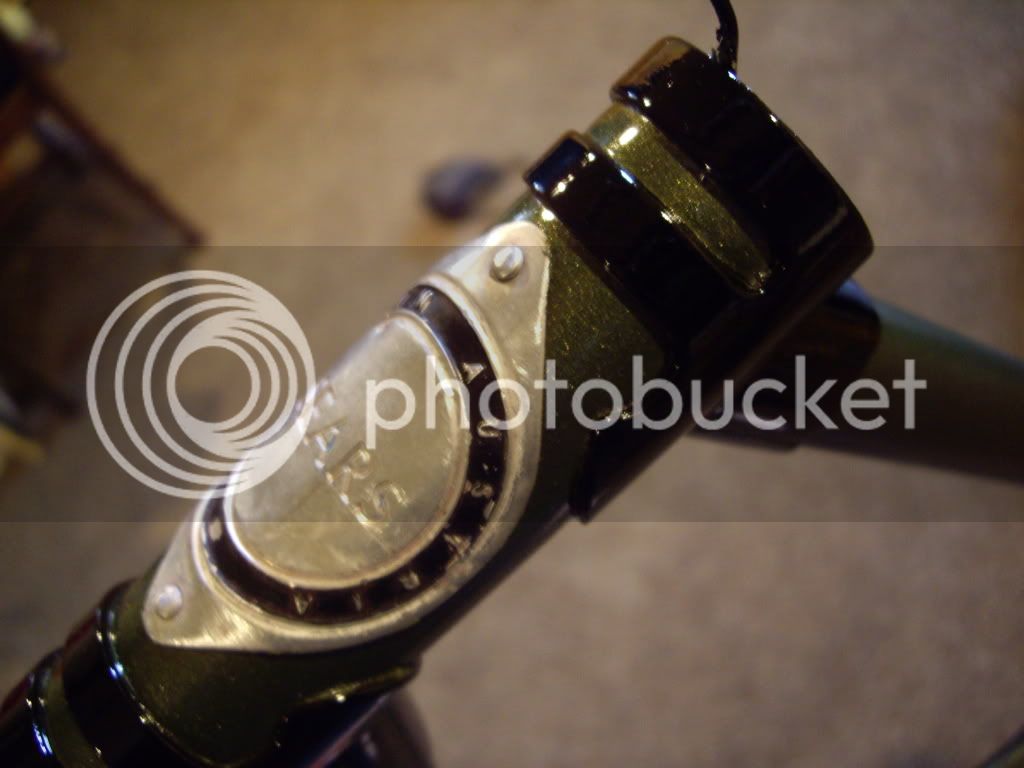
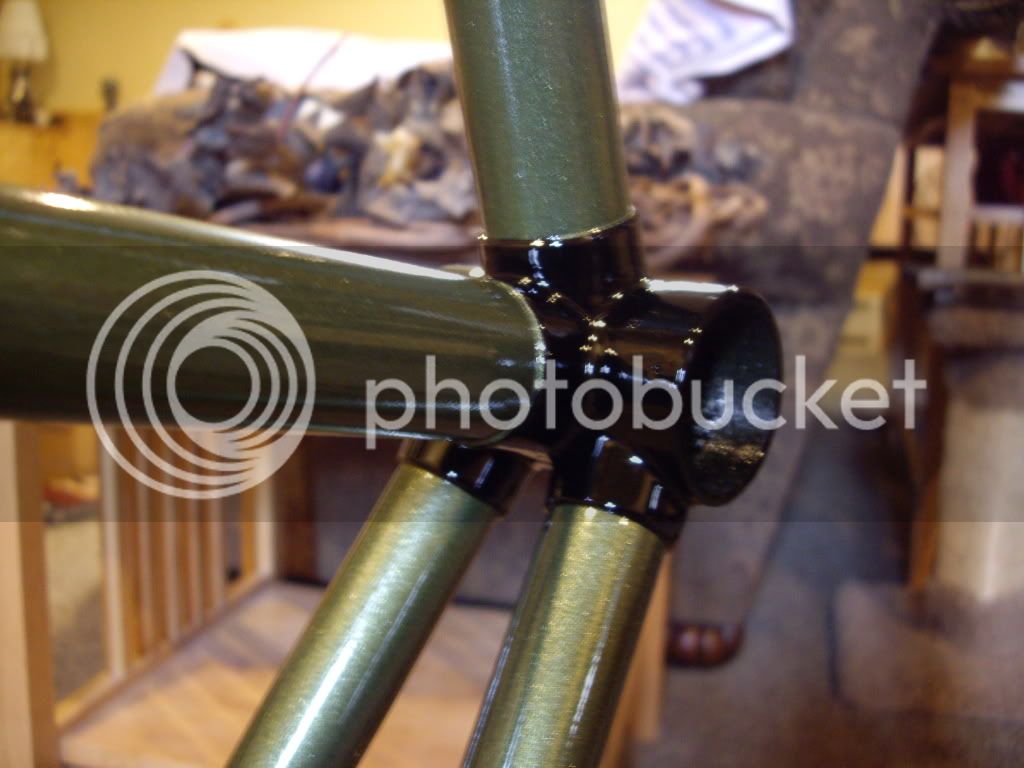
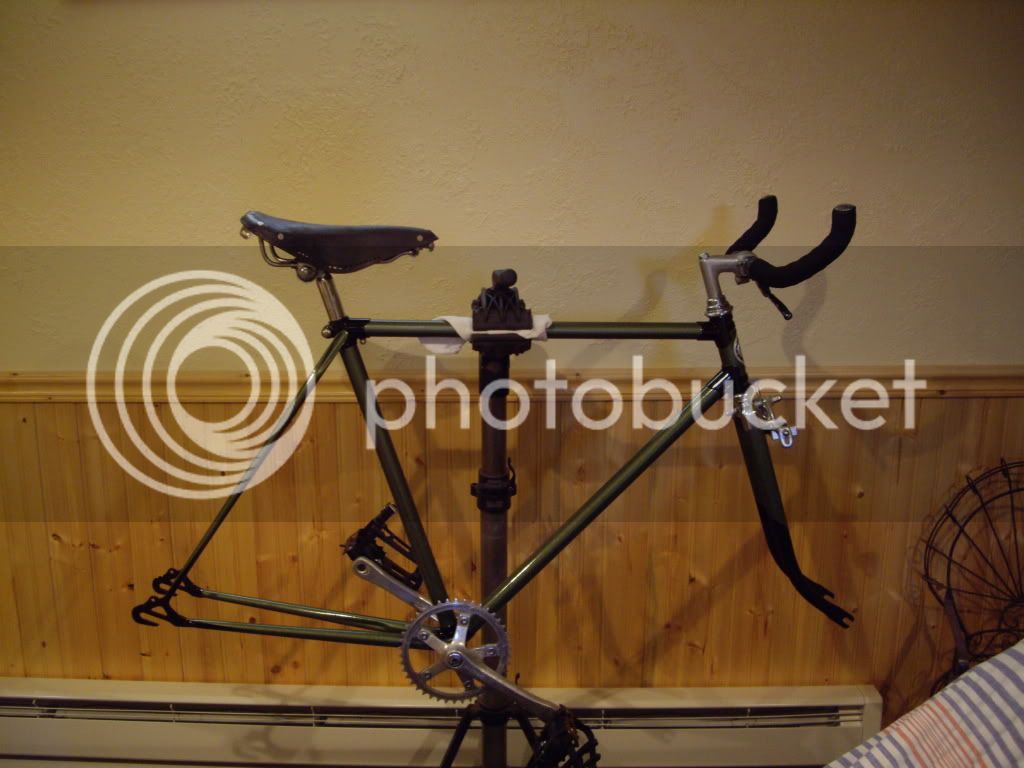
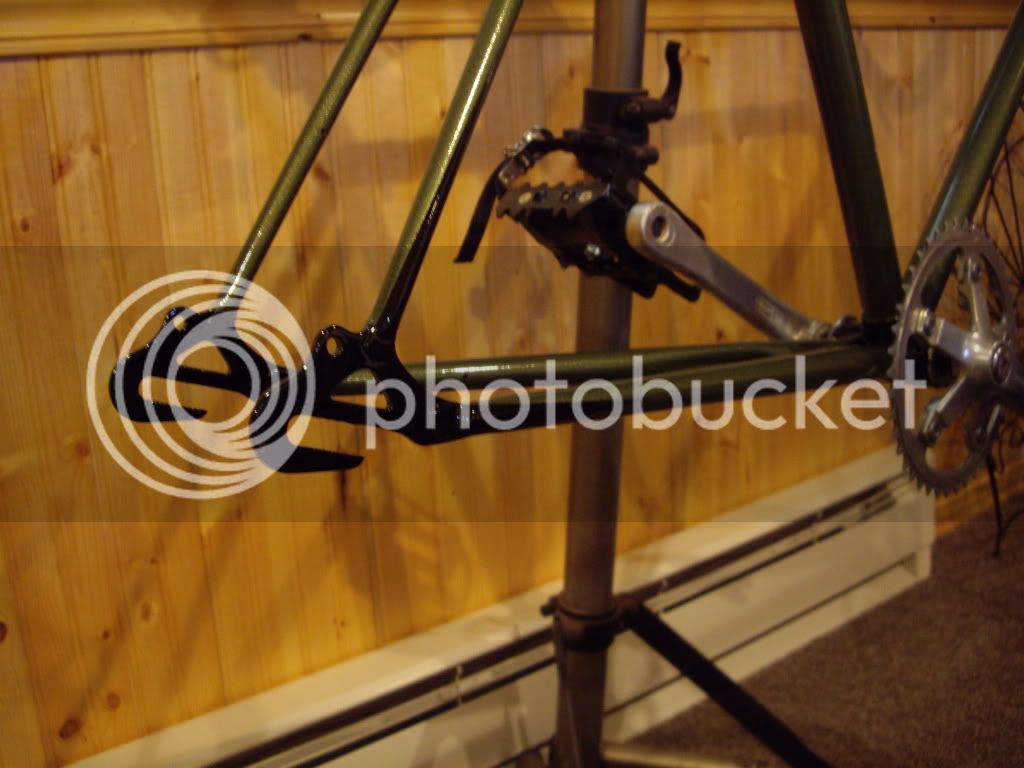
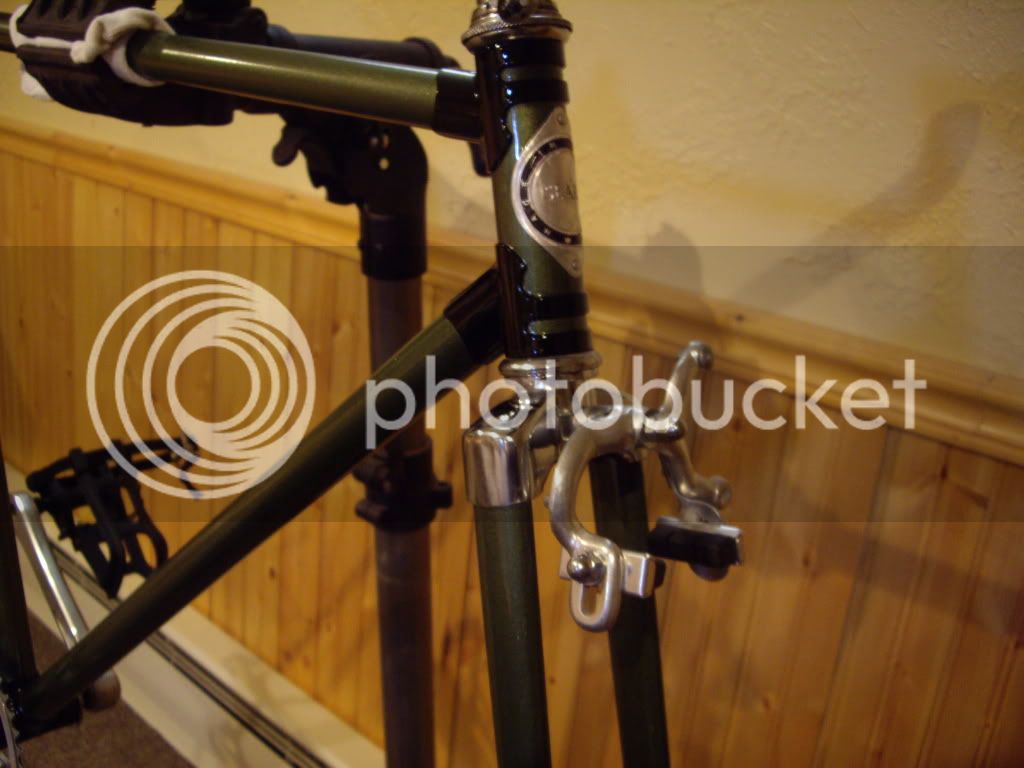
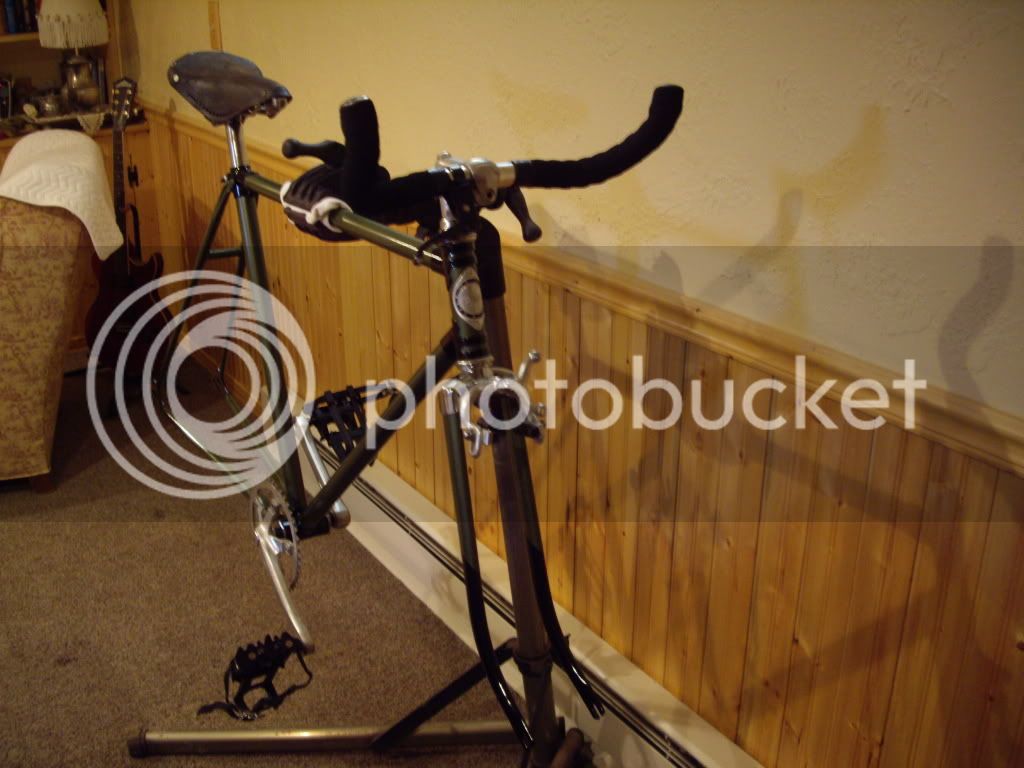
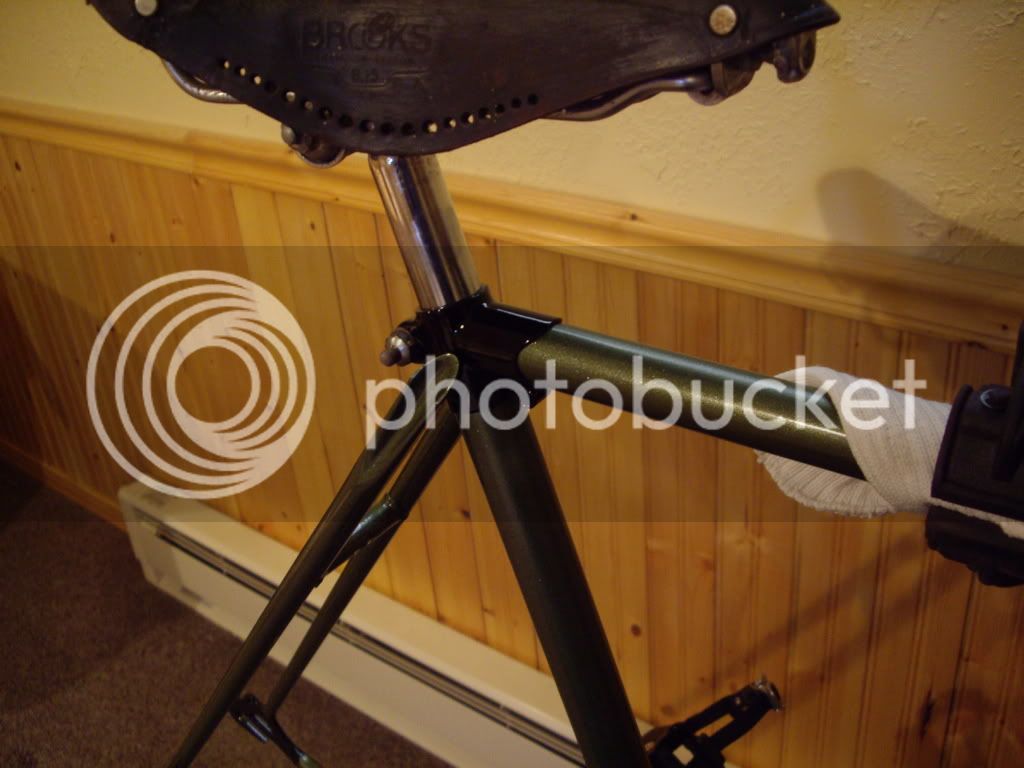
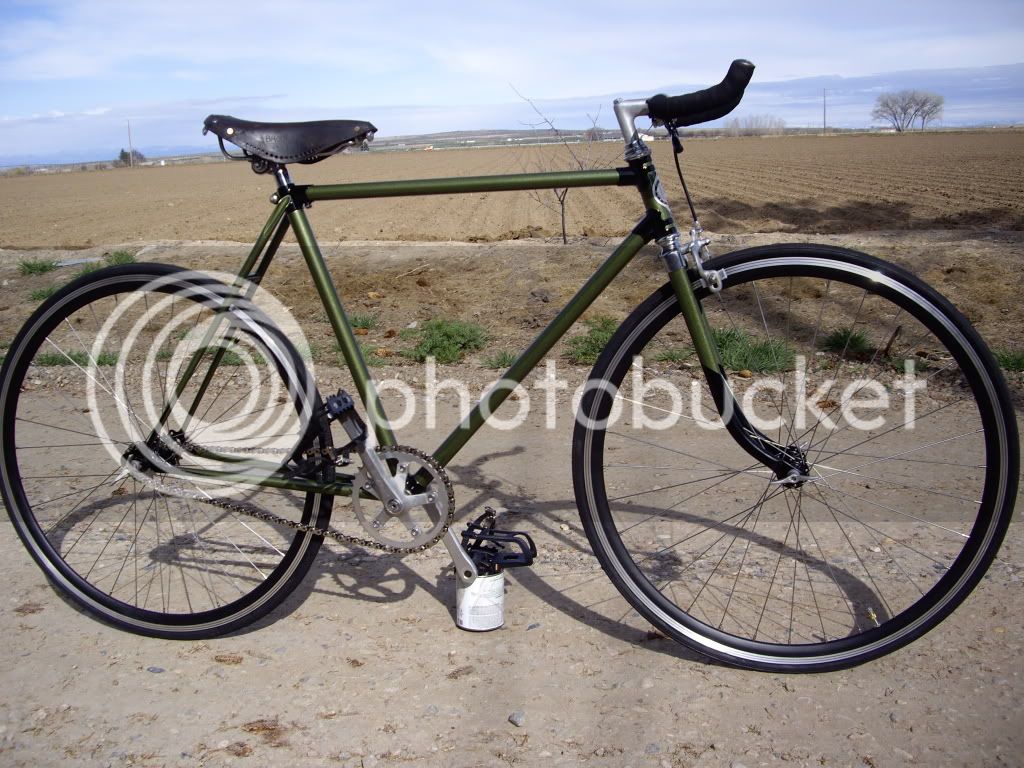
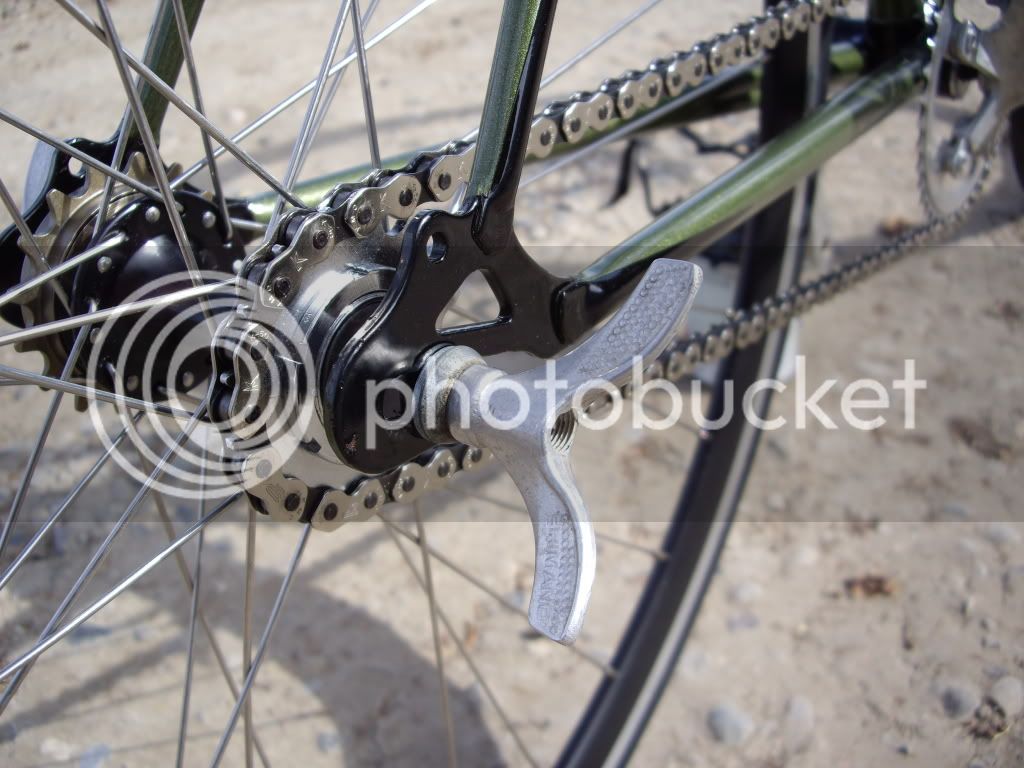
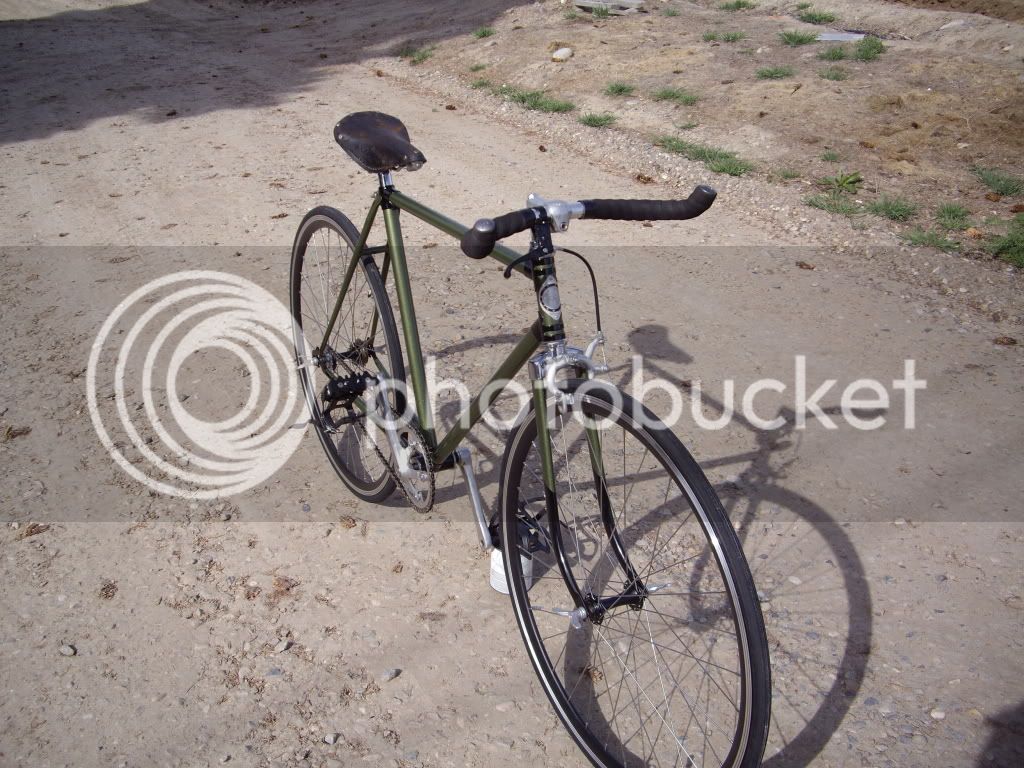
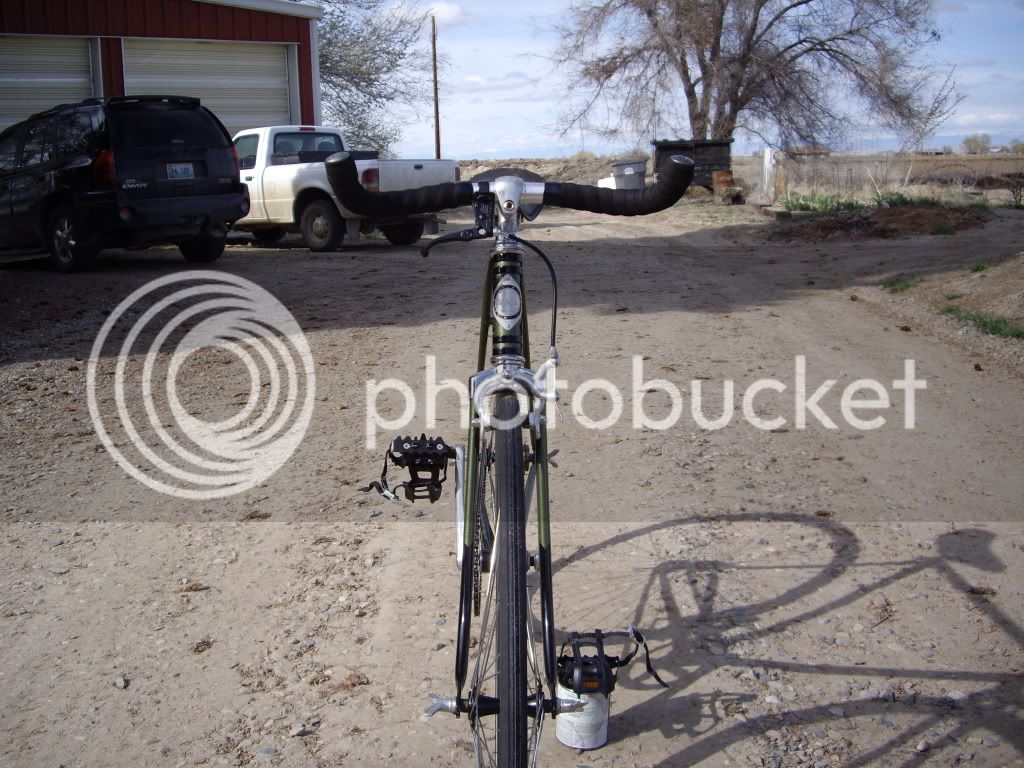
Yesterday the weather forcast looked like it would be rainy for a few days, which means I can't work. So I got a serious urge to build a fixed gear bike. I thought I was going to use an old Triumph frame with nice lug work that I had laying around. But after an hour of tearing it down, I decided it was a little heavy. By the time I left my bike shop last night I had decided to use a Maruishi frame. As soon as I got in the house I started looking on Ebay for wheels. I ended up winning a cheap set of flip flop wheels. For about $120 shipped, I got a new flip flop front and rear wheel set with mounted tubes and tires. It also comes with the fixed gear cog and the freewheel. It seemed like a good deal to me, I guess we'll see. Well, when I got up this morning I suddenly remembered the lugged, Austrian built Sears three speed that I had found at the dump last fall. I'm pretty sure I've found the frame I'll use. I stripped it down this morning and threw on some parts I've had laying around. I ended up having most of the parts I will need. I did buy a new chain, caged pedals, and some bar wrap from my local bike shop this afternoon along with a really nice paint color that you'll have to wait and see. It ended up not raining very much today and I don't know if it's going to rain any more tomorrow, so I'm not sure I'll have as much time for this project as I originally thought. The farm comes first, then the bikes. But I will keep you updated with pictures as progress is made.
IMGP2641.jpg

IMGP2642.jpg

IMGP2645.jpg

IMGP2646.jpg

IMGP2647.jpg
 
Well, it rained and snowed some last night, so I was able to work on the bike today. I started by grinding off a tab that was welded on for the chainguard. I then cut off the ugly bracket for the kickstand and lower rear fender mount. Next I sanded off the decals and sanded out all of the nicks and scratches. I primed it and got the first color on. Now I'll let it dry overnight and hopefully in the morning I'll be able to mask around all of the lug work. I plan on painting the lugs, parts of the rear dropouts, and the lower part of the forks a metalic black.

After being primed.
IMGP2648.jpg

After the first color.
IMGP2650.jpg

IMGP2652.jpg

IMGP2651.jpg
 
karfer67 said:
tell us more about that color is that rattle can?

The color is called Dark Olive Metalic and was purchased at Napa. I use a cheap HVLP gun to spray it. If you're interested, the color number is 55A 56859. You should be able to use that number at any Napa store. I can never remember what type of paint it is. It's the type that requires a reducer and hardener and doesn't require a clear coat.
 
I was able to get the second color done today. It took over an hour and a half to mask around the lug work and other things. I'm pretty happy with how it turned out overall. I'm not sure when I'll get more of it done. By the time the wheels get here on Monday, I'll be busy planting sugar beets. Once that starts I'll be swamped for quite awhile or until it rains again.

IMGP2653.jpg

IMGP2654.jpg

IMGP2656.jpg
 
I decided to get as far along with this build tonight as I could without the wheels. It went fairly well, except that I had planned on running the front brake cable through the hollow stem bolt like a freestyle bike. I didn't realize that the frame geometry won't allow the ear of the caliper brake to pass underneath. I'm not sure if there is a solution to this. Let me know if anyone has any ideas. I was hoping to be able to spin the bars. I can't go without brakes because I may want to use the freewheel side of the flip flop hub.

IMGP2658.jpg

IMGP2662.jpg

IMGP2664.jpg

IMGP2659.jpg

IMGP2661.jpg
 
I finally had some time yesterday to finish it. I'm very happy with how it turned out. Although I'm not sure about the caged pedals. I found out that it's very hard to get your feet into them when they're constantly moving. Maybe I just need practice, but I really doubt that I would use them that often. Another issue is the bottom bracket. It keeps loosening slightly. I'm hoping the bearings are just getting seated. This bike is very strange in that the bottom bracket threads backwards from what I'm used to. To loosen, you turn it forward on both sides. This seems backwards to me, and I'm hoping that it's not the reason for the bottom bracket loosening while riding. On a brighter note, I was able to use the large wingnuts for the wheels that I took off of another bike while I was at the dump. I left the rest of the bike, I just wanted those wingnuts. I took it for a spin today and really enjoyed it. It seems very light for a 30-40 year old frame. I haven't been able to ride backwards yet, but my rutted dirt lane isn't helping much. Oh well, at least now I can be cool and say I have a fixed gear.
IMGP2670.jpg

IMGP2667.jpg

IMGP2668.jpg

IMGP2669.jpg
 
Riverbend Bicycles said:
I finally had some time yesterday to finish it. I'm very happy with how it turned out. Although I'm not sure about the caged pedals. I found out that it's very hard to get your feet into them when they're constantly moving. Maybe I just need practice...

Practice it is. I have two fixed gears, one with clips, one without, and although it's nice not having them sometimes, I occasionally will lose the pedals altogether forgetting the clips aren't holding my feet down. I do prefer having them on a fixed gear.

Your bike turned out great. The hard work is evident in the details. My only suggestion is to do some polish work on the alloy. It will be the frosting on top.
 
practice. then you can get in them asap before you are really moving much at all

Also, be carefull with those rear wingnuts. the better you get at slowing down with your feet, you'll start to put a lot of force through them, and the rear wheel can slide out of the dropouts as a result. I would say they should be "wrench tight" as opposed to "finger tight". They look really cool though, so I hope they work out for you. great lookin bike.
 
Some bikes just stand out as something extra, this is one of those bikes! Great colors and I really like the balanced look of all the parts!
Besides that I wish it was that flat where I live... :lol:
 
that is o great lookin bike. the color is great and it all works. my wife wants her hawthorne to have a "metalic" lookin paint job, so maybe i'll look into that color. just furthur makes me wanna build my own fixie. :roll:
 
that is totally beautiful!

i love how you accented the lugging. what about the fenders? ive seen vintage road/city bikes with machine turned fenders.
 
Dude, awesome bike, but it's really way too classy for chopped and flopped bars. Soma manufacturing makes some great track bars, modeled after the bikes Major Taylor rode, and they are deluxe. Great Bike!
 

Latest posts

Back
Top