- COMPETITIONS
- THE COMPETITION ARCHIVES
- RRBBO OFFICIAL COMPETITIONS
- BUILD OFF 12 (2017)
- BUILD OFF 12 BUILD JOURNALS
You are using an out of date browser. It may not display this or other websites correctly.
You should upgrade or use an alternative browser.
You should upgrade or use an alternative browser.
Rockafella - 1953 Ruff Firestone Super Cruiser - Completed Ride Video +MajorAward+RollingStoneCover
- Thread starter kingfish254
- Start date


Help Support Rat Rod Bikes Bicycle Forum:
This site may earn a commission from merchant affiliate
links, including eBay, Amazon, and others.

I just looked at this bike, in the flag bike thread....All bare and showing everything. I wouldn't touch the BB.
Yeah, I'm not sure what all the talk is about moving the BB. My only guess is it may have more to do with chainguard placement rather than any ride geometry reason. I had not BB placement issues on the bare bones shakedown ride, so I am trusting in the engineers at Ruff and leaving it as is.
Two steps forward, one step back.
The handlebars and the Gumby grips look good! The sissy bar... not so much.
Changing the subject here.
I started trying to imagine how I would finish the frame to complement the vintage Monark paint. It is something that could make or break the overall look of the bike so it deserves some careful thought. I have a couple of suggestions that are only my opinion of course and I don't claim to have the best solution, only my solution.
First, I would definitely rule out the Gumby green. Don't even consider it! Something loud like the red wheels is also a no no. In my opinion the modern lines are enough to stand out by itself so the color needs to recede. Also I'd resist the temptation to distress it. The juxtaposition between the new frame and old parts is defining the bike so stick with it. It would be akin to painting the Monark parts to make them look new.
My first option would be a matte almond color similar to the white walls. It would need to be a hue that is harmonious with the cream and rust on the tank. Somewhere in the middle of the tank color. Another option might be a dark charcoal again picking up the tire color (also matte). Of course it's hard to be certain without actually seeing it, but it looks good in my mind's eye.
Also, you don't have to limit yourself to off the shelf colors. Check around, some places will mix single stage automotive paint and put it in a rattle can for you. I have done this more than once with great results. The cost was in the $25 to $30 range and the paint quality is far superior to any off the shelf spray paint. I've had it mixed at O'Riley Auto Parts in my town.
Sorry for the long post!
I know the sissy bar won't be for everyone, but I still like it for now. It's not written in stone yet though. It was easy and fun to play around with. We'll see if it makes the final cut or not.
In regards to color, my initial plan all along was to paint it a creamish color to blend with the aged cream paint of the tank and guard similar to how the Firestone was painted but a shade or two darker to match up better with the tank/guard.
.jpg")


That is still a very strong possibility. After assembling the parts on the Ruff a couple of other options stirred in my brain. The bare springer helps either of these options.
- One was to maybe leave the frame and fork bare metal.
- The other was suggested to me by @pvwacko, to rust up the frame to tie it into the rusty fender struts, guard, and tank.
I agree completely with NOT painting it any flavor of Gumby green. Even on the men's Monark's I have always felt there was Green or Turquoise overload on some of those bikes.
My guess is the final frame/fork will probably be rust or cream. I really is still too early to tell. I need to get the rear fender mounted along with the guard and tank. Then I can get it out in real sunlight and let the bike tell me what color it wants to be.
Thanks for the suggestions. I'll keep that charcoal idea in mind too.
I will have to pretty much agree with the R-Mans opinions. As I was reading it the frame color was in my mind also. I was thinking an off white /cream that somewhat matches the cream on the old parts. I would only spay a fairy thin layer of paint .Then use the natural rust mixture of salt , vinegar, peroxide, and water.Blend it in with the Scott bright pad . Apply more paint & rust if needed until you get the right combination. I would leave the color on the old parts alone. I then would probably put a satin clear over everything. It will seal every with a smooth finish but won't give a bright shine . I put the satin clear on one of my old bikes and was very happy with the results. As far as the details your on your own. You been doing this long enough to know what looks good . Your out of the box ideas have always impressed me . Once the bike is done I know it will have the KF swag . So fare so good love this new old bike.[emoji1303]
Sent from my iPhone using Tapatalk
Hmmmm, I'll have to give some thought to you idea here. Maybe even test a little on some scrap metal. It's possible that may play well with the whole composition. However, I don't necessarily want to match the tank, guard, and fender struts. I think there needs to be a complimenting contrast between the frame and the old parts. Thanks man.
I like the guys' ideas above ^. Frame paint, and in those hues. I'm kind of leaning towards clean paint (without rust....wait, did I just SAY that??!) to blend with the new painted wheels and offset the old parts mix.
Obviously, everyone of us thinks this has high potential. I'd even venture to say, maybe the coolest KF compilation yet....next to that ratty one with the skirts which you did before my time. My main issue is one which you would reject wholeheartedly , and I completely understand, because it would change the look of this bike significantly.
For me, I could never build a bike I couldn't ride comfortably and have it perform like all of my other bikes do. It appears that Ruff Cycles intended this to have a fat 26" tire mounted on a 26" rim, which would raise your BB height and give you the needed clearance for pedaling, cornering, and rolling it out your shop doorway
Your fatty 24's are very cool and fit those fenders and vibe to a "T". I just couldn't build / ride it the way I like to ride my bikes. RaT oN!
I have to disagree that Ruff intended for these to only be 26 fatties. If you look close there are two sets of dropouts. I am using the lower ones for 24" The higher ones are for 26". Maybe my description of how the frame bottoms out made it sound too severe. It really isn't. The only time it really happened was when I was riding up and down the handicup curb cuts in the sidewalks. Sometimes it bottomed out on when going over the crest of these. Other than hearing a scrape it wasn't much to deal with. This wheelset works too perfectly with the whole build both with color and scale and how well they play with the deep fat fenders.
I know from riding with the Custom Brigade in Paris (@kanar ) that frame and pedal scrape are just part of the joy of riding these Euro choppers. I think I need to get some magnesium pedals though.
Last edited:
I've always wanted a set of magnesium wheelie bar wheels... [emoji291]
Building..... Riding.....
Building..... Riding.....
just a thought
ever consider taking off the monark train light from the front fender
and putting it on top of your tank
I'll usually try most anything, but I'm not too sure that would fly,
")


I know from riding with the Custom Brigade in Paris (@kanar ) that frame and pedal scrape are just part of the joy of riding these Euro choppers. I think I need to get some magnesium pedals though.
When building or buying a "scoot". If it ain't scraping...its to high. Frames like the one your using are made for their aesthetic appeal FIRST, comfort SECOND....not necessarily for (scraping) ride quality. I thought you had the chainguard adjusted nicely, to offset for the slightly lower BB..... The magnesium pedals scraping at night....cool!
Rockafella fork update - There was way too much play in the Shelby springer, so I got some all-thread and bolted it up so that it was stationary. Then I went to take it for a ride, and realized that the front end was too low to ride it. This fork was cut down from a ladies fork and the homemade main extension bracket is just too short. I picked up some flatbar to make a bigger bracket tomorrow. I'll make it work somehow.


Rockafella rear fender update - Drilled and tapped some holes to mount the rear fender struts. It felt so good to have these stay in place with no tape or wire
 . I also mocked up the rear fender extension a little.

Temporarily taped on the spare Monark fender reflector to the front fender. I'll end up moving the front strut to be horizontal and line up with the reflector.


I rolled it outside for some sunlight, but I can't ride it until I make some fork adjustments.

Rockafella rear fender update - Drilled and tapped some holes to mount the rear fender struts. It felt so good to have these stay in place with no tape or wire
Temporarily taped on the spare Monark fender reflector to the front fender. I'll end up moving the front strut to be horizontal and line up with the reflector.
I rolled it outside for some sunlight, but I can't ride it until I make some fork adjustments.
This sunlight shot reveals some rust on the bare frame and crankset. Is that real or 'surreal' rust? I know you had mentioned maybe trying a rust-ina on the frame versus paint. Kinda like it....Rockafella fork update - There was way too much play in the Shelby springer, so I got some all-thread and bolted it up so that it was stationary. Then I went to take it for a ride, and realized that the front end was too low to ride it. This fork was cut down from a ladies fork and the homemade main extension bracket is just too short. I picked up some flatbar to make a bigger bracket tomorrow. I'll make it work somehow.
View attachment 55330 View attachment 55331
Rockafella rear fender update - Drilled and tapped some holes to mount the rear fender struts. It felt so good to have these stay in place with no tape or wire. I also mocked up the rear fender extension a little.
View attachment 55332
Temporarily taped on the spare Monark fender reflector to the front fender. I'll end up moving the front strut to be horizontal and line up with the reflector.
View attachment 55335
View attachment 55333 View attachment 55334 View attachment 55336
I rolled it outside for some sunlight, but I can't ride it until I make some fork adjustments.
View attachment 55337
Looking good man.
I dig the short sissy too, would look good padded. Gives a little lower support for those times you need to lean back on long rides.
I figured I would be able to make it easier to pop wheelies if I lean back on it.
This sunlight shot reveals some rust on the bare frame and crankset. Is that real or 'surreal' rust? I know you had mentioned maybe trying a rust-ina on the frame versus paint. Kinda like it....
That is natural Savannah Sweat-ina. Most of that rust is from sweat rolling off my forehead onto the frame as I am working on it. It's my secret recipe.
I made the springer bracket today from a piece of Home Depot flatbar. . Nothing fancy. Just a cutoff wheel, bench grinder, vise, sledge hammer, and cobbler anvil.


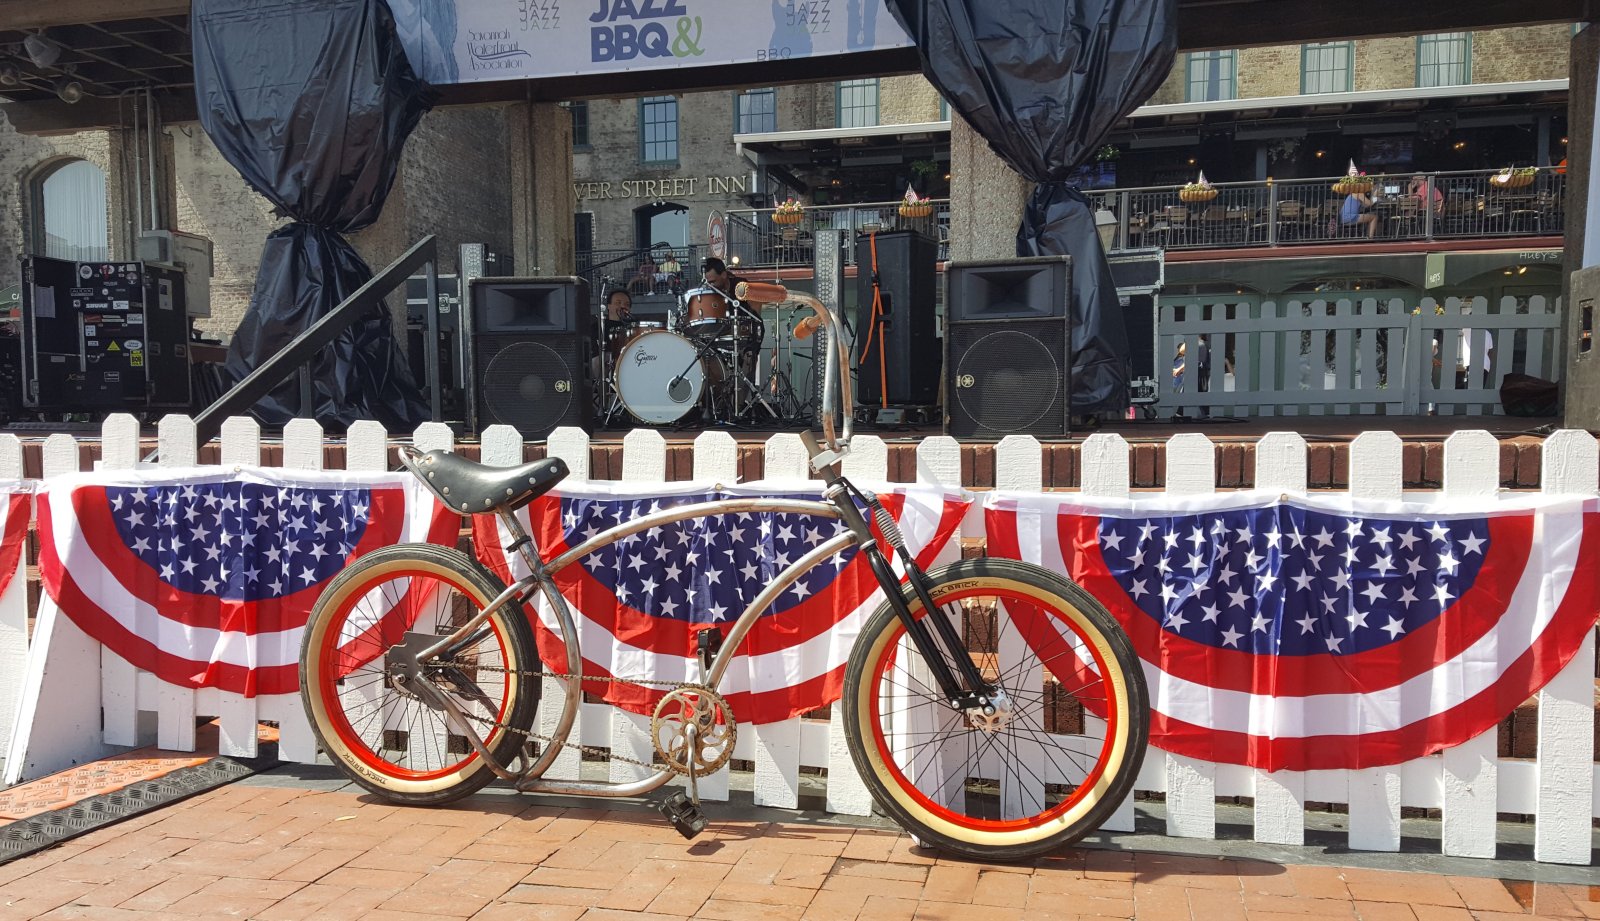
After building the bigger springer bracket, I took Rockafella out for a ride.


Nice fab work B! I hope it's thick/tempered enough to handle the springing force because it really looks good
Sent from my iPhone using Tapatalk
Sent from my iPhone using Tapatalk
The Renaissance Man
__CERTIFIED DIVER__ (Open Water & Open Dumpster)
Staff member
Moderator
Pro Member
Good work one the bracket, looks much better than the one that was on it before!
The first two pictures look like a cop trying to calm down mother of bridezilla.
For some reason they were surprised to find out that they couldn't just let the wind take care of the 1000 white rose petals. He was telling them that they would need to clean them up before they left.
Good work one the bracket, looks much better than the one that was on it before!
Yeah the previous one was homemade as well,but I really like how this one turned out. I still need to do a little finishing work on it.