Radio Flyer mini-wagon and Hungary...of course

Rat Rod Bikes Bicycle Forum

Help Support Rat Rod Bikes Bicycle Forum:

This site may earn a commission from merchant affiliate links, including eBay, Amazon, and others.
Joined
Nov 18, 2007
Messages
242
Reaction score
129
Location
Houston, Texas
Rating - 0%
0   0   0
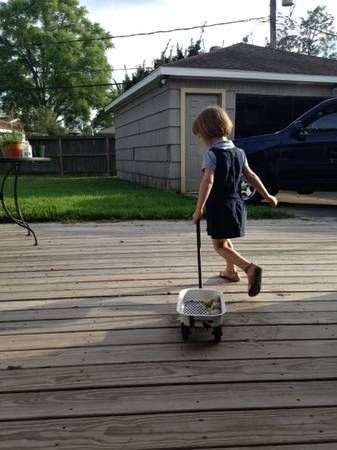
OK, so a good friend and neighbor is originally from Hungary and he has two small girls and speaks Hungarian and English to them. My daughter is friends with them and one of his girls just had her birthday not too long ago so I figure this is good enough reason as any to do another pair of wagon builds starting with the older girl.

A foreword about metal radio flyer wagons: I've been building these for going on 10 years now and the truth is although the metal ones have fallen out of favor for the big ballooney plastic ones, but you can still buy these new on the ebays or wherever. A full-sized new wagon should cost about $77 and a mini one like this about $26. Wagons are not worth a lot of money and not going to be worth a lot of money, IMO, until they stop making them new. I don't do builds with rusty, scratched up junk that other people think is worth $$$ on CL or wherever.

Both of these wagons I bought recently for under $20each shipped for gently used wagons and you shouldn't expect to pay much more than this either.

So enough about that.

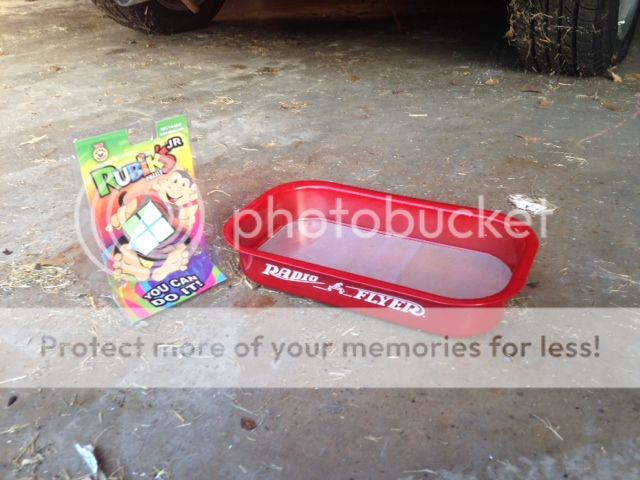
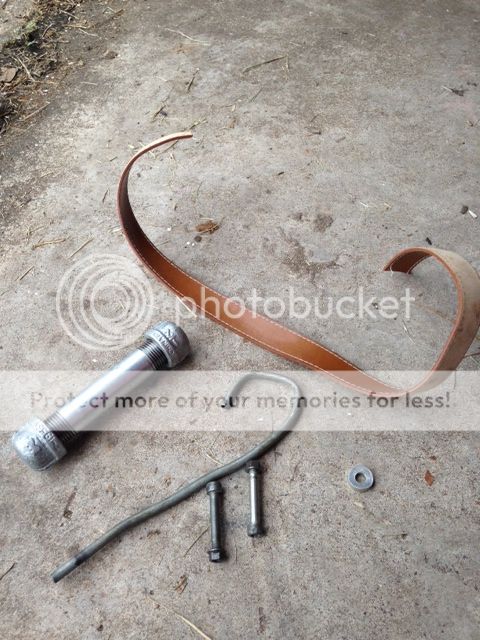
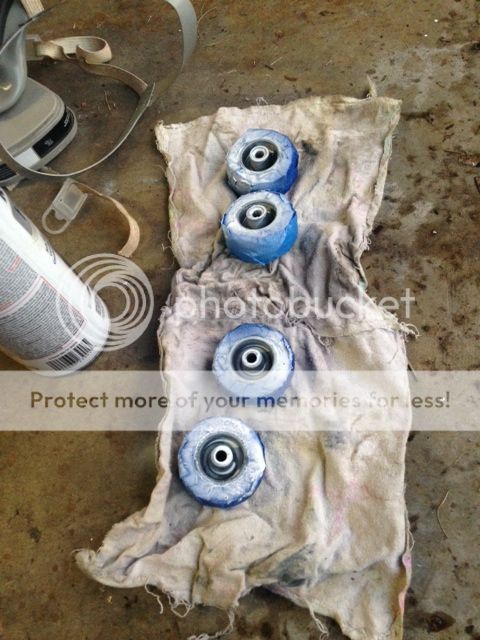
I know very little about Hungary other than it's an old Eastern European country and after an interwebs search I found out that the flag colors are white, green, and red and the rubik's cube was invented there. Enough for me to work with for now. Colors of the wagon? I'm thinking I don't need to respray the tub so I'll keep the red and the Radio Flyer stickers. White drop-in bedliner, handle, wheels, and brackets. On the bedliner I'll draw in the Eagle design with red and green wings. Also, going to add a small "fuel" tank hanging off the rear with leather straps. The handle knob I'm going to use a mini-rubiks cube.

That's a lot of colors and borderline "clown car." I want to be careful here. I don't want to do something that looks ridiculous. I want to honor his home country.

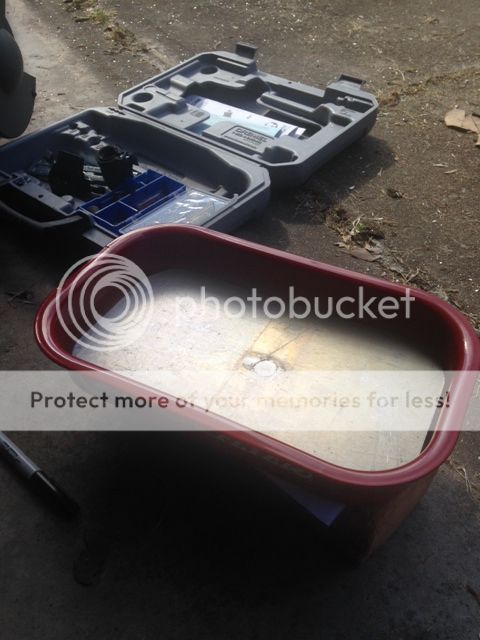
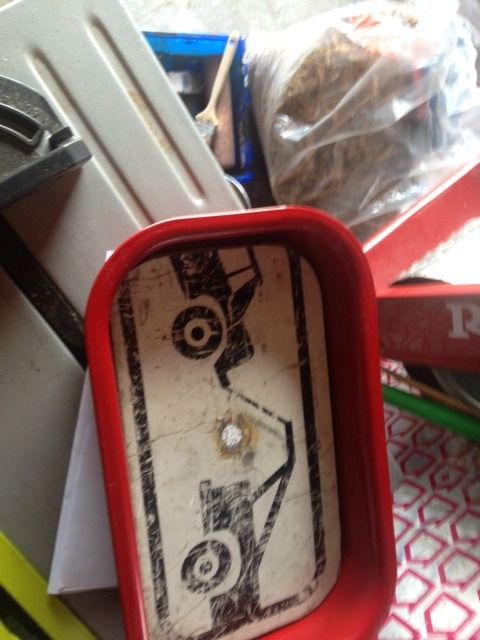
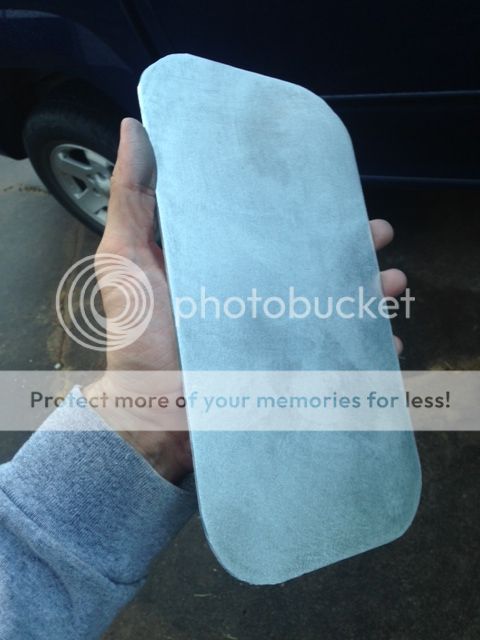
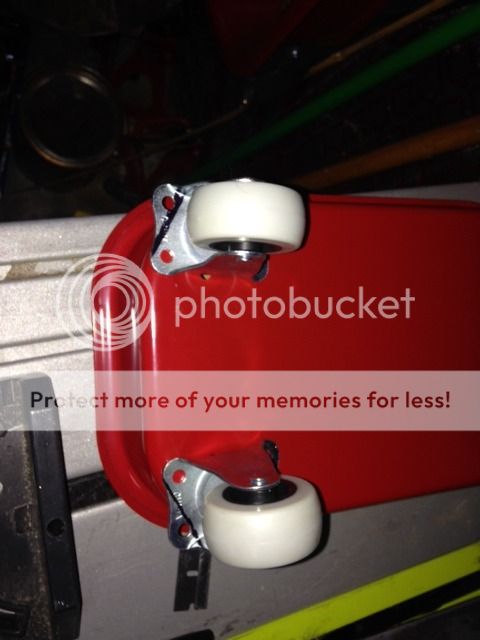
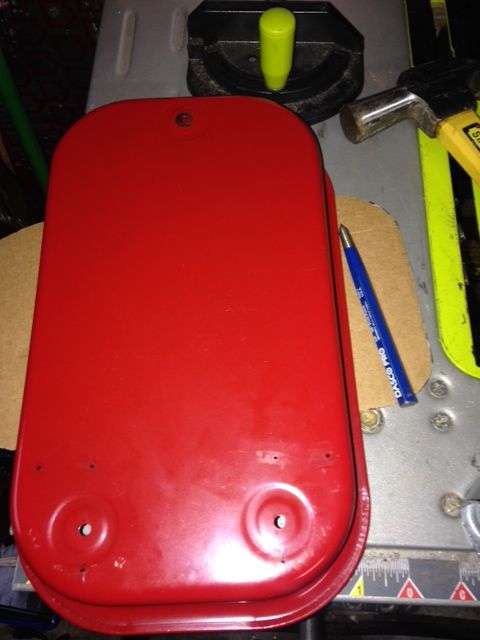
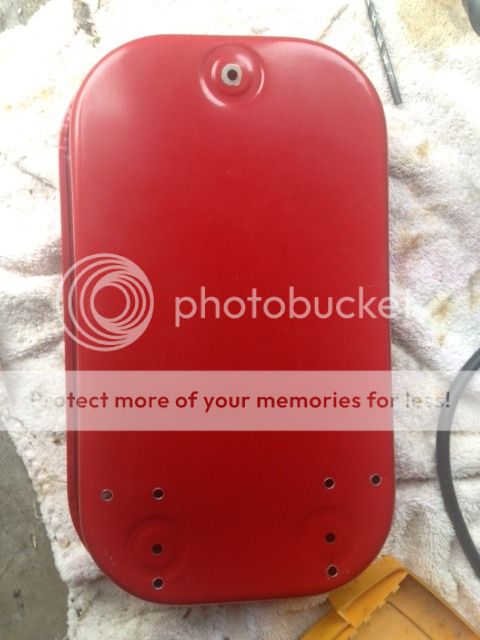
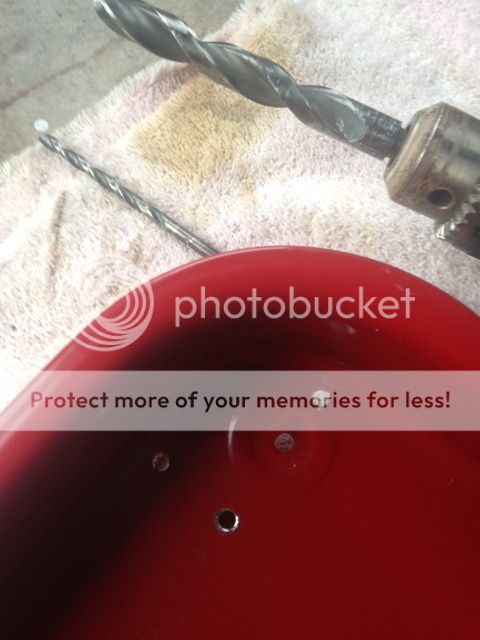
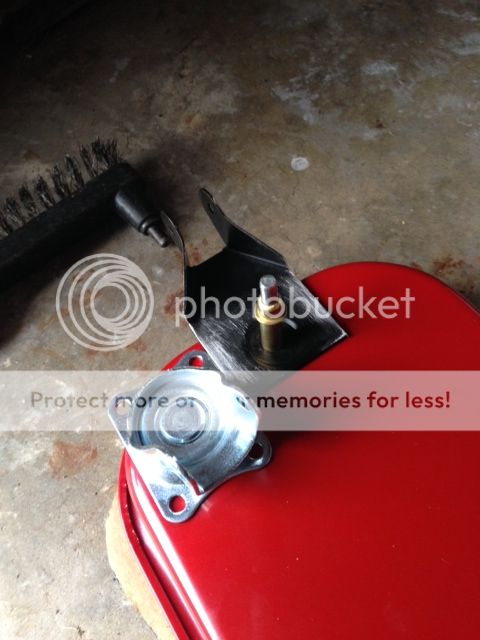
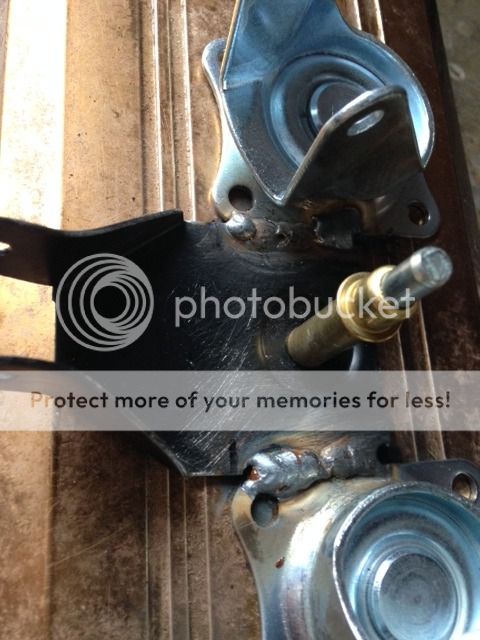
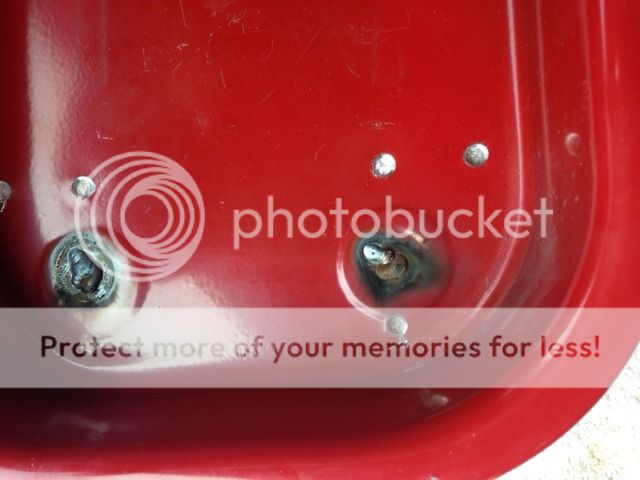
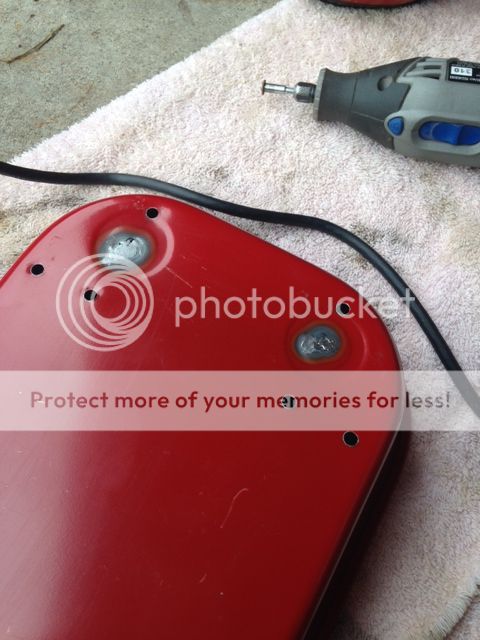
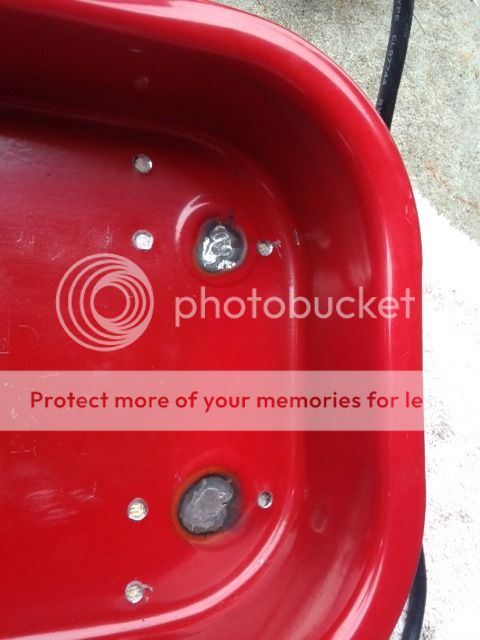
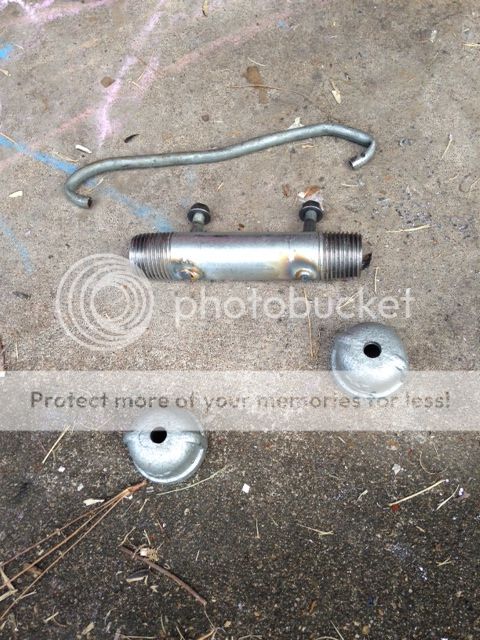
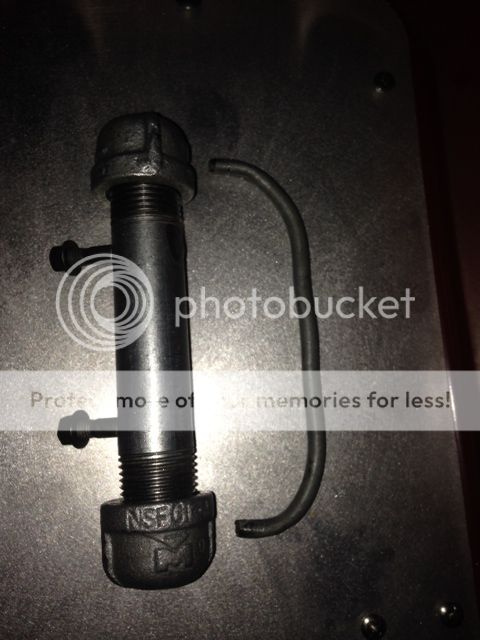
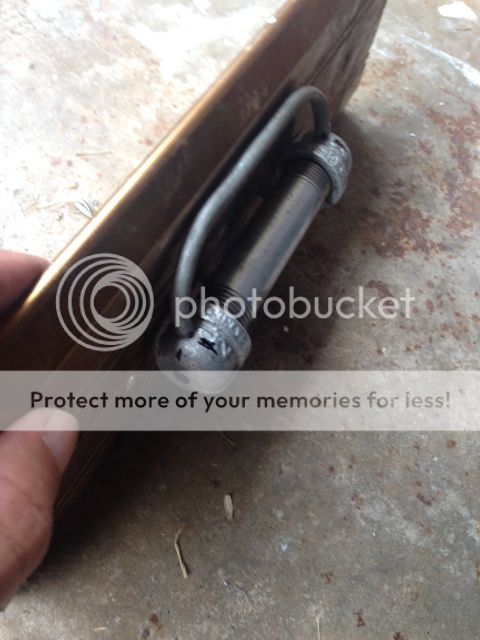
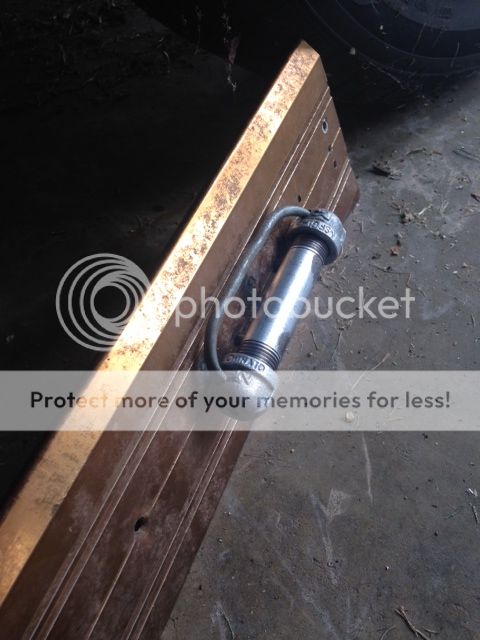
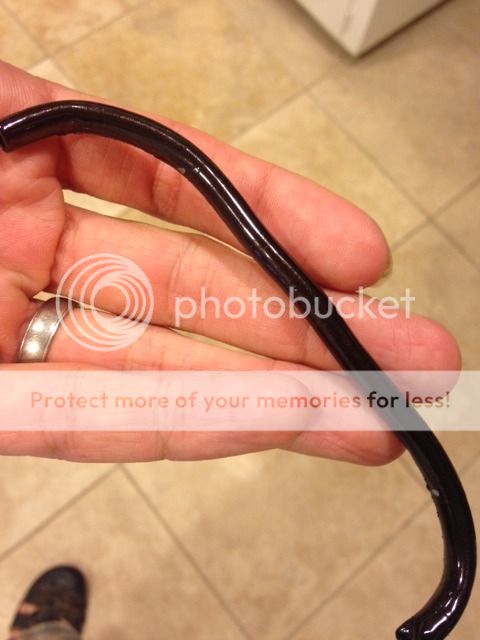
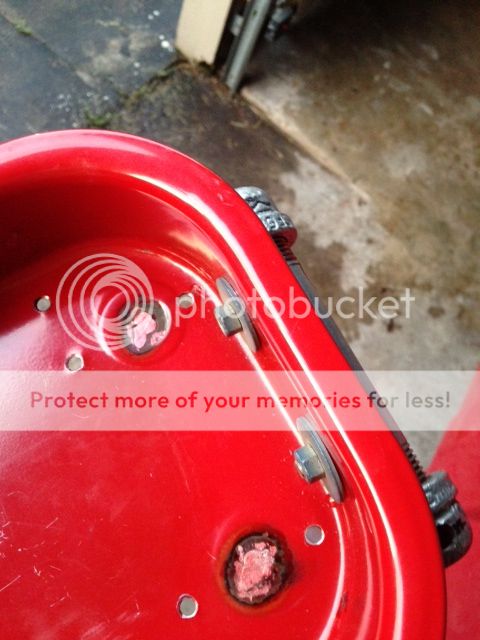
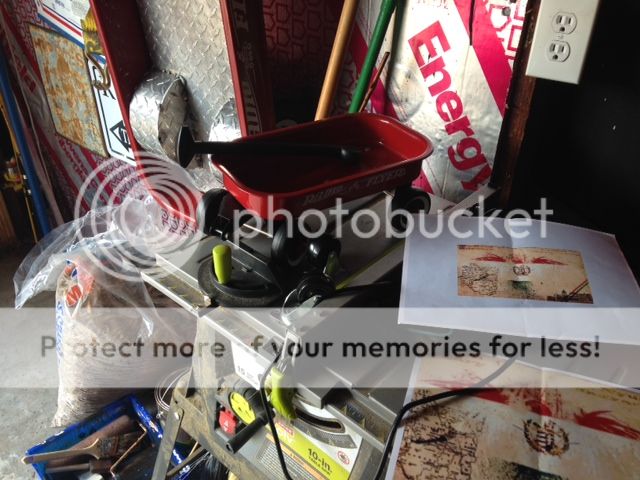
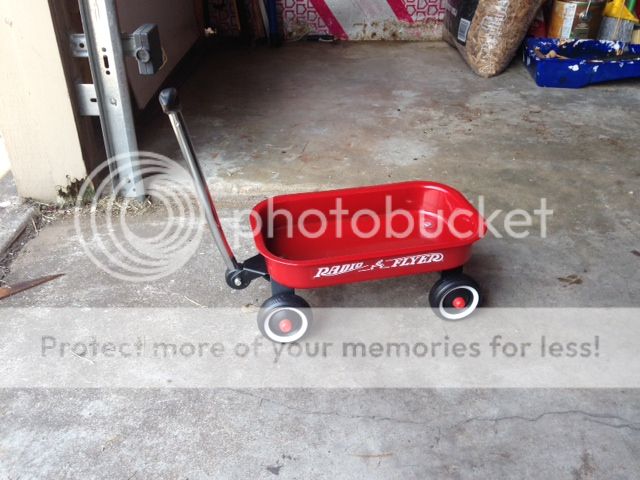
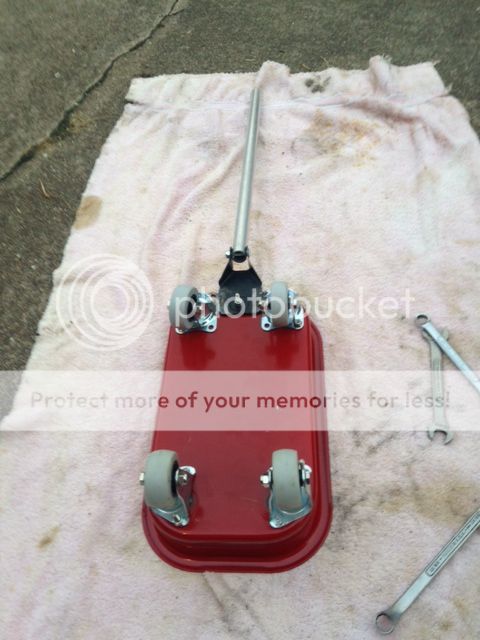
So I started to take one of the wagons apart yesterday and see what we got. This one has been used more than the other wagon and has some stratching on the tub and underside. If I was going to repaint the tub I wouldn't care, but I pulled the other wagon out instead. You can see the picture of the design to the right of this wagon that I'll paint on the bedliner.

photo%202_zpsytdvmsqj.jpg


Much better. No scratches so I'm going to go with this one instead.

BellaWagonStart_zpssc0pkffj.jpg
 
Next thing is to cut out the bedliner. I still have the cardboard template from the last mini wagon I did so that saves a bit of time. There was a pretty big hole in the aluminum sheet I want to use so I had to fill it in. The aluminum is pretty thick, like 1/8" which fortunately I can use with my welding machine to do aluminum as it's a MIG with gas unit. Welding aluminum like this requires a lot of amperage and won't work with my machine if the metal is much thinner. I used my copper plug weld tool and it got pretty warm, but still peeled off.

Just need to grind down the weld flush tomorrow then trace out and cut the template size.

photo%203%201_zps24grzepp.jpg
photo%202%204_zpst7rqhzij.jpg
photo%201%201_zpswp9rb0nx.jpg
 
Thanks. I need your ideas and feedback as I go.

I ground down the welds, cut out the bedliner, and did a test fit looks good. OK, so I should ask but I probably know the answer from you guys anyway. What looks better, this:

photo_zps2ltak7n1.jpg


Or this? It looks cooler on the other side, right? Long story short I'm going to set it aside and use this bedliner for the next wagon I build. I didn't steal this, BTW. I found it in a gutter on the street last year. No markings "Property of", etc. and would've wound up in the garbage anyway.

photo%204_zps8d2ecbv2.jpg
Love the sign side. I'm loving this build. We made one of these for a kid once who kept bringing his wagon to the shop asking for mods. First rack in pinion steering. Then leaf springs. Then we split and widened the wagon added fat pneumatic tires in the back and skinny in the front. Then his dad came by concerned because the kid was going to ask us to put an engine on it and he was afraid we would[emoji1] . Keep it moving this will be a lasting memory for these kids.

Sent from my SGH-T399 using Tapatalk
 
Thanks again. Want to see pics of yours, Sheepdog.

I took your Guys advice and set aside the rat bedliner for the next build for her little sister which will follow this one. Cut a "new" bedliner panel today, did a test fit and just need to clean it up for painting. I also was able to find the handle knob I was looking for at Toys R Us today. It's a mini-Rubiks cube with only four spaces on each side instead of 9. Should be just the right size for small hands.

photo%2025_zpsnqxhzdg4.jpg
 
Didn't get much done over the weekend as we were out of town. Cleaned up the bedliner to get all of the sticky stuff off, sand it smooth, then marked out the rear wheels of where to cut a mounting hole off of each one to better match the curve of the tub.

photo%2026_zps7muiyxhx.jpg

photo%2027_zpssqsjvsow.jpg
 
Will keep the updates coming, I get about 20-30 minutes a day to work on stuff like this.

I carefully cut off the shafts on the rear wheels as they need to come off anyway for painting eventually and did some bracket trimming to fit the tub corner curves. I need to mark and center-punch the other 3 holes for each rear wheel bracket so there is just enough room to fit a solid rivet through the tub and the bedliner. It will be more clear with pictures as I go.

I plan to plug weld the holes where the 2 original rear wheels were. It's not crucial, but if the new owner drags the wagon through a puddle of water and those holes aren't filled, then it will trap water under the bedliner and start to rust the tub.

photo%208_zpsyl65x3fl.jpg

photo%209_zpsmawrxfxl.jpg
 
Last edited:
In my younger days I would get a little nervous about drilling holes in stuff. Nowadays, with everything marked and center-punched, not so nervous anymore. I had to use my drill to do the holes for the brackets in the tub, but I prefer to use my bench punch when I can. In either case, I mark and use a center punch to make sure the holes go where they need to, but the bench punch is much easier to use for thin metal like this.

After drilling the holes with a hand drill there will be burrs on the other side. The best way (I found) to clean them up is to use an oversized drill bit on the other side and take a little of the material away--although I'm sure there are other ways to clean up the burrs.

photo%202%2016_zpsknrmus9h.jpg


photo%201%2014_zpsafcoqeqk.jpg


This is a Pexto bench punch I bought used for $150 on eBay. Made in the USA and cost about $700 new. This one is probably from the 80s or 70s and still works great. I have one 3/16" punch and die, but other sizes are available.

photo%202%2013_zpsintcgoow.jpg

I bench punched the holes in the bedliner. I love this tool. It took me about 2 minutes to center punch and then bench punch 7 holes. No deflection of the material, no burrs. Just one easy pull of the lever.

photo%2029_zpszmaatq3d.jpg
 
Last edited:
Next is the front running gear. I use part of the original stuff for simplicity of hooking up the handle, but I need to cut off and narrow the center portion. I lined up the new castors and transferred the marks of where I need to cut the center section. I use heavy duty wheels like this because the originals are plastic and toddlers don't know the difference when they stand in wagons like this.

photo%203%207_zpsn0uwrech.jpg


Once that was cut I needed to figure out the marks for how far forward or backward the new wheels need to sit next to the center section. The original design has the front running gear swiveling on a single screw. I don't need that with these wheels though so the plan is to just weld all three pieces together.

photo%202%2017_zpsn0bdryaq.jpg


Here it's clecoed to the tub and one of the wheels cut off to get a better mark/measurement.

photo%201%2015_zpsasrnejkg.jpg


The reason for the marks is that I wasn't going to weld with the pieces on the tub and warp the thin tub metal. I transferred them to an old scrap of aluminum metal. And here we are with some nice beads laid down:

photo%2030_zpstwjeexek.jpg
 
So plug welding a couple of the holes is pretty straightforward and much quicker than having to grind the excess metal back down to where it's flush. I had the welding machine on the lowest amperage setting to not blast through this thin metal.

photo%203_zpstfbnnsb4.jpg


And after nearly 20 minutes of carefully grinding the welds with a dremel tool.

photo%202%204_zpsx8l6ziym.jpg

photo%201%205_zpssjbffit7.jpg


A test fit with the running gear assembled. Looking good.

photo%201%206_zpsf6yrqd7v.jpg

photo%202%207_zpswdthseap.jpg
 
I appreciate all the comments and feedback so far. You guys have definitely pushed me to get this done quicker than I would have otherwise.

Had a little over an hour today to mess with the "fuel tank." From these things will be a tank hanging on the rear end. I know, I know what it looks like.

photo%202%204_zps27urlrde.jpg


After some cutting, welding, and grinding later I had this:

photo%201%205_zpspec6ocvo.jpg


I didn't like the creases in the fuel line and this steel is a PITA to bend with that tight of a radius into a 180 at the ends. Anyhoo, I straightened the ends back a little and decided to take a different entry point on the sides of the end caps with a 90 bend and weld those two holes back up I had drilled. Gonna do some painting tomorrow time permitting.

photo_zpssz25ppca.jpg
 
I needed to figure out where to drill and the angle towards the rear of the bed, but before drilling the two holes in the bed it's easier to just set up jig on a scrap piece of metal to get a better idea of the angle.

photo%203_zps6oossgac.jpg


Marked, drilled the new holes with the correct angle and fit the tubing.

photo%202%207_zpstotbvrmq.jpg


Fitted the fuel tank to the tub and it sits pretty good. OK, done with the metal working on this project. Just need to fit the rubiks cube to the end of the handle and then all of the pieces will have been modified.

photo%201%206_zpsolupyhq2.jpg


Going to powder coat paint the tube burnt copper color tonight along with some other stuff.
 
I was out of town last week on vacation. OK, got the tube painted and the parts back disassembled for painting.

photo%2032_zps5j6nfx69.jpg
photo%2031_zpsdthvyble.jpg
 
Not much doing today. Still getting stuff done, but the two studs holding the tank to the tub protruded just a little too far for my liking. The problem was the threading stopped short so it was a good excuse to buy some metric dies to recut the threads lower on the shaft. It's the little things like this of cutting, checking, measuring, and regrinding that take the most time.

photo%202_zpslcy1ryiv.jpg
 
Back
Top