'nother wagon build

Rat Rod Bikes Bicycle Forum

Help Support Rat Rod Bikes Bicycle Forum:

This site may earn a commission from merchant affiliate links, including eBay, Amazon, and others.
Joined
Nov 18, 2007
Messages
242
Reaction score
129
Location
Houston, Texas
Rating - 0%
0   0   0
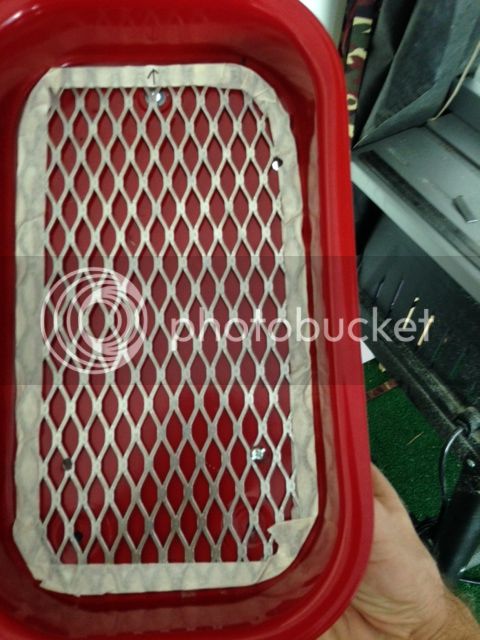
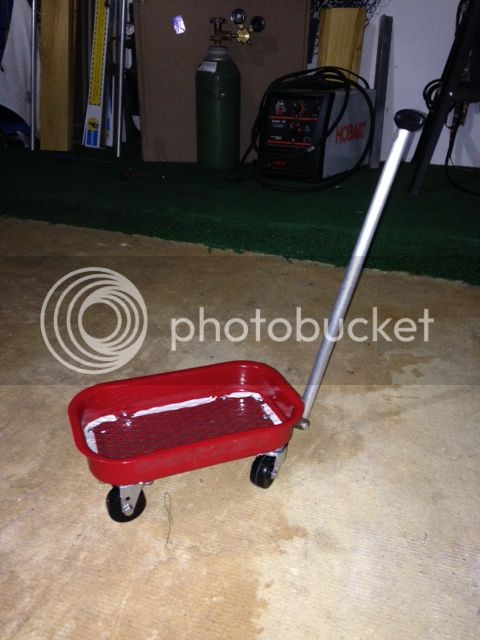
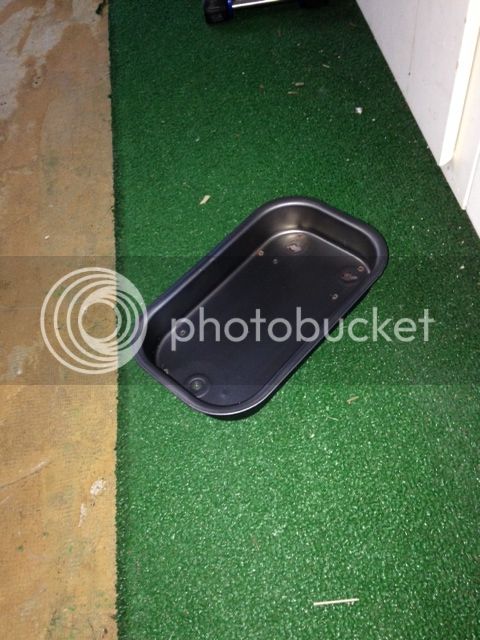
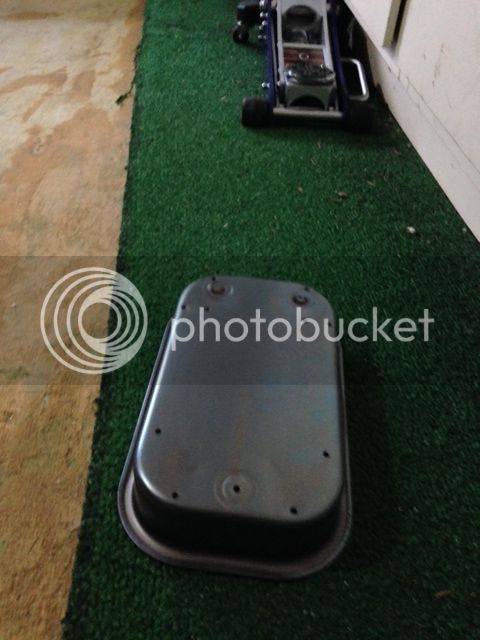
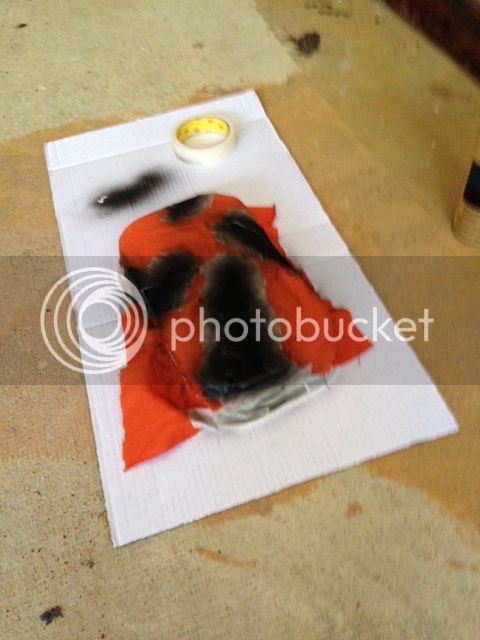
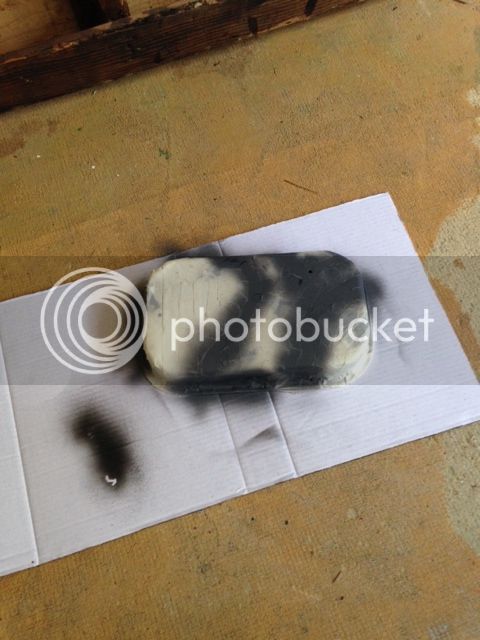
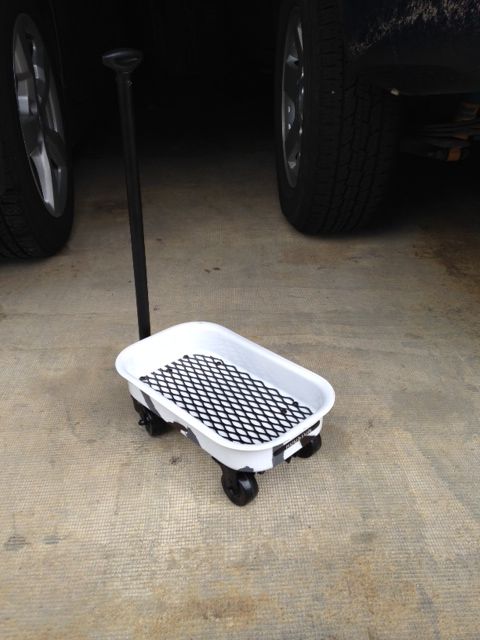
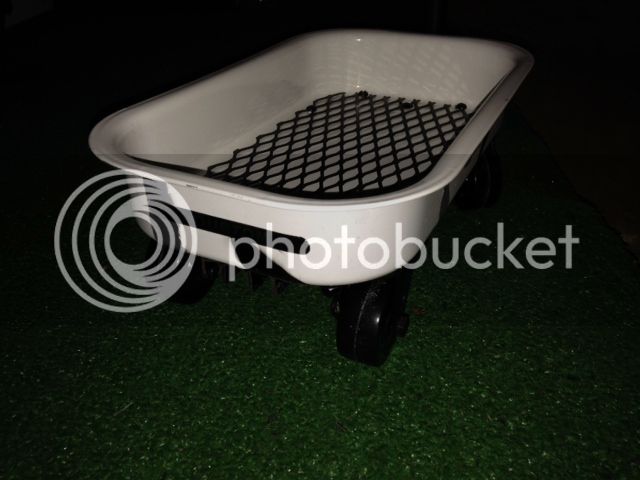
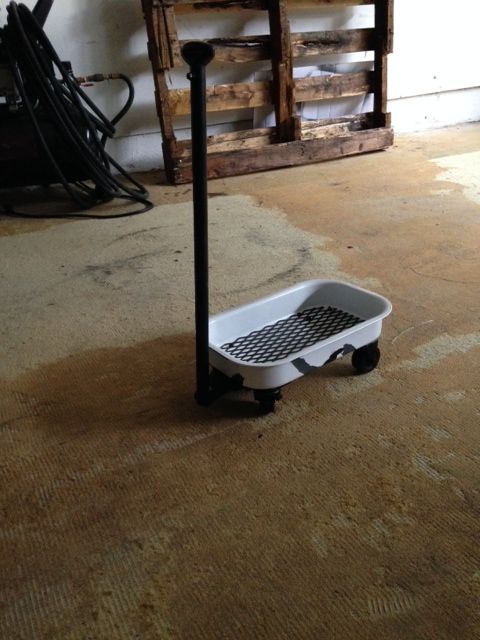
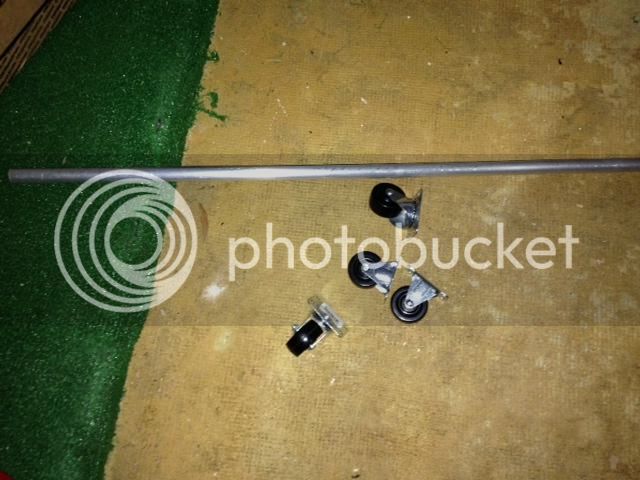
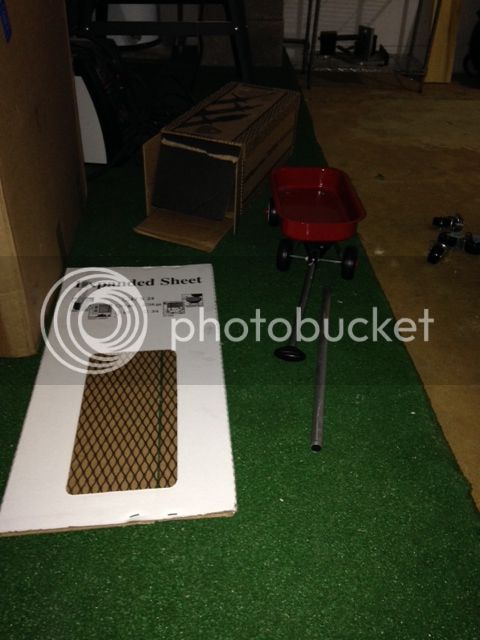
Time to do a project for the little toddler again. Well, this will make number 4 of the wagons I've done over the years. Not going the separate frame tubing, super-low, wheels out in front of and behind the tub look. To each his own, but that's not my style. I'm keeping this somewhat simple. Gonna change out the plastic wheels for some heavy-duty castors, extend the T-bar, drop in bed-liner, and a red-grey-black camo. paint job.


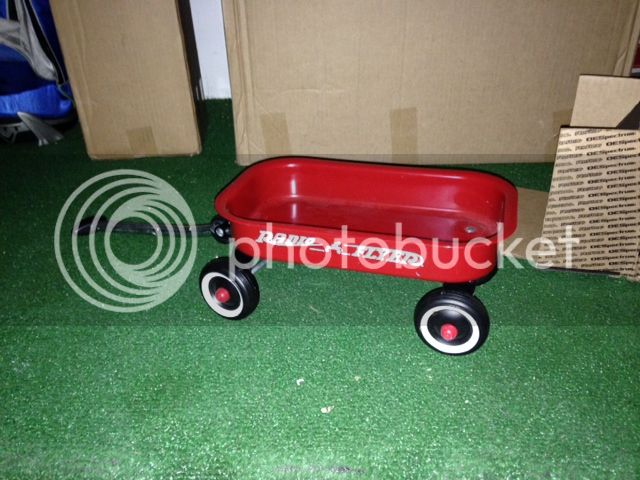
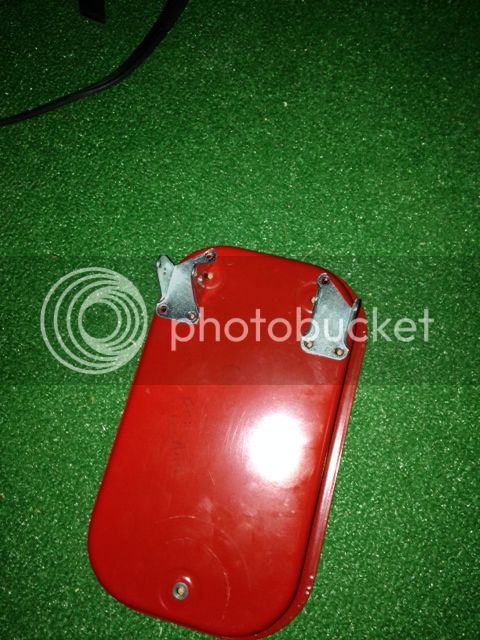
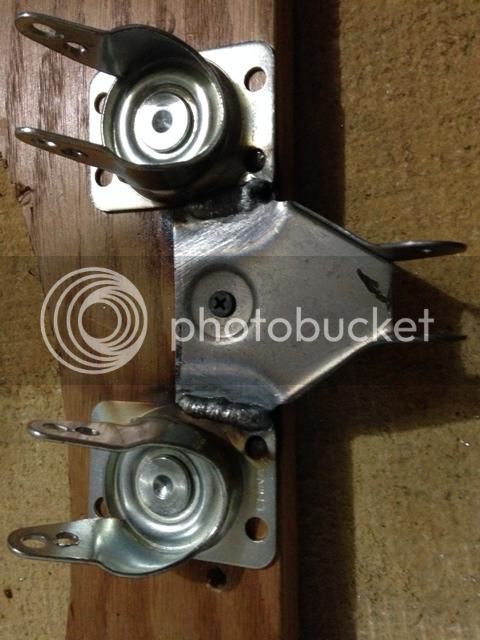
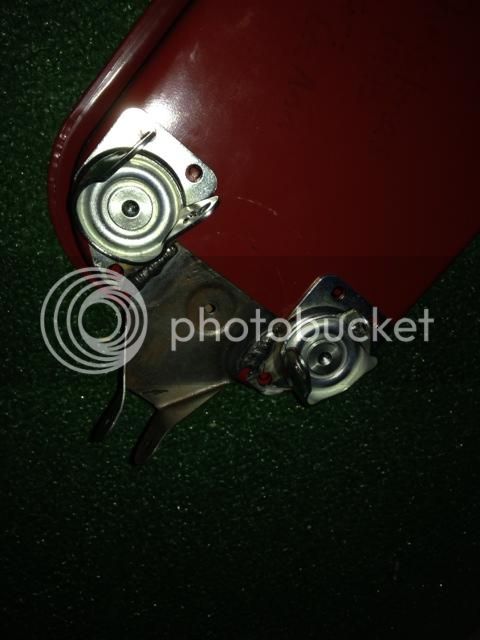
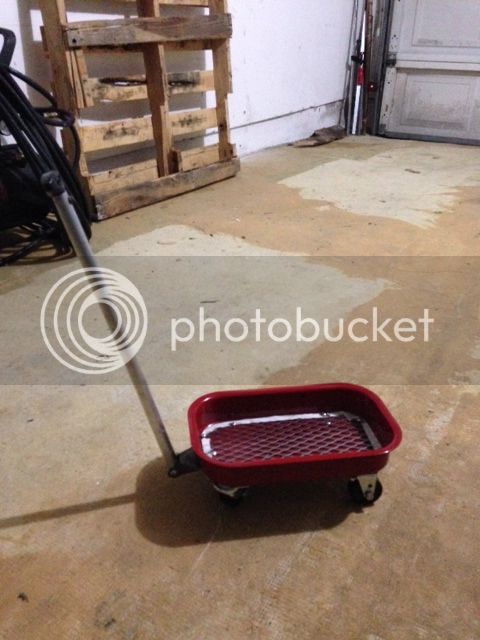
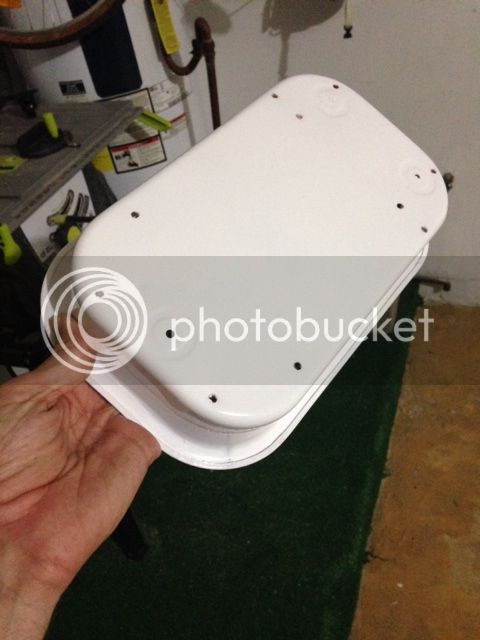
I won this wagon on the ebays for $9.00 used, but in great shape. The last time I went to a big box store where they sell toys the only radio flyers for sale were the big baloony looking plastic ones. :( First thing was was to assess what we have. It was a christmas present to someone in 1995. I'll probably just clean that well-wishing off as I think it'll raise more questions than answer them down the road from the receiver of this wagon when she can actually read. As far as I can tell this wagon was never really played with or just very gently if it was. I love good old stamped steel parts--it's such a simple thing but nice curves, sturdy, good design.


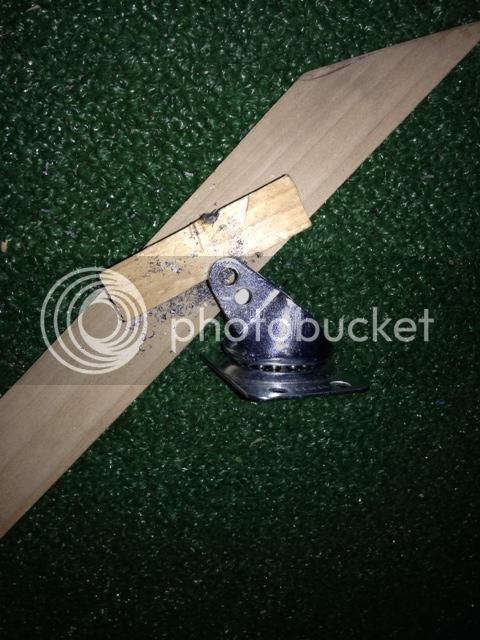
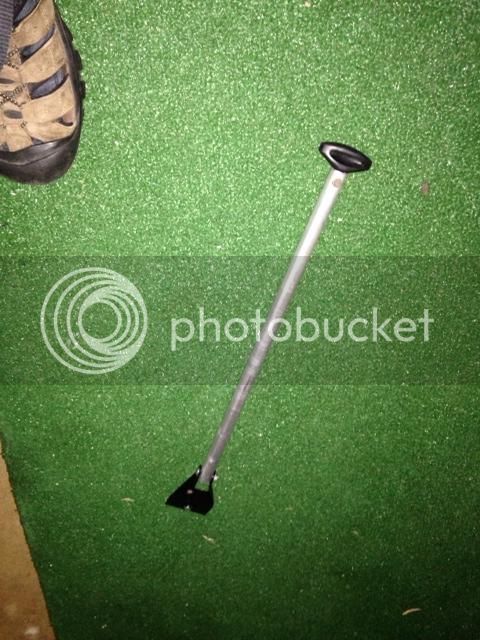
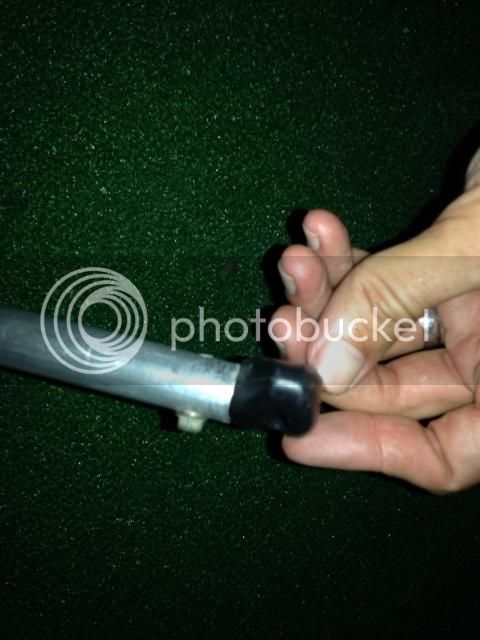
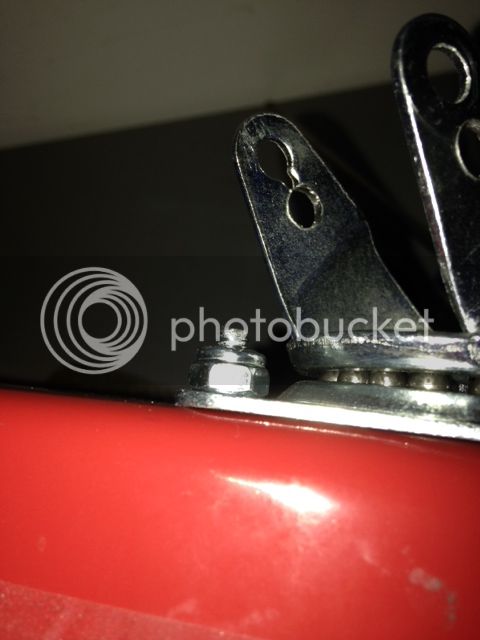
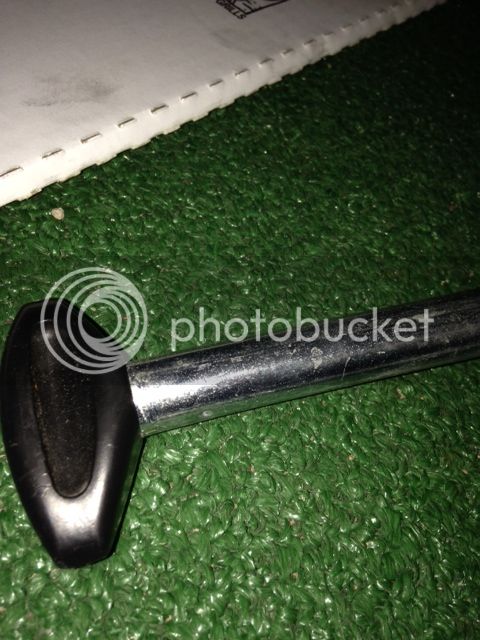
I then used the very scientific method of determining how long to extend the new aluminum tubing T-handle. In half lengthwise. :crazy: I cut it midway more or less in case I decide to do another wagon in the near future. I'm just being cheap is all.


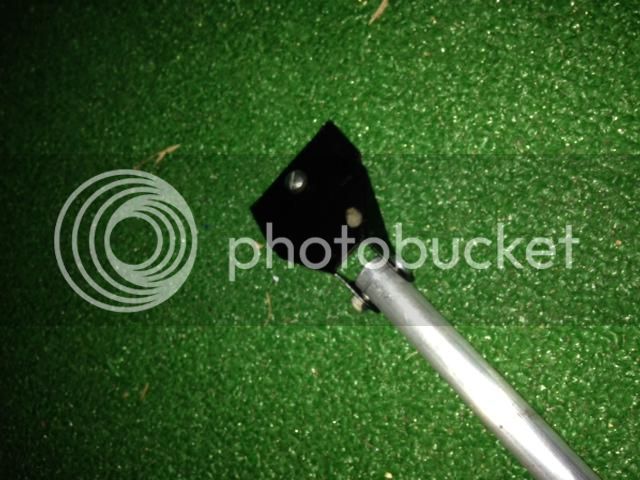
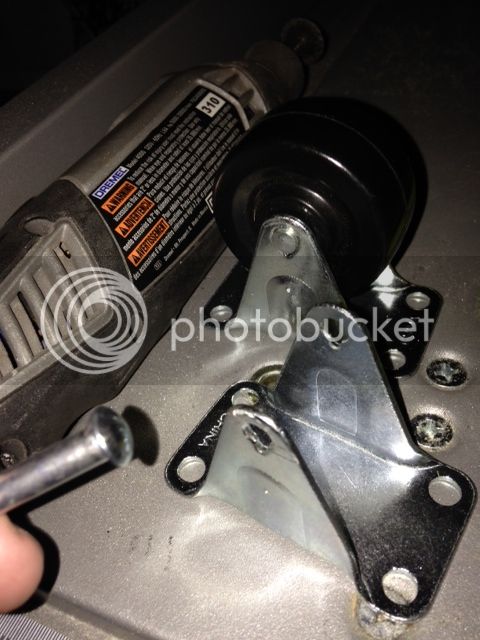
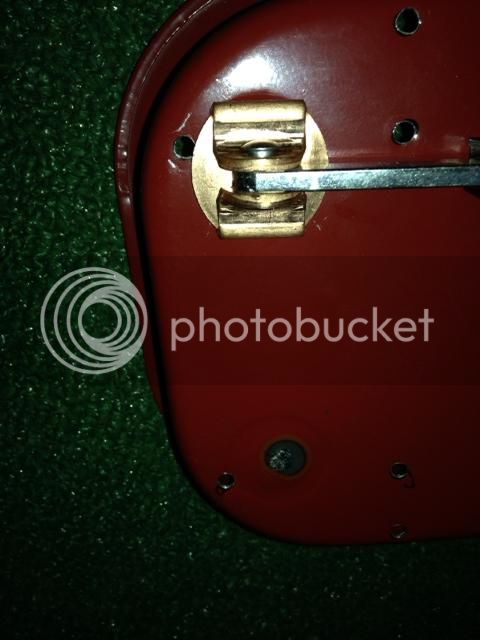
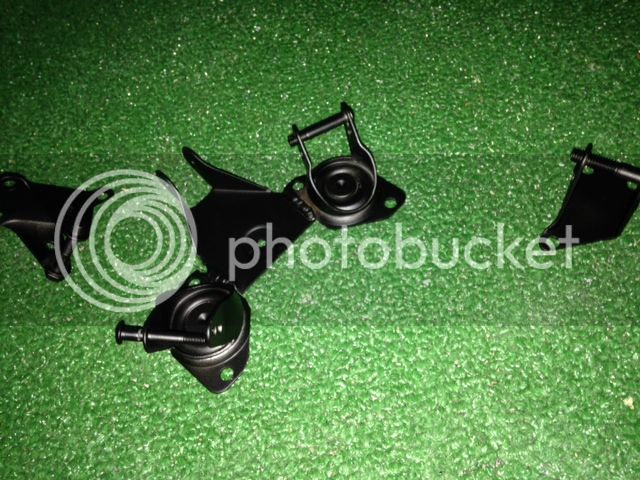
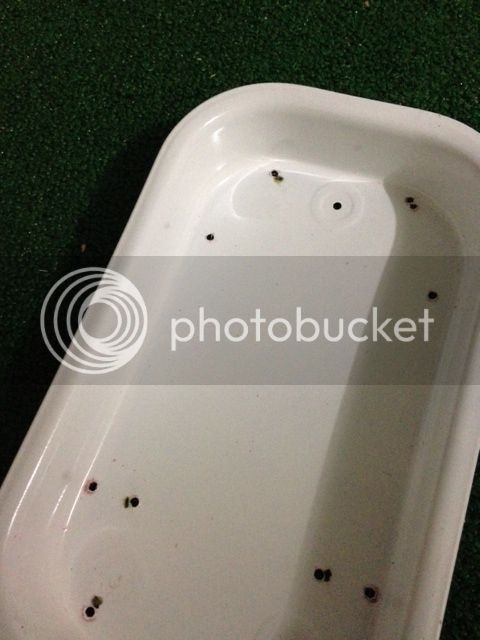
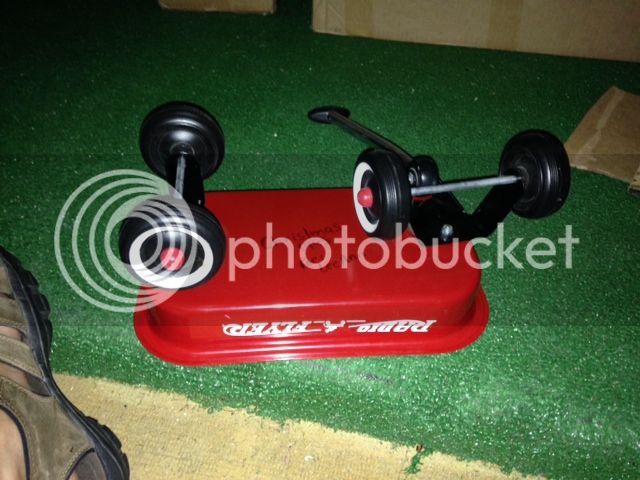
I then drilled out the dimples on either side of the T portion. That's enough fun for one day though. Will pull the wheels and running gear off tomorrow or later in the week.


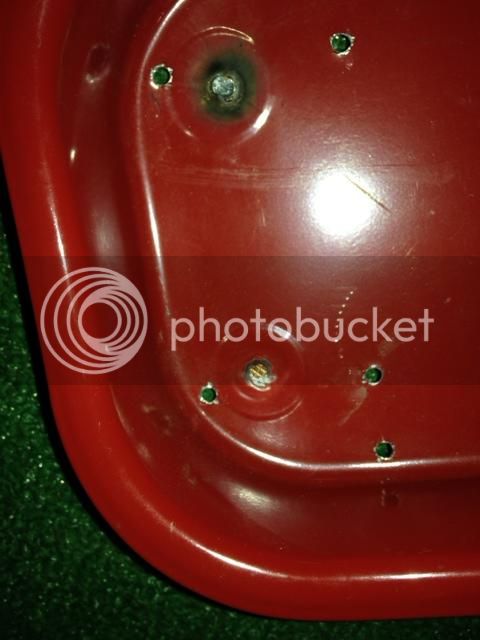
I'm thinking ahead towards the underside from the rear view. In the past I've done a tiger tail and mud flaps on 2 separate wagons. Ideas for this one?? What do you all think? I like the rear underside spoiler look of the touring cars and Ferraris, etc.

http://image.motortrend.com/f/featu...lamborghini-veneno-roadster-rear-end-view.jpg
http://www.eurocarnews.com/media/pictorials/2698/17302-web.jpg
 
Last edited:
Took the running gear off and wiped down the old marker on the underside. I'll re-use part of the front steering mechanism for the T-bar and handle, but it will be stationary as the front castors can pivot.


I'll have to do some fitting and trimming of the wheels also to get them to fit the lines of the tub. Most everything, except the tub, will be powdercoated so at some point I'll take the wheels apart to not melt the rubber part.

 
It's not much because I only get about 15-20 minutes to mess with projects like this in the evenings. Anyhoo, I cut out a template to size up the inside of the bed and then cut out the bedliner I'm going to drop in.

 
I changed the blade on my table saw to one that could cut metal and got the bed liner cut out with some good straight lines. Cutting this material is easier to with a high-torque motor vs. a jig saw or a dremel especially since the material is at angles and I was trying to keep a straight line. I ground most of the sharp edges off although they really won't be exposed once they sit in the bed. Did a very careful test fit and it looks good.


Next will come the most time consuming portion, trimming and fitting the castors to the bed.
 
I was out of town for a few days, but again I only get baby steps done on my projects here and there each day. I took apart the front castors to drill some speed holes in them. Will look cooler after it's painted. Speaking of which, I was trending more and more in the direction of 4 colors due to what I was dealing with as far as parts and paint. I hate to grind the tub down to metal, but it kept bugging me picturing it finished in red, white, grey, and black. I didn't want to go with white, red, and black either so I took the plunge and bought a bigger toaster oven on CL for $40. This one holds a chicken apparently and is much bigger than my old $5 Goodwill oven so I'll be able to powder coat the tub and possibly fit the handle in there, too.

images

photo13_zpsb2856b17.jpg

photo2_zps13864917.jpg

images
 
I tackled the handle today which probably looks easy, which it would be if I still had a drill press, but takes a steady hand and some careful measurements to get the holes drilled pretty close to 180 degrees apart at either end so the bolts can get through. The part that attaches to the tub steering was pretty straightforward, but the "T" handle I had to drill and tap for a threaded bolt then trim off the excess threads. Again, no sharp edges for little hands.

photo3_zps6f67999a.jpg

photo211_zpse636ce9f.jpg

photo12_zpsfcc30ba6.jpg
 
I spent a bit of time on the rear castors this evening. The rubber wheel part has to come off as I'm going to powdercoat the brackets gloss black. The front castors have a blind bolt with a little locator groove and nylon nut holding them on, but the rears had a pressed on shaft (I don't want to call it a bolt) but whatever the term it wasn't removable so I had to cut the head off. I used a dremel and a disk cutter, but I didn't want to scratch the surface of the bracket either so I ground down enough of the head carefully until I got close and then set the bracket on some wood and used a center punch to pop the shaft out. Drilled a few speed holes also in the brackets.

photo7_zpsf41a2722.jpg
 
I trimmed the brackets on the rear castors and got them to fit so they'd be right up to the edges and flush with the sides. I marked and center-punched, then drilled pilot holes. I don't have the right short screws to mount them, but I'm doing a run to the hardware store for some other stuff and will pick up some with nylon nuts along with some paint stripper.

photo5_zps9bcce7f8.jpg
 
I bought some spray paint stripper to clean up the steering head before I do some welding on it. The can recommended it would take anywhere from 10 to 30 minutes, but it only took 5 showing how thin the paint was. It wiped right off with a rag. I then secured the two front castors and the steering head head to a piece of wood (I know, welding on wood isn't the best, but I don't have a lot of options) and welded the 3 pieces together. This will make it easier to mount to the tub and I can use fewer screws to secure the mechanism.

photo15_zps72cab53a.jpg
photo14_zps9eafb20b.jpg
 
Some of the welds I did last night went through to the other side as I had a little too much of a gap when I lined up one of the castors with the steering head. There was good penetration on the welds, but it wasn't flush (flat) on the other side so I had to grind the welds down a little bit. Anyhoo, trimmed up the front corners with the tub to get everything flush, marked, punched, and drilled holes for the front assembly. Maybe powdercoat some stuff tomorrow or another run to the hardware store.

photo16_zpsccbd89ef.jpg
 
Now comes a very time consuming portion, cutting out the bedliner so the threading on the short bolts can pass through. This takes a while as it either has to be cut out with a dremel cutting disk carefully or rounded out with a sanding stone and dremel, then checked, then clearanced again, etc. You can see here two lower most bolt holes in the recessed portion won't be used as those were from the original running gear. I have to buy a tool (good excuse to in this case!) for plug welding those holes. Didn't find any place that sells powder coating colors so I ordered some gloss white online.

photo13_zpsfc868dfe.jpg
 
After quite a few more trims and grindings of the bedliner, finally got to where I could put it together for a test fit before things get painted. I've made this mistake in the past of not fully putting things together before paint and there have been issues later. Still have to wait on a plug weld tool before I can paint the tub though. Looks pretty good. Rolls good and no binding or anything.

photo22_zps2c8e7f00.jpg
photo12_zpsbf34f66d.jpg
 
The benefit of doing a test fit. I cut the excess threading off of each bolt so no sharp edges can be grabbed on the underside or caught on clothes or blankets, etc. This is easier to do now and not worry about scratching the paint.

photo9_zps3371af9a.jpg
 
So I got my plug weld tool and this thing is amazing. It's got a magnet to hold it to the piece and the other end is a copper section that won't get welded but covers up the hole. You level out the adjustment (really just to check that the copper is flush with the hole) and set the welder on the lowest power setting. When you take the tool away it's almost flush on the other side.

photo11_zps5387ad49.jpg


You can see here the bottom hole I welded up and the top one I'm getting ready to do next. This saves a lot of time down the road because I only have to grind down one side of the weld now.

photo22_zps3a897d41.jpg
 
Fresh from the toaster oven I powder coated some of the parts. Looking good. I found that my new oven isn't as big as I thought it would be though. :( Anyhoo, going to paint a few more parts and strip the tub next.

photo10_zps65dd7adf.jpg
 
First time I powder coated anything aluminum. Looks great. It wouldn't quite fit in the oven so I just covered the gap of the door with aluminum foil and it baked OK. I'll have to do the same with the tub though.

photo14_zpsa7612bd5.jpg
 
Stripped the bed down to bare metal with paint stripper. This didn't take too long. Next comes the tedious time consuming portion of cleaning all the black powder paint from the gun before the white goes on.

photo210_zpsd86d7358.jpg
photo14_zps5d6ac528.jpg
 
Getting near the moment of truth, but the painting of the tub still isn't done. Gonna have to do the camo stripes next. Still though, it turned out great. A word of advice though, make sure you have ALL of the old paint off. I had about 99% of the old paint taken off, but around some of the holes there was some red and it still bleeds through. It won't be visible on the final product, still though.

photo24_zps84214983.jpg
photo13_zpsf089aed9.jpg
 
Getting exciting on the final assembly stage. I tried doing the camo with fabric cutouts taped down to the tub, but that didn't work so well as the tape was coming up from the fabric being a little too stiff. Here I did the black camo stripes.

photo3_zps3d725c9f.jpg


Next I did the grey stripes by just taping the tub itself. Worked a little better.

photo28_zpsa27c4fc3.jpg


Here I glued some small bits of the metal I cut from the bedliner next to some of the mounting holes for the screws. The bedliner doesn't secure the screw head on either side on some of the holes so I had to put these tiny bits of metal there to take up the slack and so the screws stay straight when they're torqued down. Until the glue dries then...tomorrow.

photo12_zps8292a1c0.jpg
 
Finally done. Turned out great. I had some extra carbon fiber material laying around which I used for the underside rear splitters. This will help the aero. tearing around the house being pulled at high speed. :D The Houston sticker I pulled from my wife's car as it was part of a name of the dealership on there, but I was planning on pulling it off anyway.

My little one is happy with it so far, toting toys around from room to room, etc. The wagon's durability was put to the acid test as it's already been stood in once today also. o_O The handle height is the perfect height.

photo42_zpsaa6caa6b.jpg
photo32_zps6a277b4f.jpg
photo19_zps88e0df56.jpg
 

Latest posts

Back
Top