my fav low got a big bro

Rat Rod Bikes Bicycle Forum

Help Support Rat Rod Bikes Bicycle Forum:

This site may earn a commission from merchant affiliate links, including eBay, Amazon, and others.
Joined
Aug 3, 2008
Messages
2,194
Reaction score
53
Rating - 0%
0   0   0
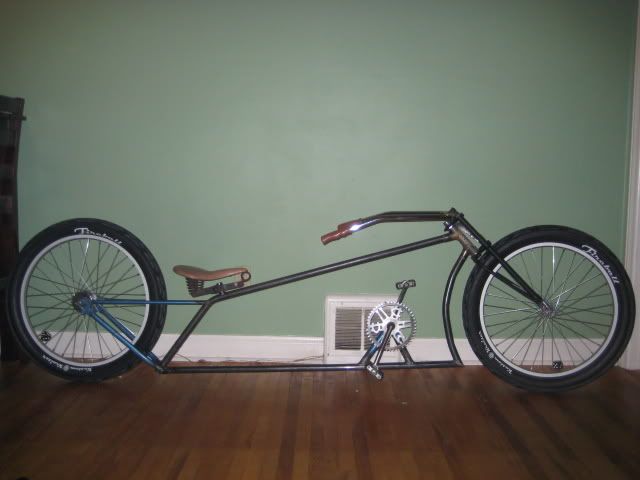
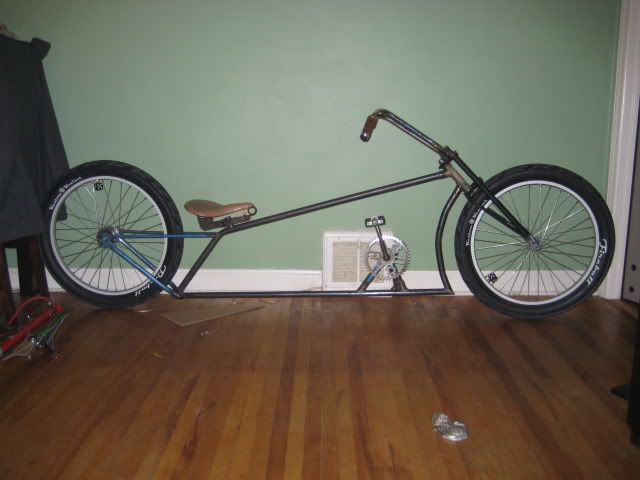
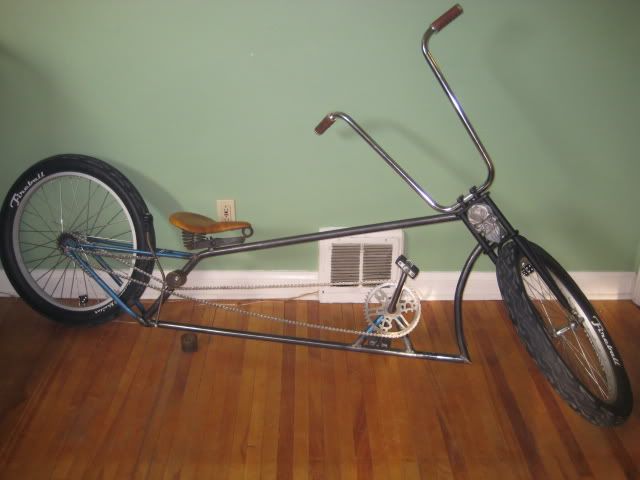
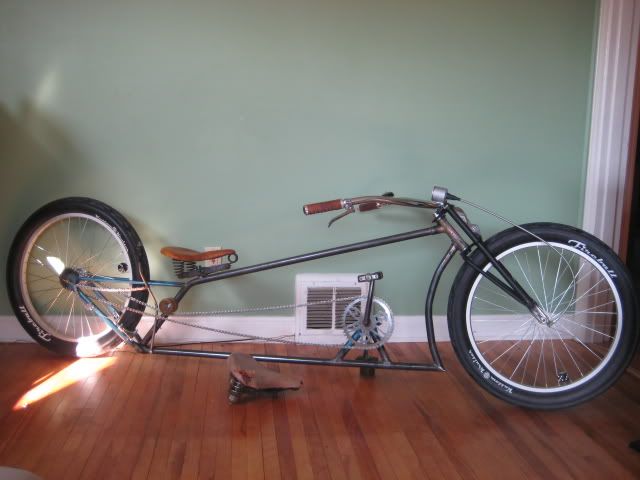
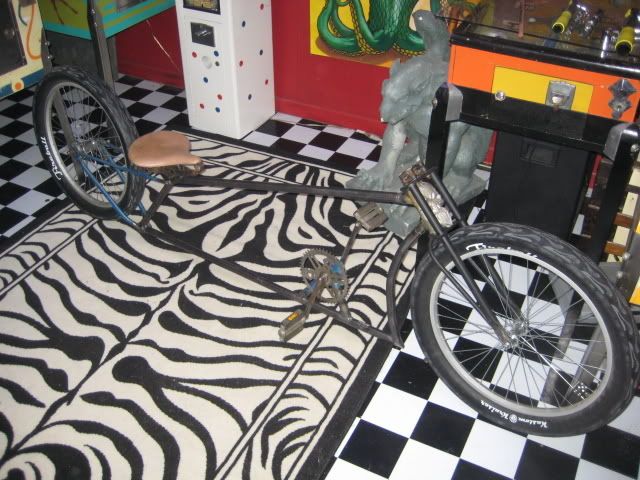
well this week i decided to build an industrial version of my fav low. gonna be bigger, stronger, faster. theres a few dirt paths my girlfriend and i take when riding. the low riders i have don't handle the terrian well.
IMG_4057.jpg


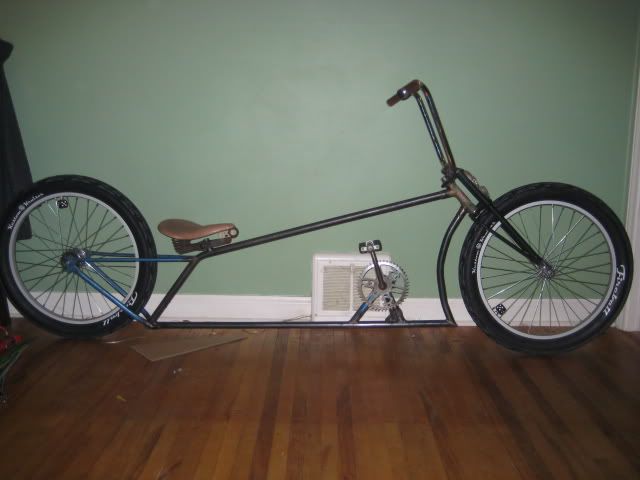
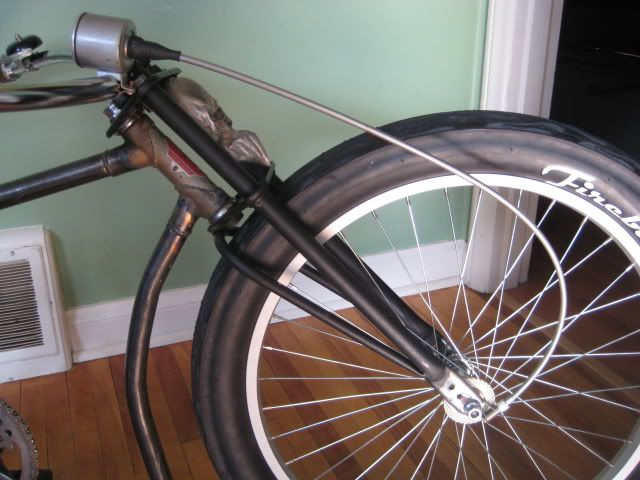
the new build has much larger tires stronger forks and alittle more ground clearance for such events.
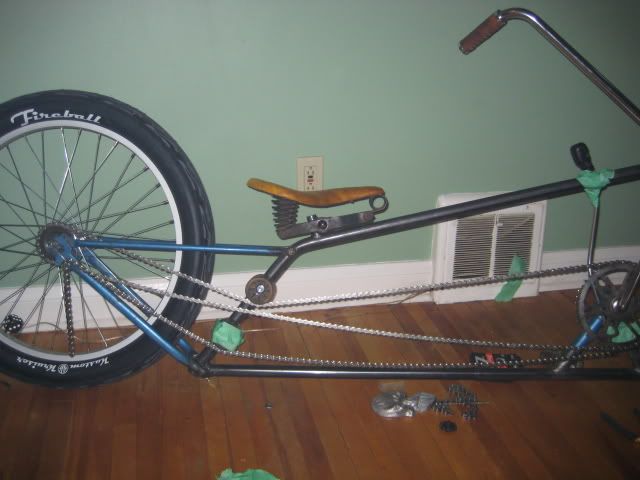
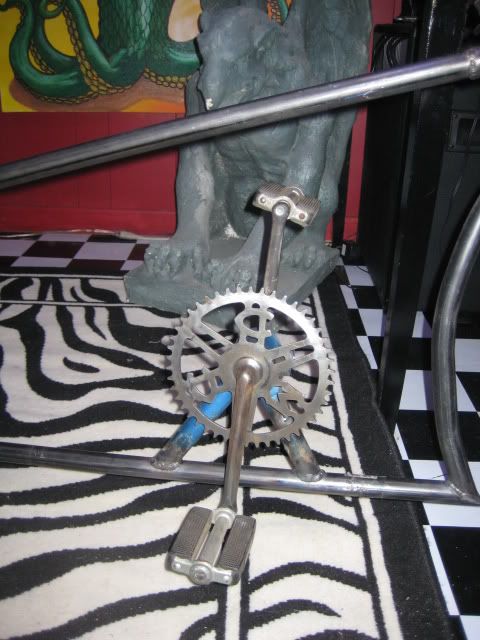
the bike started life as an old ccm (50's) i've used alot of parts from it for other builds and was left with the frame/crank.
the forks are a 20" set of ccm mx 500 forks (early 70's looks like those motorcycle type mx without the tank and with banana seat-a transition between the muscle bikes and mx) i had to extend the forks to cram in the 24" rim with 3" rubber. (only an 1" though, go figure. :) )

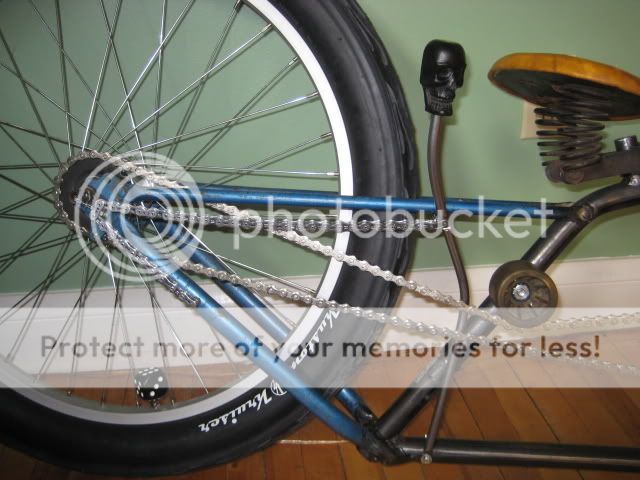
i addore these old ccm cranks/sprockets. the wheels are from my westrn flyer (temp) it should explain the old skip tooth sprocket on the back. (before ya ask.)
IMG_4070-1.jpg

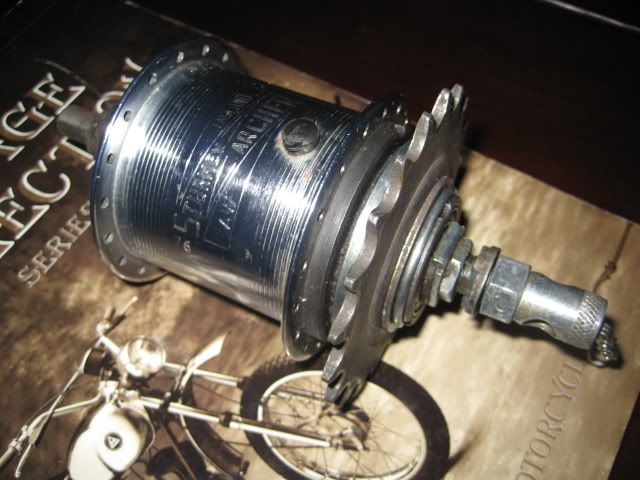
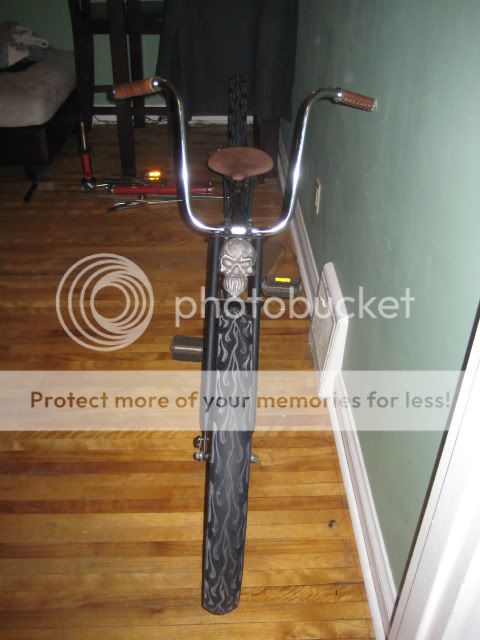
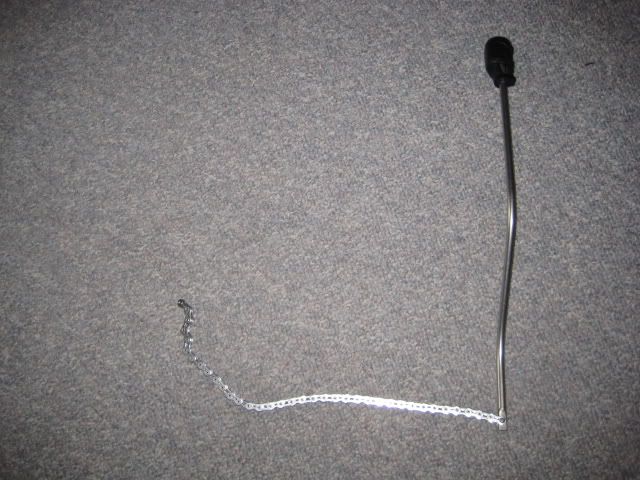
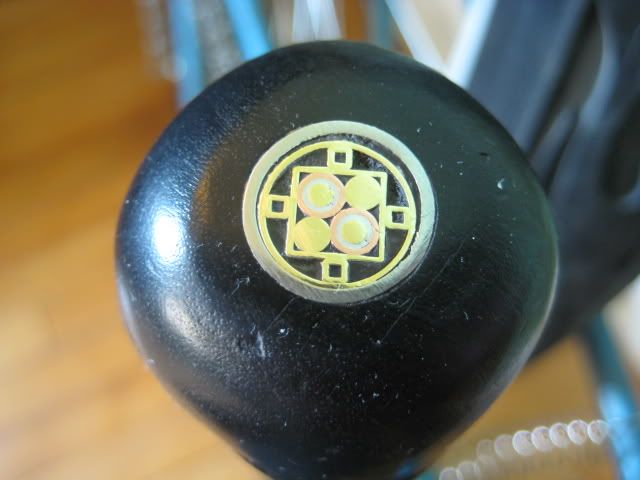
i have a sturmey 3 speed hub for the build, i just have to relace it. i haven't decided on a shifter, but its gonna be big, in your face and at the rear of the bike. (behind the seat.)

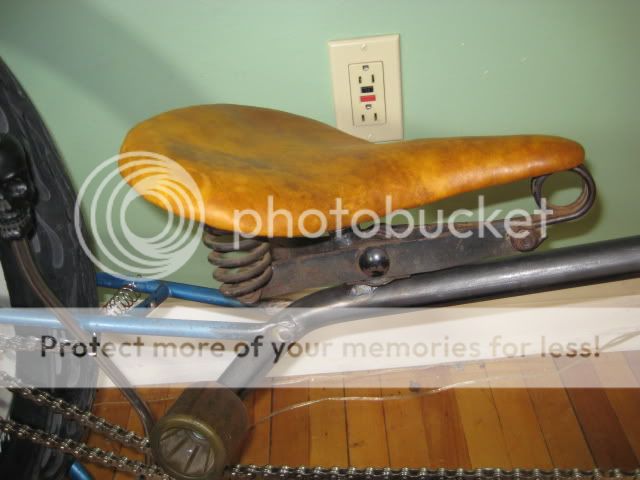
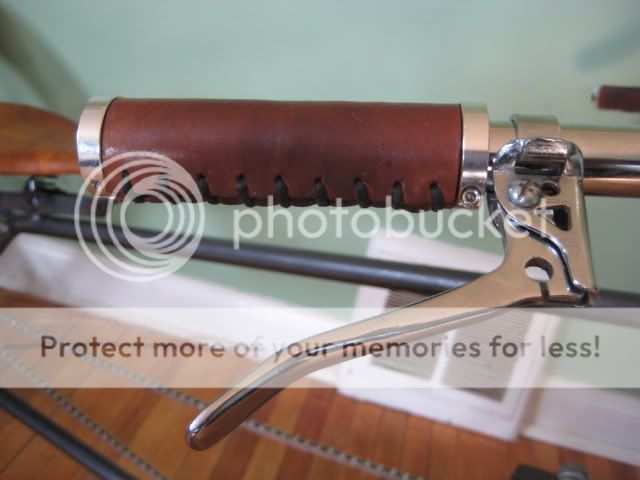
lucked out again with another old cheap seat. its almost identical to the one on my fav low.
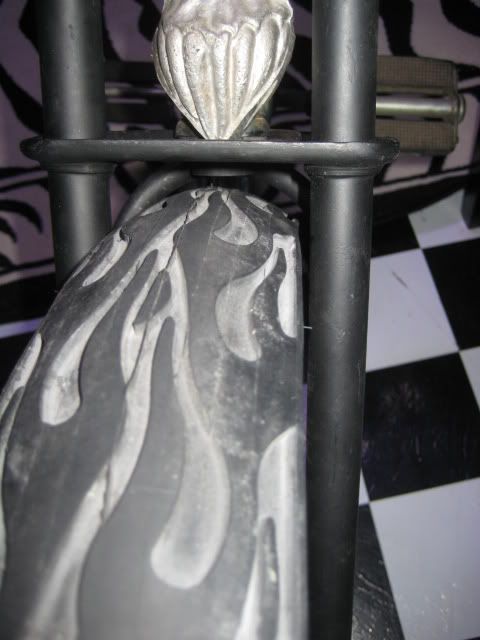
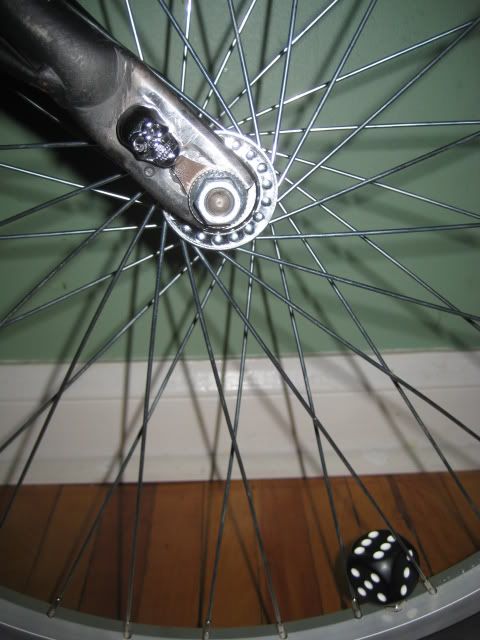
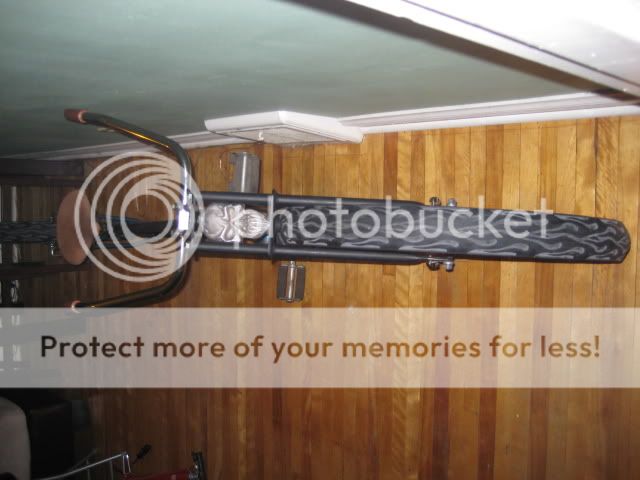
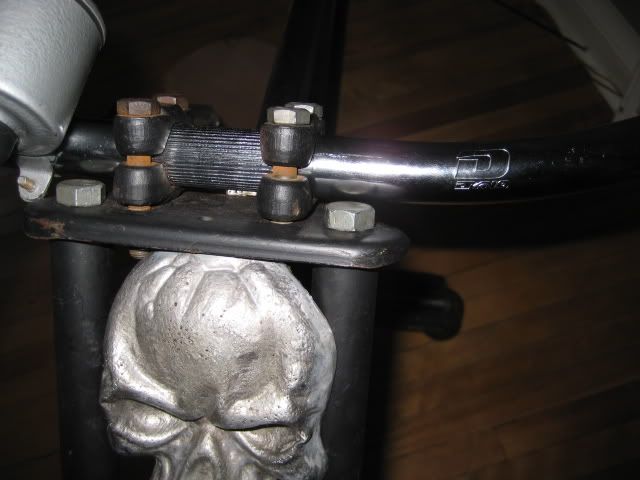
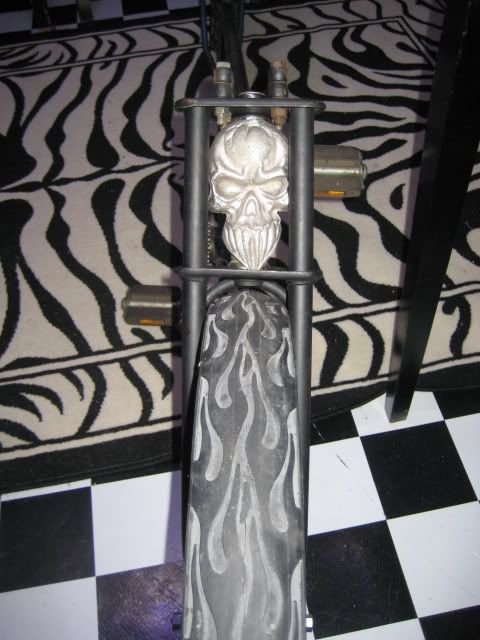
finally get to use the alum skull head badge my budy poured for me,
IMG_4071.jpg

so far.
IMG_4068.jpg

IMG_4067.jpg

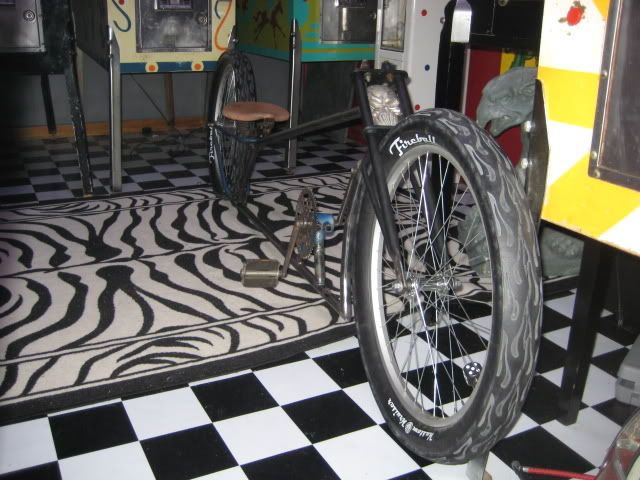
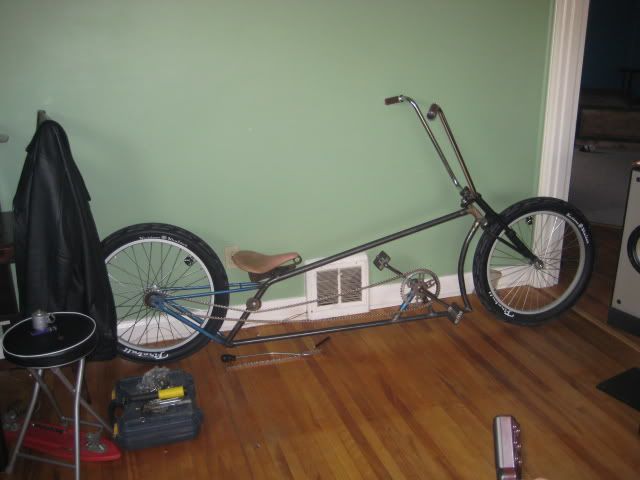
i keep thinkin it needs a bad ... wheelie bar, but the bikes already 8' long. :)
not much planning went into this build, i'm flying by the seat of my pants.
totally open to suggestions.
 
Im diggin' the vintage pinball machines!!!
 
snfargle said:
can the front wheel turn?
it looks a bit on the tights side, be cool if it does

it does look dam tight in the pictures doesn't it.
chalk it up to trick photography, theres lots o room. (just :) )
IMG_4081.jpg


couple/few quick shots of the pin's for ya.
IMG_3940.jpg

IMG_3942.jpg

IMG_3943-1.jpg

IMG_3948-1.jpg

IMG_3947-1.jpg

heres the latest addition to the arcade. 48 in one classic vid games (jamma) with a retro feel for the arcade.
i just finished building it from junk in the basement (including a few pinball parts)
IMG_4030.jpg

IMG_4036.jpg


back to the build, other than a set of large cruiser bars flipped upside down, i'm drawing a blank. got any suggestions?
they need to be big (reach way back towords the seat, but still suit the bike)
lets see some pic's
 
One heck (edit) of a man-cave there!

What about some cut sheet metal to fill in the frame a bit (area between the crank and seatpost)? Some brushed aluminum flames would be too much... or maybe a large profile skull to complement to badge! What ever you add keep it simple -- it's a beaut as is, less is more!

I can't wait to see how the shifter turns out!
 
i can see where your going with that. it didn't even cross my mind before.

there was def. plans for sheet metal/ brushed stainless, the frames just 2 huge.
originally i thought about mimicing the upper frame bar with some smaller stock. it would start at the bottom, and follow the upper frame to the seat, it would make the same bend and run paralel to the upper bar, maintaining a 1-2" gap between the two (they would never touch) towards the front i thought about bending it down and attaching it to the bar behind the front wheel. it would use negative space to define a gas tank. the entire area could be left open or filled in with sheet metal. (bubbling out in the tank area)
i'm sure it wouldn't help the weight of this beast in the end (although its not bad, these wheels are light)

i also thought about adding a long/low tank (stretching almost all the way back to the seat) real slim, say 3-4" at its tallest point. if i went this route i'd probably put a small amount of sheet on the point of the frame, just behind the wheel. (bottom)

i know it needs something, i'm just totally undecided. figured i'd leave it open and ponder somemore. :)
frames gonna be my fav color. (flat black) and i'm gonna leave the sheet/stainless raw.
 
heres the sturmey hub i'm going to use
IMG_4104.jpg

its a 1976 aw. from what i've read it the most common sturmey hub (built since 1936) and one of the easier ones to service.
i purchased the entire raleigh bike for $10. after i punked the rear wheel i ended up selling the bike for $20.

so i guess ya could say i'm getting paid to use the hub. :)
 
relaced the hubs last night. with the hubs being different diameters, i went with a twist pattern to allow me to use the same spokes (which would be too long for standard pattern)
IMG_4132.jpg

i'm alittle concerned the front 3 piece hub might let loose over time. (seen a few let loose due to the twist) i'll be searching for a 1 piece to replace it.
found a couple skull bolts in my parts bin. they work perfectly for hiding the holes in the forks (forks were extended 1")
the sturmey's just waiting for a shifter now.
i dug out a few sets of bars, all of which were way too short. (gave me a back ache. :) ) these are the only bars i have in the house that work.(choped apes)
i'm not convinced though, i think a big set of upside down moon bars or monster apes might be better suited for the build (and comfort)
IMG_4125.jpg

i like em from the side view, but not the front. they just look too narrow.
i might just have to go custom, but i'll wait to see moon bars on the bike.
IMG_4131.jpg
 
i'm having a real hard time choosing bars for this build. in a perfect world, id throw tiny little straight bars on it (maybe even build clamp on's for the sides of the forks) however i think my back would put up with that for a couple min's at most.
when i started the build i guess i had a drag bike in mind, long-low, tiny little straight bars. i even thought about placing the crank behind the seat in such a way, you'd almost lay on the bike. (much like a drag bike) reality set in and i changed the design (function not fashion, gotta keep telling myself that. dam that comfort issue. :) )

now i only have a few sets of bars kicking around the house that i can use for mock up. i dont want to purchase another set of bars i don't end up using, and theres alot of work involved removing my moon bars from either of my bikes that use them (4 piece grips,speedometers,brakes mirrors etc.) the last thing i need is another bike in pieces in the basement (3 bikes on the go)
i'm stuck flip flopping between 2 sets of bars/idea's. a huge set of upside down moon bars (which i dont have to mock up) or a set of apes.
the moon bars will keep everything pretty much below the tires, giving the bike the long low stance i originally set out to achieve.
the apes give it that bobber looks with i'm really starting to appreciate.

IMG_4150.jpg

IMG_4151.jpg

IMG_4152.jpg

both sets of bars will work with my comfort zone sorta speak.
the moon bars will give me that layed back riding stance, while the apes put me more upright. (i'm sure my riding position will also change the overall look of the bike.

what do you guys and gals think? i'm to the point where i'm ready to make twins and do one of each :p :p :p
what about other options? i seem to have the blinders on.
 
I like apes......Hang a chain and ride it. Which ever is the most comfortable, use em......Both look good!
 
no rush. its still alittle cold for riding. i still have snow on my front lawn, but its melting fast

what bout upside down moon bars? do you think i should waste the time/cash picking up a set to see how they look?
 
Sitting upright is probably the most comfortable. But to do so would mean your HANDS shouldn't go past your feet. Try a regular pair of cruiser bars "extended". They'll get wider as they come back to you (hopefully not to wide), giving you more room for your knees. Extended the ones below about nine inches..........Just a thought.
005-1.jpg
 
i haven't had alot of time to get out and do anymore welding. i've had a 101 projects on the go this week. it was also my b-day. had a huge bash, so the house needed some long overdue spring cleaning.

during the chaos, i did manage to get out and purchase some chain. saw a big set of apes real cheap, so i figured what the heck.
IMG_4436.jpg

the shifters coming together also.
IMG_4419.jpg

with any hope, i should have the bike ready for paint this week.
 
had some time to work on the bike yesterday.
money's been tight, so i've been using what i can find around the house.

i recovered the seat with a piece of deer hide, i started to die it brown, and quickly realized i had very little die (not enough to finish) working with what i had, i applied drips of leather die here and there (real dark) then watered down the remainder to finish the job.gives it sort of a distressed look. i might die the entire piece darker at a later date (to match the grips better) but i am happy with the results considering.
IMG_4453.jpg

IMG_4454.jpg

i wanted to use bicycle chain and a second sk8board wheel for my shift linkage. turns out it was just too much chain. the weight of the chain is enough to change gears.
IMG_4449.jpg

heres the 2.0 version which in hind sight i think i like better.
IMG_4450.jpg

IMG_4451.jpg


gonna weld a small cage/rod around the shifter at the top rear stay. ( sorta like this [______] ) it will act as my shifter stops, but will also prevent the shifter from pulling away from the frame. i'll also add a small peice of steel with notches for the gear selection. (large spring pulls the shifter into the frame)
IMG_4454.jpg


this morning i found myself with nothing to do, so i added a nice little inlay to the shifter knob i carved.
(small brass,alum,copper,steel tubes etc, found at most hobby stores stuffed inside one another)
as you can see, i ran out of epoxy also (need to add alittle more)
IMG_4458.jpg


thats it for now, i have a leaky sunporch calling my name.
 
thats sweet! i love that seat! and that inlay looks pretty pro!
 
stretch said:
thats sweet! i love that seat! and that inlay looks pretty pro!

the inlays are simple to do (make em up 1' at a time then cut to length) i've done a couple sets of plugs this way for peoples ears, but i mainly use smaller versions to pin together my damascus knife handles.
 
well i finally tracked down the elusive cruisers bars. (needed the smaller diameter to fit the clamps on my forks)
IMG_4513.jpg

i had to drive an hour and a half out of town, but it was well worth it, to get these huge dyno cruiser bars (biggest i've seen)
IMG_4484.jpg

IMG_4511.jpg

now the bike looks more like i pictured it. :) its amazing what a difference a set of bars will do to a build.

while i was there i found alot of other cool little items (used and n.o.s.)
picked up a pan seat ($20) for my western flyer. i finally found a cable that would fit this cool little speedo i've had for years.
IMG_4490.jpg

IMG_4491.jpg

the fittings are smaller than most, and i've been searching through old cables for sometime now.

picked up a cool little bell for $2
IMG_4500-1.jpg

and an old steel brake lever and extra reach brake to work with my 3" fireball (n.o.s.-$15)
IMG_4504.jpg

IMG_4492.jpg

almost ready for paint, now if we can just shake these cold spells and bring on the sun, i'll be good to go. (had snow 2 days ago)

what paints have you used with good results on aluminum rims? i'd like to make these flat black. will any high heat bbq paint work? or is there something better?
what brands do ya like?

thx
 

Latest posts

Back
Top