Murray Star: UPDATE 7/9

Rat Rod Bikes Bicycle Forum

Help Support Rat Rod Bikes Bicycle Forum:

This site may earn a commission from merchant affiliate links, including eBay, Amazon, and others.
Joined
Aug 23, 2008
Messages
287
Reaction score
0
Location
St. Louis, MO
I kind of hate this Murray Eliminator. It's too rough for someone to buy and restore but not too rough for me to waste a little money on. So maybe a bike build off overhaul will make me feel better about this bike.

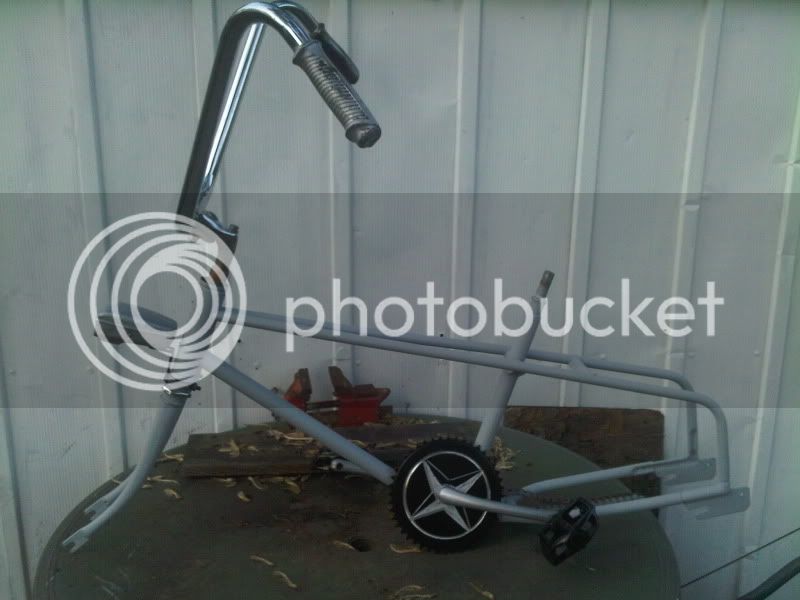
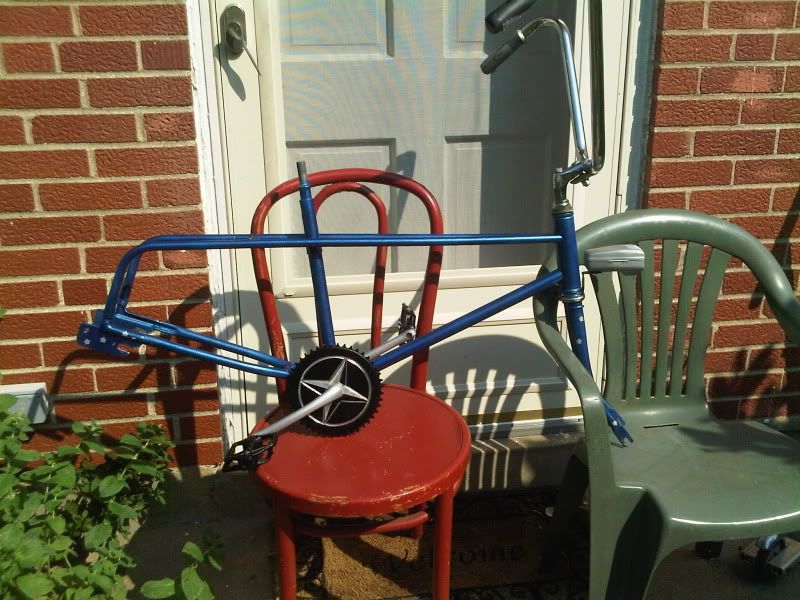
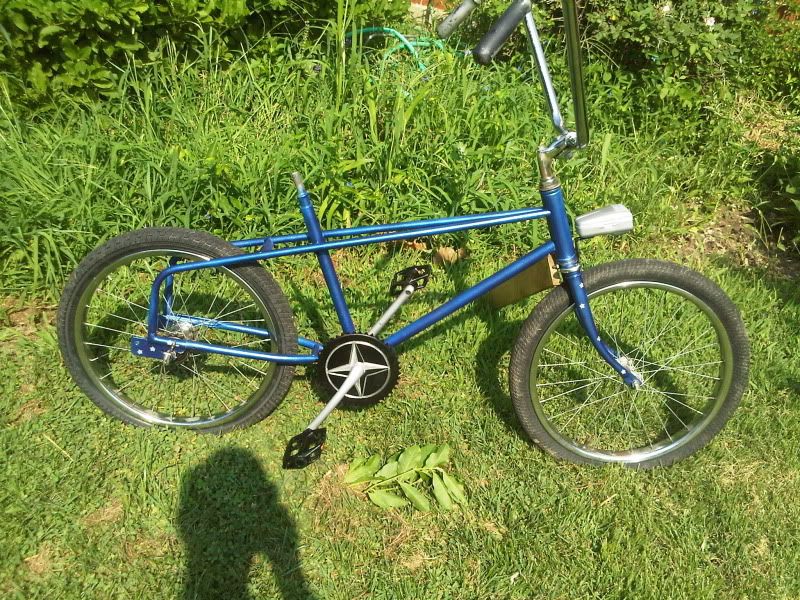
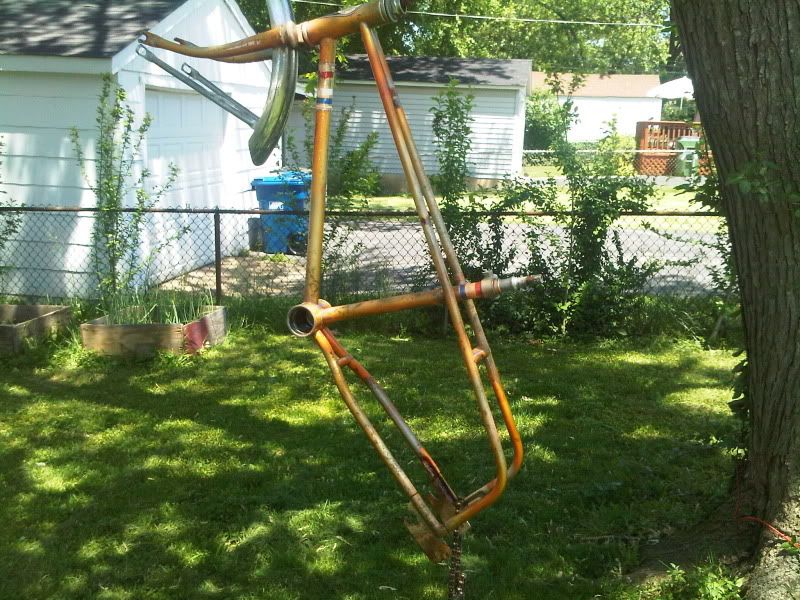
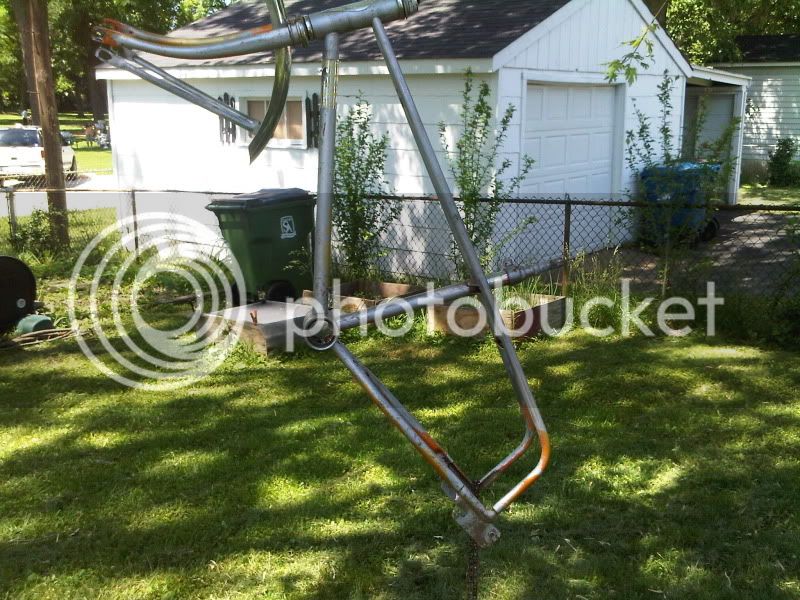
Here is what I am starting out with

IMG00057.jpg

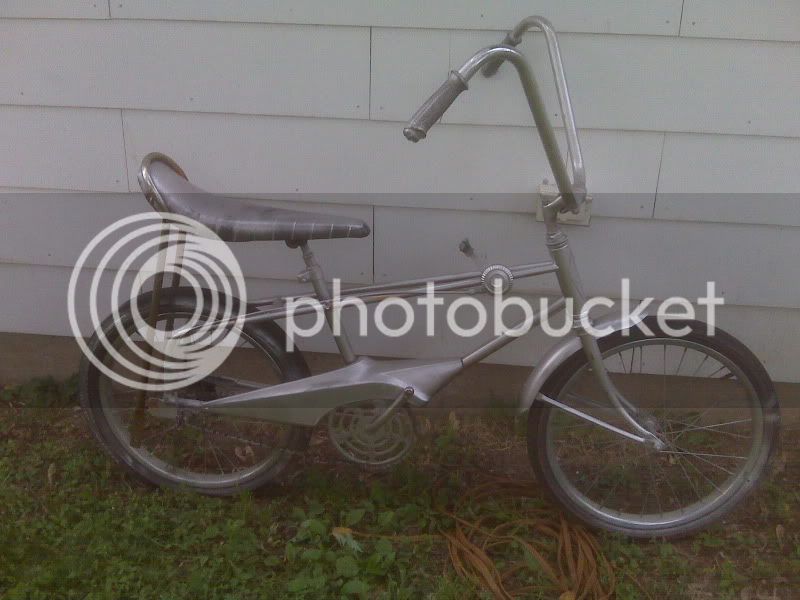
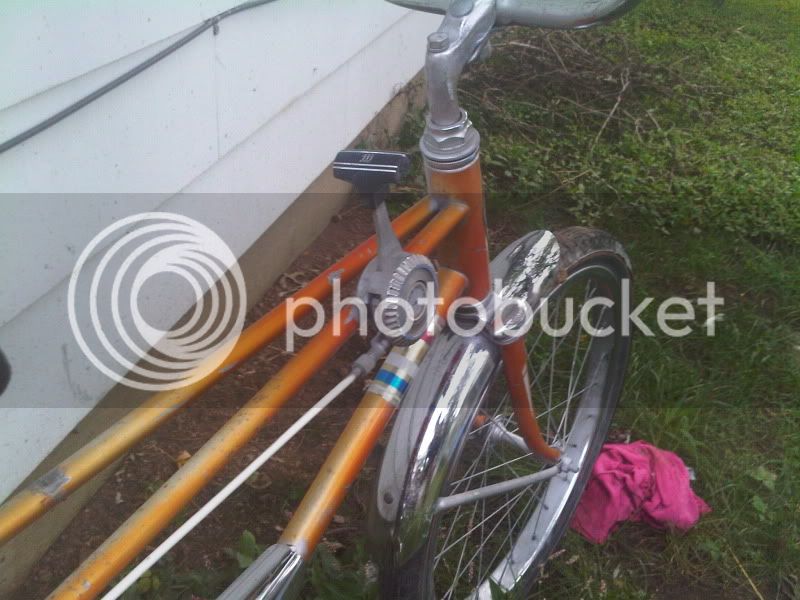
Silver spray bomb, bent crank and crank arms, original redline tires that are shot. The bike cleaned up...okay
IMG00082-20090923-1748.jpg


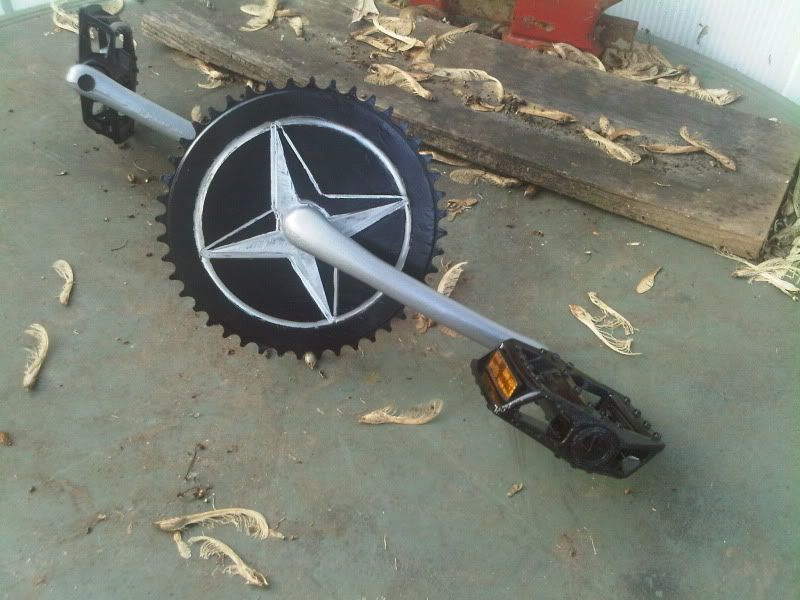
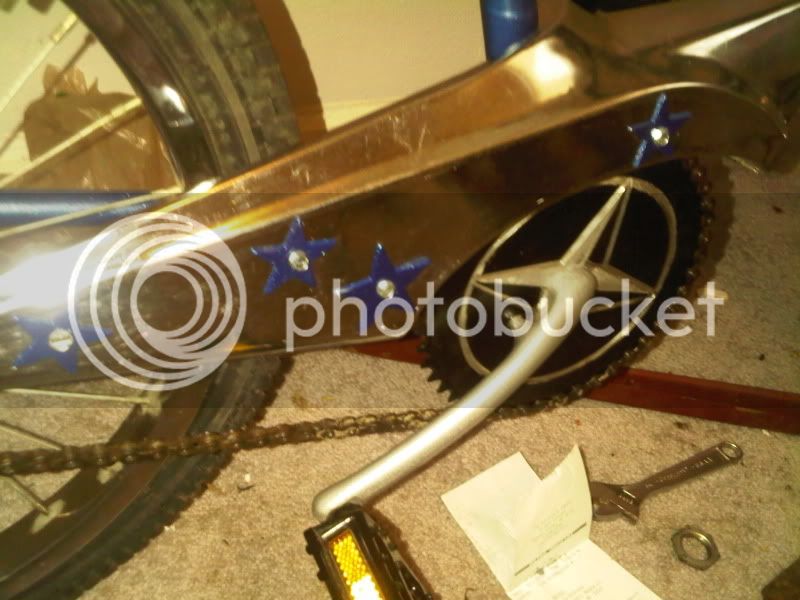
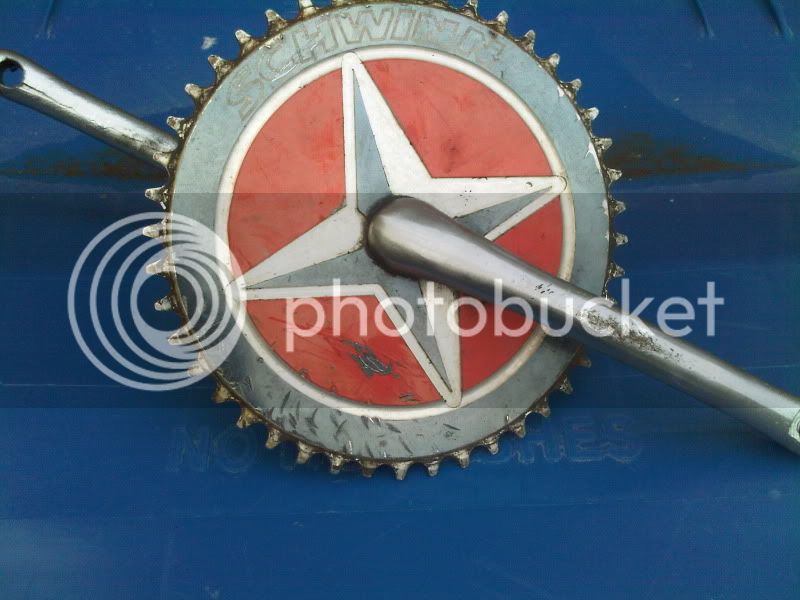
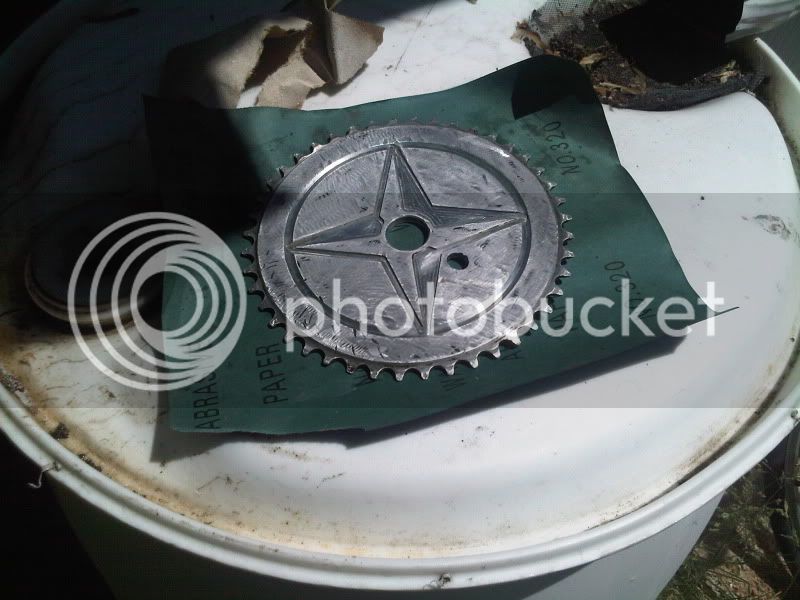
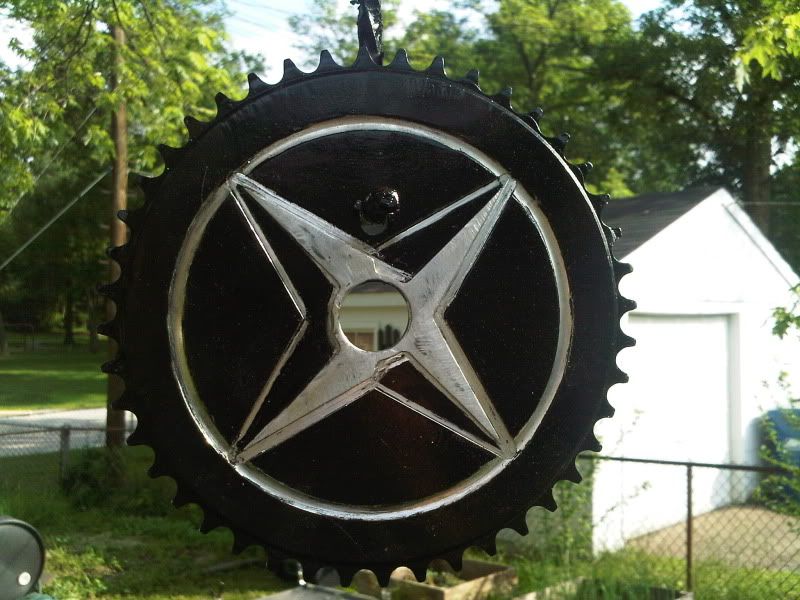
Have to replace the slightly bent chain ring and cranks so I thought I'd clean up this one and incorporate the star in the design, hence the name. The star design is actually cut into the chain ring and offers some possibilities.

IMG00185-20100521-1929.jpg


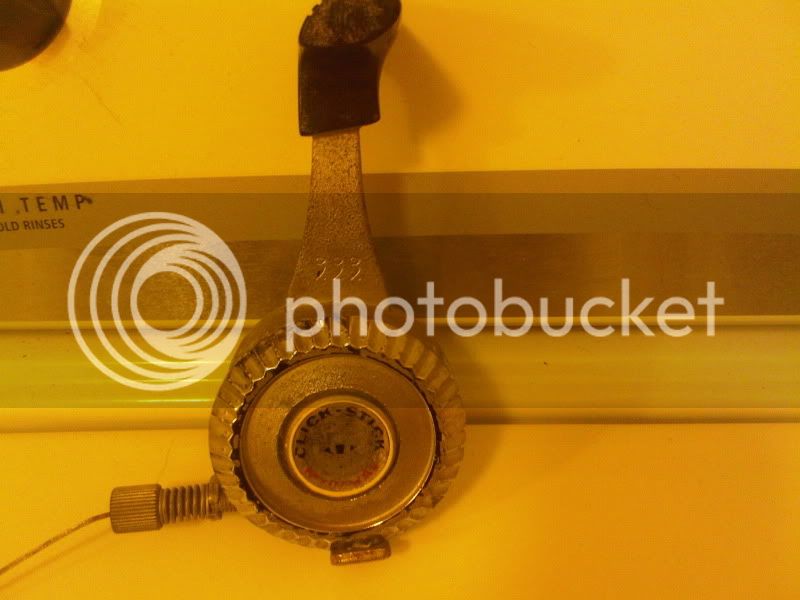
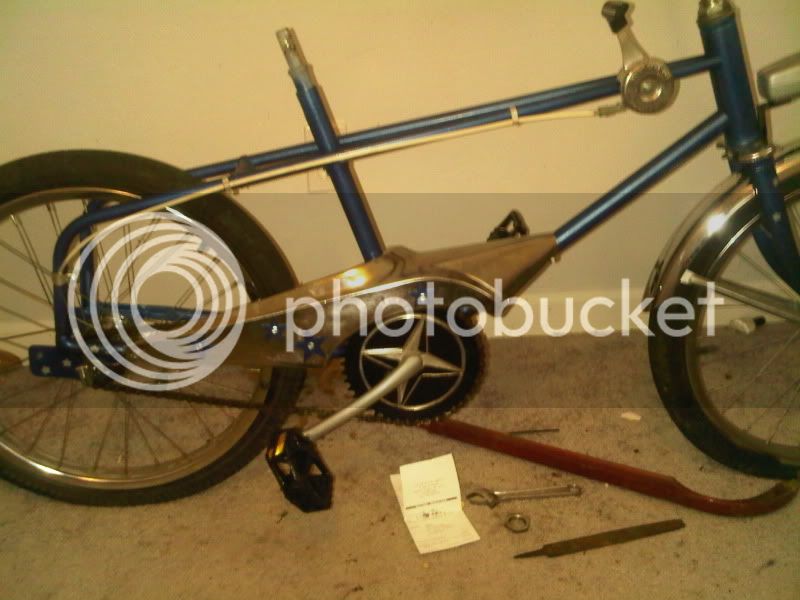
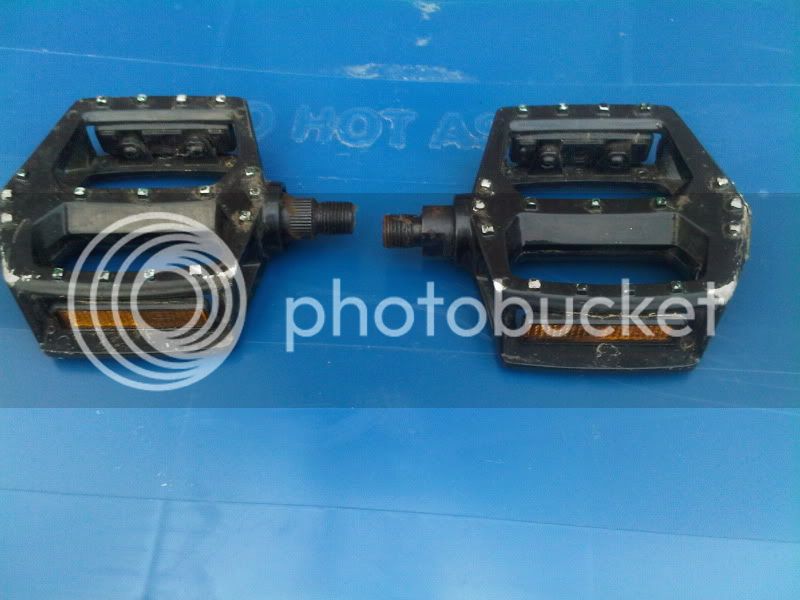
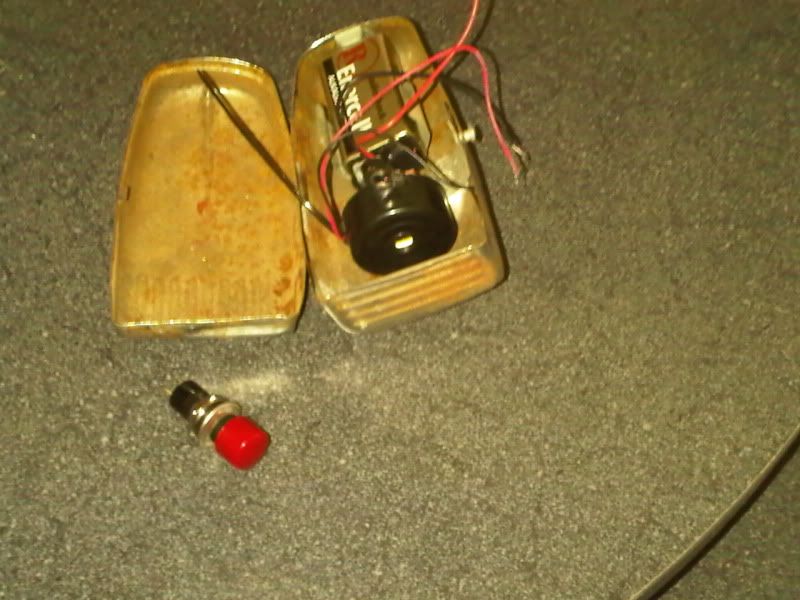
And these pedals ought to do something for it.
IMG00184-20100521-1928.jpg


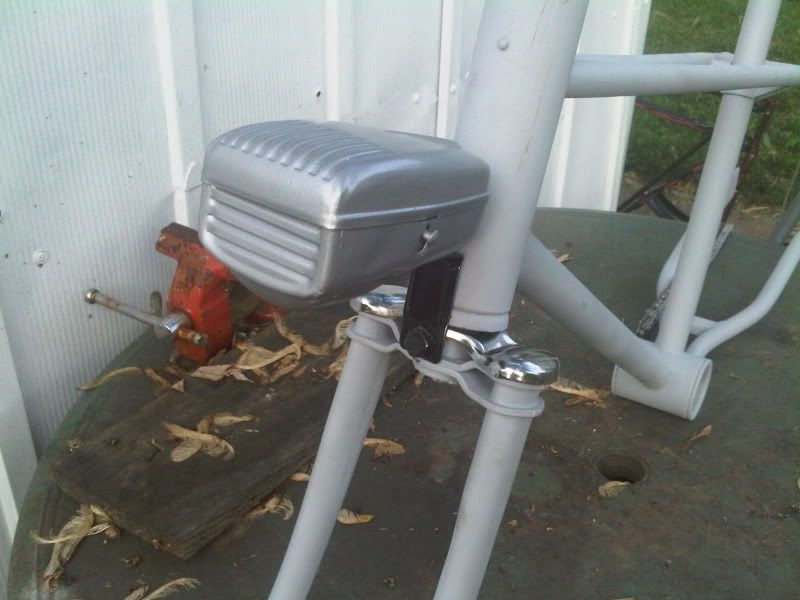
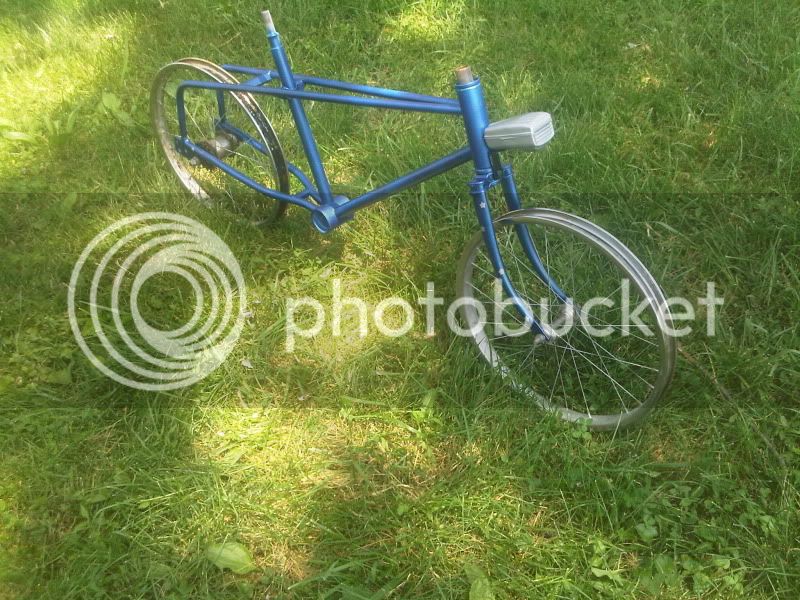
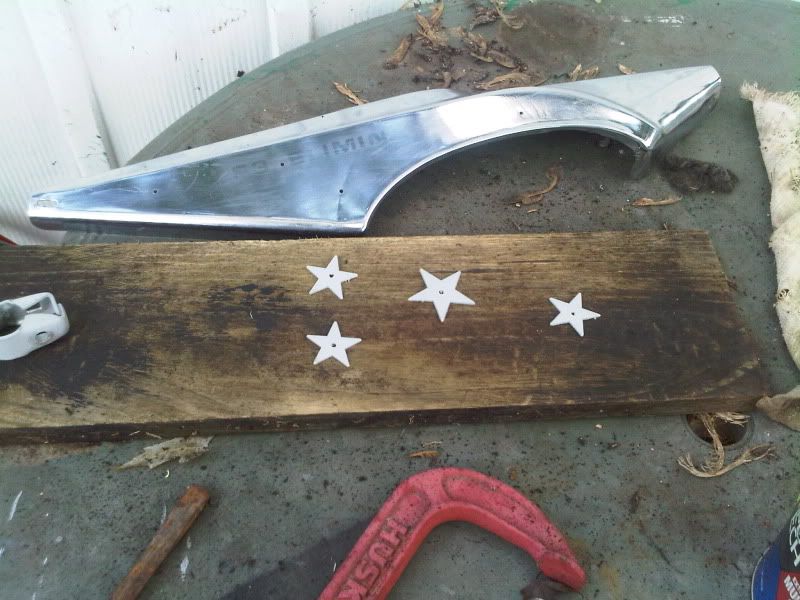
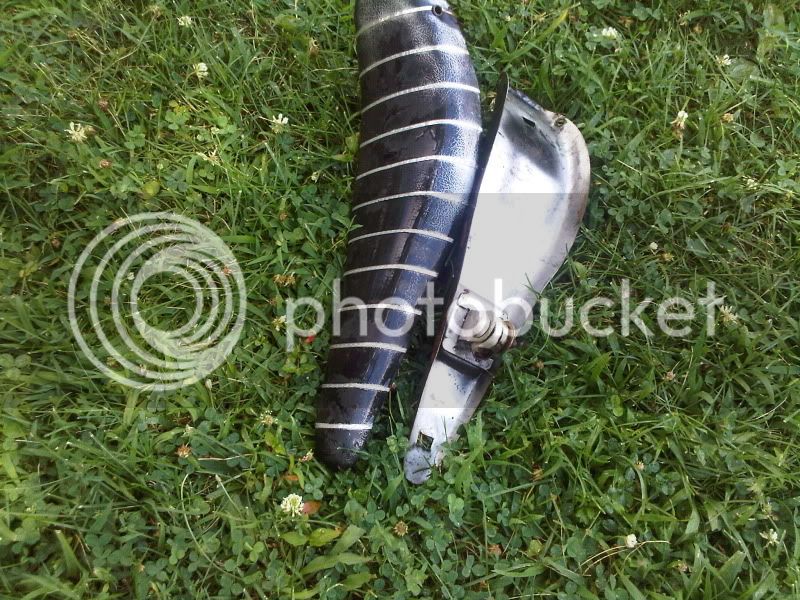
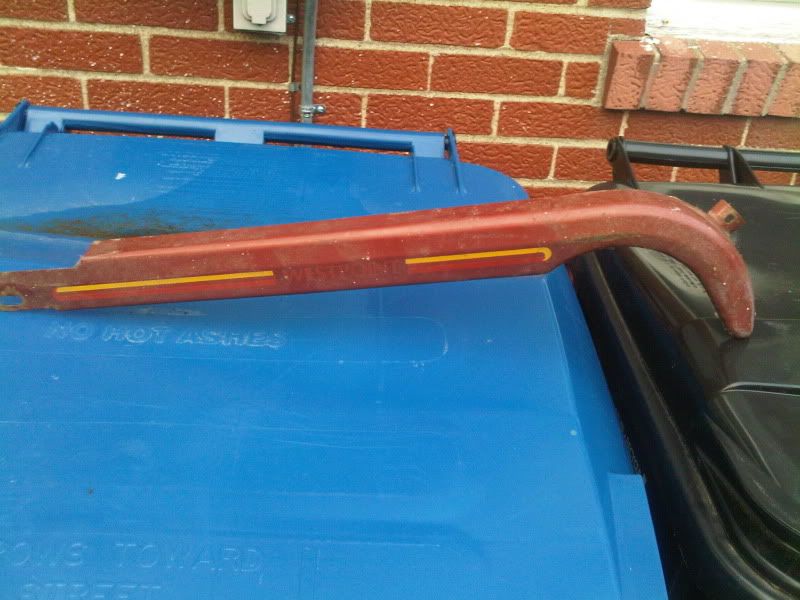
Even though I the Eliminator chain guard is the most distinctive thing on the bike I may do something with this one since it shows the chain ring off a better?

IMG00187-20100521-1930.jpg


I may try something of a '70's mini bike theme with a stubby rectangle seat and back rest. Or maybe a big sissy bar and wheelie bar
 
Re: Murray Star: UPDATE

Well I got the starry sprocket stripped. Only the red paint came off with stripper. The rest needed a grinder.

IMG00185-20100521-1929.jpg


IMG00188-20100522-1257.jpg


I'll need to figure out some type of color scheme and then do a two tone paint job on the star and the circle. Probably go with Rustoleum's metalic grey paint that looks so nice somewhere on this.

My favorite discovery was when I stripped the paint off. Yeah, should have removed the fender but I didn't want to go back in and get the slotted screwdriver...

IMG00190-20100522-1313.jpg


After slowly taking off that silver spray bomb job to reveal what was left of original orange, I stripped the original orange paint only to find....dum dum dum....

IMG00191-20100522-1446.jpg


SILVER PRIMER! Yeah more silver! Maybe this bike wants to be silver? Who I am to fight it? Have to figure it out quickly tho.
 
Re: Murray Star: UPDATE

A little detail work...

I got the starry sprocket painted gloss black
IMG00193-20100524-0849.jpg


The lines need a little clean up but it turned out alright.

I once bought a shoe box full of misc parts and odds and ends from Ebay and it's time to make it pay off.
The old horn element didn't work so this slightly wimpy sounding one from radio shack will have to do.
IMG00194-20100524-1028.jpg


It's not in great shape so it may need a paint job of some sort.
IMG00195-20100524-1029.jpg

I'd like to incorporate this on the bike somewhere. Most likely the shifter knob, but it's kind of heavy.
IMG00196-20100524-1030.jpg


Next up is primer and figuring out if the 3 speed hub needs to be rebuilt.
 
Re: Murray Star: UPDATE

I'd keep that original chainguard on the bike! Such a nice feature!! The chainring would still show plenty! :)
 
Re: Murray Star: UPDATE 5/25

A little bit of progress.

Got the crank arms cleaned up and painted with a hammered chromey paint that mates well with the chain ring. Gloss black for the pedals.
IMG00197-20100525-1908.jpg


Got the frame and fork in primer and cleaned up the original ape hangers. Gave the horn the same hammered chrome paint job and mounted it where the front brake goes.

IMG00204-20100525-1917.jpg


I think I'm gonna need a side pull brake to go there and I hope it will fit with the horn. It's really the best spot I've got for the horn.

IMG00200-20100525-1911.jpg


Still need to actually wire up the horn and button, sort out the color scheme, tires, seat and more but I do hate this bike a little less than before.
 
Re: Murray Star: UPDATE 5/25

Wanted do something cool with the shifter so I made a little change.

Went from this originally...
IMG00208-20100526-2155.jpg


To this...
IMG00206-20100526-2154.jpg


IMG00207-20100526-2154.jpg


It's an old radiator cap that almost fit the face plate of the shifter. I drilled out the rivet and took out the spring and guts of the cap. Then I had to grind off the rim of the cap so it was more like a flat plate that fits flush to the face of the shifter. Still need to clean up the shifter (more silver spray bomb) and maybe do something with the shifter handle.
 
Re: Murray Star: UPDATE 5/25

Long time off from working on this one but finally got back to it.

Put it in paint. Rustoleum mettalic blue which really sparkles nicely in the sun. Little bitty star details on the fork and rear dropouts.
IMG00242-20100623-0930.jpg


Mocked it up with the wheels which are the original steel Murray rims. The rear hub is a shimano 333 3 speed. Tires are from a bmx bike that somebody deposited in the "crazy bike guy's" yard. This happens from time to time.
IMG00213-20100530-1306.jpg


I'm liking it a little more. Really like the sparkle on that paint.
IMG00240-20100623-0927.jpg


Need to figure out the chainguard and decide if I go with the originial eliminator guard or something else. Also need to hook up the shifter, wire the horn, maybe find a light and deal with the seat.
 
Re: Murray Star: UPDATE 6/23

Got a little more done and closer to finishing this bike. Got the shifter mounted and had to swap out an internal "plunger pin"? The pin in the axle that the shift cable actually moves to shift the internal gears. With all the hardware in place it seems to work well. It seems I have 2 gears and a neutral!?! One shift position allows the sprocket to freewheel. Not sure if that's a malfunction or not.

I wanted to carry the star theme over onto that big plain chainguard but wasn't sure about painting the guard or painting stars on the guard. If my 7 yr old asks....you don't know what happened to the little plastic stars that were on her old bike basket.
IMG00280-20100709-1436.jpg


I painted the stars to match the frame and then used metal screws to attach to the chainguard.
IMG00284-20100709-1735.jpg


Here is what the chainguard and shifter look like on the bike.
IMG00282-20100709-1734.jpg


Still need to wire the horn, need a longer brake mounting bolt to mount a front brake and then I think I'll need a seat. I discoverd that the original ratty seat was a 2 pc pan seat so I decided to rip into it and recover it.
It's not as shiney as it looks in the pics. It's wet as I discovered it became home to a large ant colony whose home was ripped apart by a garden hose flood.
IMG00281-20100709-1448.jpg
 
Back
Top