- Joined
- Dec 30, 2012
- Messages
- 110
- Reaction score
- 2
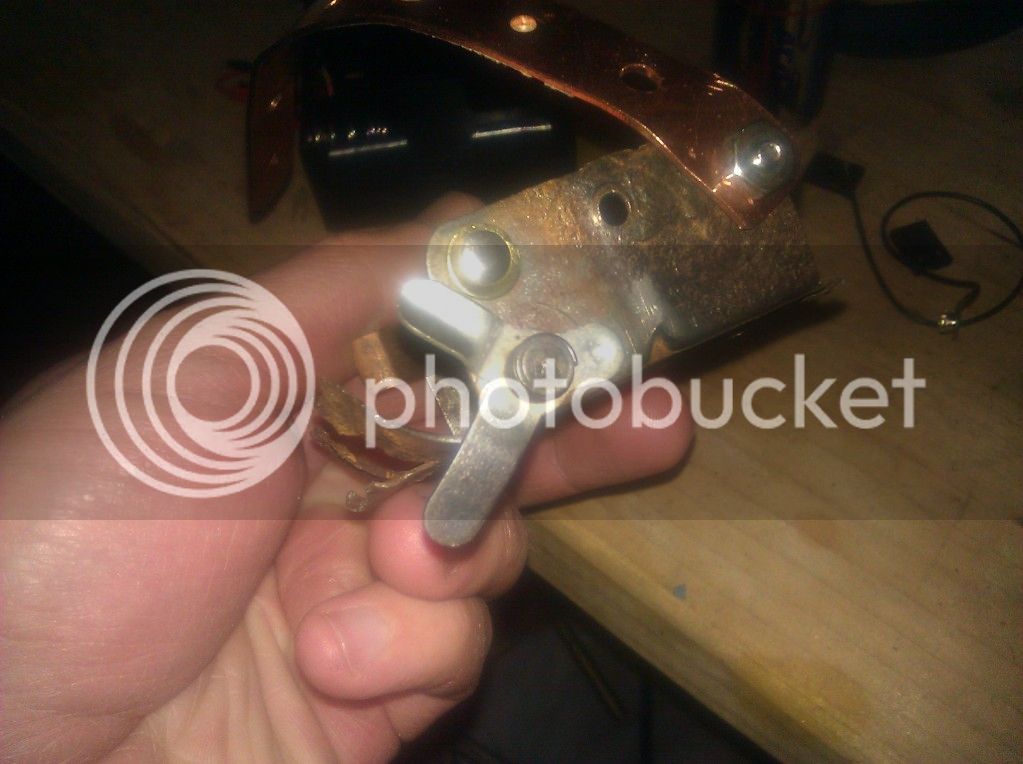
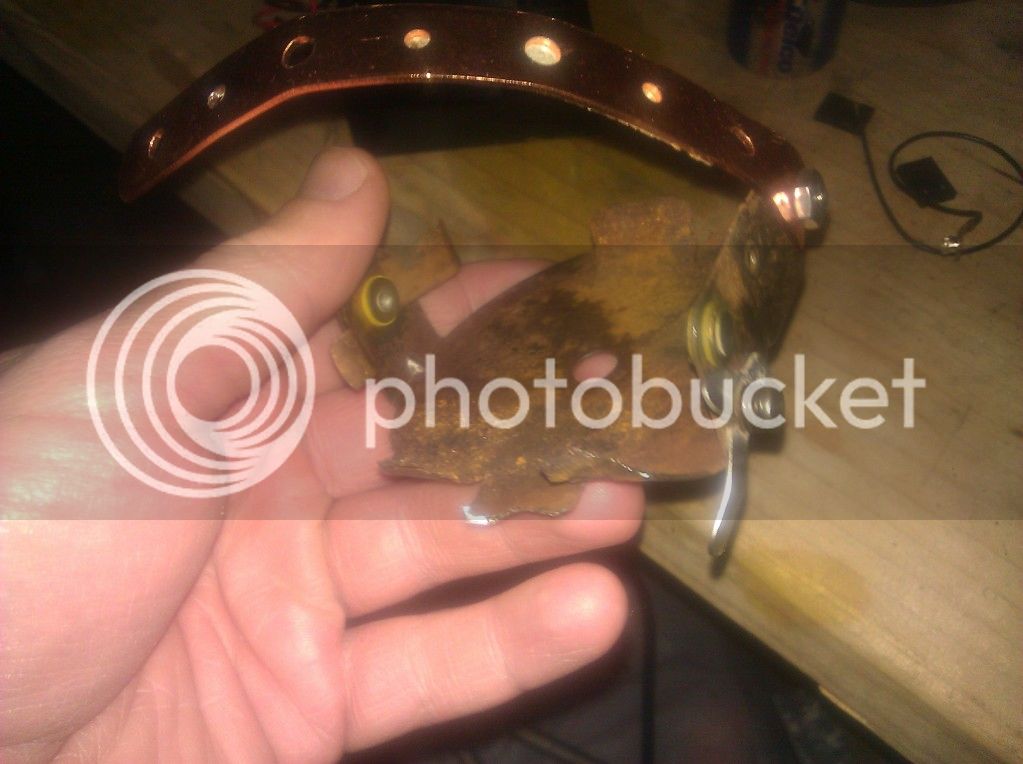
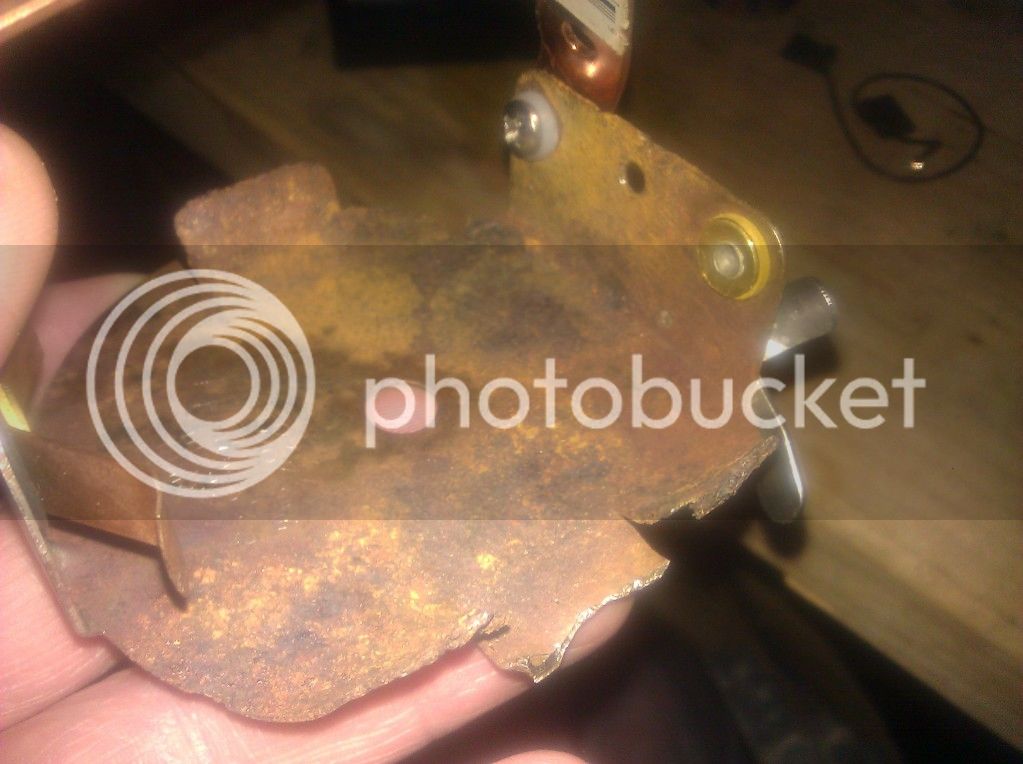
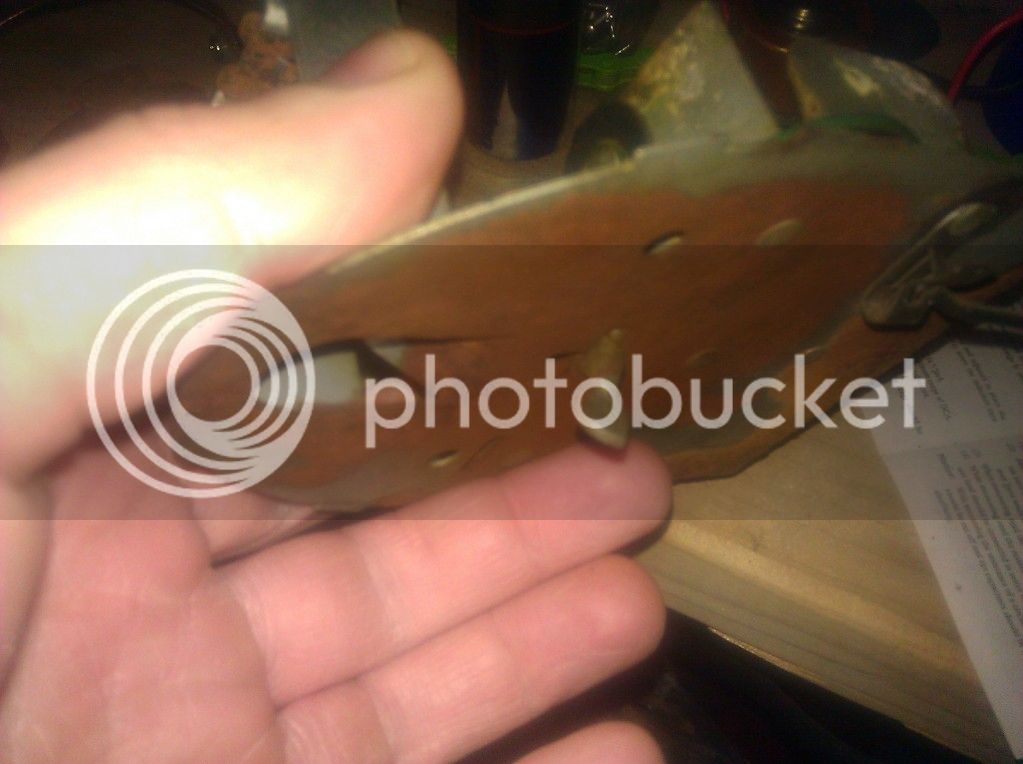
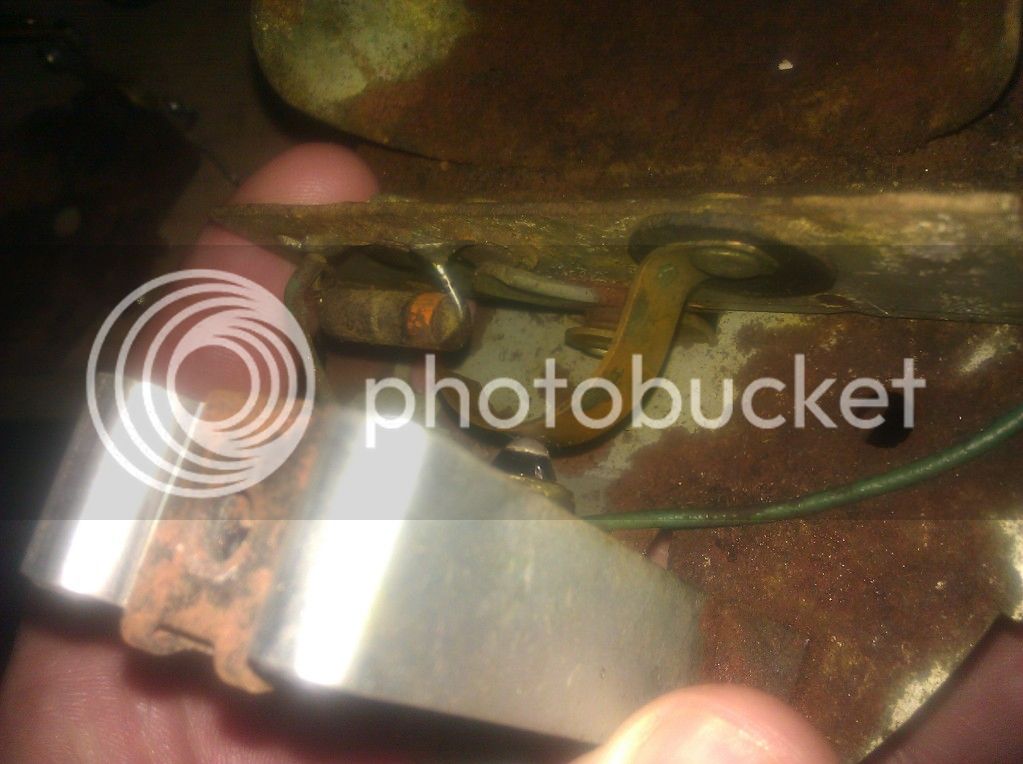
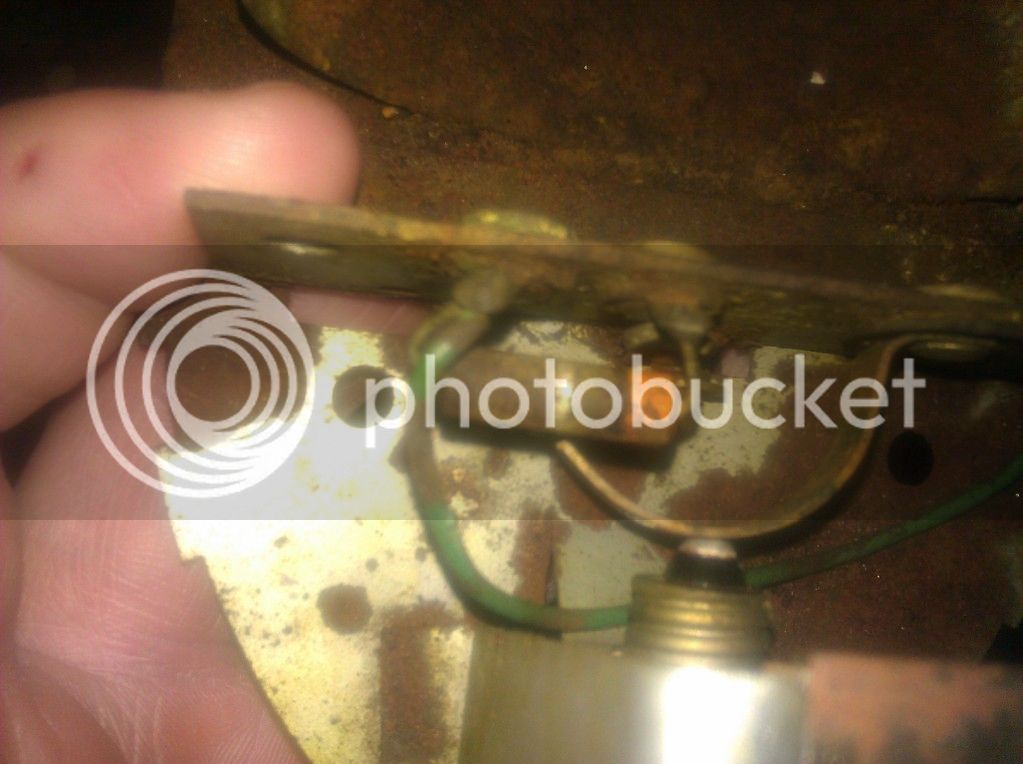
alright, so I have a Delta ball style headlight and a tail light unit that I need to restore to working order. I don't want to rebuild with LEDs, but just get the bulb functioning again with the original switches. That said, both of these run off of two D batteries and the wiring seems pretty straight forward, but can someone explain to me how these switches close the circuit? Are they grounding? Also, on the tail light unit, is the resistor necessary? Edumacate me please...
headlight
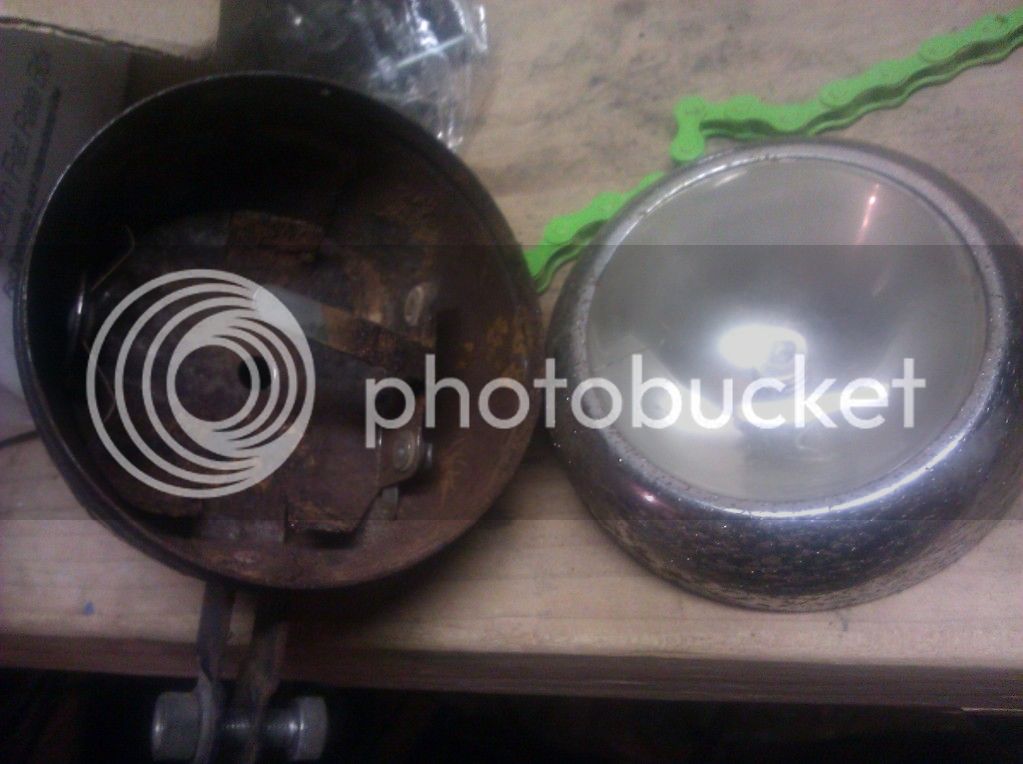
tail light
headlight
tail light
") so when it touches a single contact in the "on" position, how does that close the circuit?
so when it touches a single contact in the "on" position, how does that close the circuit?