Hot Rod Girl, DONE!

Rat Rod Bikes Bicycle Forum

Help Support Rat Rod Bikes Bicycle Forum:

This site may earn a commission from merchant affiliate links, including eBay, Amazon, and others.
Re: "Hot Rod Girl"

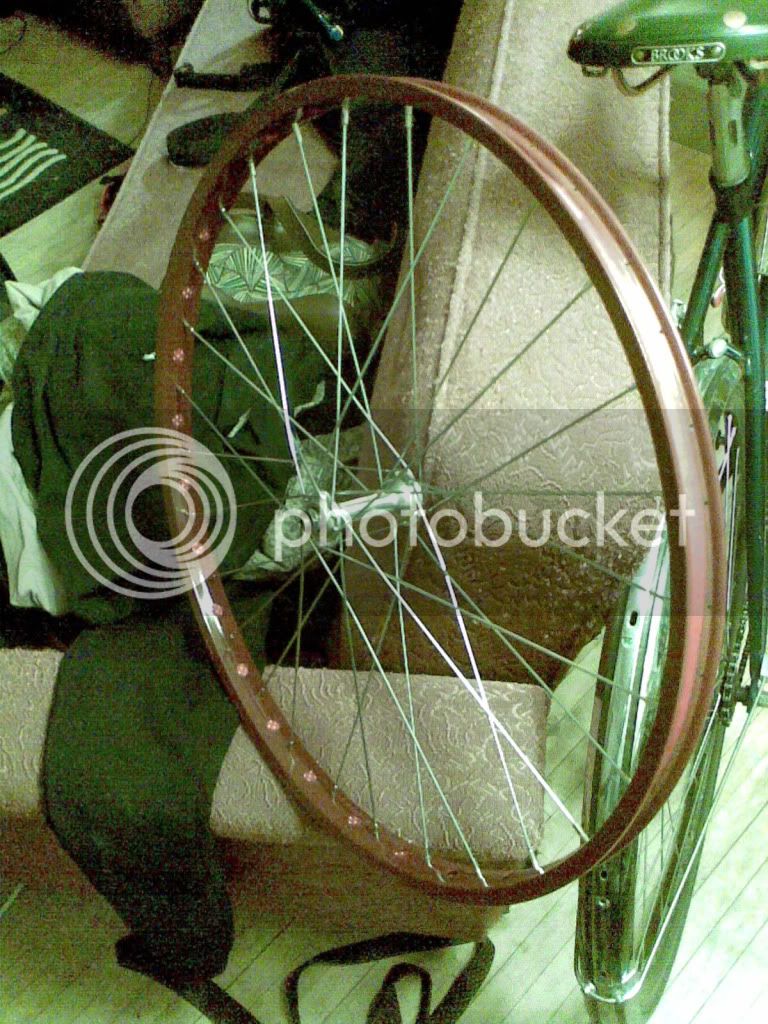
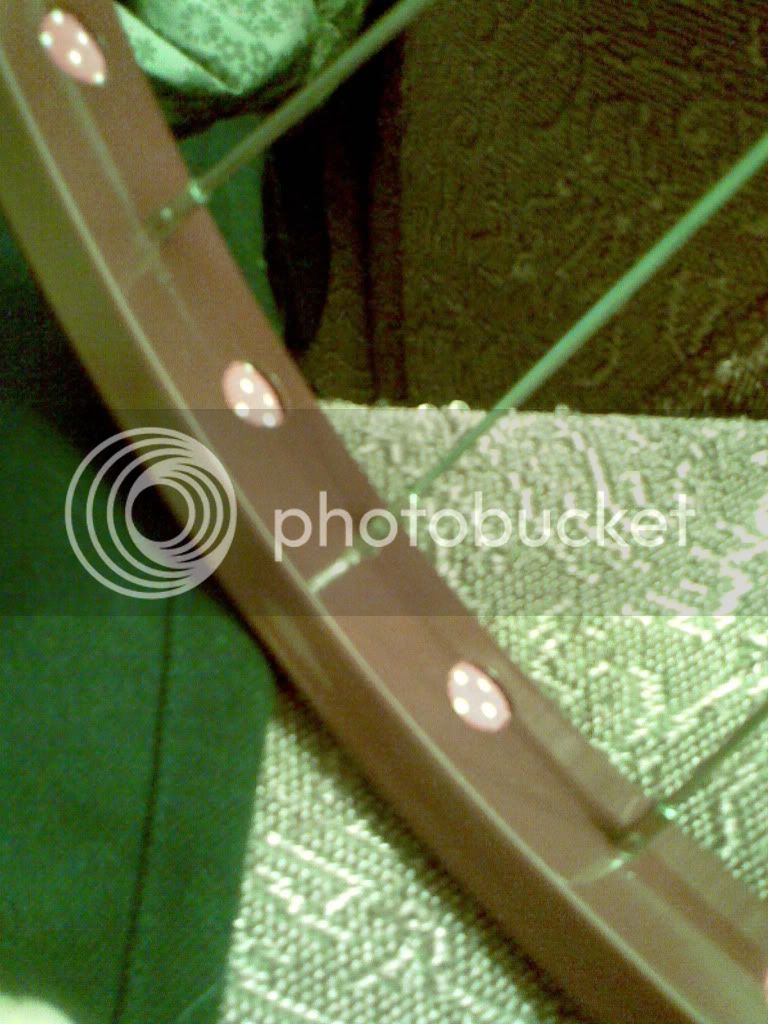
... Front rim is in paint, ready to be laced. Rear rim is still in the drilling process, the step drill really sucks down a battery in no time on the cordless drill I am using, so I have to take a lot of re-charge breaks. I Went to Micheal's and found some ribbon with a pattern that I think suits the bike well, that will be the first layer of my rim tape, and will show through the holes.

I'll post a picture once I get a complete wheel done! :wink:
 
Re: "Hot Rod Girl"

i'm tryin' to hold my tongue from cursing, but dang that is good lookin'
 
Re: "Hot Rod Girl"

ok one, if ya haven't read my post to answer you then here it is. when we get these Lady's up then we will get a measurment of the highest point of the bikes, take some pic's so no one cheats and we will see who has the lowest Lady. so thats it, ya up for it? :lol: :lol:

Outlaw
 
Re: "Hot Rod Girl"

frontrim.jpg


frontrimcloseup.jpg


Just got this laced up, so here's a picture.

I'll have to take a picture outside tomorrow, the colour is much more red than what these show. it is "raspberry" Tremclad.
Showing through the holes is ribbon I got at michael's. I'll layer behind that with electrical tape, and fiber reinforced tape to hold against the tire pressure.
 
Re: "Hot Rod Girl"

here's a better picture, with a tire mounted, and outside in daylight. looking at the previous pictures, I was worried I looked a lot like Karfer's colour scheme. His rims were brown I thought, and I sprayed this out of a can labeled "raspberry" :?

Here you can see that it actually is a red colour.

Image052-1.jpg


I was thinking of going with red metalflake grips, but now that I see the black ones with the finished wheel, I almost think I'll stick with them. Going to paint the lugs to match the rims, white head tube, the rest of the frame is going to stay bare, aside from pinstriping.
 
Re: "Hot Rod Girl"

Oops!

Almost forgot to post this one:

Image054-1.jpg


(it's just balanced there for the picture, lower frame/rear springs still removed)

I am still going to put holes along the side rails as well, but this is most of the way there. I am now debating whether I need a seat cover at all. I'll have to get it rideable and see how comfortable it is bare. If not, I will bolt 3 snaps per side onto the frame, and make a snapped on cover for it.
 
Re: "Hot Rod Girl"

Looking at that bike just makes me happy! Gotta love an ingenious build with lots of neat little details! ~Adam
 
Re: "Hot Rod Girl"

Image002.jpg


Multipurpose? I have a purpose for it! it's my new tail light.

Image003.jpg


I sprayed some clear red on the lens to make it into a rear light. it worked well, looks like it came that way. just wait till you see how/where I am mounting this. It's gonna be tight. 8)
 
Re: "Hot Rod Girl"

HotRodRob said:
Good ol' Princess Auto eh? Man I love that store!

haha yeah, you'll find what you need, especially if you don't know what you need
on top of that, your purchase is likely made by "Power Fist", which is always good for a laugh. :lol:
 
Re: "Hot Rod Girl"

I am not actually using the Krate style pedals I have on in all the pictures so far. Those are borrowed off another project to mock up, that's all. I was going to buy a set of $7 block pedals.... but then my next door neighbor was cleaning out his garage, and gave me a bike. A ladies CCM 3-speed! it looks a bit newer than the Hot Rod Girl, but has the same crank and chainring.

anyways, these pedals are off it, and "vintage + free" beats "$7 + new" any day.

stockpedal.jpg


you should know by now that I wouldn't leave well enough alone.... so here is the finished version:

modpedal.jpg


I drilled the rivets and tossed the reflectors, cut out the little braces that go in to the center and smoothed that slot, drilled another hole on either side of the slots just for looks, and trimmed down the end cap. Hot rod pedals. DONE.


also off that bike, a cool set of grips. rocket ship grips? what do you think?

rocketgrip.jpg
 
Re: "Hot Rod Girl" update - start of a tail light, pedals

before I took off for the weekend, I got a bit done:

Seatpost:

Image003-1.jpg


that's the original post, with the 7/8 top stub cut off. I welded a cap on it, and then the layback part is a piece of handlebar. Lots of smoothing on those welds, let me tell ya. :eek:

I made it the reverse angle of the stem, and even made it kind of resemble a stem, so that the pair would match on the bike. I think I will drill and tap the top cap, and run the bolt from the seat right through everything. I think that will brace up the whole assemble nicely, and look a little neater as well.

Bars, extended.

Image002-1.jpg


A couple mockups of how the tail light will go. It will be glued into the end of the seatpost. I sanded off the grip area on the bezel, and painted it raspberry.

Image005.jpg

Image006.jpg
 
Re: "Hot Rod Girl" update7/14 seatpost, tail light location

I gotta spend most of my time in the shop right now, not coming up with updates, but here's a quick shot, not a lot of difference from last update, but a good shot of the whole works.

I tore it down tonight and cleaned everything up, lugs should be in paint tomorrow night, then time for stripes, reassembly, final odds and ends (fender mounts, light mounting(if at all)and I have a few other ideas as time permits)

july21030.jpg
 
Re: Hot Rod Girl "update" 7/22 - one pic

lookin good i love that last picture, and for the record my wheels are more maroon and are original paint and yea it is sorta similar to yours but who cares if it is cool do it i dont care lol. well done you should be very proud
 
Re: Hot Rod Girl "update" 7/22 - one pic

oops! I just about forgot to post this little mod I had to do. I figure y'all might like to see it. people seem to like little machining pieces. the fork I am using is actually too short. it only comes up to the top of the cone. Now, there's nothing wrong with cutting the steerer, and re-welding it extended out a bit, but that seemed like an awful lot of work to me, and I have never really been too keen on that method. Here is what I did instead:

the cone is actually pretty deep... more threads in there than strictly necessary, so I counter bored half way through it:
july23005.jpg

that thing is hardened, but only the first little layer of material. the noise of the cut is a good indication of how things are going, and the first cut off this sounded like death. once it got past the surface, it cut like normal steel. Hooray for carbide! :D

then, I made a new, low profile nut from scratch:
july23004.jpg


it sits down inside the counter bore, and only the hex part sticks out:
july23006.jpg


I don't have a washer in it currently, but I will be able to add one if it becomes necessary. this just seemed like the best solution to the problem to me, and it keeps the stem as low as possible as well. 8)
 
Back
Top