Hawthorne MX

Rat Rod Bikes Bicycle Forum

Help Support Rat Rod Bikes Bicycle Forum:

This site may earn a commission from merchant affiliate links, including eBay, Amazon, and others.
Joined
Nov 5, 2014
Messages
31
Reaction score
66
Rating - 100%
1   0   0
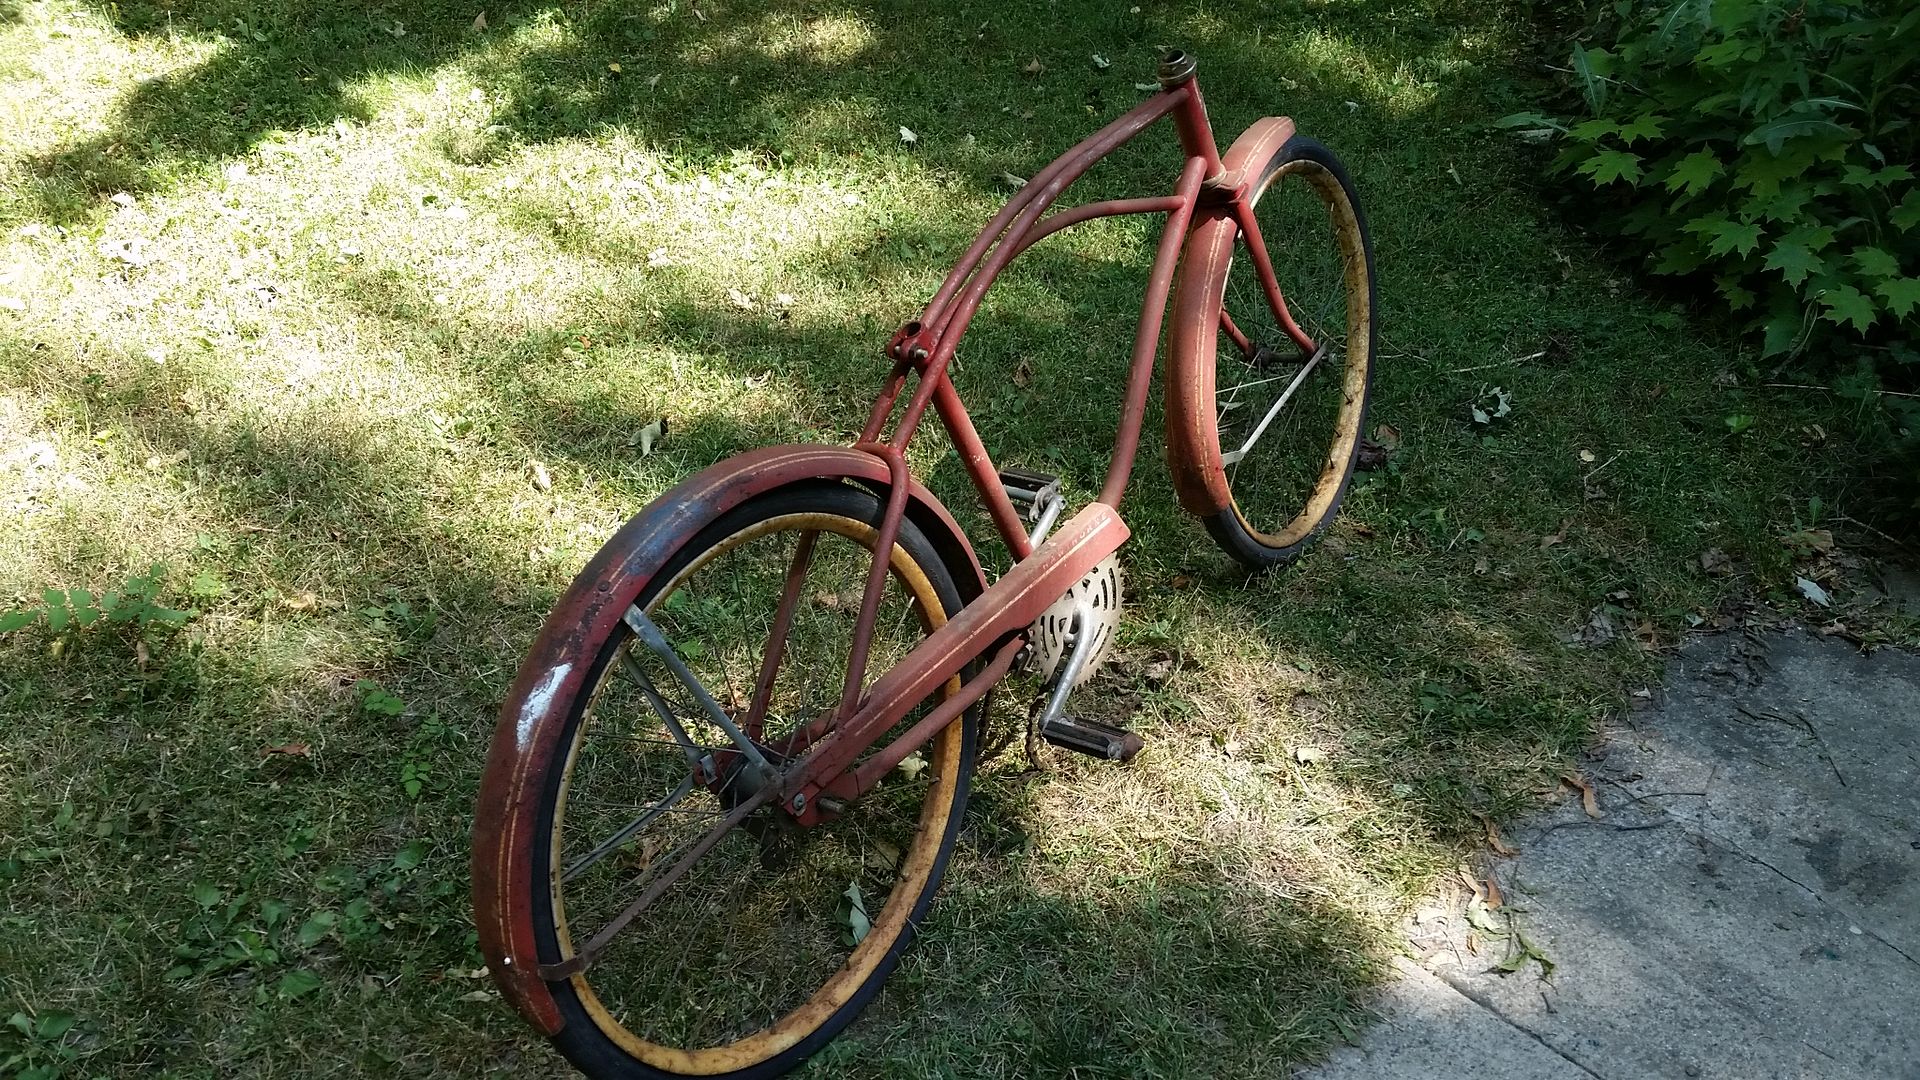
I had got this 24" Hawthorne a while back, not knowing what to do with it, but the price was right-free. Recently I had been following a build on another site where the member was building a 24" Schwinn Scrambler replica and it inspired me to do something with this one.


I've liked the look of the 70's MX bikes, like the Huffy Thunder Road (Oh-oh Thunder Road, sit tight, take hold, Thunder Road!),
so I took cues from those to build a 24" MX. I picked up some new stuff, some new old stuff, and used stuff for the build.

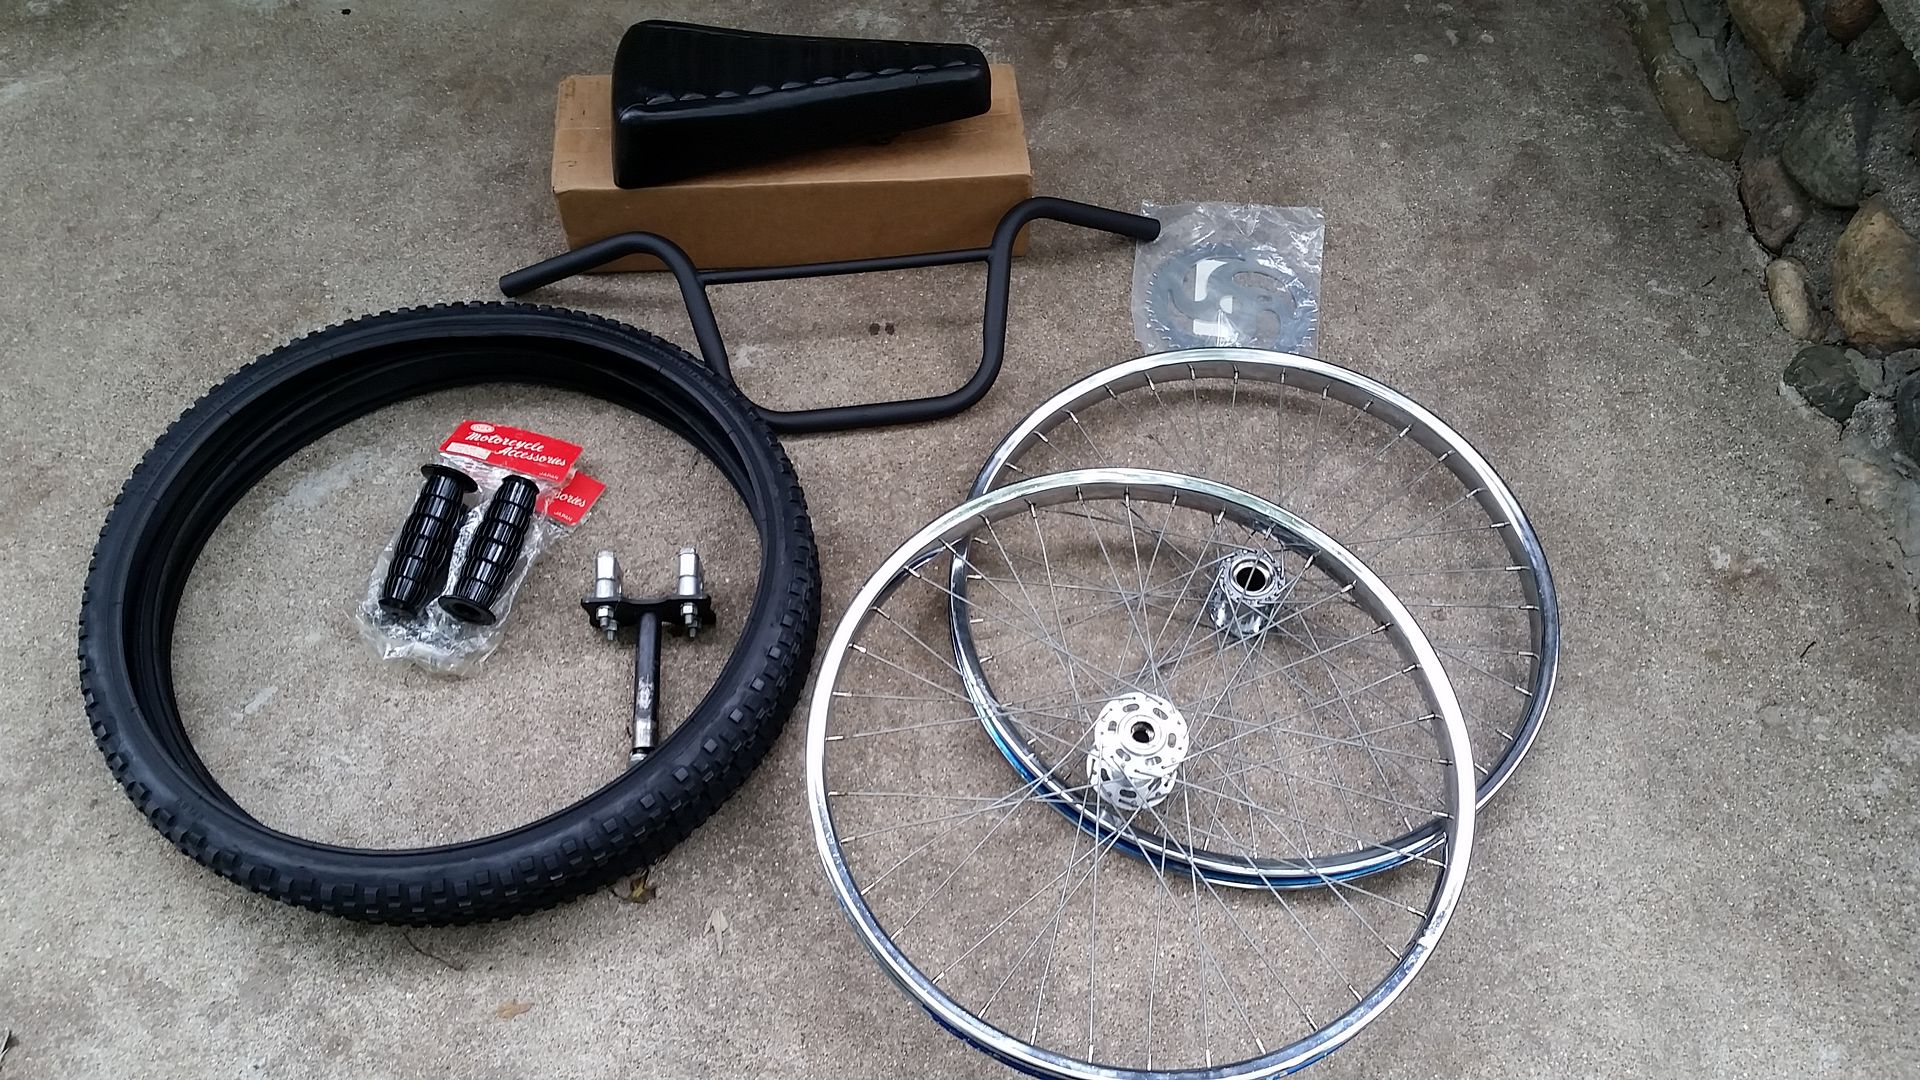
The seat didn't come with the sissybar/strut, so I'll have to fab one myself. Other than that, hopefully just paint and clean up of the other parts.
 
Ok, not a whole of updates- put another coat on frame/forks and soaked some rusty bits from the headset and crank in vinegar.
As I go along, I wanted to add some extras to it, like custom decals and a head badge, so I'll add that to the punch list. I also wanted to add a crossbar pad to the handlebars for more MXness, but I didnt want to spend $30 for a set or $20 for just the bar pad. In keeping with the overall theme of this site, I decided to "build it", not "buy it"

I bought some 1/2" pipe insulation, a snap kit from the walmart, some vinyl glue and I got a good deal on a 1/2 yard of black vinyl from the fabric store.

First I measured the crossbar and the circumference of the insulation and added on to them for the seams and overlap of the snaps.


I outlined where the edge of the seam would be, and the dashed lines are a border for how far back to fold for the seam. I glued the seams with the vinyl glue and then placed a heavy book over it overnite.


Installing the snaps is pretty straight forward, you can find videos on line that show you how. I couldn't do it and hold the camera at the same time.

Finished. One big tip: make sure your snaps are on the right side of the fabric! The first socket I installed on the wrong side and had to pry it out.


Finished. I probably have less than $5 into this considering the materials I have left over, so not too bad. The real savings was the vinyl, which was on special for $5 for the 1/2 yard. I have enough left over to do at least 4-5 seats and some pads. You could probably find a vinyl purse at the second hand store and just cut that up. The pipe insulation was $1.50 for six feet, snap kit with 8 snaps plus the install tool was $4, the vinyl glue as another $4.

I used the glue to make it easier, if you have someone who can sew the seams, it would probably be better. Some of the glue did seep through, but it cleans up with nail polish remover. Spreading it out with a small paint brush might even it out and prevent seepage where a glob of glue is at. Lining up your snaps is pretty important, I installed one of mine a little wonky, but it still worked and you cant see the snaps really anyhow.

More to come...
 
Awesome project.... it's got plenty of super-oldschool BMX vibes, and it's ll being hung on a hott Snyder-built 24" frame. Personally, I'd consider putting a black tubular BMX cruiser fork on there, with straight tines... and definitely some 2.125" Comp III tires, gumwall.... but that's just me. Your parts pile and paint job looks rad already!
 
I like where your goin with this . I'll be watching to see the end results.
Would you happen to have a link to see the Schwinn Scrambler inspired 24" ? , I'd like to
Check that out as well....

~ Rafael ~
 
Thanks for all the kind words and encouragement fellas. I was. already thinking about another 24 with a tubular fork, comp IIIs, and skyways, so we think alike! Here is a link to that scrambler build (hope it's ok with the mods:))
http://bmxmuseum.com/forums/viewtopic.php?id=698140

Did a quick mock up to see where the saddle is going to set. I'm not using that sissy bar, just there to hold the seat. I knew I was going to have to make a sissy/strut,and I think I'm gonna add a lay back seat post to be able to get the seat where I want it. Hopefully get some 5/8" this weekend and have a buddy bend it for me.

Coming along....

I also got my first skip tooth this week. Hiawatha with the Indian profile head badge, serial is 565625. Any help on year?
 
I agree with "Dr Tankenstein " dose apear to be Huffman , also thank you for the link to the 24" Scrambler tribute ....

24_stingray5776fedcd7.jpg
 
Yep it's a Huffman made Hiawatha, here is a little inspiration this is my 1945 Huffman Dixie Flyer. I also love the Hawthorne looks sweet.
2016-06-30 21.23.36.jpg
 
Okay, thought I'd bring this thread back up for some air. Been pecking and poking at it. Just some details left to do, but usually thats the hardest part:).
I tried to make some waterslide decals with paper from the hobby shop, but I wasnt happy with the quality so I took them off. Plan B for that is yet to be determined. Got a working concept for a head badge design, which I'm hoping to try and acid etch on some thin aluminum (aluminium). Anyways, hope to have it all buttoned up by this weekend. yeah right....
 
Awesome !!
 
Looks good , how's the. Ride ?

~ Rafael ~
Haven't put a chain on it yet, but in sitting on it it feels like I'm bigger than the bike, like when you sit on a 20" versus when I sit on some of my 26". I'm 5'7", so it fits me. Not sure if a bigger guy would like it.
 
Thanks Tristan. I think the stem is the best part on there.:happy:

I did not notice that you used the stem, that Rocks :rockout: glad it went to a good home.
 
Back
Top