Grandpa's Schwinn Springer

Rat Rod Bikes Bicycle Forum

Help Support Rat Rod Bikes Bicycle Forum:

This site may earn a commission from merchant affiliate links, including eBay, Amazon, and others.
Joined
May 2, 2011
Messages
30
Reaction score
6
Rating - 0%
0   0   0
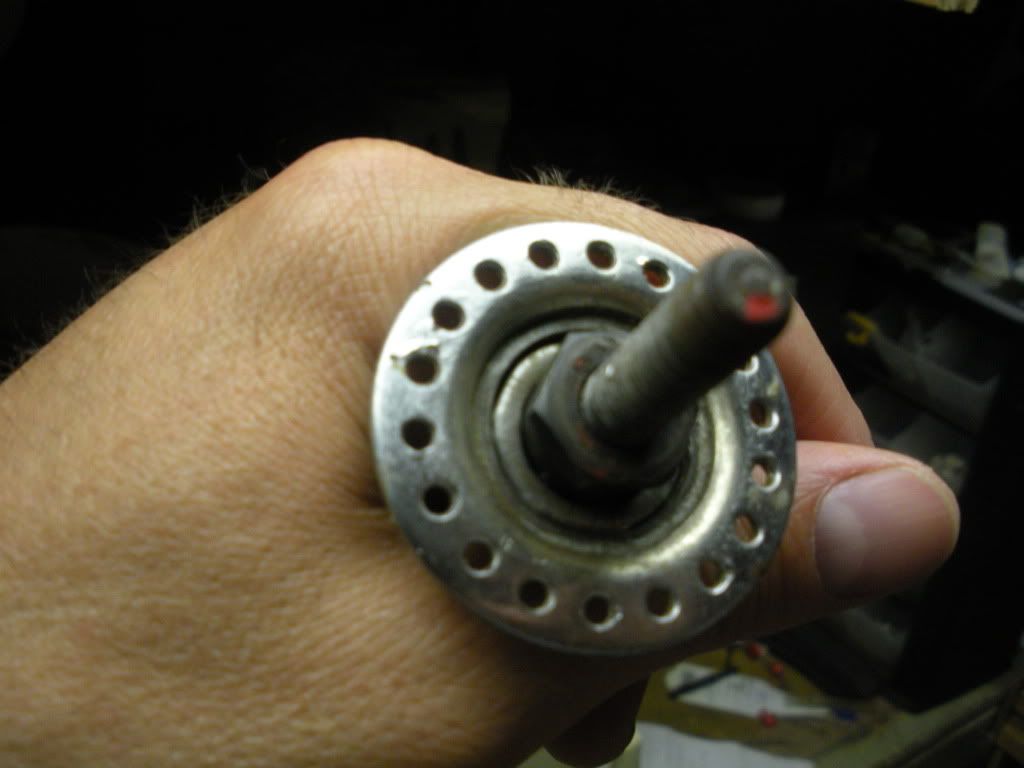
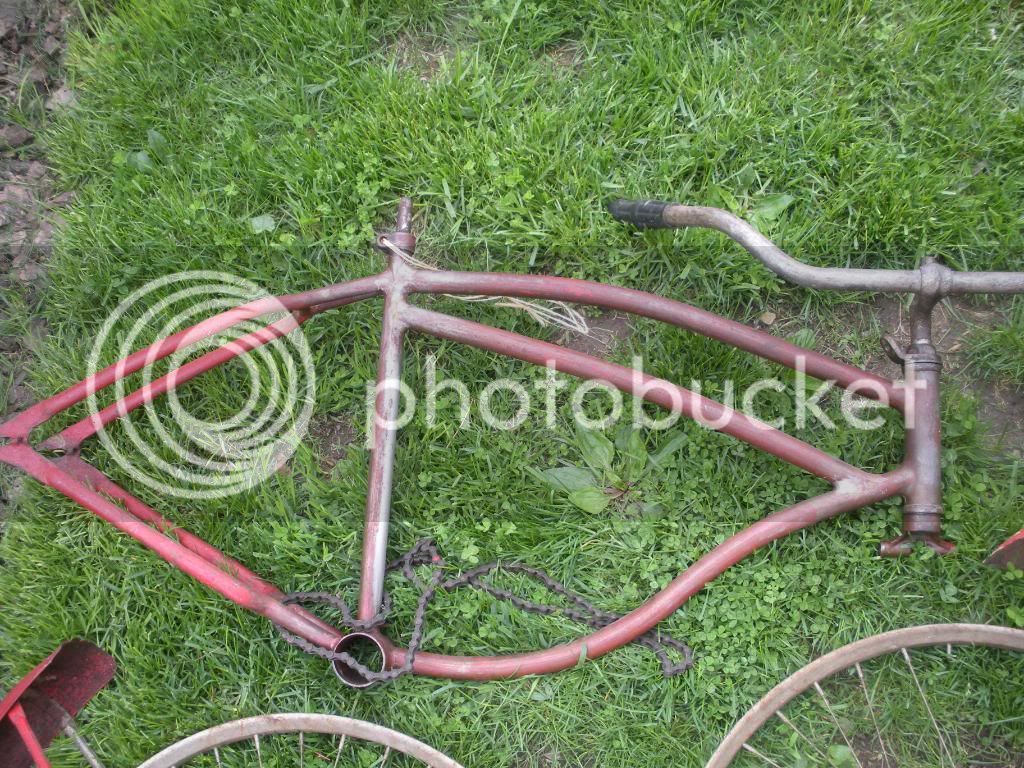
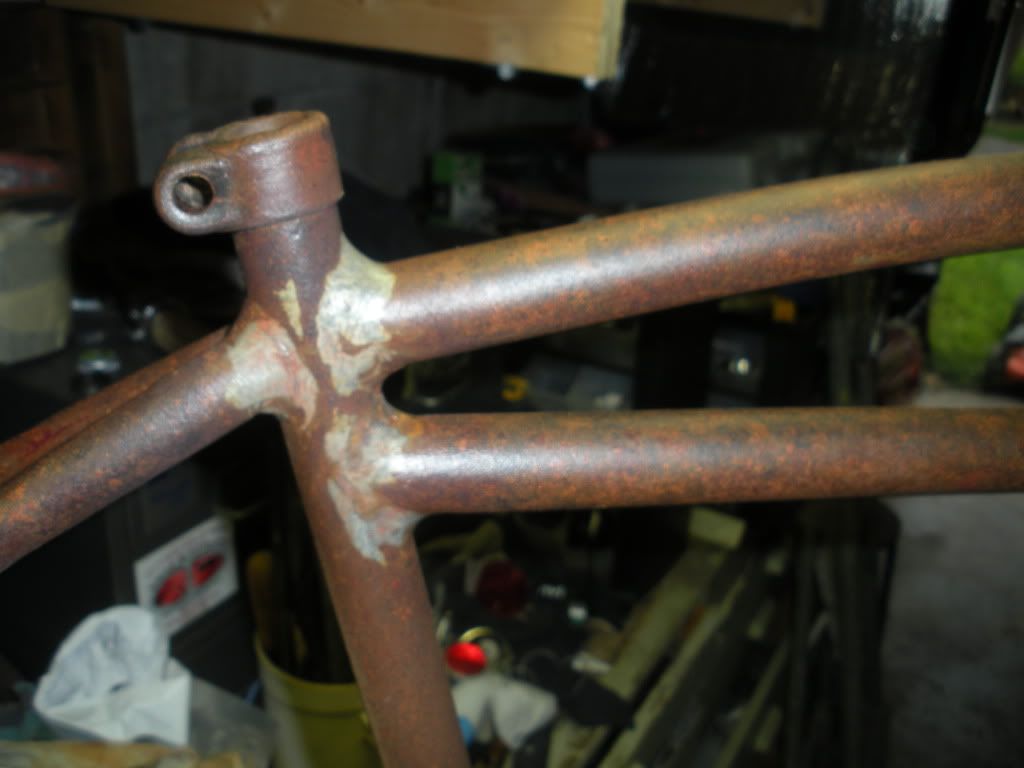
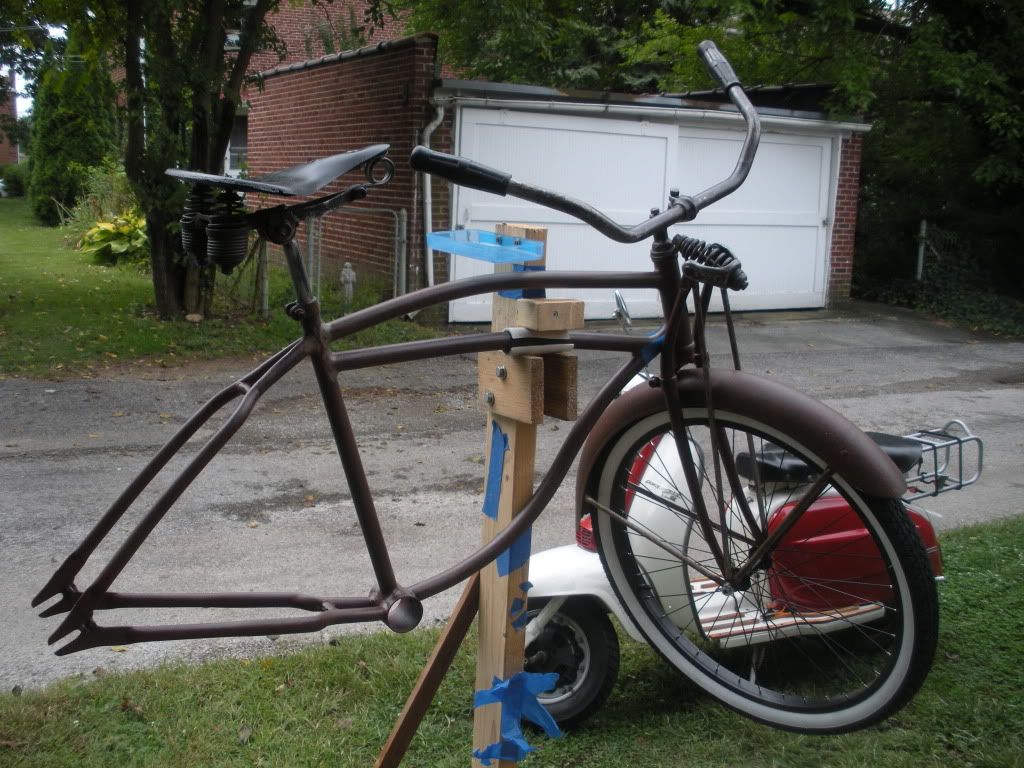
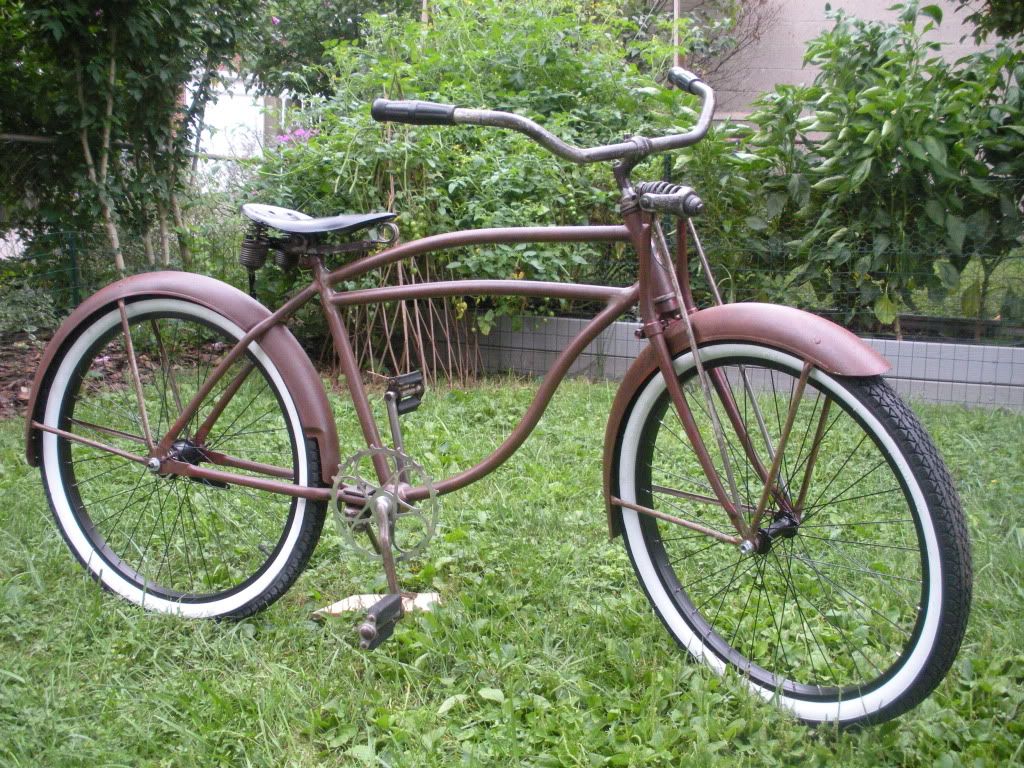
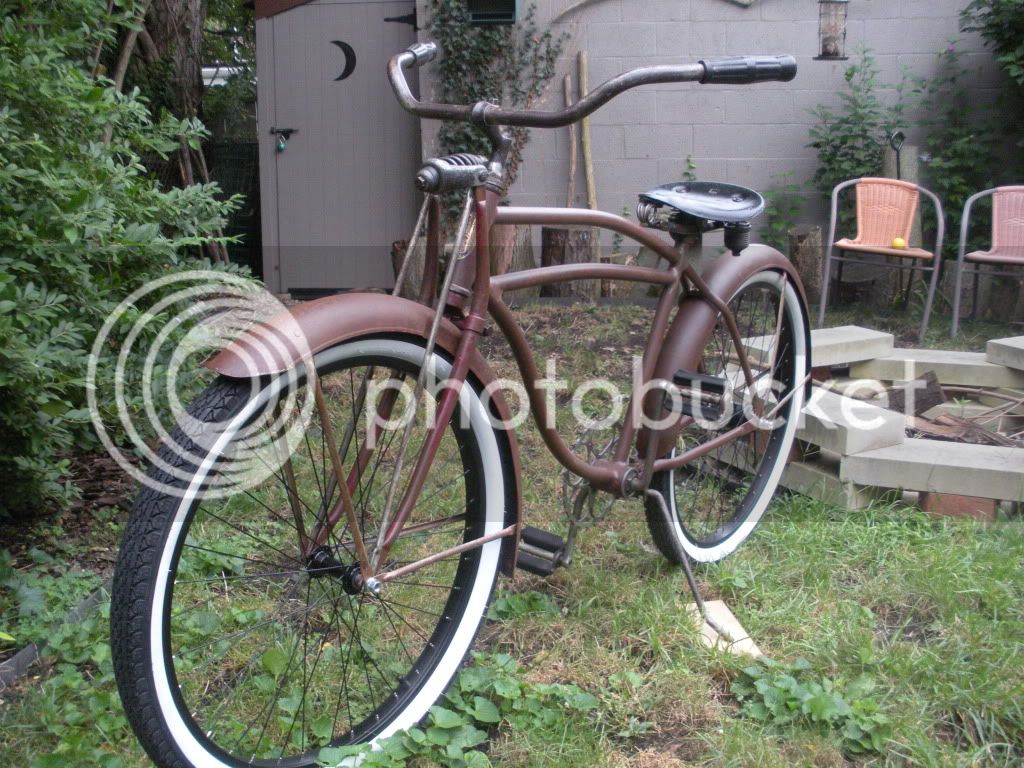
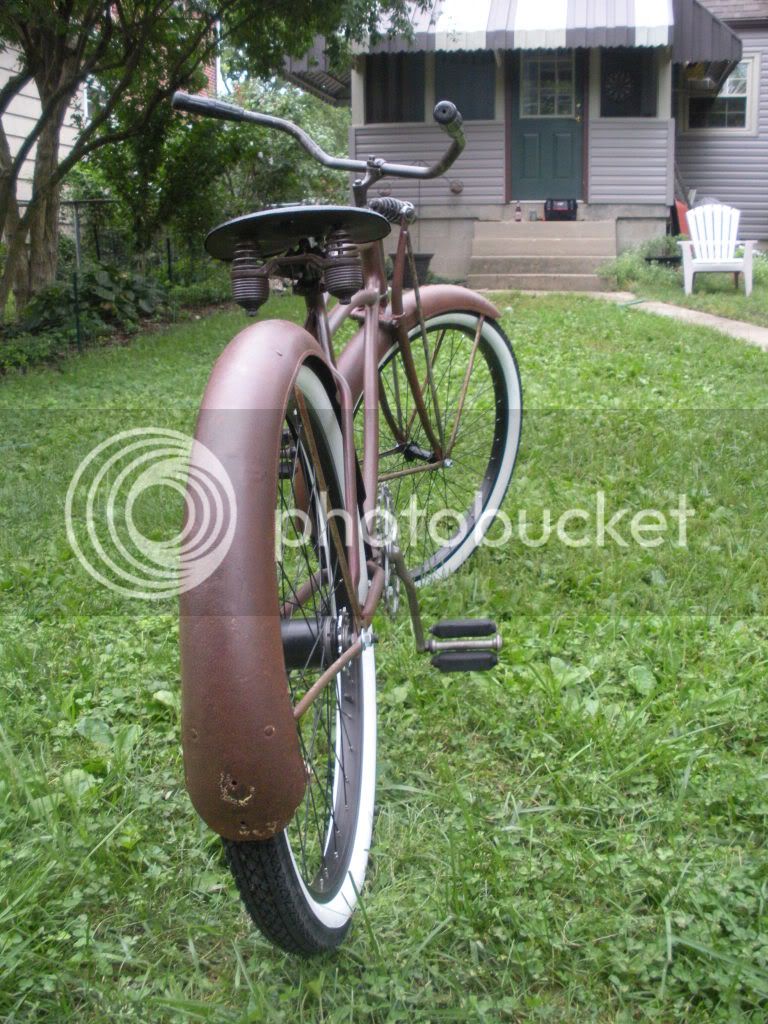
I've been fortunate to acquire my grandfather's old Schwinn springer bike. I used to ride this bike when visiting my grandparents as a kid. This is my first attempt at working on a vintage bike and I'm sure I'll have lots of questions as I go along. The bike is mostly complete and original and I would like to give it a mini restore: mechanical refresh, basic paint, possibly an upgrade to a 3 speed hub to make it a little more rideable around town.

I do have a couple of quick questions:
- I'm trying to identify the year/model. This bike has serial number G74326 under the pedal crank housing. In looking at some of the Schwinn serial number sites on the web I see serial numbers G071209 - G076119 were produced March 1950. Is the length of the serial number significant? Mine has a letter followed by 5 numbers, the list I looked at had a letter followed by 6 numbers. Is my bike a 1950?

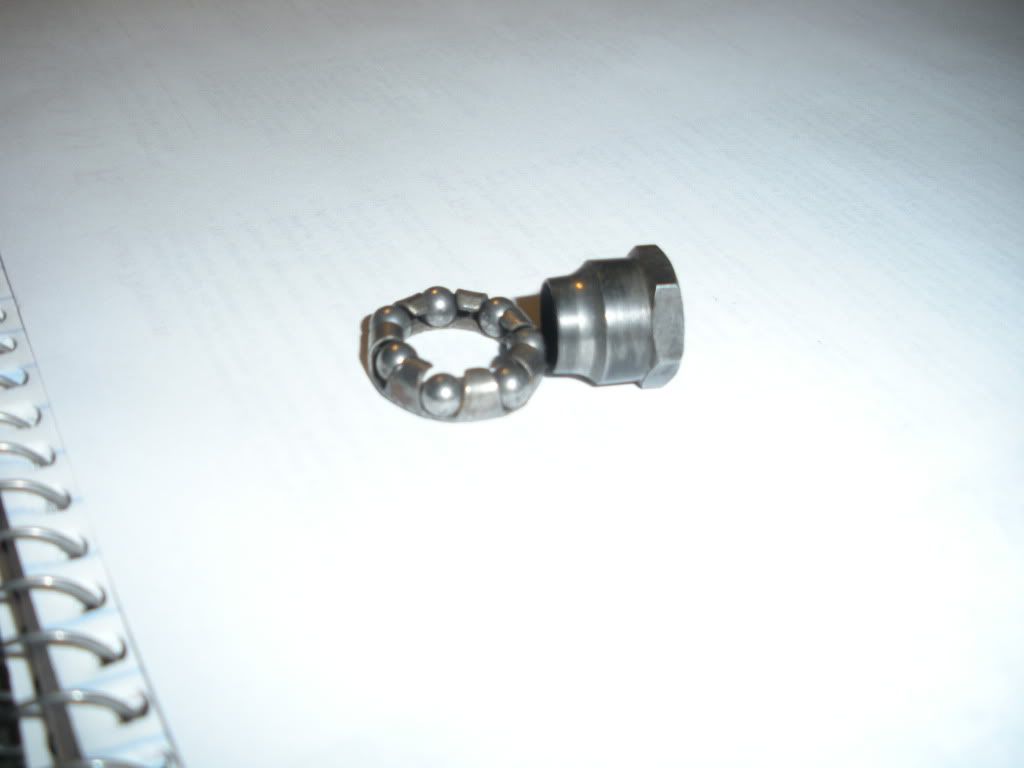
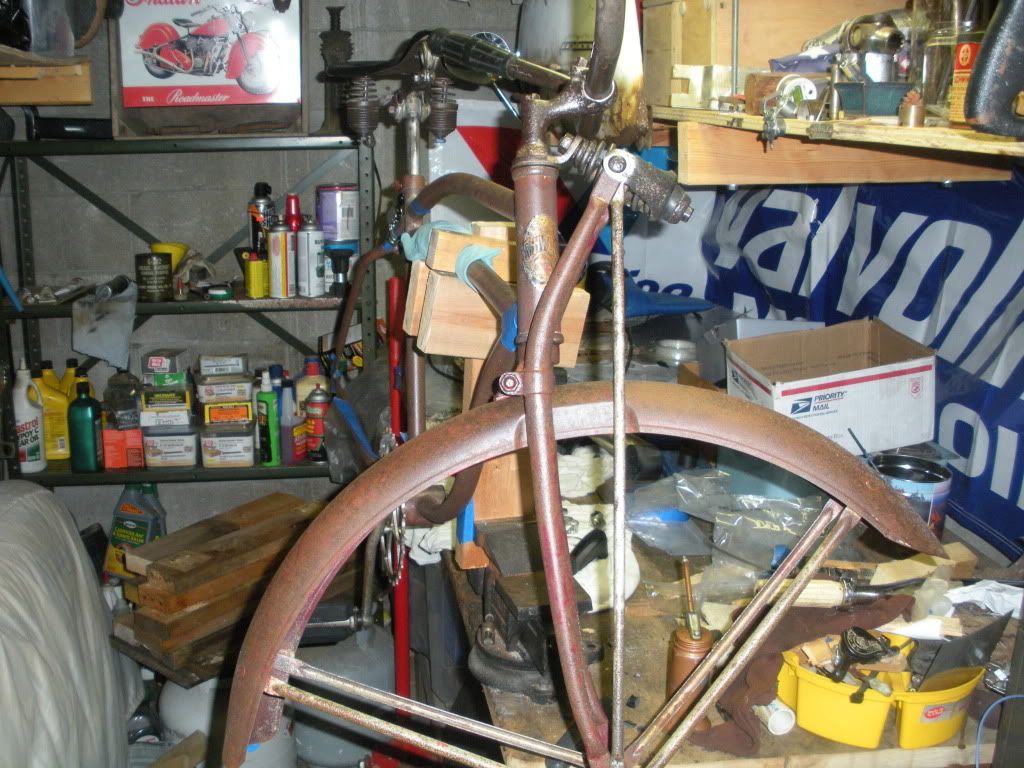
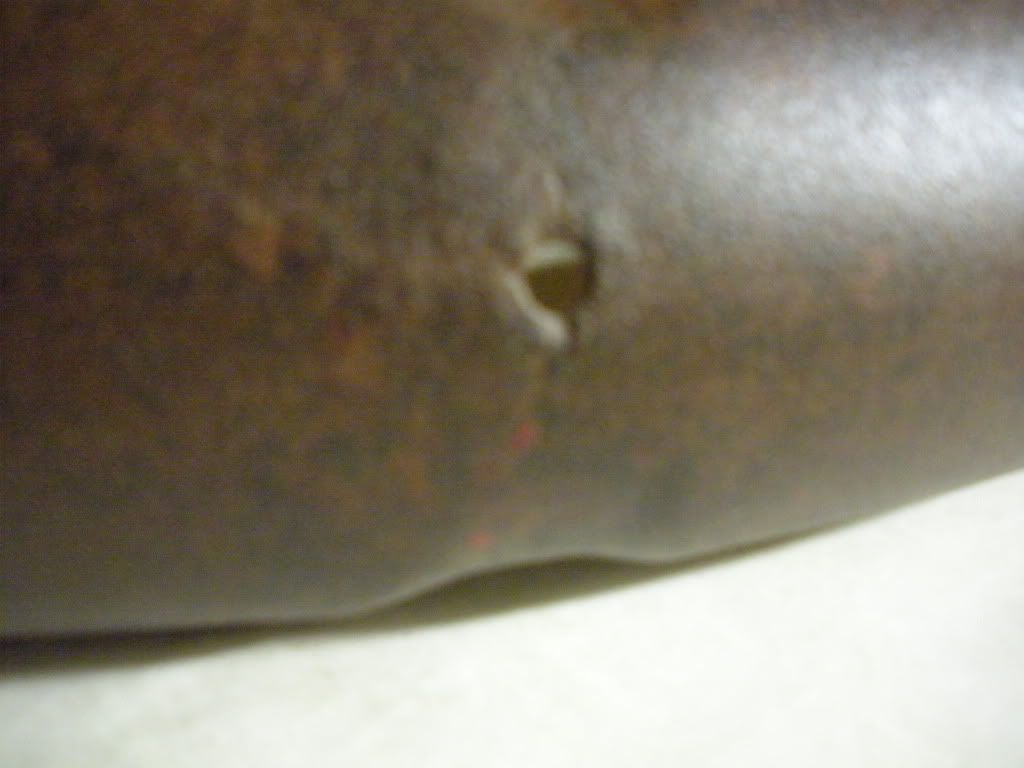
- I have been unable to remove the seat post, rusted in place. I've tried repeated soaking with PB Blaster for several days followed by heat application, no luck. Do I need more heat (did not get it glowing red)? Any suggestions?

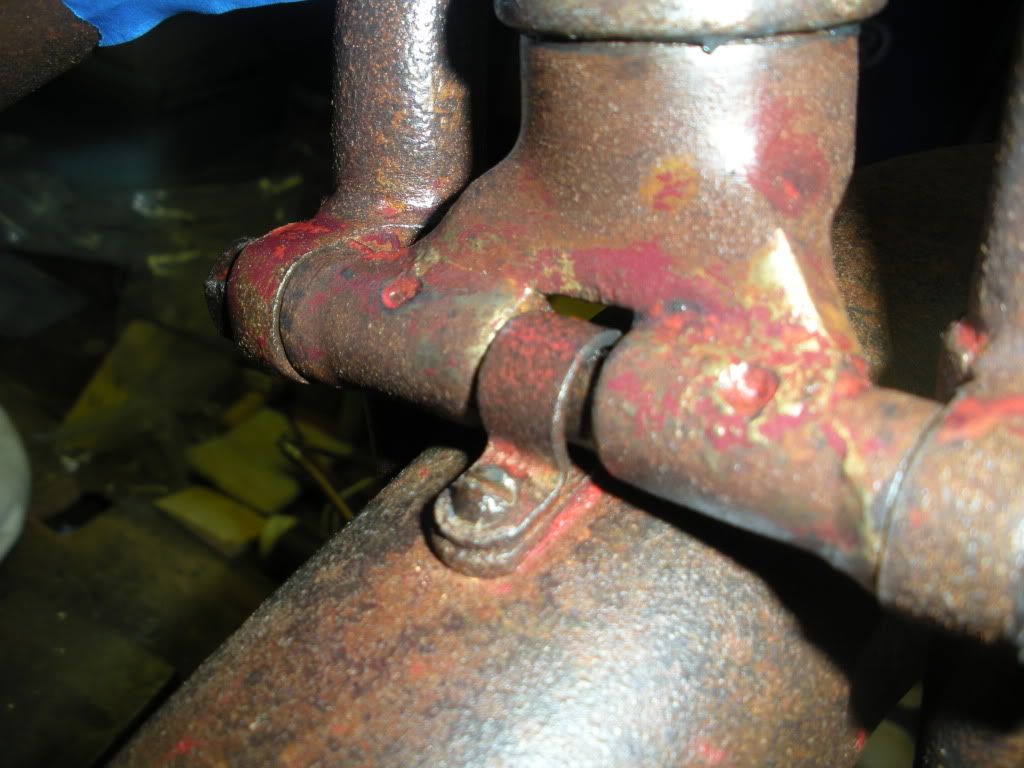
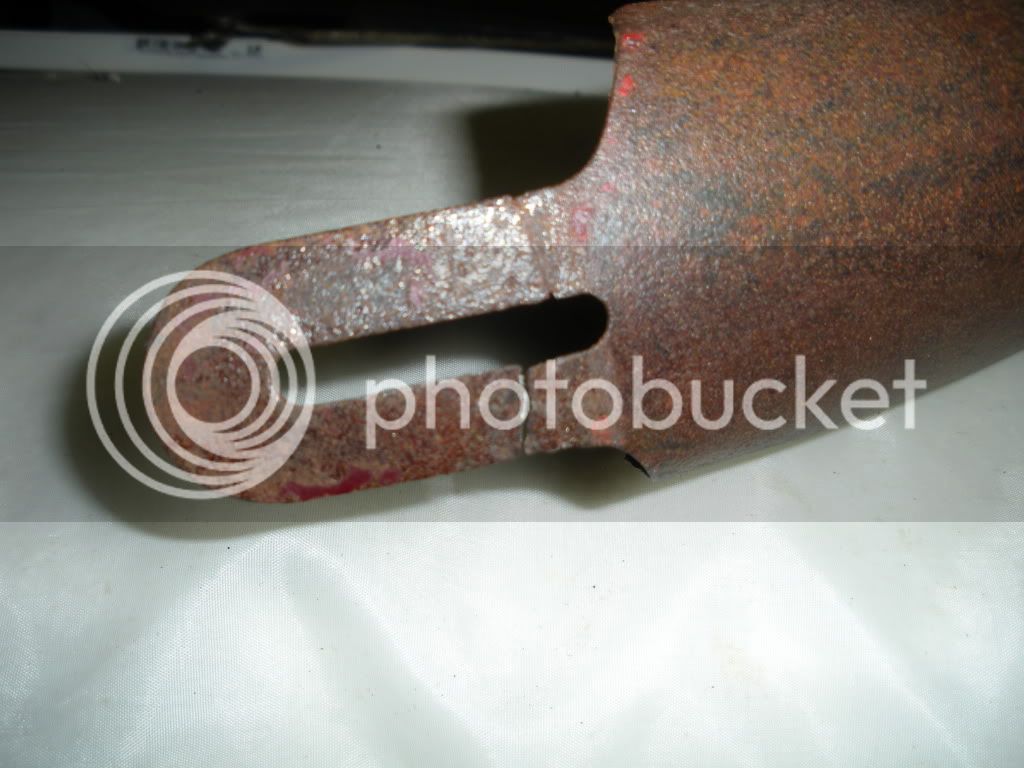
- I have been unable to remove the goose neck/handlebars from the frame. I did notice a small nub of sorts on the inside at the bottom is there some trick with that?

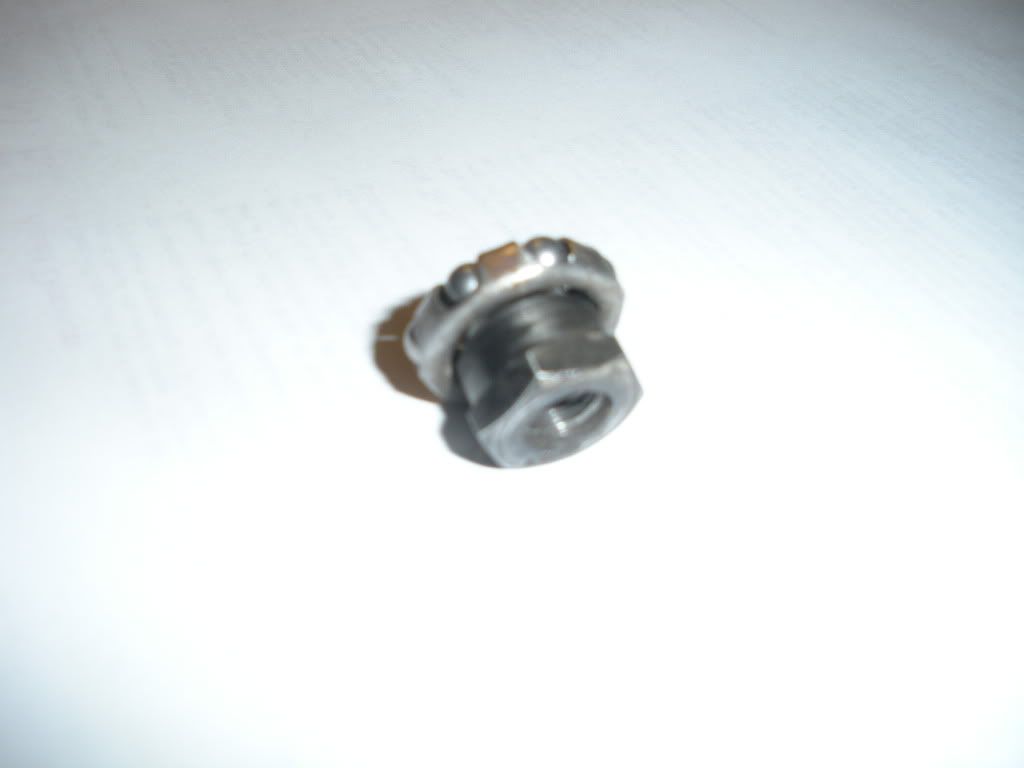
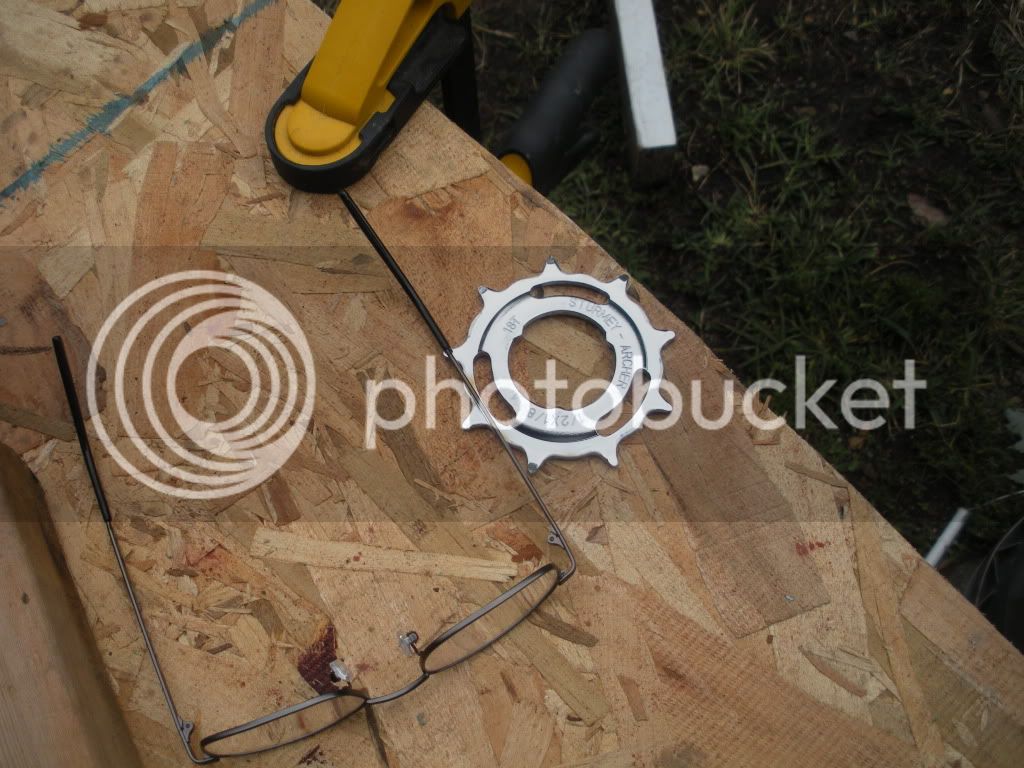
- I have been unable to remove the master link on the chain. This is a skip tooth chain. Special tools needed or just a special procedure?

Link to pictures: http://s1230.photobucket.com/albums/ee4 ... m/Schwinn/
 
Re: New Schwinn Springer Project

Dropouts point to a prewar bike. Look for a number on the crank opposite of the 'AS & co."

The other problems, welcome to the fun. I have a similar stem problem right now. Let is sit soaking. Drive driving something up from the bottom since you have the room on that fork. Also make sure the wedge is loose.

For the chain, flex the chain toward the removeable plate on the master link. Use a screwdriver to help pry it off.
 
Re: New Schwinn Springer Project

Or..
With two hands flex the chain towar the removable plate on the master link, then with your third hand pry off the link with a screwdriver. :D Ah, the joys of masterlinks.

Soak, heat and patience and you'll get that bike apart.
 
Re: New Schwinn Springer Project

Hose everything you want to remove with PB Blaster (Good stuff)

Let it sit for days...Keep hosing it.Dont force anything.

There is a master link on the chain.Slide it off with a screwdriver.
 
Re: New Schwinn Springer Project

Thanks for the replies, I also found some good links that covered both the seat post and the stem. My crank has an F and a 41 so I'm guessing that means it's a 41. Looking forward to getting this back on the road.
 
Re: New Schwinn Springer Project

Quick update: This weekend I was able to resolve all my stuck parts issues:
- Chain just needed a wire brush to remove enough gunk to clear out the holes (along with the procedural suggestions provided)
- Seat post was more PB Blaster, propane torch on the frame tube, and a LARGE pipe wrench
- Stem was more PB blaster then the bottom of the fork in a vice with lots of twisting and pulling on the handlebars. When the stem came out I found it was not stuck so much by rust as it was the bottom of the stem has been ballooned out I'm guessing because the wedge had been over-tightened.
 
Re: New Schwinn Springer Project

Good Deal ^

In the future,leave the seat and handlbars bolted (stems unbolted)...use them for leverage to yank/twist them out.

I try to stay away from the heat.

Dont be afraid to make up a few curse words as ya do it...I been there and done that and blasted myself in the face as they came flying out.
 
Re: New Schwinn Springer Project

Time for an update and a couple questions ..

Initial mock-up:
InitialMockUp.jpg


The bike came to me as a basket case and I have a couple questions about the front hub assembly. The hub cone/nut does not have a dust cover, the back of the bearing is exposed. Is that right or am I missing a part?


FrontHubBearing.jpg


What is the correct order of assembly. The picture below has two possibilities:
On the left is hub, cone/nut, fork leg, springer leg, thick washer, axle nut
On the right is hub, cone/nut, thick washer, fork leg, springer leg, axle nut
There are several other options

FrontHubAssembly.jpg


Do I have all the parts or am I missing anything (like other/more washers)?
Anyone want to weigh in on the proper assembly order?

Lastly, I found the front axle is bent. Quick measurement indicates a 3/8" diameter by 5.25" length. None of the axles in my stash have the same diameter and/or thread pitch. Do I need to find a vintage Schwinn axle or is the diameter and thread pitch fairly common enough that I just need to keep looking and/or check the LBS? Anyone have a replacement they will sell me?
 
Re: New Schwinn Springer Project

DSCN1782.jpg


Definitely a 1941 D97X. I have one myself. Your springer was not original to the bike but was added later.

When you copy a link from Photobucket the link will start out and end with "[IMG]" Delete both capital I-M-G's and the brackets and the link will work.

Front hub...the prewar front hub does not have separate dust covers, they are built into the cone. The prewar hub also has small bearings. I replaced the prewar hub with a postwar hub that has larger bearings. Schwinn upgraded to larger bearings after the war for a reason. If you are going to ride your bike a lot you should too.

My prewar hubs don't have any lock nuts. Bearings, cone, fork leg, truss rod, washer and nut. Adjust your cones just before you tighten up the nuts. You will need a skinny wrench or grind down a regular one.

If you're careful you can straighten the axle if it's not too bad. Take the axle and an axle nut to your local bike shop and see if they have one. The postwar Schwinn hubs were made in Germany and are metric. I'm not sure of the thread pitch on prewar.

If you decide to part out the bike I'd like to have a shot at the springer. Gary
 
Re: New Schwinn Springer Project

Thanks for the input B607, a couple follow-up questions:
I'm new to vintage bikes and trying to learn, what do you see in the photos that makes you certain this is a D97X?

You mentioned the dust cover is built into the cone but it seems to me the bearing is still fairly exposed with little or no dust cover. Here's a couple close up photos, still looks right to you?

DSCN1856.jpg


DSCN1855.jpg
 
Re: New Schwinn Springer Project

Keep up the good work. You're in the midst of the hardest part, the part where you can't see the finish line and you wind up dirty to your elbows every time you're in the shop.

Just keep plugging away, pretty soon you'll look around and find that there's not a piece you haven't addressed, then it'll be time for paint, reassembly, and the BIG payoff at the end! :D

Please consider this advice, some folks, including myself have learned it the hard way. Inevitably with these old bikes with many sheet metal pieces the parts require bending and straightening and dent removal. When you've done with all that but before you start applying any paint/finishes, do yourself a big favor and mock up the bike, put it all back together loosely (a time consuming extra step I know), make sure everything fits together properly, do your sheet metal adjustments at that time, it's something you DON'T want to have to do when the bike's all painted up, you can put big gouges and scratches in the paint you've just worked so hard on.
It's amazing how a bike that fit together so nicely when new, then got beat up all its life, then restored and straightened and unbent no longer fits together AT ALL upon re-assembly.
 
Re: New Schwinn Springer Project

GearheadJim said:
Thanks for the input B607, a couple follow-up questions:
I'm new to vintage bikes and trying to learn, what do you see in the photos that makes you certain this is a D97X?

You mentioned the dust cover is built into the cone but it seems to me the bearing is still fairly exposed with little or no dust cover. Here's a couple close up photos, still looks right to you?

It looks to me like you are a skeptic. :p That's good! Never rest until you get the correct answers. :arrow:

First, I may have been wrong about your springer not being original to the bike. That would be true only if your bike had a tank originally. Original bikes with both tank and springer have a little button welded to the front of the frame to keep the fork blades from hitting the tank. Your bike doesn't have the button so it was either a plain bike, a plain bike but with springer, or a tank bike with the springer added later. Clear as mud? 8)

We know your frame is a prewar Schwinn by the rear dropouts and by the way the top bars smoothly blend into the head tube. Schwinn made several styles of straight bar frames before the war. Only one had both top bars curved like yours...the DX. The first year of DX was '39. The down tube from the head to the crank was dead straight. In '40, they gave the down tube a little bit of curve. In '41 they gave it more curve yet. Yours is the "curvey one" so it's a '41. It may have been made in the fall of '40 also as that's when the new models were introduced. (in time for Christmas)

Here is a page from the 1941 Catalog showing your bike. Your frame came in 3 sizes. 16", 18", and 20", measured from the crank housing center to the top of the seatpost. The 18" is the most common and I'm guessing yours is an 18". Each frame size had a different catalog number. D96X was the 16". D97X was the 18", and D98X the 20". If your bike had a tank, rack, and light when it was new it was the "equiped" model and there would be an "E" after the model # like D97XE. The -1 at the end would be for 1941. Unequiped would be D97X-1.
CCF06252011_00000.jpg


Here's are pics of my DX. This is a D96XE-1 with the shorter 16" frame.
ADX004.jpg

ADX005.jpg


Here are some pics of the prewar Schwinn hub that came off of my '41 DX. My hub has the Schwinn script roll markings, loose bearings with no retainer, and the cones have the built in dust cover. It also has lock nuts for the cones. I'd say your hub is either a different Schwinn model than mine or has had parts replaced, or is a non Schwinn hub. I'm not sure. Gary
DSC05466.jpg

DSC05464.jpg

DSC05465.jpg
 
Re: New Schwinn Springer Project

Great info, thanks guys!

B607, you're spot on for the model being D97X. An earlier reply pointed to pre-war based on the drop-outs and had me check the casting on the crank where I found a 41. I had wondered how accurate that was thinking the crank may have been switched at some time but your response on the curve of the frame seems to confirm this is indeed a '41. I just measured the frame and it is an 18". Last time my mom was in town I asked if the bike ever had tanks (this was originally my grandfather's bike) she indicated it had not.

Looking at your hub pictures I see they are a little different, mine does have the script Schwinn but my bearings are caged not loose. I do think I am missing the dust covers, anyone have some? If no response I'll add a post in the Wanted section.

I was helping a buddy with his motorcycle last night and he was so excited to find out I was working on an old Schwinn he gave me some parts: a 9 hole rack and a rear reflector. Junior seemed to think the "Stimsonite" reflector was correct for an old Schwinn. Maybe not '41 old, anyone know what would be correct? Here's some photos.
DSCN1864.jpg

DSCN1866.jpg

Junior gave me a choice of two racks, I took the rustier version because it's a better match for my patina theme, the Tetanus Cruiser.

Tailwinds, very good advise on assemble loosely and be patient. I pounded out most of the dents in the fenders (left some to match the theme), stripped off 10 layers of paint (my mom told me she remembers painting the bike with a brush with her dad), re-rusted some parts when the stipped paint left shinny metal underneath (used the muriatic acid/copper wire method from the how to index) and have most everything clear coated with a matte finish. Getting fairly close to reassembly.
DSCN1862.jpg

I like the mis-matched, worn out pedals, tough to fake that kind of wear.
DSCN1863.jpg

Cool how the different brazing material left some of the joints unrusted.
DSCN1857.jpg


I've done some other restorations in the past:
'63 Lambretta in the corner was my dad's now my daily driver
DSCN1767.jpg

I also have a '65 VW Notchback that I'm hoping to get back on the road before the end of summer
DSCN1792.jpg
 
Re: New Schwinn Springer Project

GearheadJim said:

Your rack is a post war. You can tell by the size of the hole in the end of the leg. The legs will be too short for your frame because postwar racks attached to ears on the frame. No ears on prewar so your rack will need to attach to the axle. Go to the hardware store and buy a couple of pieces of flat steel 1/8" thick and the correct width. Grind and remove the rivets and replace the legs with longer ones.

The fender...is a hard to find rare bird. It's a prewar Schwinn front fender for a B model springfork. You can tell by the indentations in the side. Not the correct fender for your bike but you could use it. It's fatter than the original DX fenders. Get a matching rear fender and you can "fatten up" your DX a little. Good trading material for sure.

You can get a tank for this bike on ebay. They are around $100. Maple Island also has them listed.
http://mapleislandsales.com/search_resultlist.php?category=Tanks&Submit=Submit+Query


Gary
 
Re: New Schwinn Springer Project

Hey Jim,Im diggin' your progress.

Keep us posted.

It looks good to me.
 
Re: New Schwinn Springer Project

A little update with some new questions:

Front end is together
DSCN1895.jpg


The top of the fender attaches with a clip that rides somewhat loosely on the thru-bolt. Seems it will be pretty rattley, am I missing anything or is that just the design?
DSCN1897.jpg


The mounting tab on the bottom of the rear fender has one side broken and the other side is stress cracked badly. Is there a generally accepted fix for this? Thinking of brazing it back together but would first have to remove about a 1/4" from each side of the crack to get back to good metal, it's very thin. Also thought of making a set of stiffening plates to sandwich the remaining tab, sufficiently thick stock, cut and formed to shape, one hole in the middle for the mounting screw.

What's your input?
DSCN1905.jpg


I have the same stress crack situation on the top mount
DSCN1903.jpg


Progress is slow but moving, I need to find some old, distressed leather to recover the seat. Thinking of hitting the thrift store for and old leather jacket or a furniture upholstery shop for some tear off scrapes.
 
Re: New Schwinn Springer Project

I like the old Schwinn but the VW notchback is way cool ,those are hard to come by these days. :mrgreen:
 
Been stalled for a while on wheels, LBS was unable to lace my rear hub to the original rim, not strong enough, couldn't get it close to straight. Went ahead and got a new rim laced to my 3 spd hub for the rear and a new matching front wheel.

Fixed the lower rear fender mount with a tab epoxied to the back:
DSCN1937.jpg


Threw together a quick stand because it was way too hot inside the garage:
DSCN1936.jpg


Ground out some teeth to make an inch pitch cog:
DSCN1939.jpg


Now I have a roller:
DSCN1943.jpg


DSCN1951.jpg


It's a good start, needs a number of details worked out.
DSCN1945.jpg


I noticed what I think is a problem with my rear hub mounting. The flat sides of the axle are much smaller than the axle slots on the frame. I believe the axle needs held in one position which is the point of the flat sides. Do I need to make some sort of adapter/spacer to match the flat sides?
 
Looking good. If it's a Shimano hub they have serrated washers that have the matching cutout for the axle flat. They also have a tab that aligns with the slot in the dropout but you won't find one that fits that frame exactly. Get any pair of Shimano serrated washers (they make 4 or 5 different ones with different tab locations) and grind the locating tabs off. If you tighten the nuts good against the serrated washers the axle won't turn. That's how I did mine anyway, and haven't had any problems. Gary
 
Back
Top