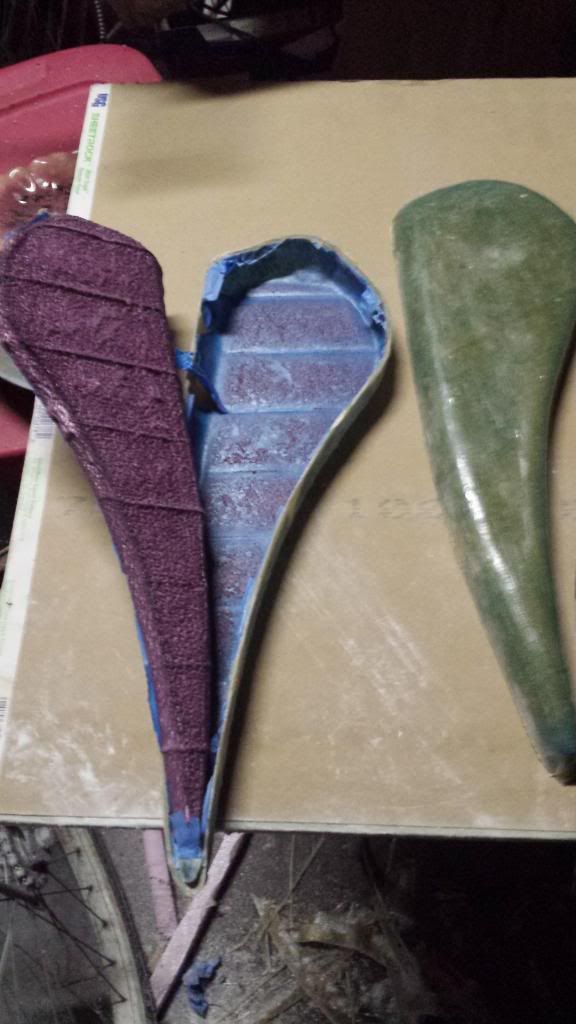
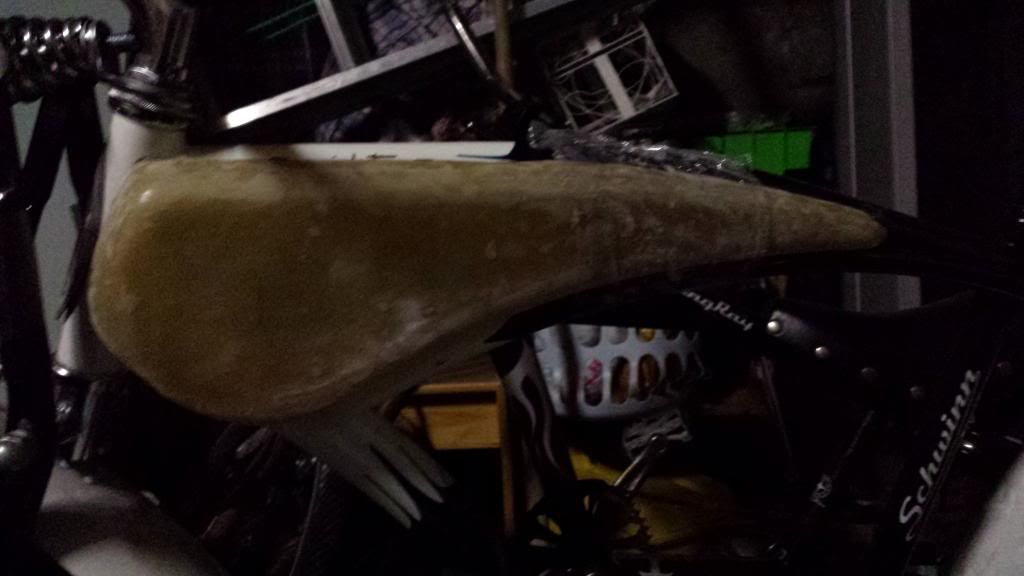
Been wanting a tank for my daily rider and wanted to try fiberglass. I've never worked with fiberglass before so I did some research and this is how I'm doing it. First pics of my rider...

Found sheets of "hobby foam" at home depot and traced an outline of the tank shapes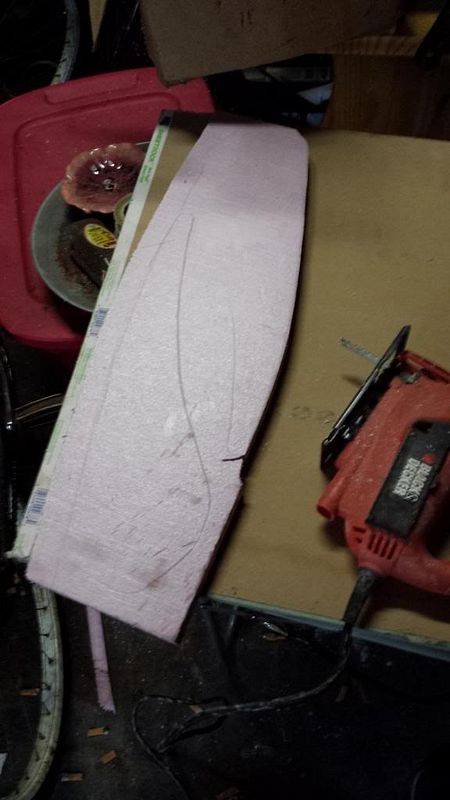
Cut them out with my skilsaw
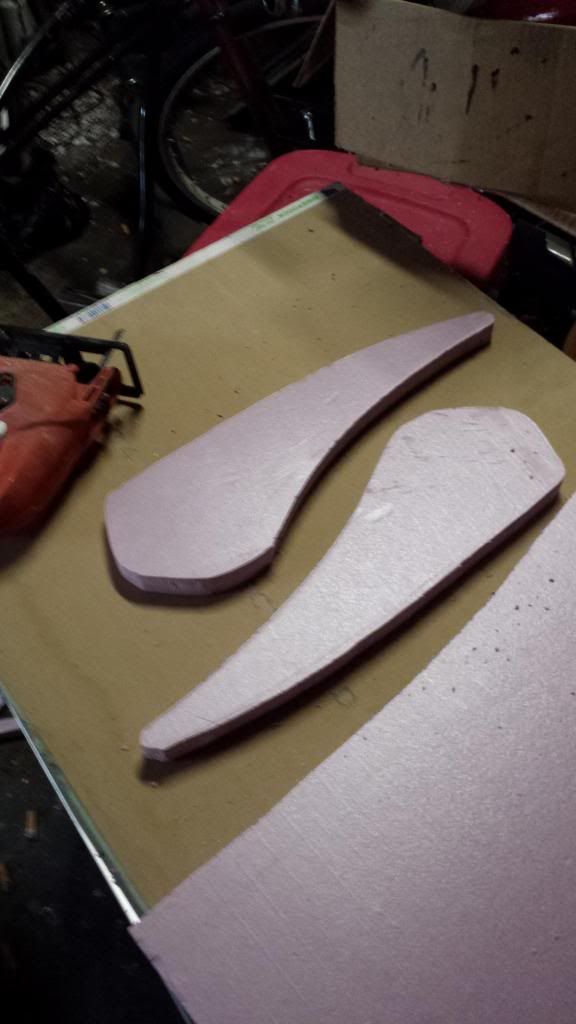
Then after some sanding/shaping...
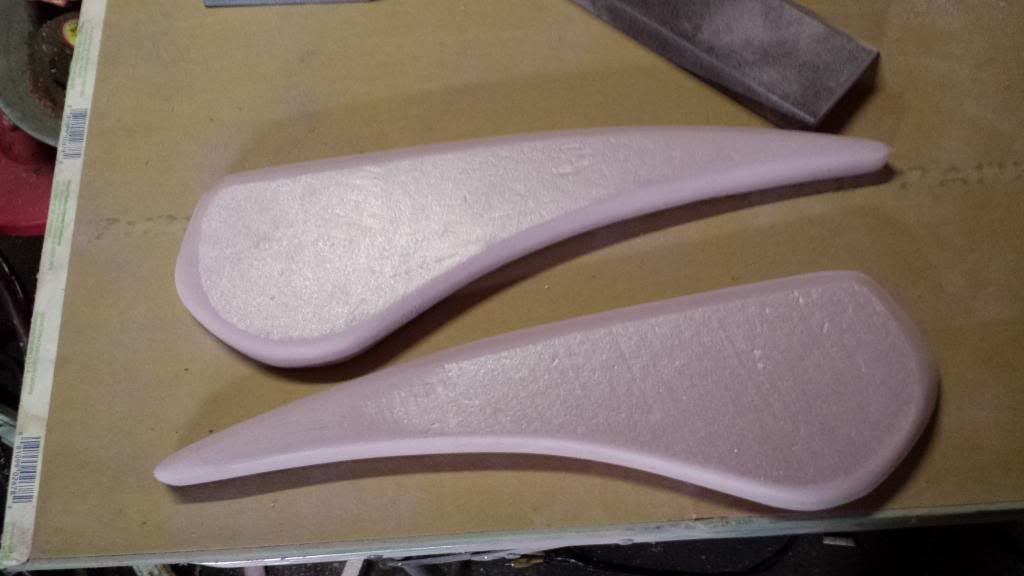
the trick here is to remember you're not sanding metal, a little goes a long way. I was using some blocks I had left over for sanding sheetrock.
Next, I used painters tape to shield the foam from the resin...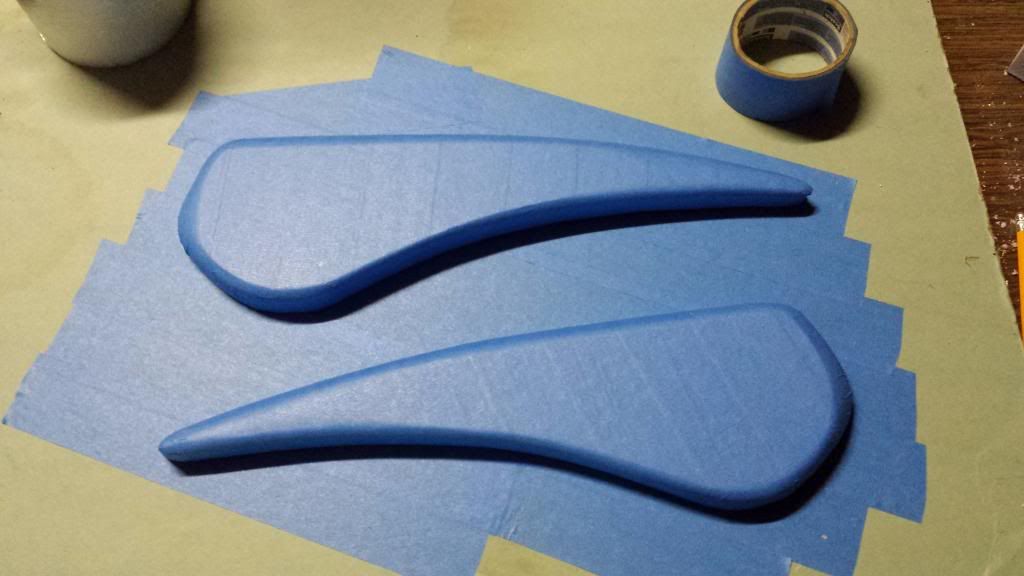
Notice I masked off a small area with the painters tape to contain the mess.
Here I dry fitted the fiberglass cloth
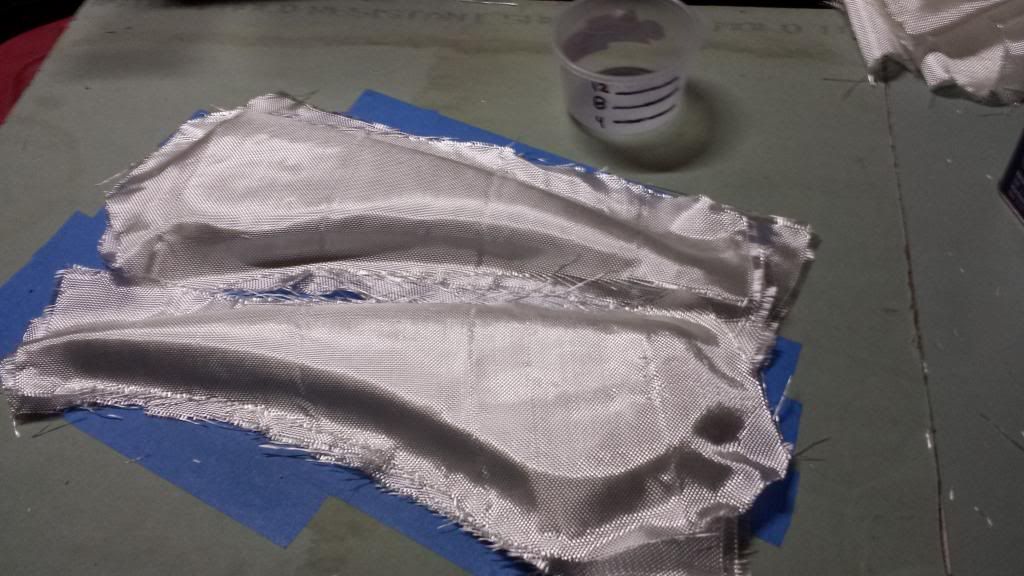
Notice the homemade measuring cup in the background.
Time to lay down some glass..
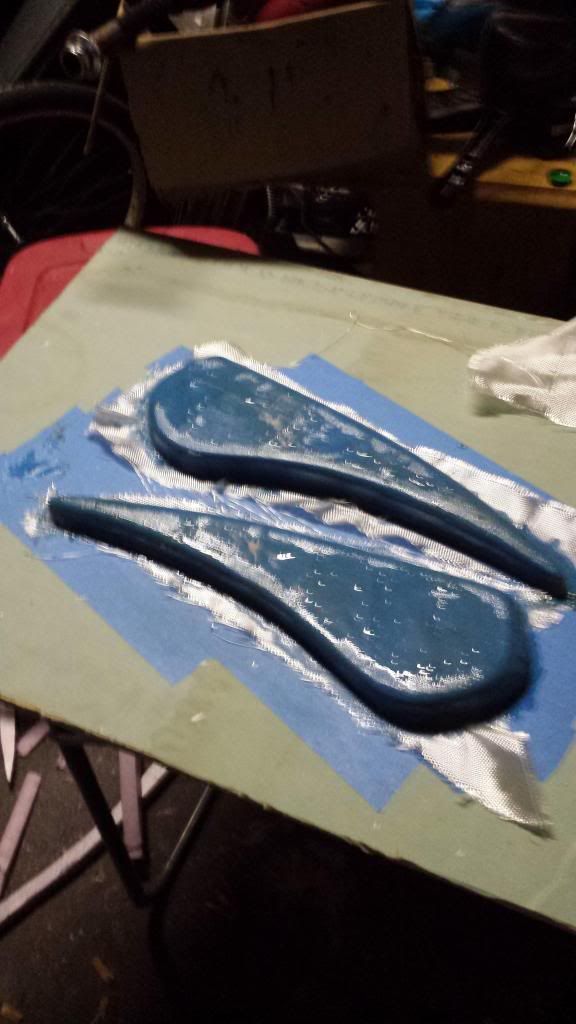
I worked with 4 ounces at a time...plenty. First batch started gelling up, so you don't want to mix too much. I layed down a base coat of resin, then the cloth then some more resin and it started gelling. Have plenty of mixing cups ready. I put down three layers of cloth with a layer of resin after each, the last layer layed on pretty thick...
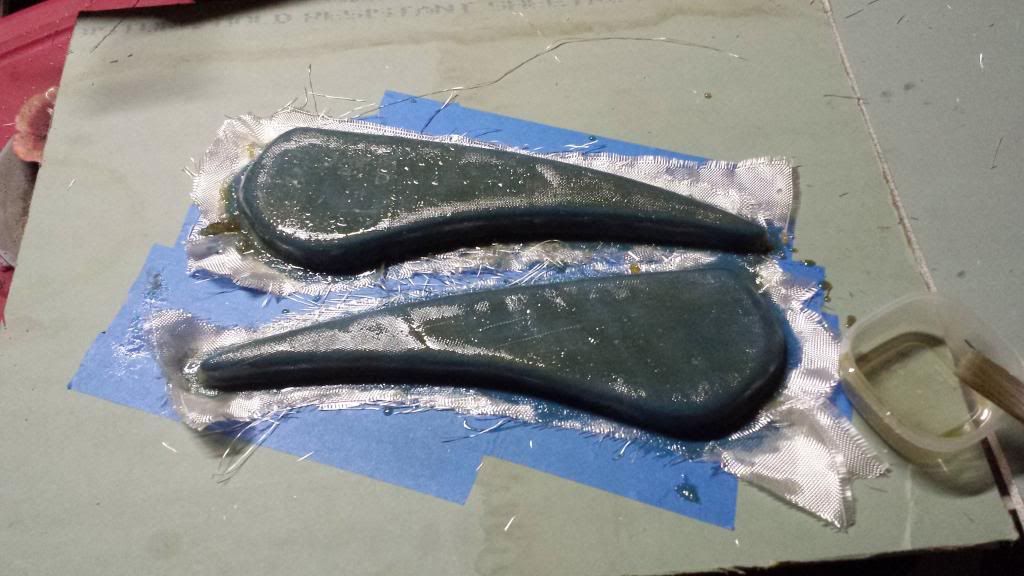
I'll let these dry overnight and hopefully have an update tomorrow.

Found sheets of "hobby foam" at home depot and traced an outline of the tank shapes

Cut them out with my skilsaw

Then after some sanding/shaping...

the trick here is to remember you're not sanding metal, a little goes a long way. I was using some blocks I had left over for sanding sheetrock.
Next, I used painters tape to shield the foam from the resin...

Notice I masked off a small area with the painters tape to contain the mess.
Here I dry fitted the fiberglass cloth

Notice the homemade measuring cup in the background.
Time to lay down some glass..

I worked with 4 ounces at a time...plenty. First batch started gelling up, so you don't want to mix too much. I layed down a base coat of resin, then the cloth then some more resin and it started gelling. Have plenty of mixing cups ready. I put down three layers of cloth with a layer of resin after each, the last layer layed on pretty thick...

I'll let these dry overnight and hopefully have an update tomorrow.


