


A few months ago, my wife came home with a stray Murray bike that was a piece-meal collection of parts and said "lets start riding bikes together... it will be good for us." I quickly parked the bike on the side of the house and said "sure... I'll get a bike too and fix them up for us to ride". Well finally a month ago someone in the alley was throwing away a perfectly good(ish) Huffy so all of a sudden I was out of excuses. Both bikes were/are a total mis-mash of parts. With torn seats, flat tires and just the right amount of rusty chrome, theres no such thing as a free bike.
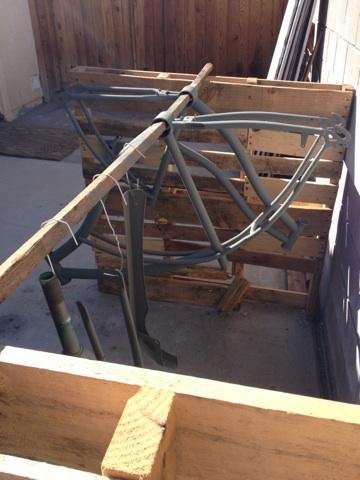
Step 1 Strip the frames... I started "Airplane Remover" it worked as advertised as there are now no airplanes in my backyard. But there was still a lot of paint left on the frames after 3 applications.

The Murray had factory paint the Huffy had 3-4 colors on top of the factory metallic red. to get down to the base metal I had to finish stripping both with a wire wheel.

My favorite road trip food is beef jerky. Read my reviews and tell me about your favorites on my blog at JerkyAficionado.com -- Stephen
Step 1 Strip the frames... I started "Airplane Remover" it worked as advertised as there are now no airplanes in my backyard. But there was still a lot of paint left on the frames after 3 applications.
The Murray had factory paint the Huffy had 3-4 colors on top of the factory metallic red. to get down to the base metal I had to finish stripping both with a wire wheel.
My favorite road trip food is beef jerky. Read my reviews and tell me about your favorites on my blog at JerkyAficionado.com -- Stephen


")