Dreamcatcher: The Last Dance For A While

Rat Rod Bikes Bicycle Forum

Help Support Rat Rod Bikes Bicycle Forum:

This site may earn a commission from merchant affiliate links, including eBay, Amazon, and others.
Where would these be attached?
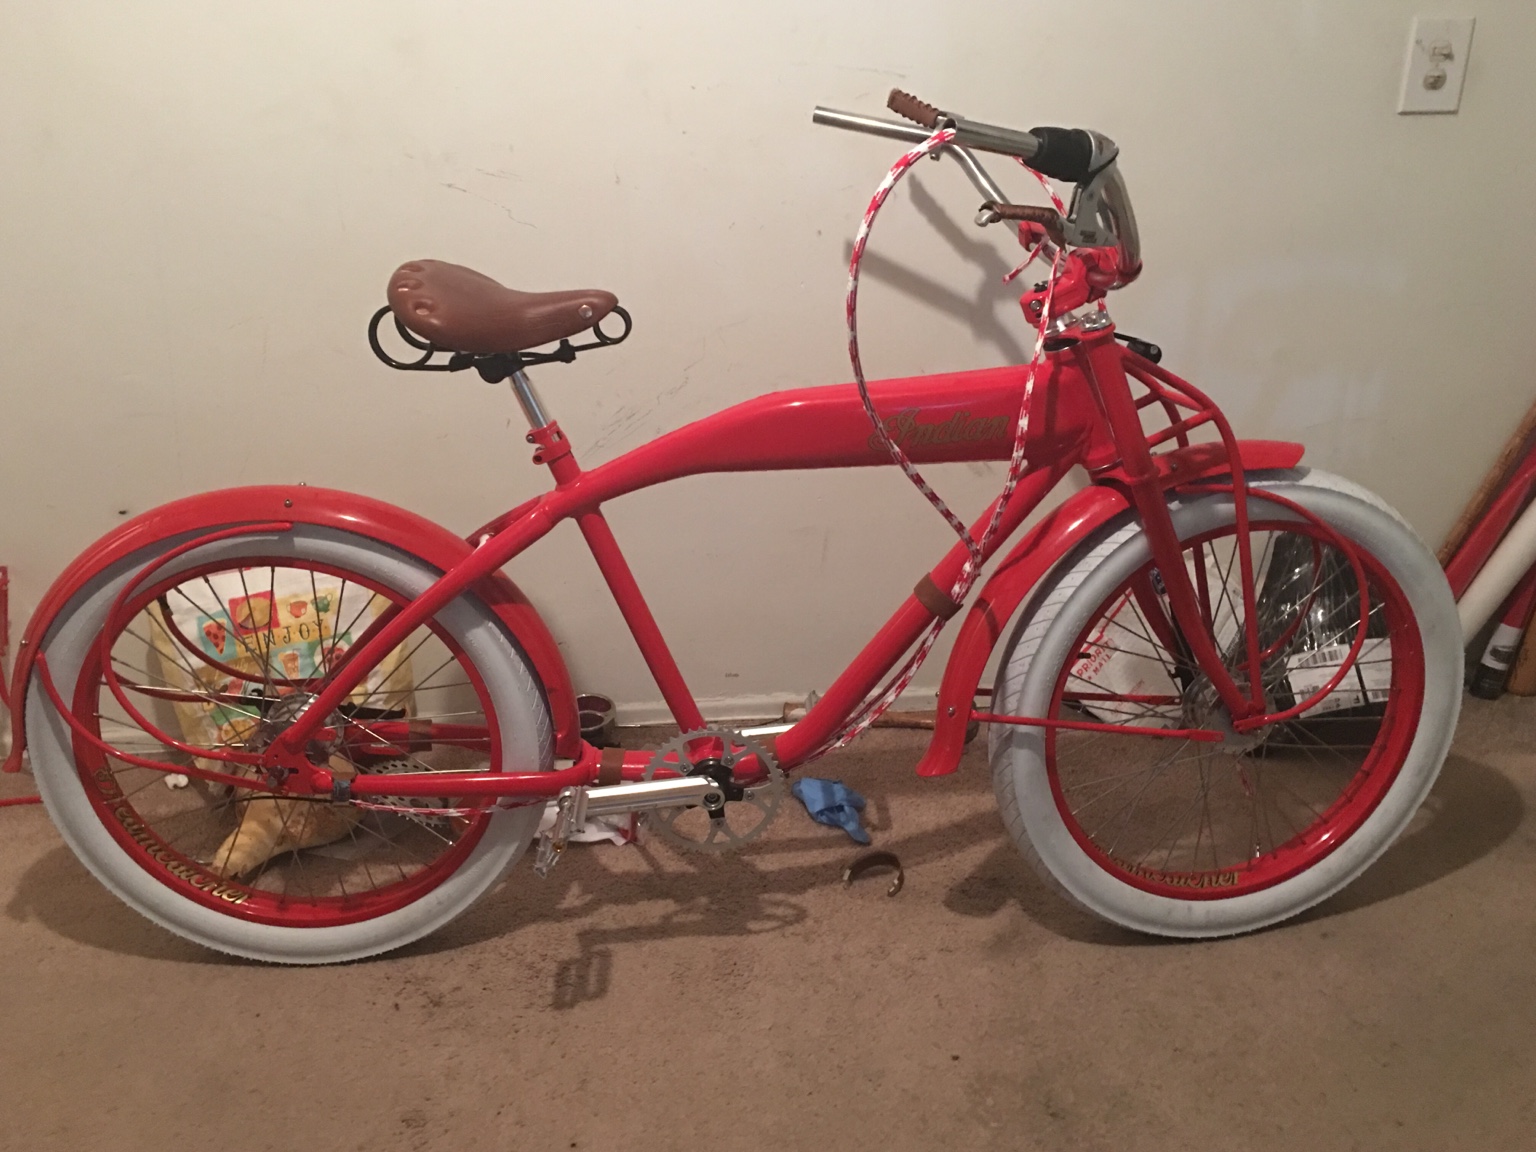
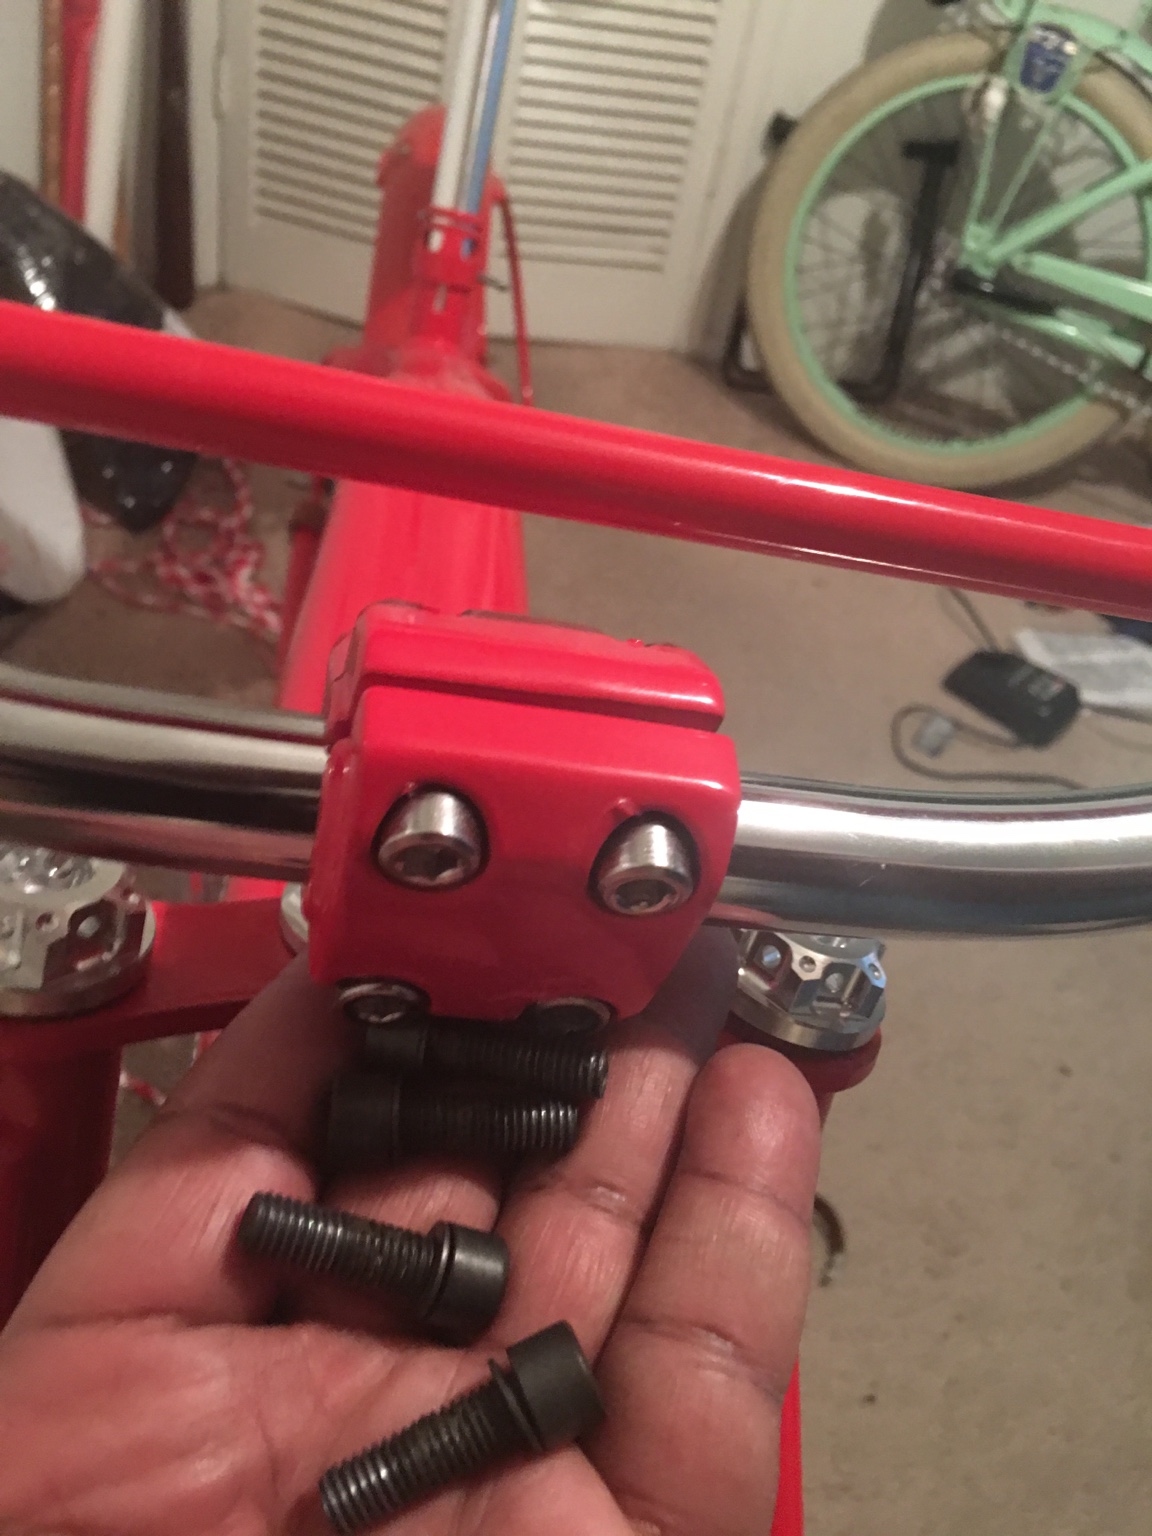
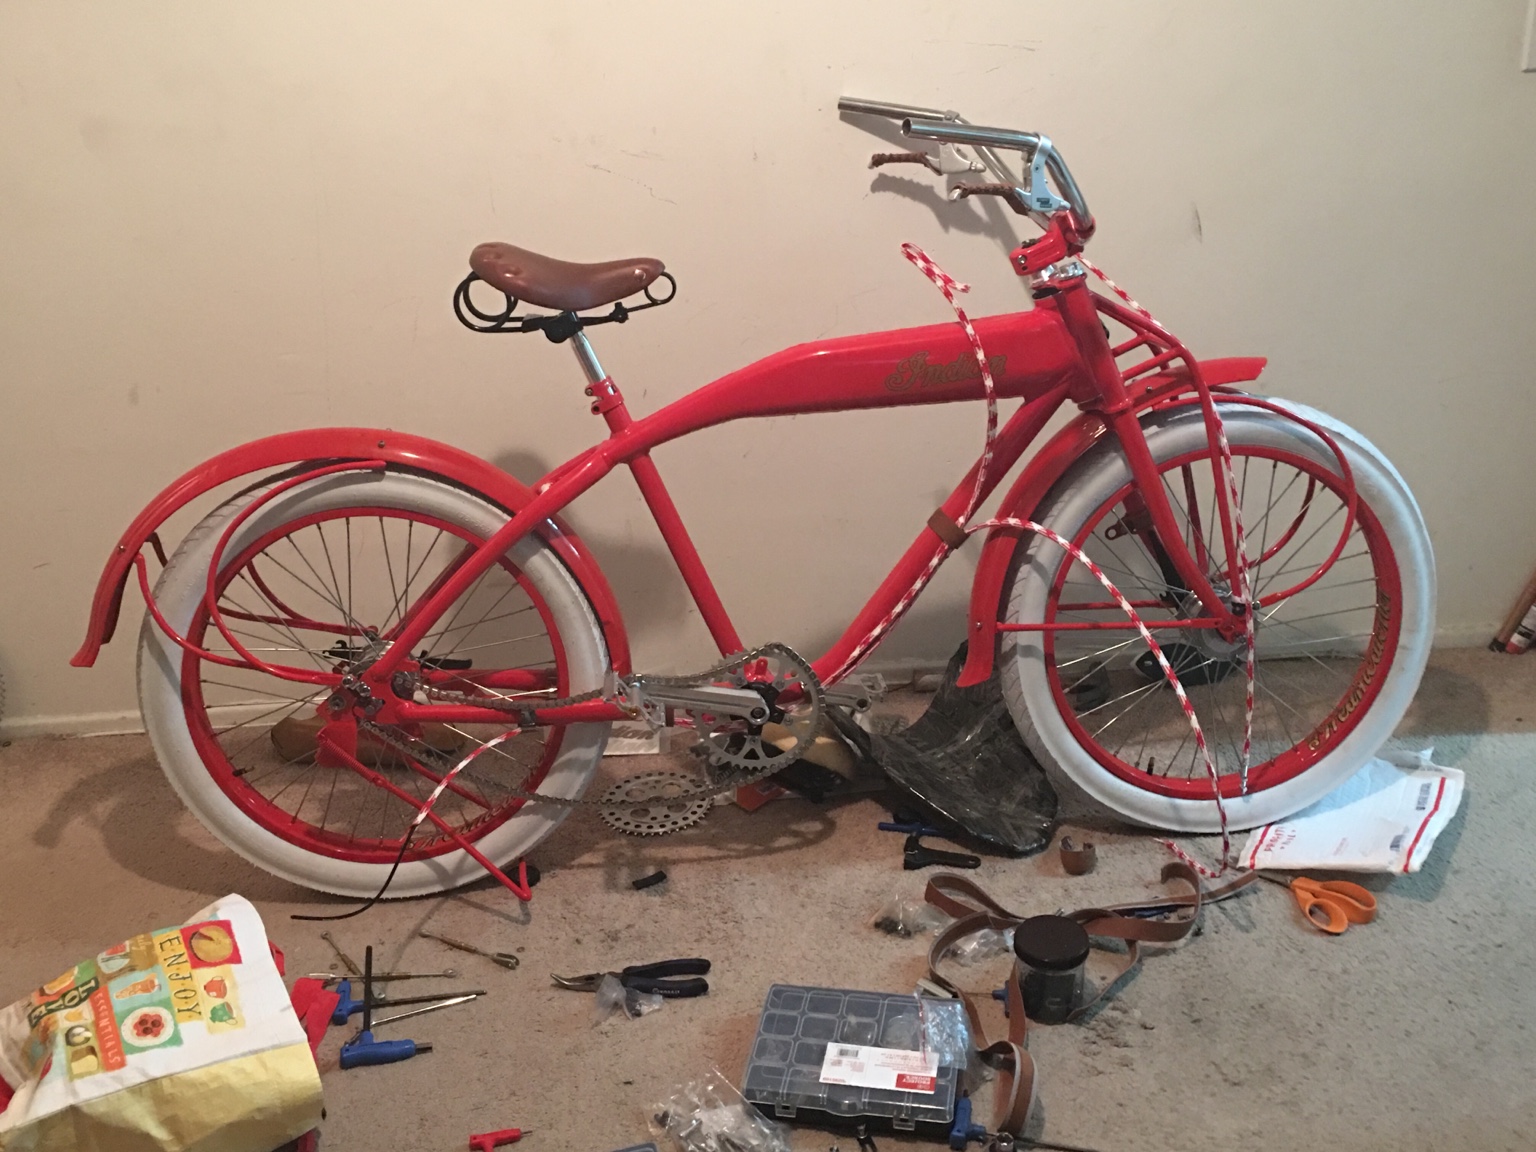
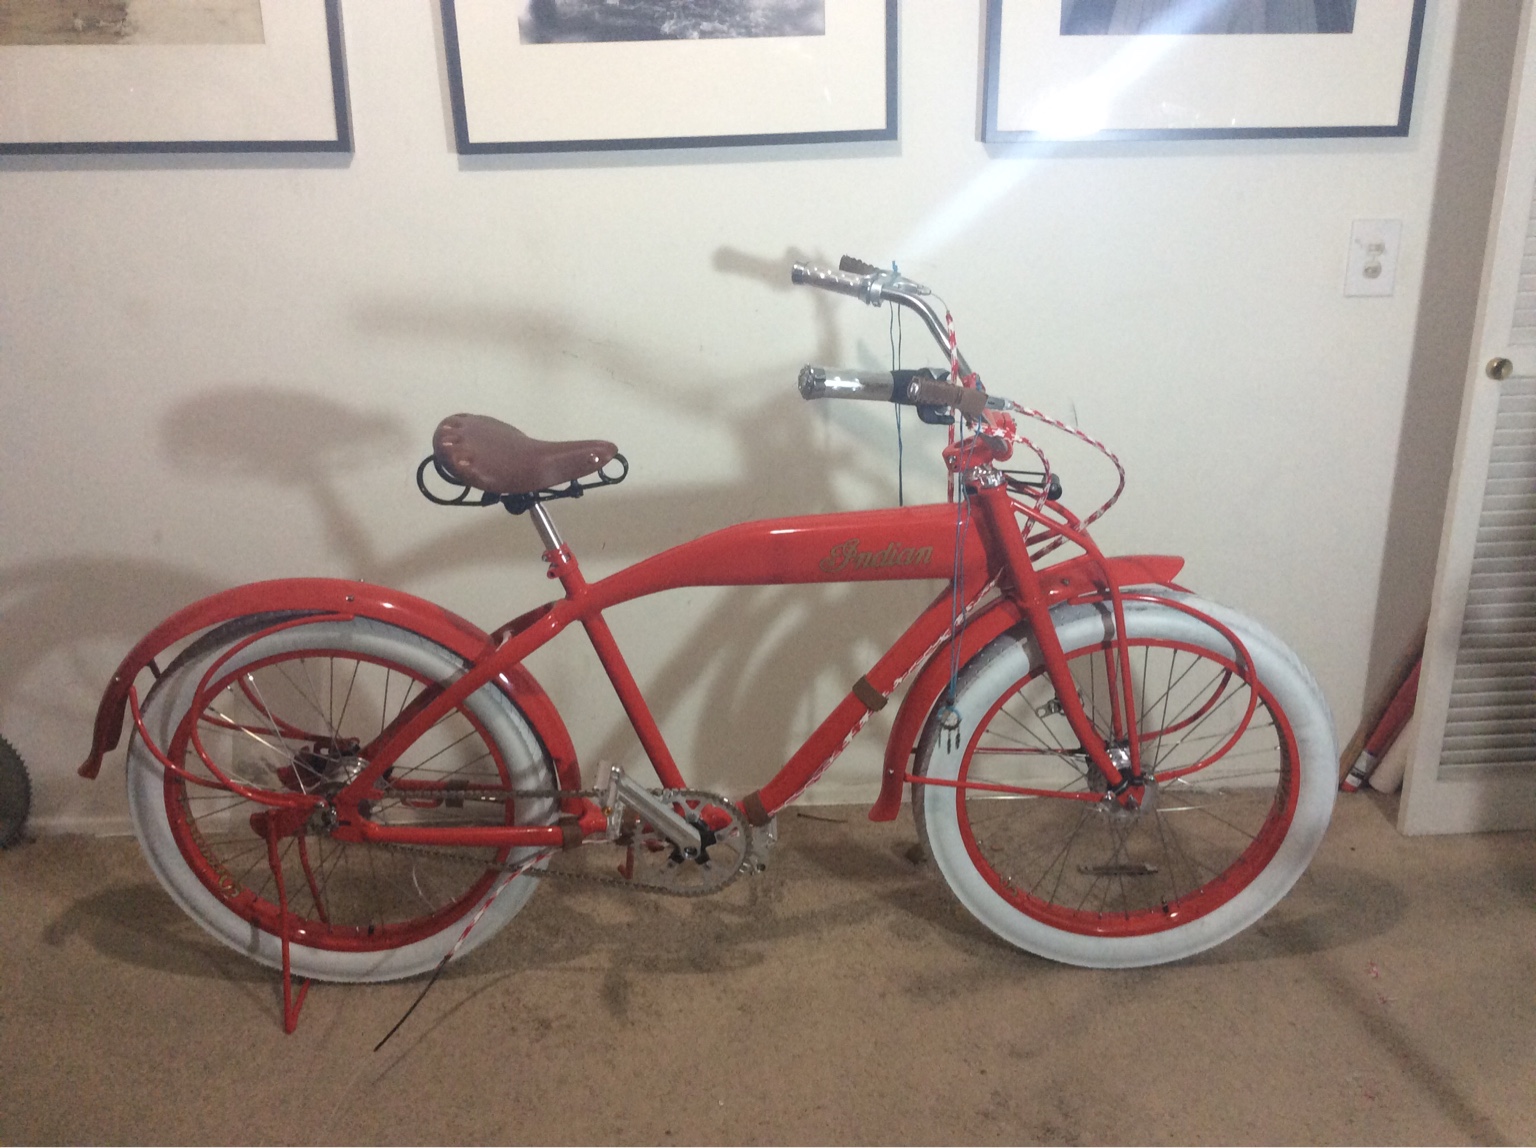
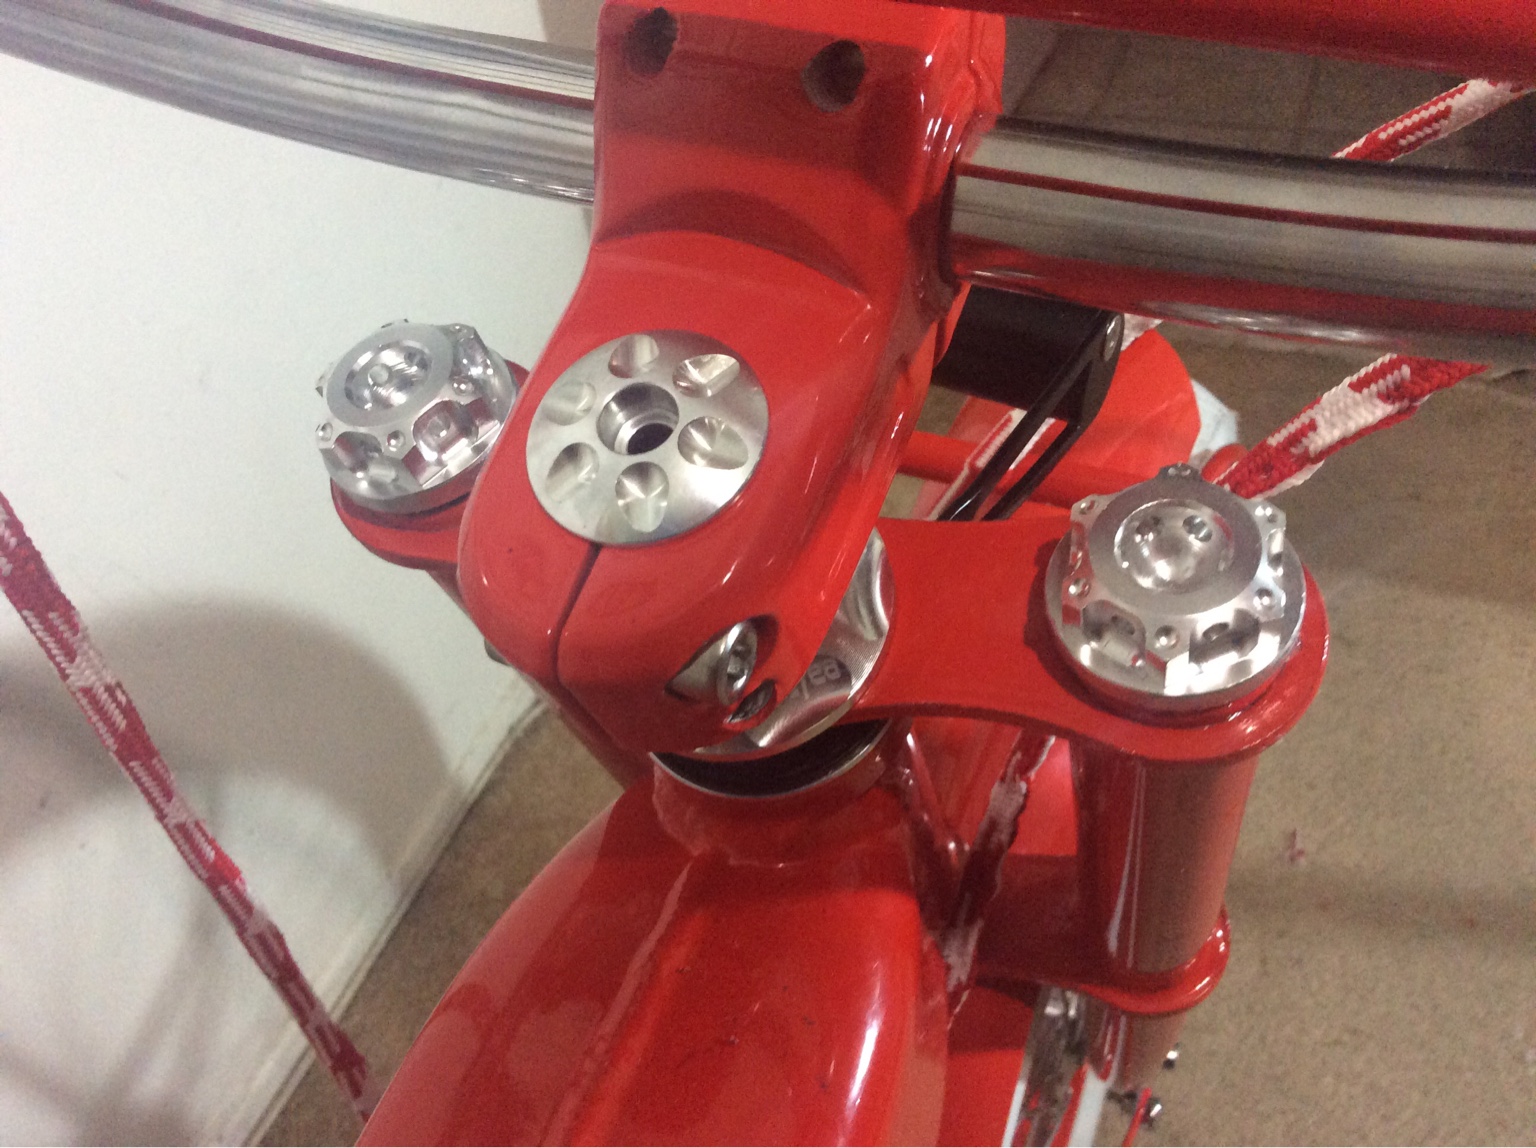
Have a look at the forks. There is an area beneath the collar that ties both fork tubes to the steerer tube, that is to say the area parallel to the head tube. One of these leather bumpers will be placed in that space on either side. I have felt that attaching the clear rubber bumpers to the frame often felt like an afterthought.

This way will almost leek mate them visually with the exception of the con his which will be pointed outward towards the observer.

6007a9aedec1665b4bc03a2921dc2a1e.jpg


Sent from my iPhone using Tapatalk
 
I am testing out the Indian decal. I have gold and black ones that I have made but I figured I should have a look at what the red and gold ones look like.
0f735b85d60230784c5211963ddd4cd7.jpg

99325db7763631ea972e2de98565f6cf.jpg

I normally don't add tank decals until the tires are on it.


Sent from my iPhone using Tapatalk
 
I had to rush out of town to visit my mom. My brother drove up on his Harley to visit too. He started pulling out old photo albums and taking pictures to post on Facebook. I don't do Facebook but I figured there would be at least one one pic of a bike that I built when I was a kid. I knew I took a pic of my nephew on one but what I didn't know is that someone snapped a photo of me on one and here it is:
429dce85e683f3711b1153296e684853.jpg


Sent from my iPhone using Tapatalk
 
Tonight I did some leather working for Dreamcatcher. I wrapped the brake levers. I will be lacing/sewing the leather cable ties onto the frame. I actually liked using the tools I bought to do it. Don't be afraid to try.
493953bdd4e60ada9a3bed3d2849b5ae.jpg


The one on the right was my second try. I will likely redo left one. I may be using a similar method for the seat.

Sent from my iPhone using Tapatalk
 
The spokes cost a fortune but Andre the Giant could throw Ruben Studdard on a set of rear pegs and not bend those wheels at all. The half-link chain is on the floor in front of me and it needs to be adjusted to length and added on. I also have to run the cables through the housings. I also am waiting for the suede front for the seat but it's not the seat currently mounted. I then have to pound the star nut into the forks, wrap on the grip tape, mount the light and fenders, and tune the 5 speed. After that, I have to put the final custom "Indian" tank graphics and "Dreamcatcher" should be camera ready.


Sent from my iPhone using Tapatalk
 
When I did leather working in the past, someone occasionally wanted fringe on moccasins.
I just cut a strip of leather slightly wider than the length the fringe would be, and long enough to wrap around so the edges would meet.

I would then cut the leather to make the fringe strips, cutting in even spaces over the length. If for example the fringe were to be three inches long, the strip would be 3.25" wide. Cut the fringe lines 3", the extra quarter inch can be sewn and trimmed.

This would probably be easier to show if I had pictures.
Falstaff,

Thank you for the suggestion. Is there some sort of utility knife that does well with cutting the leather or do you use scissors?


- by Gigmata
 
You can get a good pair of leather shears just about anywhere that sells leather working supplies or at Tandy leather.

I've found using a new sharp razor knife and a straight edge works, it just takes a little longer.
 
I am inching along here. I went with aluminum grips because I just couldn't make the leather look nice on there. I am liking the way the build has shaped up. I am probably going to doing the brakes and gear shift tomorrow.
1f13c903ef2d52110d2dcaf02aa9987a.jpg


I hadn't really thought about it when I was planning the build but the oil fill caps which I am using as fork caps might make a good center cap. Time to order two just in case I scratch the first one.
4f1f248747c1755ab6d4f1c35110657c.jpg


The 5 speed shifter looks good with this grip. I had to cut the grip down to fit it but this was a really simple thing to do and looks finished.

d14ca0a8ad7764975e85878a7cfa3c49.jpg


I had a motocross cross bar powder coated and added it to the mile-wide handlebar.
3f5302b2513a2b776b1d72c61084802f.jpg


- by Gigmata
 
bike looks great where did you get the decals made
If you're looking for Indian decals, you can get some NOS Indian moped decals from myrons mopeds.
Same script and gold tone.
Just a thought.
 
If you're looking for Indian decals, you can get some NOS Indian moped decals from myrons mopeds.
Same script and gold tone.
Just a thought.
I actually ordered a bunch of Indian decals only to not use them because they didn't match the "Dreamcatcher" stickers on the wheels. If you want Indian's let me know.


Sent from my iPhone using Tapatalk
 
Back
Top