"Chunkpunk" Doneski!

Rat Rod Bikes Bicycle Forum

Help Support Rat Rod Bikes Bicycle Forum:

This site may earn a commission from merchant affiliate links, including eBay, Amazon, and others.
Yet another setback. Ex decided to turn my furnace off and last night dropped to almost freezing. Some of the epoxy didnt stick well so I had to remove, reprep and reglue. I should have stripped the paint looking back... never the less.

I do like that crushed red velvet seat idea. I was looking to buy a beat up leather one, but maybe i can recover one of my extras...

Hmmm.

Sent from my SCH-I535 using Tapatalk
 
Alrighty, got the wheels all painted up now. I think they look awesome.

Paint went in like this.

Full wheel Primed in Krylon Fusion Black
Mist of Rustoleum Universal Flat burnished amber
Hoops had additionally:
Painters touch Bronze
Mist of Rustoleum Universal Oil rubbed bronze
Application of Rub N Buff


Picture showing the difference before spikes and Rub and Buff


Shows abit of the color variation between the frame and wheelset.


My bike now sits where my TV used to in the living room. Heres a rough mock with the handlebars on.

Next step is to paint the bars, stem, seatpost, crankset.

Then the fun begins. I'd be 100% happy with the bike as it stands, but all that was done was the minor work, paint really. The next stuff is where the imagination starts going.
 
The spikes are crazy, and the frame is a cool color too. I don't know if the epoxy would hold, but it would be interesting to have a gear mesh with the wheel spikes to turn your speedometer.
 
Still waiting on the tires I want. They have been sold out for 3-4 months now. ;/

I don't want to bother trying to remount the old heavy bead tires to take them off again.
Spikes are removable and it looks like I have enough clearance for my tool to get in the right angle.

Probably will only mount the tires once and be done, I don't see myself riding this around more than a few times a year for festivals and events.
 
Those rims are Jerry lee Lewis brother!!


Sent from my iPhone using Tapatalk
 
Those drag bars are looking good with Chunkpunk. Paint turned out well too.
 
This bike just keeps getting cooler and cooler! Man, I like those wheels. I bet you just loved taping off all those spikes before painting. Ugh!
 
Yup, had to source 100 straws or so from wendys, cut them all to fit and tape. Getting them off was worse though, had to cut them with scissors off, and ended up putting a few tiny scratches into the paint that I had to use the rub and buff to hide.

That's what I really love about the doing an "aged" bike like I am, the imperfections actually make it look more used and abused, and it allow gives me abit more of a variance in things that I do, that I don't have to get totally perfect.
 
Ok got a few other things done last night.
First up was prime and painting the handlebars.

Krylon fusion satin black
Krylon Metallic brass
Very slight mist of metallic bronze

Not sure if I am going to do the Rub and Buff on these just yet. The way they are grinded out and the top leaves no weld lines, so I'm not sure if it would look funny with partial weld lines a different color.


More importantly, I did a mock up of my fender design. I just need to slightly tweak the curve on the side of each segment to have it form a perfect circle when assembled.


So, to make these is really super easy, and super cheap.

Ahhh! The book binders finally make sense to me!

Great vision on this one, Rg
 
Ok got a few other things done last night.
First up was prime and painting the handlebars.


Krylon fusion satin black
Krylon Metallic brass
Very slight mist of metallic bronze

Not sure if I am going to do the Rub and Buff on these just yet. The way they are grinded out and the top leaves no weld lines, so I'm not sure if it would look funny with partial weld lines a different color.


More importantly, I did a mock up of my fender design. I just need to slightly tweak the curve on the side of each segment to have it form a perfect circle when assembled.


So, to make these is really super easy, and super cheap.

Those fenders are going to be killer; can't wait to see them.
 
I looked and looked for your fender mockup and then realized what I thought was cardboard wrapping on a tire was the mockup. DUH! :crazy:
That is gonna be cool. I remember it from your inspiration motorcycle pic now.
 
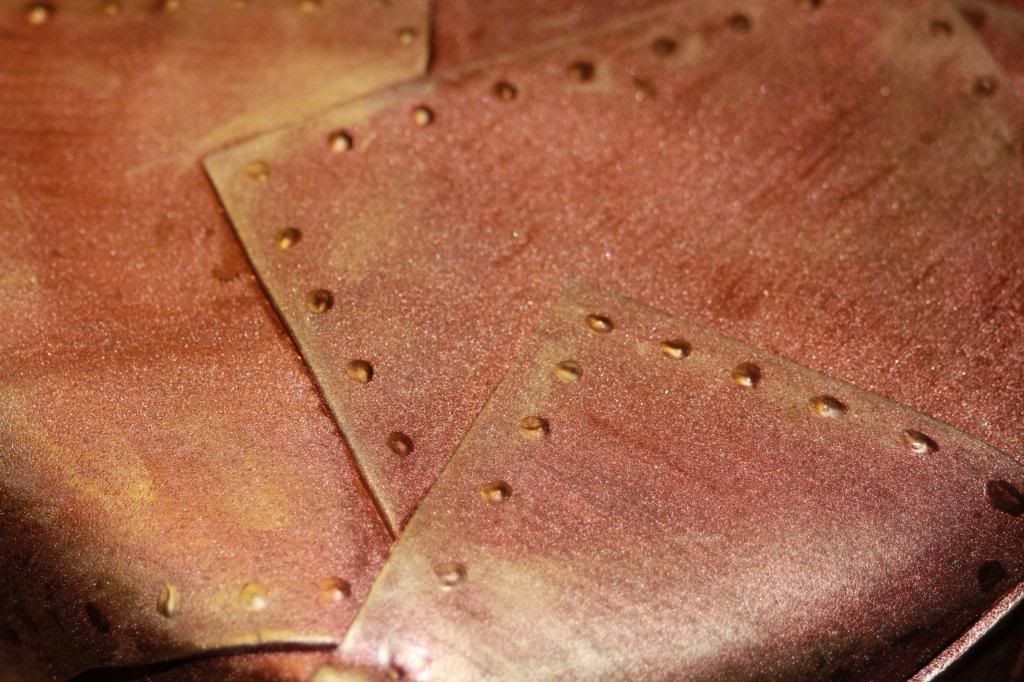
Fenders will be Brass colored
Rough plan is this:
Glue craft foam to the folders
Cut out the pattern
Use heat to mold fenders into shape
Rivet together pieces (not sure if I am going to use more of the spikes I used on wheels or regular rivets, might do both)
Cover with Poly Resin
Paint

After I have the initial shape finalized, I should be able to knock these out in a few hours total. Folders on the inside provide a much better waterproofing than the foam, which is there to add rigidity and an easier to form material.


I used a similar method on my top hat here which is just eva foam and craft foam with acrylic paint and some rub and buff.

The fenderss construction will be very similar to what a lot of Cos players are doing now. There are TONS of very awesome things going on in the costume world right now. You can literally download a pattern to make a movie replica Star Wars costume, Iron Mans, all kinds of crazy awesome stuff. I first got the idea for the fenders after looking at some leatherworking websites for people that were making segmented leather armor pauldrons.

Initially, when I started this project I was going to go 100% steampunk, but I think its gone off in a slighter different direction, maybe abit more Cyberpunk, or Post apocalyptic than traditional steampunk would be.

I had originally started my design with 2 key design elements:
Wheel Spikes
Fantasy Tank

For the tank, I had a ton of ideas I put down on paper, all kinds of stuff, all of which would be awesome, but I am having issues deciding what direction I want to go in. Once I saw the artwork of those fenders, I knew that those looked totally boss and mean and would fit the styling of the wheels exactly.

Unfortunately, for me, a lot of that design time spent on the tank was for naught, because a few of the designs probably will not fit in with the tank/wheels.

Once I get the fenders done, I will throw up all my sketches and ideas I had and have a group thinktank session.
 
One of my other secret weapons is hidden in a picture. Its probably too hard to make out, but its one of the elements to give it some Tesla Flavor =)
 
Looking good already, and I like that it may not stick to the "throw gears on it and that makes it steampunk" of a lot of cosplay.
Developing into something with a lot of more unique style, great work.
 
Back
Top