Building of TubCycle

Rat Rod Bikes Bicycle Forum

Help Support Rat Rod Bikes Bicycle Forum:

This site may earn a commission from merchant affiliate links, including eBay, Amazon, and others.
Joined
Jul 29, 2011
Messages
329
Reaction score
257
Location
Tennessee
Rating - 0%
0   0   0
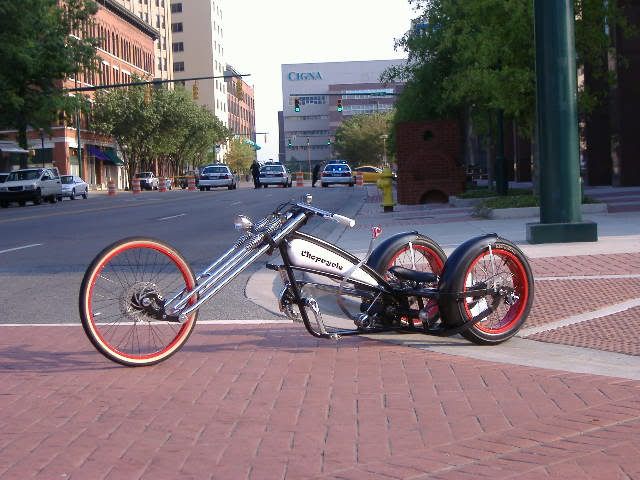
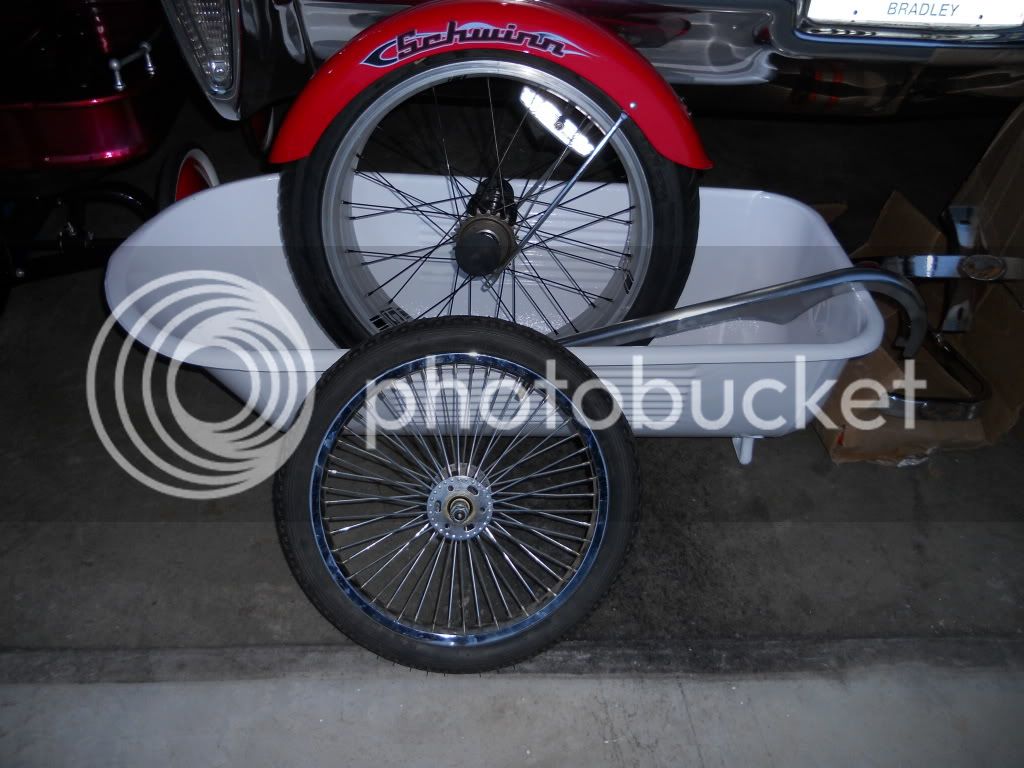
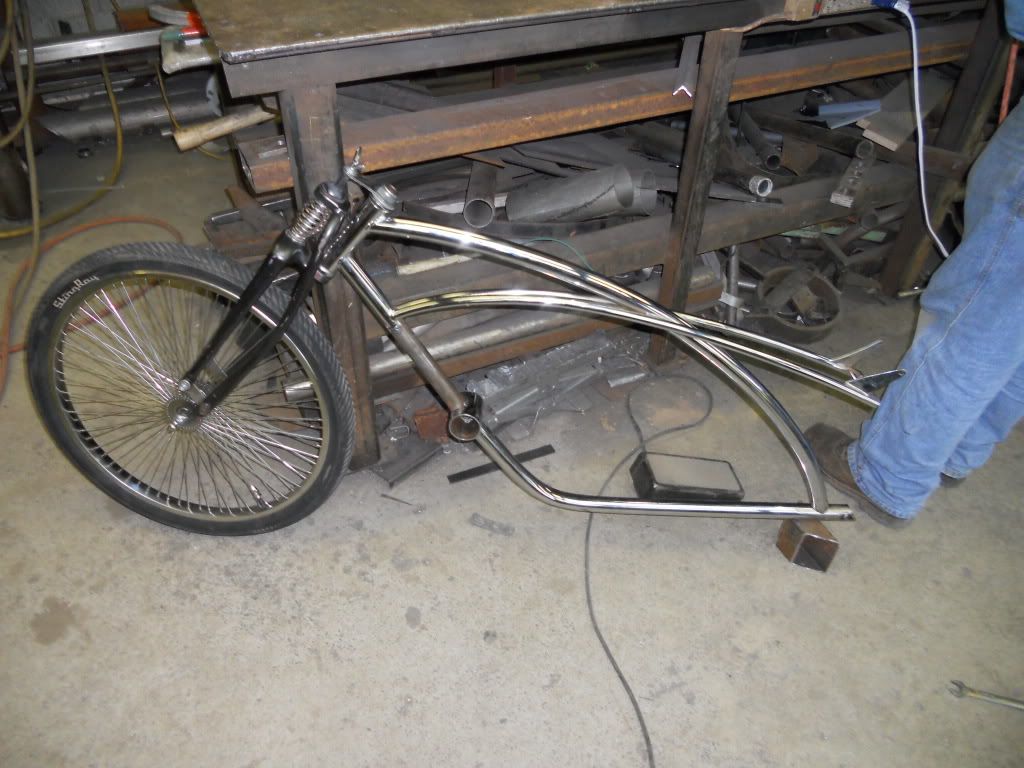
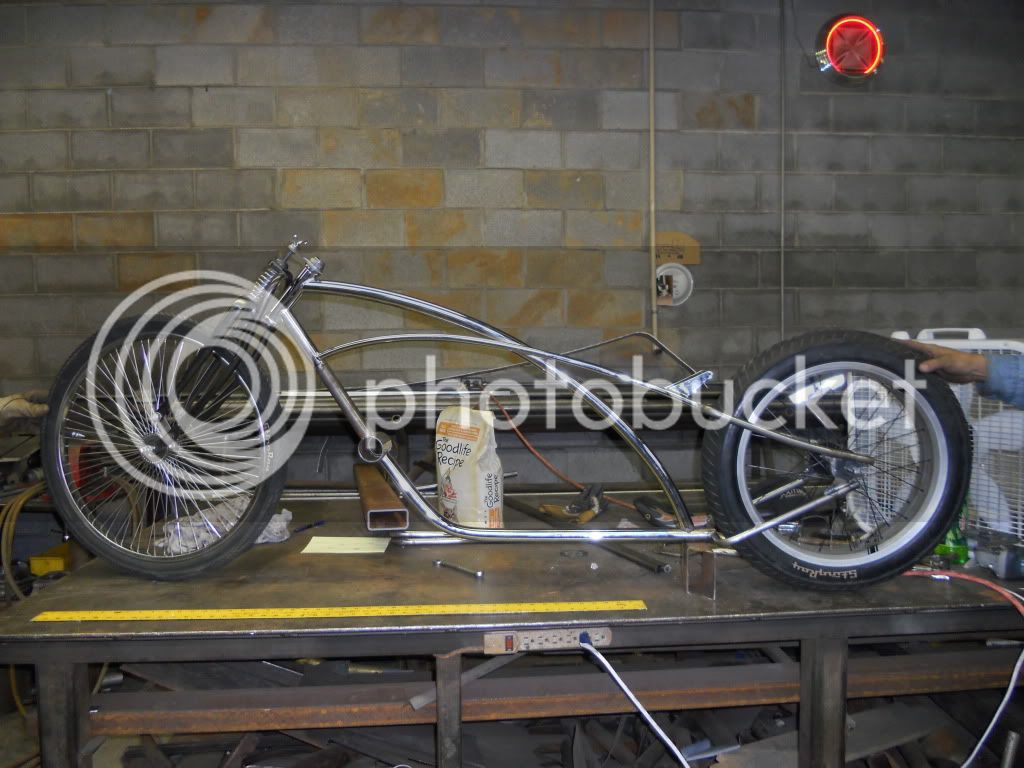
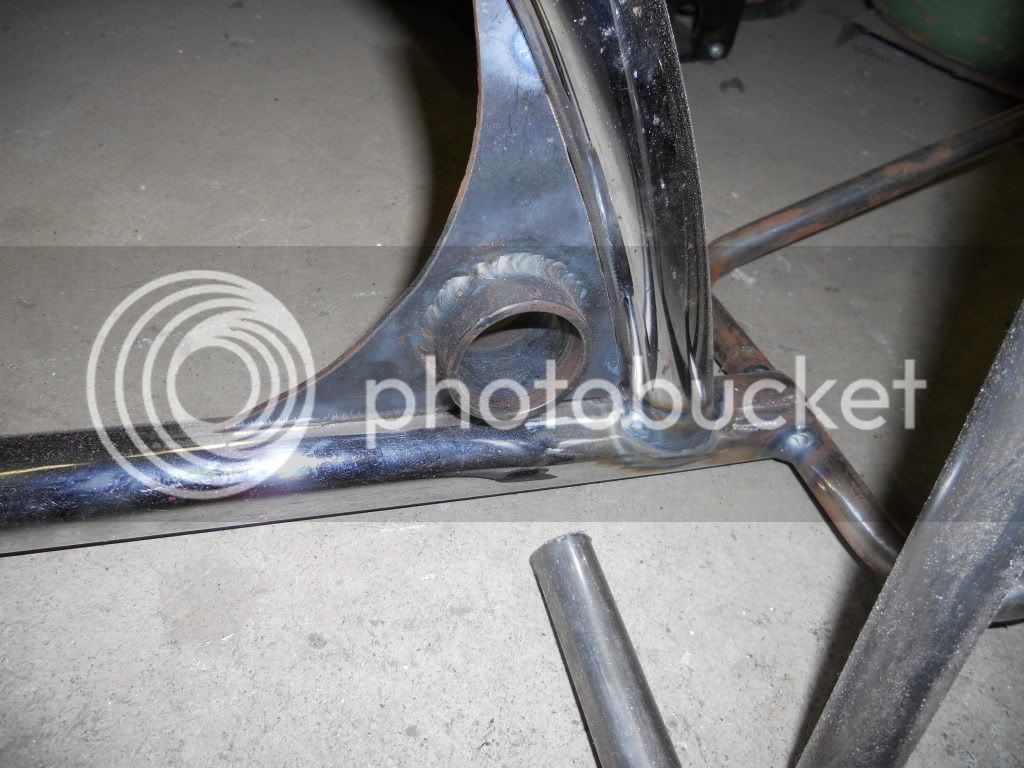
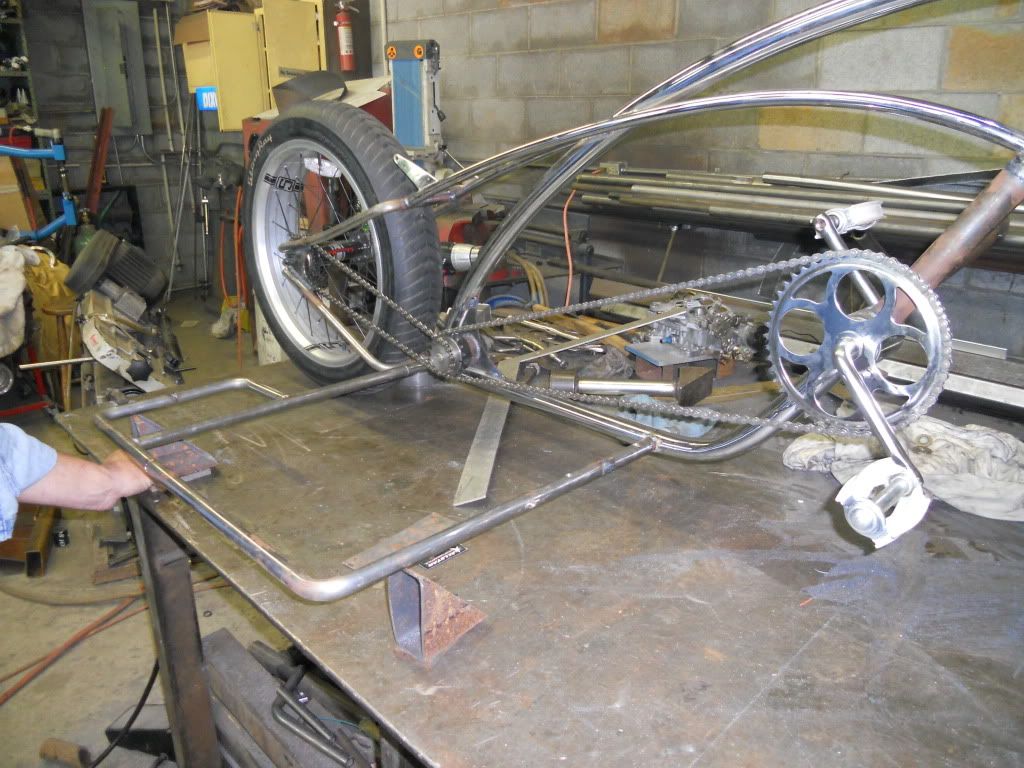
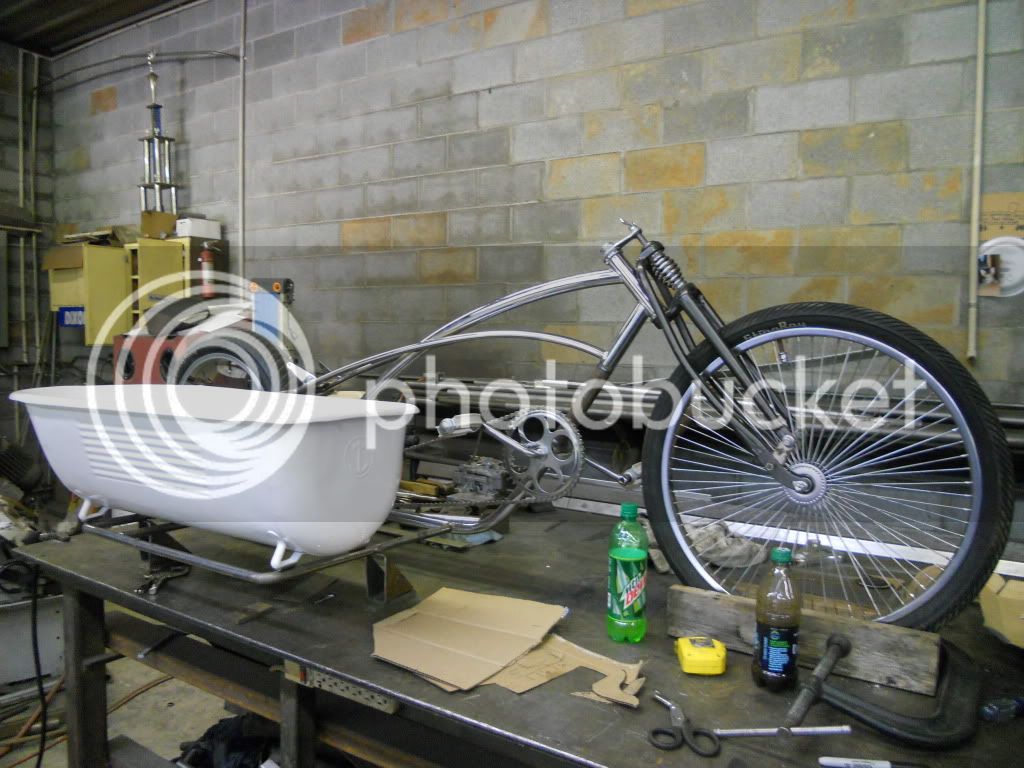
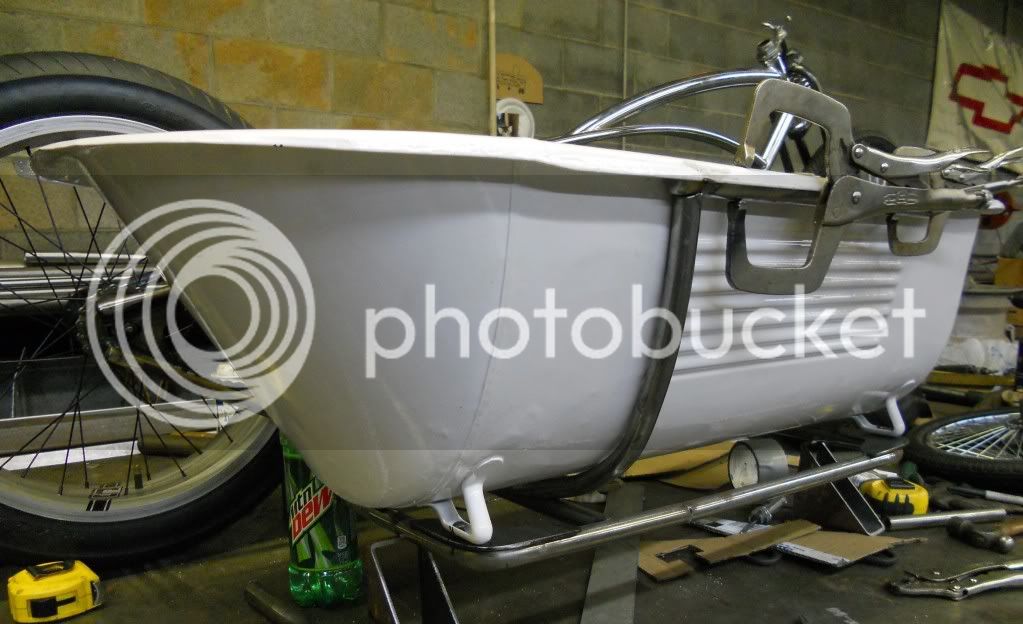
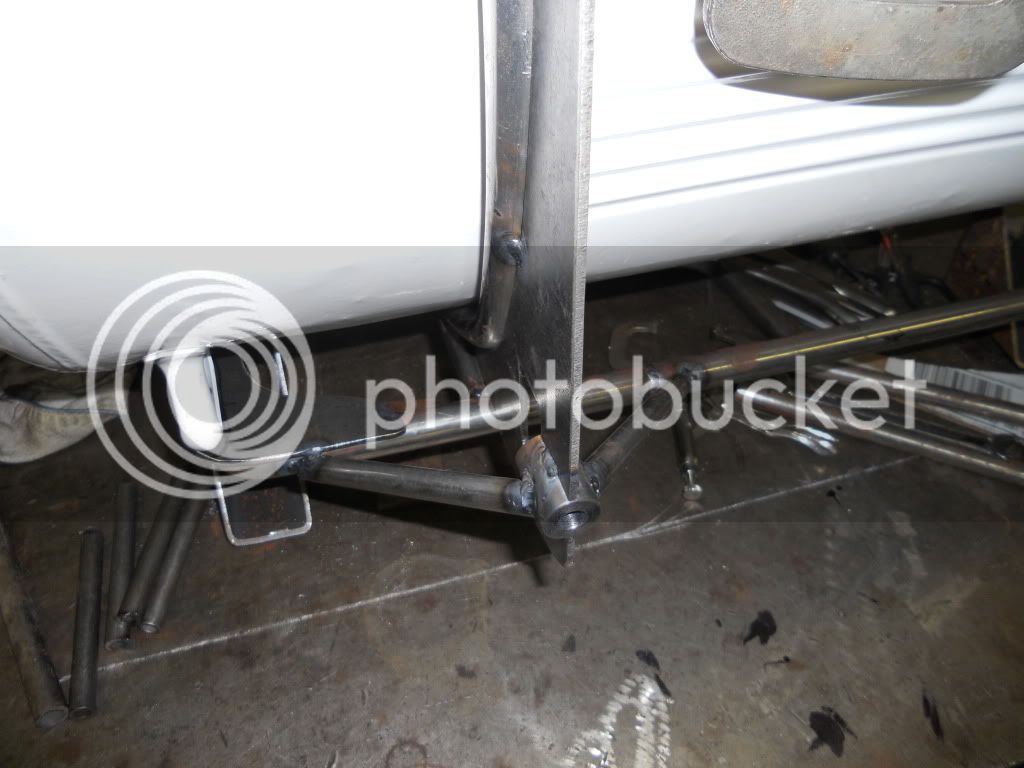
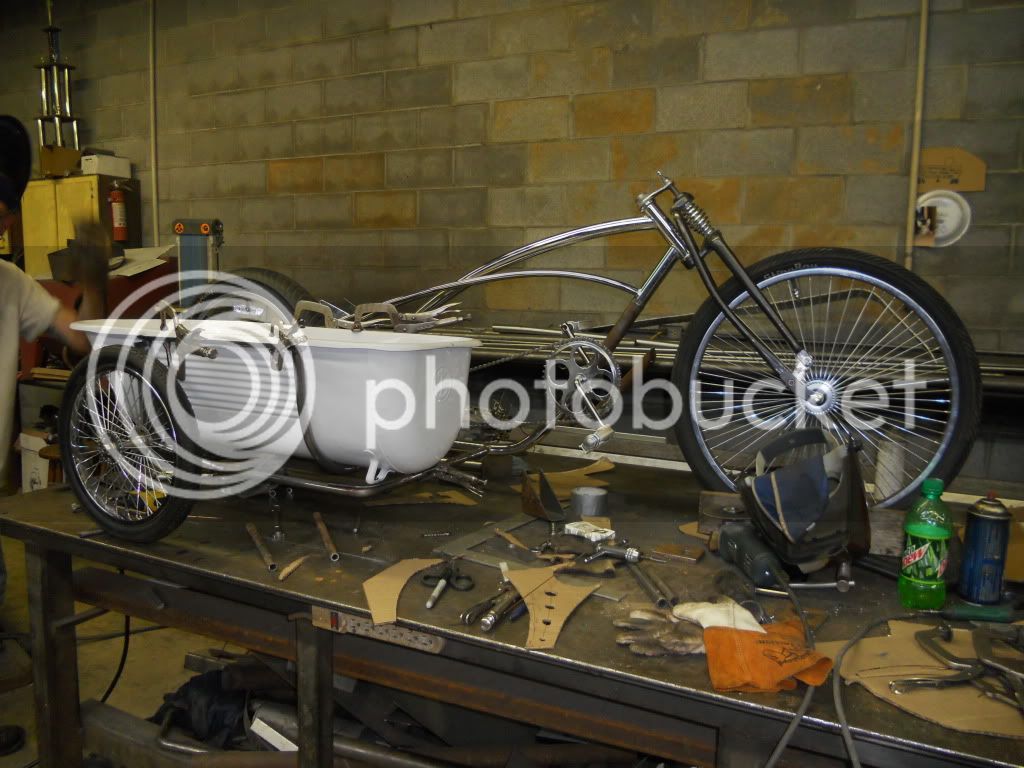
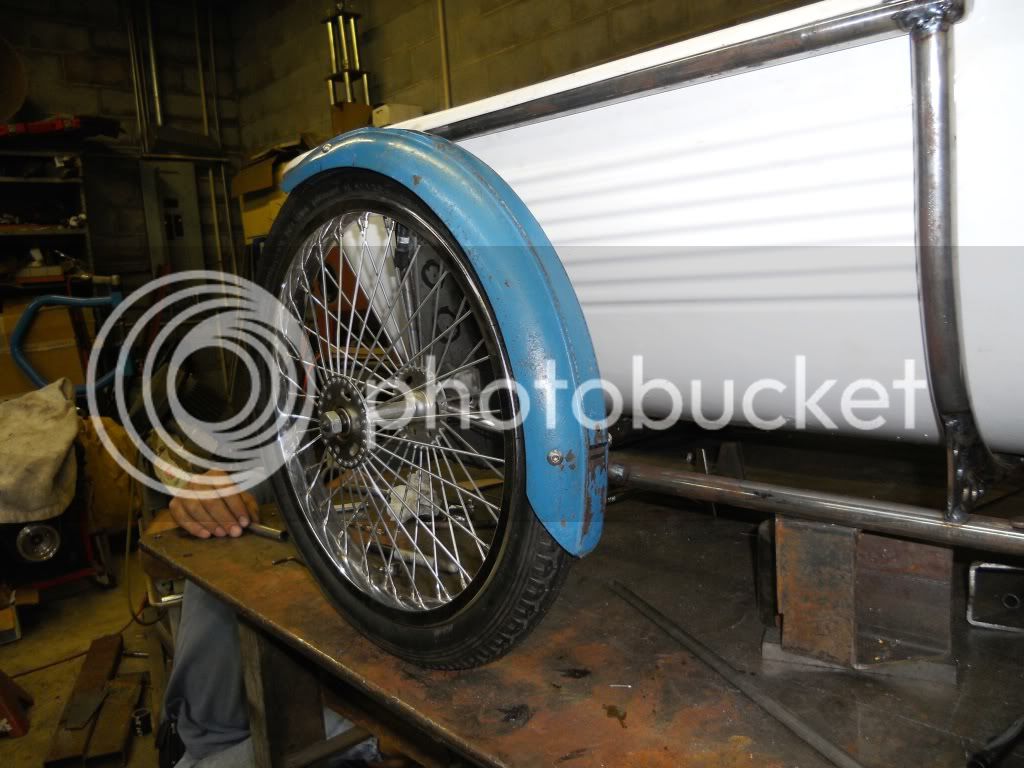
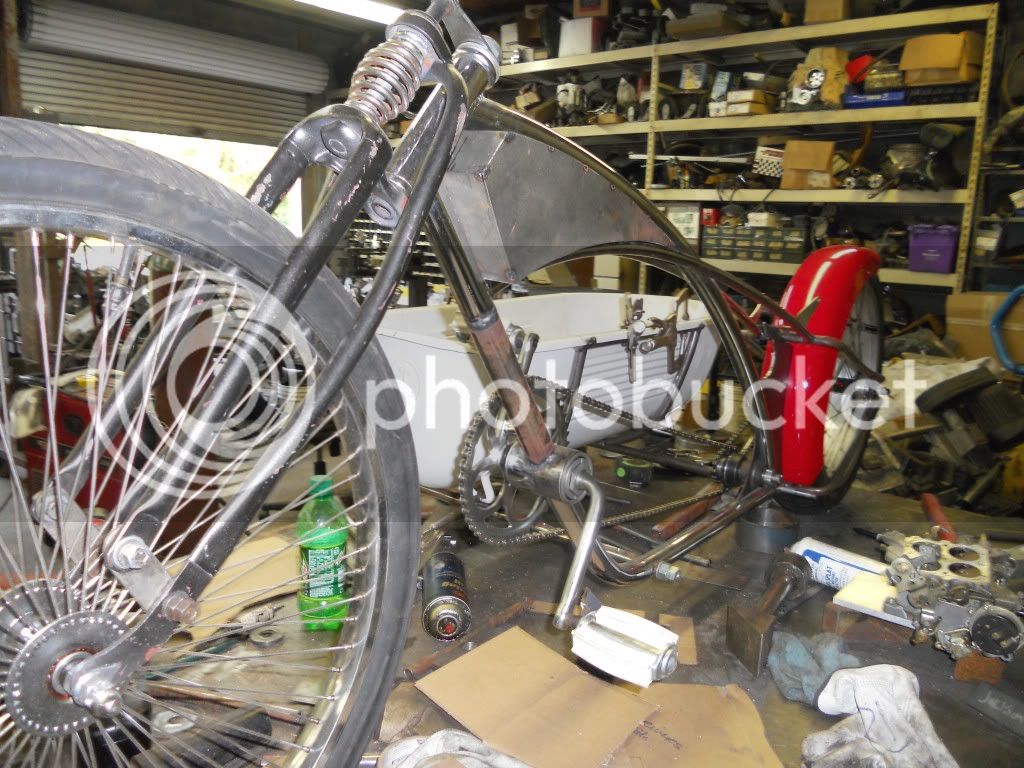
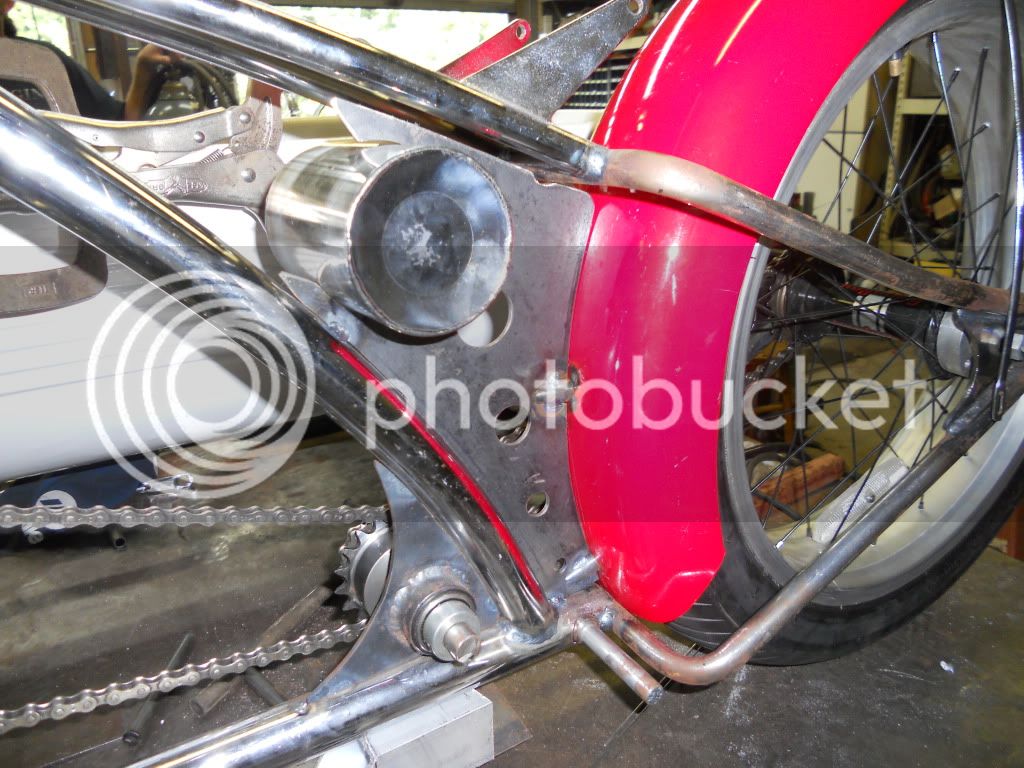
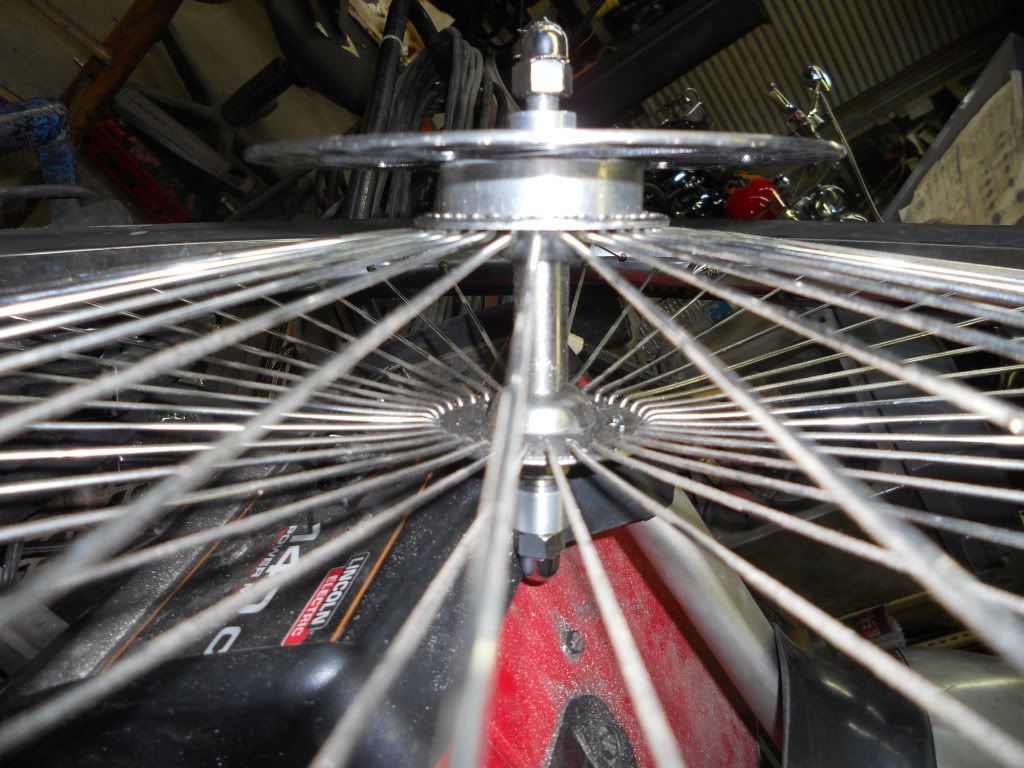
My first time to post so I am totally new at this. I built my first bike Chopcycle back in 2007. After 4 years it is time to build a new one. It will be called TubCycle. It will be an old school chopper with a side car. I will try to post more pictures soon.

DSCF0521.jpg
 
TubCycle is starting out with a frame I purchased in KY back in the spring. It is a killer lowrider frame and had no name or manufacturer on it that I could find. It was chrome plated and had my name all over it. You will find the picture below of it sitting in my kitchen with a ton of parts I had left over from my other build. I was trying to decide which direction to go.

DSCN0046.jpg
 
After purchasing the bike, I was in an antique shop when I came across an early child’s galvanized bathtub. It was roughly 3’ long by 17” wide and 12” deep and the thought “side car” came to mind! I took the tub and had it powder coated white and started finding other parts needed to build a side car for the bike. The Fat OCC rear tire and wheel is the choice for me so the frame will have to be redone in the rear. With a 24” Wheel in the front the frame will have to be extended to keep the frame parallel with the ground.

DSCN0075.jpg
 
Dorr,
Very nice builds. I really like the trike. A very classy bike.

JimK
 
The first part of the build was to work on the bike frame. We extended the front part of the frame which lowered the pedal crank and also let the bike set parallel to the ground. Then it was off with the old tale section and on with the new to fit the OCC tire and wheel. With the new back wheel we had to add a jack shaft to allow for a chain so one could pedal the bike.

DSCN0116.jpg


DSCN0117.jpg


DSCN0120.jpg
 
After we got the drive train all finished we started working on the side car. The side car frame will have 3 bolts that hold it to the bicycle. This way the bike can be ridden separate from the sidecar. We have also made the bath tub to where it can be taken off the side car frame.

DSCN0122.jpg


DSCN0125.jpg


DSCN0131.jpg
 
Now that the side car is mounted it was time to add the side car wheel. I went with an aftermarket wheel to match the front and also made it look as if it was free floating. You will notice that the axle runs through the wheel into the frame and bolts from the backside. I had purchased an aftermarket chrome fender for the side car and it was just not looking right so I robbed one from a tricycle I have at home. As you will see the tricycle fender is what it needed.

DSCN0135.jpg


DSCN0137.jpg


DSCN0148.jpg
 
Once we had the side car where we wanted it, it was time to work on a tank and the rear fender. In the tank I wanted an old school flat tank and it made it a little simpler to build. We used the large rear fender for the rear and mounted the mounting screws inside to make a cleaner look. The rear supports we drilled and tapped the frame so they will be there as well. We are trying to drill speed holes everywhere we can and also added an oil can under the seat.

DSCN0141.jpg


DSCN0142.jpg
 
We are getting closer but have a long way to go. As each and everyone of you know, custom bikes take a long time to build because you actually make each peace by hand. We are currently working on mounting a disc brake to the front springer front end. This has proven to be a challeng but gettting close. Future plans are a 3 speed rear hub with disc brake along with respoking it with stainless spokes. We will be mounting a tall gear shifter, old school style. At this time we are planning on ape hangers but that may change. The bike frame will be green with the tub, fenders, tank and front springer in white. I hope to post more pictures soon. Thanks for your interest and time. I would have loved to got in on the bike build off but I did modify the frame. By the way does anybody know anything about this frame?
 
8) 8) Love the trikes and sidecars, and this one is looking killer! Man, what a score on the original bike frame! :shock: I'd love to find one like that! Cool how that Ross tank seems almost made for it.
Uh........ please, no more pictures of chrome bike frame next to a chrome table & chairs? :lol: :? :lol: Hard to tell where the bike frame is-- or is that a table leg? :? :wink:

I'll be watching this one. I'm planning a 3speed with a tall shifter as well, so...... Take your time, and good luck with it 8)
 
The trike is Awesome! Would love to see more photos of that! Cant wait to see the tubcycle done! You need to copy the Img code on photo bucket to get the pic posted here.

DSCF0521.jpg
 
I am new to this so I hope to improve with time. All the kind comments on the Tubcycle build are appreciatted. I have pictures of the chopcycle build if anyone is interested in those pictures would love to post them as well just let me know. It was done over 4 years ago and just didn't know if there was any interest. I went to a cool bicycle show in Powder Springs GA yesterday July 30, 2011 and had a great time. Chopcycle took best of show and therefore appreciate the love shown in GA.

DSCN0125.jpg


DSCN0141.jpg
 
Thanks for the help on how to post the pictures!! I was having trouble and now know how to have the pictures to show up. Over the weekend at the bicycle show in Powder Springs GA I picked up a few cool pieces: I bought some nice NOS 26" bike fenders thar are ribbed down the center, a cool headlight and nice early Columbia Chain Guard. I hope to use the chaingaurd on TubCycle. There were alot of neat stuff there and some great deals on bikes so if you were not there you missed one great show. Snoopy from TN brought one nice lead sled bike that was just the bomb to the show and really got my mind to thinking but only one build at a time. Thanks again for all the interest into tubcycle.

DSCN0142.jpg
 
We have now finished up the front wheel to have a disc brake. Picture one shows what the wheel looked like before we started and what it looks like now after the disc is mounted. This was accomplished by making a piece of aluminum just thick enough to keep the brake caliper off of the spokes and mounting the disc to the aluminum and then both of the pieces to the wheel. We tapped the wheel so we could bolt right on to the wheel. We have since mounted the brake caliper to the front fork and now ready to stop some bike.

DSCN0150.jpg


DSCN0151.jpg


DSCN0152.jpg


As mentioned before the side car will be removable from the bike by 3 mounting bolts. Here is the side car off the bike minus the tub as it is removable as well. This would give more options of adding more things or carrying more things with just the side car frame without the tub.

DSCN0155.jpg


DSCN0156.jpg


We have the tank finished and mounted. You will note a decal design I made in Corel Draw that I hope to convert into a sticker to mount on the tank and perhaps have some shirts made? It was neat how the tank is mounted. We drilled through the frame and mounted a small stub and drilled a hole in the front of the tank for this to go into. Then we counter sunk a piece of metal between the frame rails and welded in place near where the rear of the tank will be located. We then mounted a counter sunk nut in the bottom of the tank near the rear. When all is said and done the tank appears to float between the rails with no support (too cool).

DSCN0159.jpg


The fun part was fitting the Columbia chain guard to the bike. I have a nephew, Luke, that may want to ride in the side car. As hyper as he is I can’t have him putting his hand in the chain. As you will not the guard has been stretched to meet the dimensions needed. We are using a modified OCC Chain Guard on the rear chain. They is a support bar that has been added near the rear fender that the OCC Chain Guard will mount too and the rear tail section was drilled and tapped so that the rear of the OCC guard will bolt to the frame nice and clean. We will be connecting the two together at the jack shaft and will operate as one piece. I made a punch list of things that needed to be accomplished and there are about a dozen more tricks before we finish. Thanks for your interest and will be posting more pictures soon.

DSCN0163.jpg
 
Back
Top