Ford, Dodge, and Chevy have been using tunnel ram for decades. It gives the engine added torque. You need to have the float bowl perfectly level to earth to keep the gas level proper and to prevent gas leaks though.
You are using an out of date browser. It may not display this or other websites correctly.
You should upgrade or use an alternative browser.
You should upgrade or use an alternative browser.
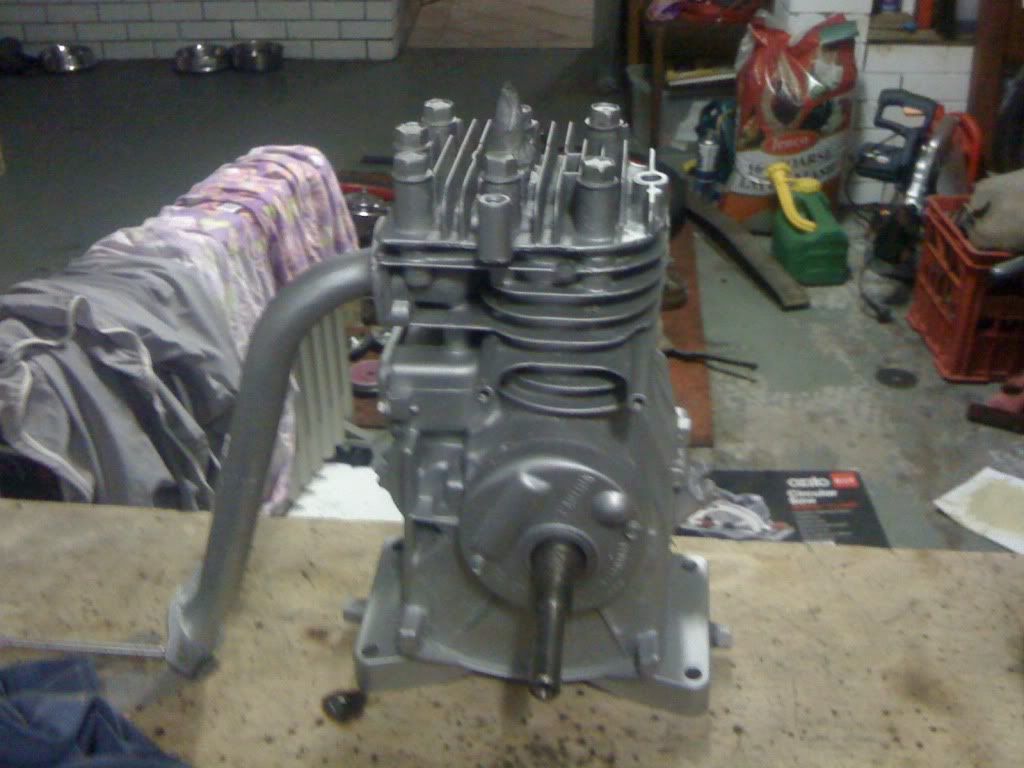
Briggs powered ladies bike
- Thread starter harry76
- Start date


Help Support Rat Rod Bikes Bicycle Forum:
This site may earn a commission from merchant affiliate
links, including eBay, Amazon, and others.
looking good! as far as the length of the runner, getting it out of the way would be the only thing i would worry about and not adding more bottom end torque. my 3.5briggs on mine has tons of bottom end torque, so much i can take off from a dead stop with a manual slip clutch without any peddaling and i weigh 175lbs. my intake is only about 4 inches long. i will measure my gearing for you today and let you know what i am running for an idea on yours. keep it up! :wink:
here is the gearing i am running right now. motor pulley is 3.5inches, next pulley is 5inches, final drive to wheel is 3.5inches and 15 1/8inches(rear wheel sheeve). i am using 1/2inch wide belt. this ratio works great. has nice bottom end and top end. it will run top end at 50mph if you want, but cruising speed of 25-30mph is excellent!
Thanks Murraymadman, that sounds about right, im not real fussed on top mph with this one, just want it ridable.
Today i did more staring then working.... but i did shorthen the seat stem and seat pole to make the seat a little lower for Kelly.
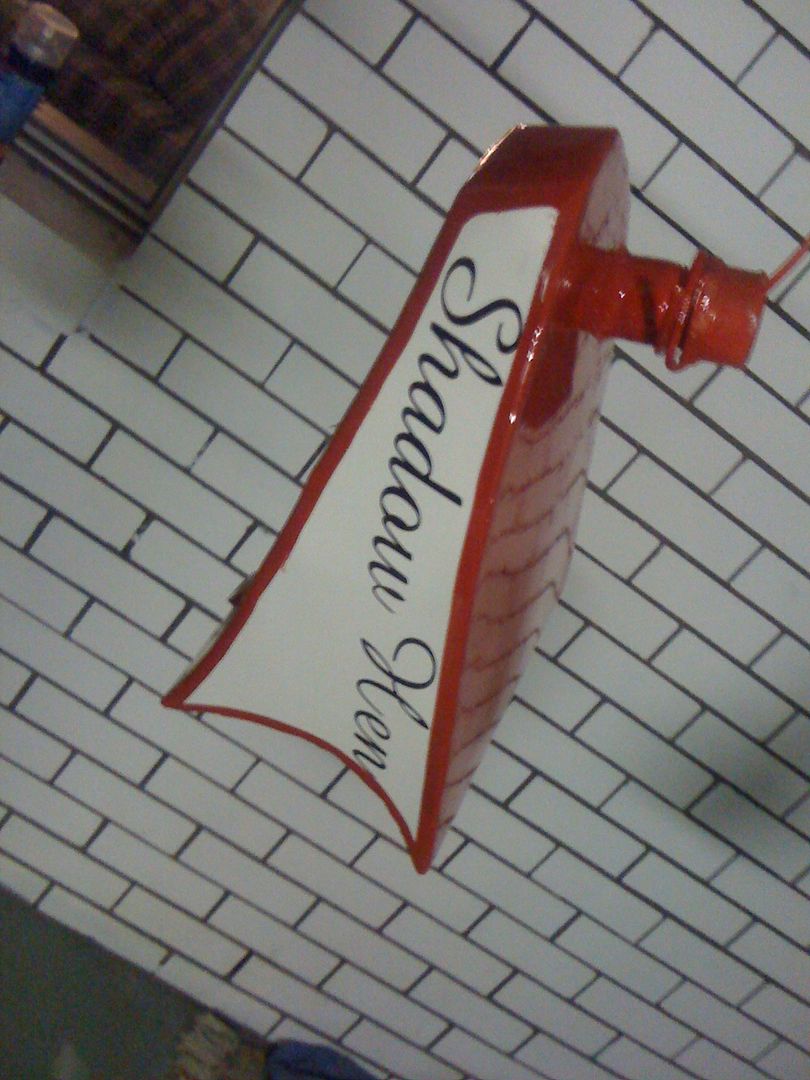
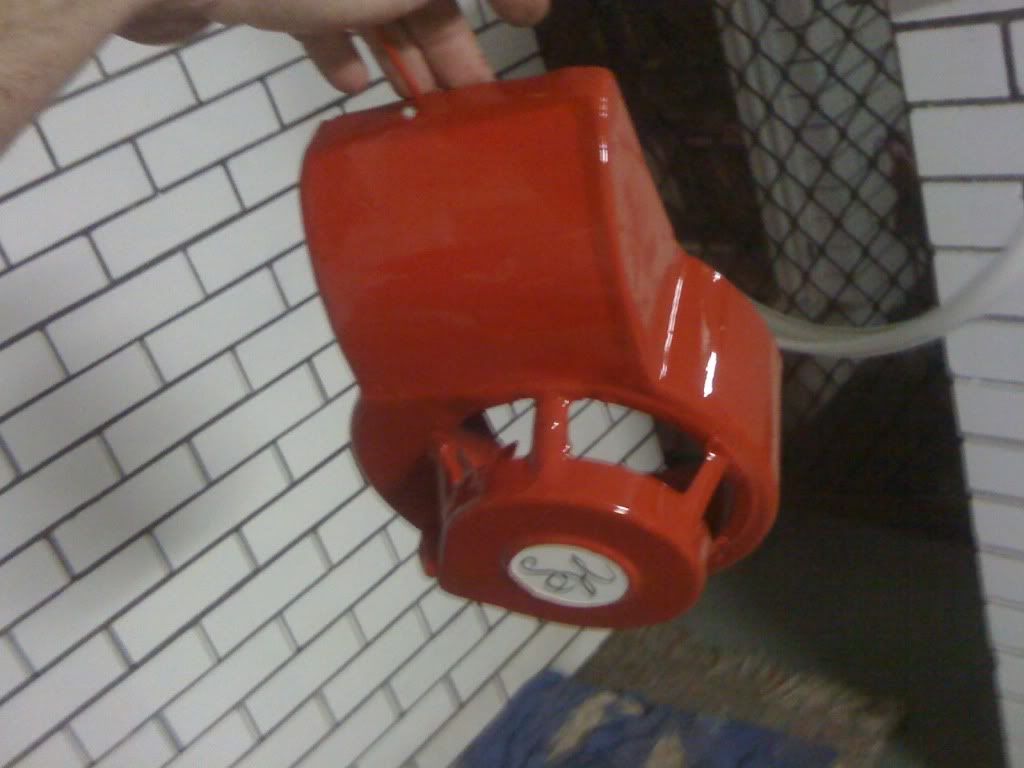
And i also cut up my shroud. I think its a big improvement in the looks department, looks more vintage, and id guess its better for blowing the air because its now guided rather then before hitting a corner section.
This is the thinnest steel ive tried welding with my welder, i didnt get it to where i was 100% happy because i blew a few holes in it. I just need to neaten it up a little but i had enough for today, so it can wait for now.


Today i did more staring then working.... but i did shorthen the seat stem and seat pole to make the seat a little lower for Kelly.
And i also cut up my shroud. I think its a big improvement in the looks department, looks more vintage, and id guess its better for blowing the air because its now guided rather then before hitting a corner section.
This is the thinnest steel ive tried welding with my welder, i didnt get it to where i was 100% happy because i blew a few holes in it. I just need to neaten it up a little but i had enough for today, so it can wait for now.


I didnt like the angle on the tank so i cut it to match the roundness of the shroud.


Just got a package in the mail (love that feeling)...
Amal throttle assembly... im not a fan of the standard plastic one.

Im happy with the quality, very solid, but they are massive, i think i will chop an inch off the barrell and grips

A comparison with a dual pull lever that i bought but didnt use (.... ugly imo)

Just got a package in the mail (love that feeling)...
Amal throttle assembly... im not a fan of the standard plastic one.
Im happy with the quality, very solid, but they are massive, i think i will chop an inch off the barrell and grips
A comparison with a dual pull lever that i bought but didnt use (.... ugly imo)
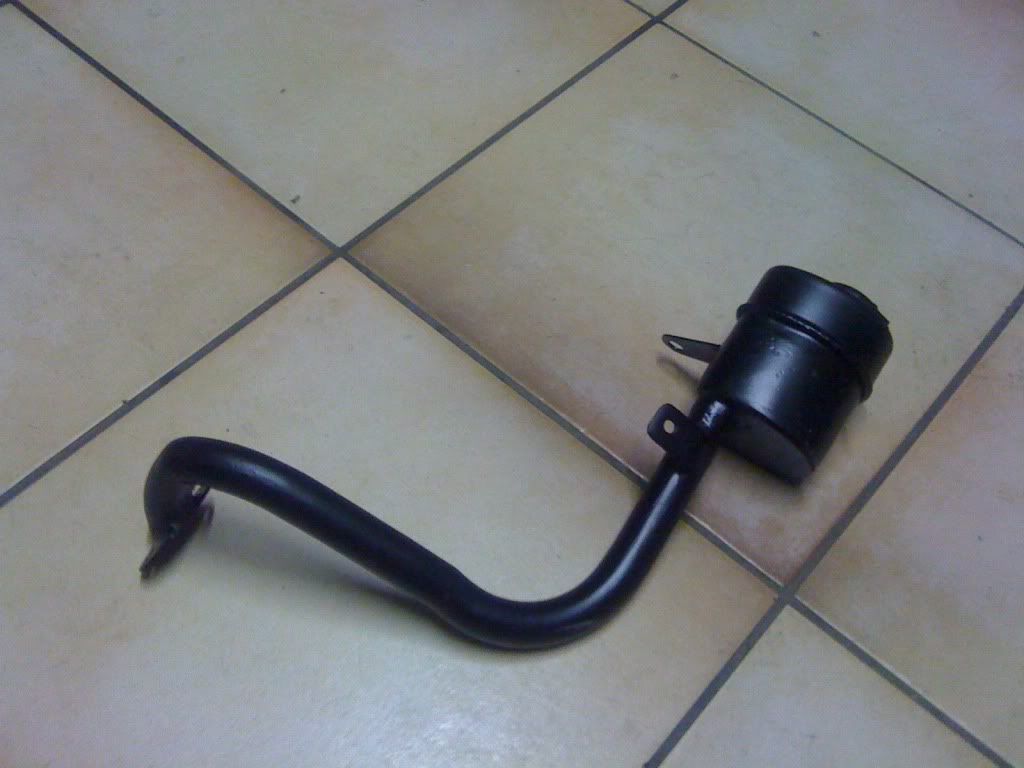
Im just having a break for lunch and am half way through welding up the tank and i have welded and ground down the exhaust and intake manifold made from old handlebars.
Now its up to Kelly whether she wants them silver or black (she wants them motor silver). I think black would look better. Silver can look cheap sometimes, well it does when i seem to do it lol.


Now its up to Kelly whether she wants them silver or black (she wants them motor silver). I think black would look better. Silver can look cheap sometimes, well it does when i seem to do it lol.
I actually quite like the seat currently on this ride, but i saw this Australian made "Bell" vintage leather seat, and thought id be a nice touch and Kelly really likes it. I will just oil it up to improve the looks a little.


Today i mostly welded the fuel tank, just need to make the mounting brackets and get some pipe from work for the filler. I also fitted my intake manifold, just need to make a mounting bracket for that. And im currently finishing the exhaust manifold mount and brackets.
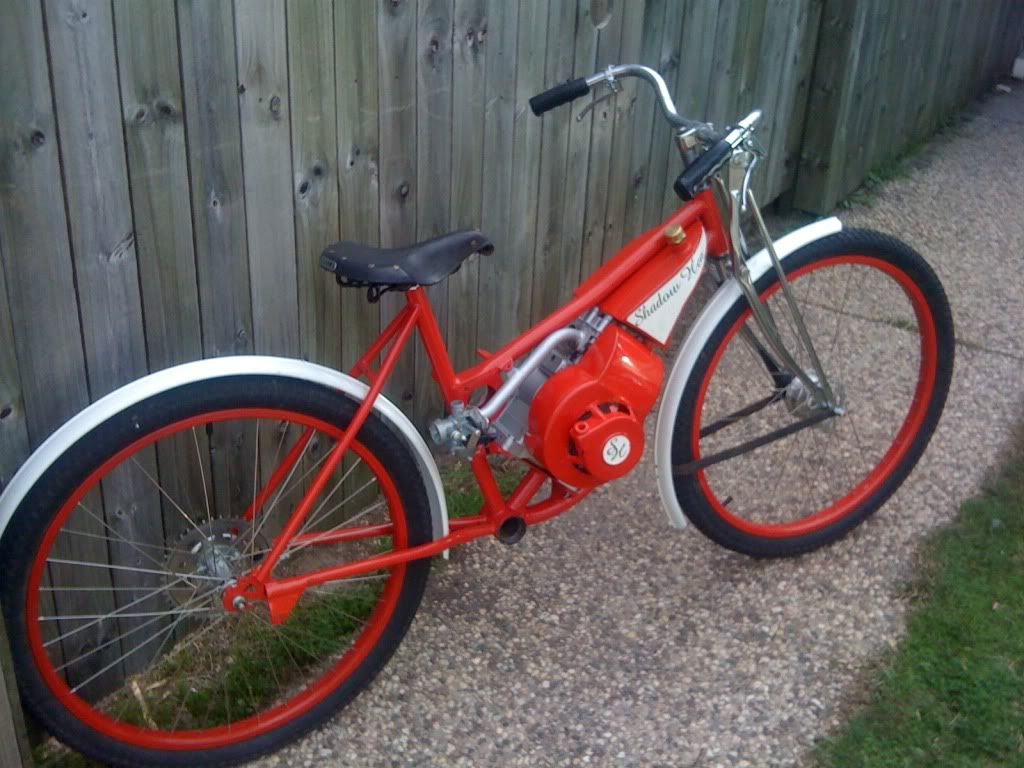
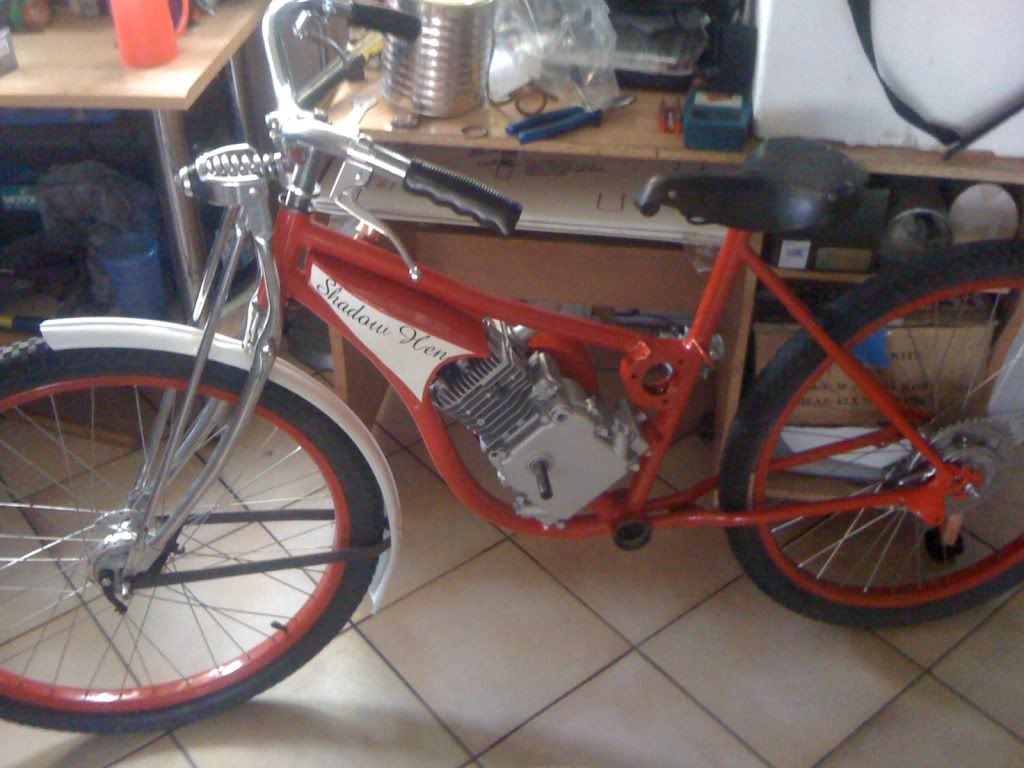
I also fitted the seat, and although i love it, the other one seemed to suit the build better, i guess ill wait and see.... what do you guys think?
****Also i noticed the shroud moved in this pic, the shroud and fuel tank line up when bolted on.


I also fitted the seat, and although i love it, the other one seemed to suit the build better, i guess ill wait and see.... what do you guys think?
****Also i noticed the shroud moved in this pic, the shroud and fuel tank line up when bolted on.
I had a heap of flat bar steel they throw out from work and decided to make some fender struts. Those standard ones dont look very solid and ive heard horror stories with guards and motorized bikes. These suckers wont move, at first i thought they would look too bulky and was planning on lightening holes but i quite like them so i may just leave them. I think it makes it look more vintage, now i need to make 1, maybe 2 for the rear guard.


Well i havent had a chance to do much lately. But im currently on my last night shift before a 6 day break, in which i hope to get this build finished, or at least try. Its entered into Grezefest Sunday so we will see. And seeing its my last night shift im getting a few things done: Filler for petrol tank, oxy'ing cranks (cranks on the bike were borrowed form the Villiers build for reference, and i also made a cover for the clutch and jackshaft pulley. Just need to weld it up, ill hopefully get the tank and cover and jackshaft fitted tommorrow so i can start getting things painted in time to dry.....


I got a little donr this morning, gonna do more this afternoon. I got my primary cover mostly done, just need to finish it when i get my jackshaft in. I also got the fuel filler welded in, as well as oxying the cranks. These cranks had to be slightly wider then my Villiers bike.


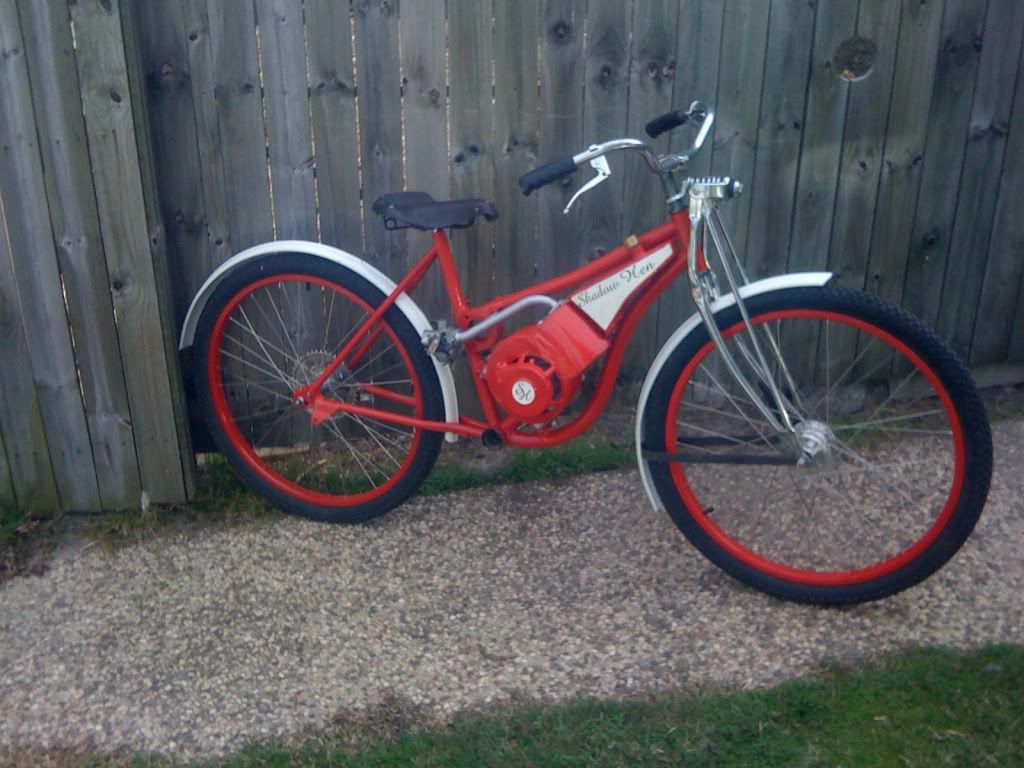
I must say im quite pleased with how the bike is looking.... ive tried to keep it safe for Kelly with keeping everything out of harms way, and still have nothing protruding higher then the ladies toptube..... hopefully i can get it done for Greazefest, just five days away.
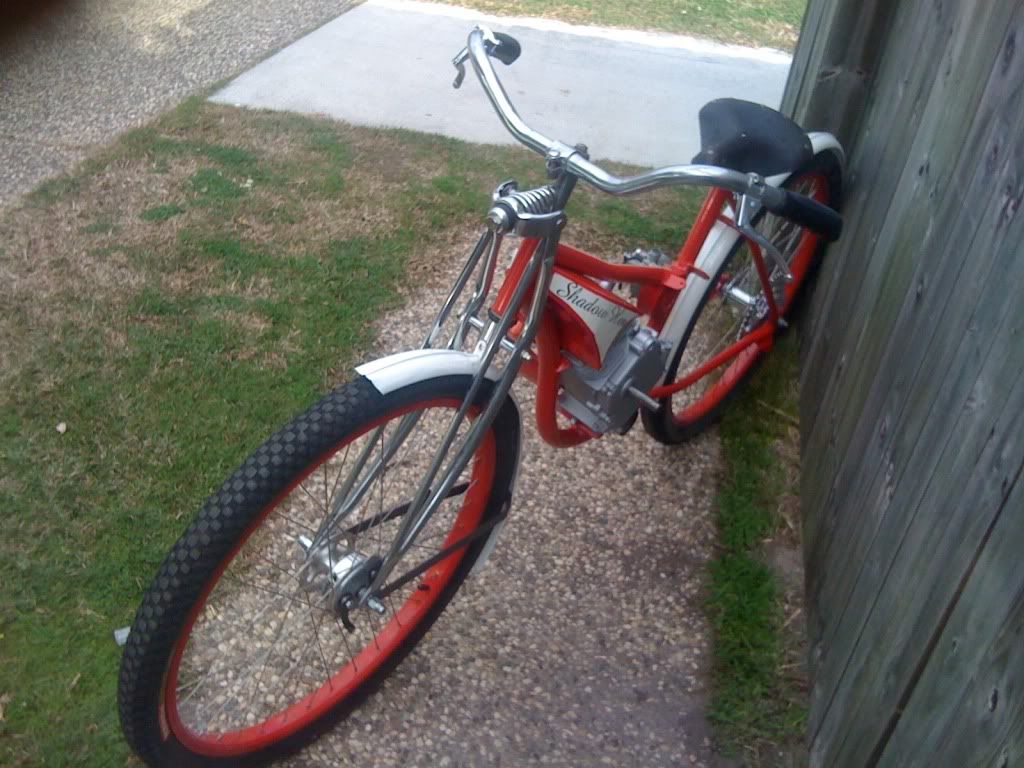
*** OH YEAH i now realise i put my pedal sprocket on the wrong side for mockup but i was just so excited to see it mocked up, like being a kid at christmas, MAN this is a great hobby")


*** OH YEAH i now realise i put my pedal sprocket on the wrong side for mockup but i was just so excited to see it mocked up, like being a kid at christmas, MAN this is a great hobby
Well ive been hard at it with not much to show. Doing a lot of running around amongst other things. I did get my jackshaft mounted, picked up the 5/8 shaft for this and my pulleys for my Villiers (which i really wanna test ride but trying my hardest to get this ready for Sunday).
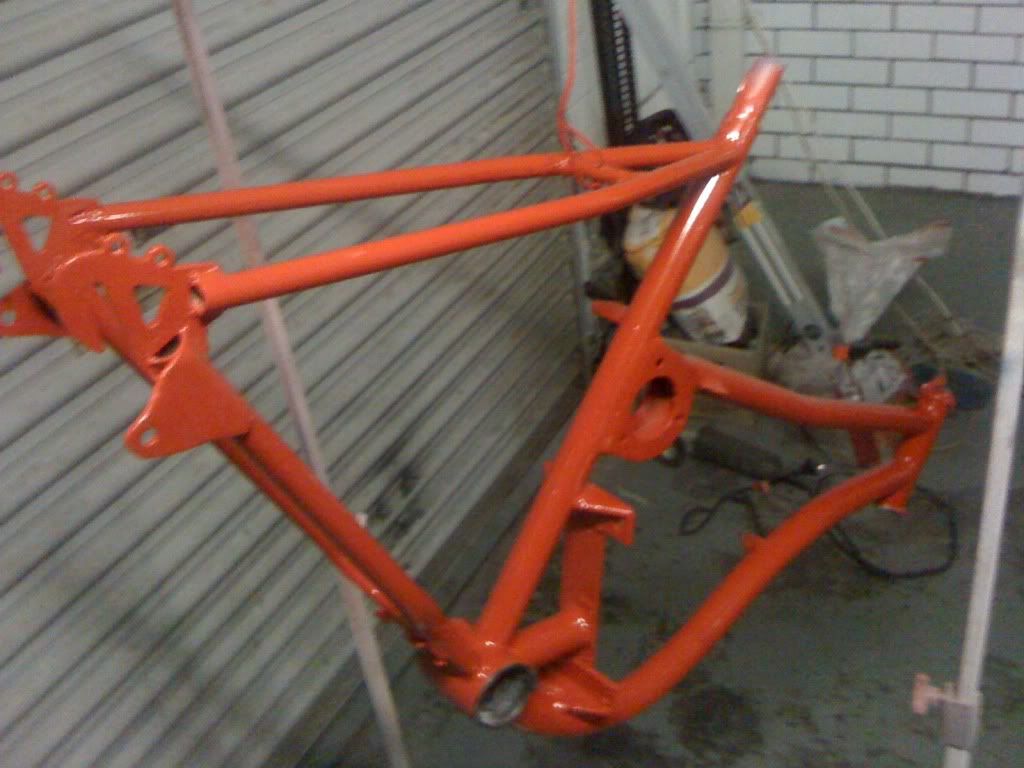
I put a slight bend in the toptube to allow room for the jackshaft. I got my muffler mounted, finished my fuel tank and lined it with a tank liner.
I just need to shorten my primary cover as i made it at work (before i went on a break) before i knew the exact length of the primary.
And if all goes well i will be painting tommorrow and hopefully dry by Saturday afternoon to assemble. Itll be some mirale if i can get this done..... ya never know.
Ive built this bike in a hurry (for me anyway) and although i had an idea all along in my head i never really put pen to paper to design it..... anyway i didnt really consider allowing for the motor to move forward on the mounts to tighten the primary belt as it stretches a little, so i may have to make a little tensioner later for it, i dont really have time at the moment.


I have one major drama. I organised a 10 tooth pulley for this bike from a mower shop. When i went and picked it up today they didnt have it but went looking around for me and thought they found one, it was just a little wide so i tried grinding its profile down but the pitch is still wrong. Its the one in the photo.
So im going to have to ring around tomorrow and hopefully someone has one in stock, or the one i have coming from the U.S turns up in the mail tommorrow, im having some bad luck lately..... maybe its that no.13 i put on my Whippet build???