1940's Huffman build-- Now named: Copper Stopper

Rat Rod Bikes Bicycle Forum

Help Support Rat Rod Bikes Bicycle Forum:

This site may earn a commission from merchant affiliate links, including eBay, Amazon, and others.
Joined
Sep 3, 2009
Messages
59
Reaction score
0
Location
Austin, Texas
Rating - 0%
0   0   0
Just starting this one.

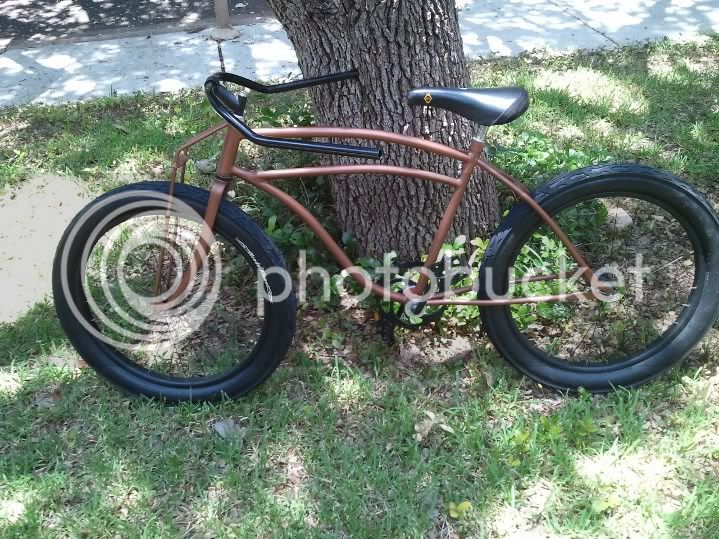
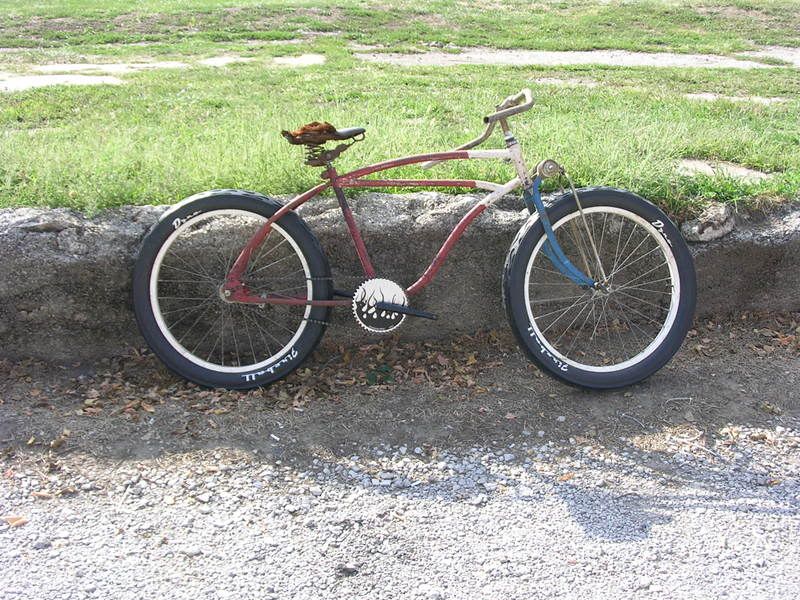
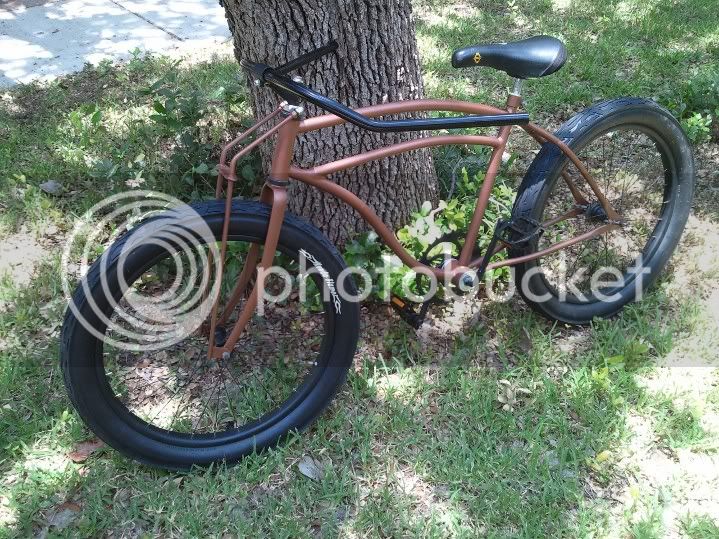
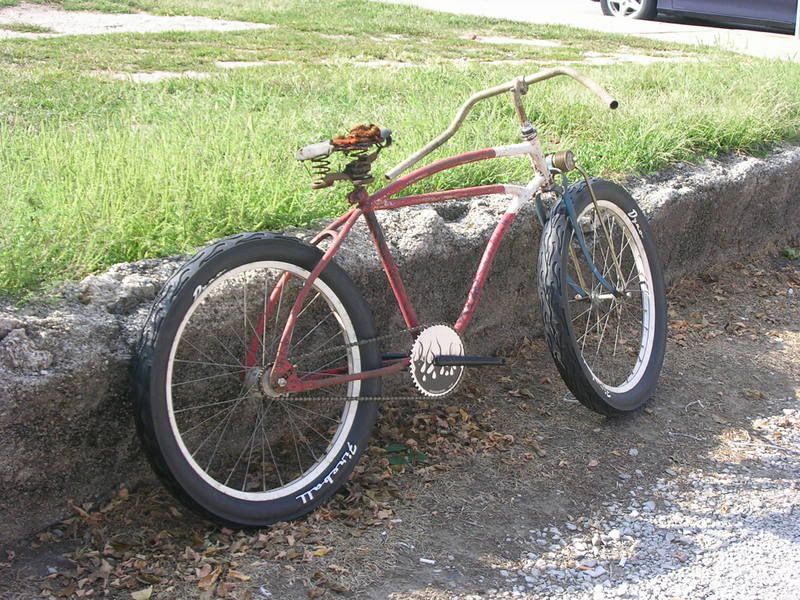
I've had the frame, crank, and chain ring for a while. Just got the wheels from another forum member.

Not sure where I'm going with it yet. I'm going to start looking at tires and handlebars next week. I want wide tires, the same size on the front and rear. I've got 3 inches between the fork bars and seat/chainstay bars.

huffman_fr_wheels.jpg
 
Re: 1940's Huffman build

I would love to put 3" tires on it. Unfortunately with 3 inches of clearance theyd have a good chance of rubbing. So far I haven't seen 24" tires in anything wider than 2.25. Anyone know if there's anything around 2.5 available?
 
Re: 1940's Huffman build

Hey cman,

Nice looking bike! Thanks for the link showing the tires measured with the caliper. That is exactly what I need. I'll check it out when I get home. Hopefully those will fit mine as well.

John
 
Re: 1940's Huffman build

After finishing my daughters bike I've decided to get back to this build. Frame and fork are now stripped and ready for priming.

WP_000148.jpg


Bottom bracket with serial#.

WP_000149.jpg
 
Re: 1940's Huffman build

This is more or less what I'm wanting to do.

huff1.jpg


I'll likely add a few accessories like some kind of retro lights. I'm also thinking about making my own truss rods so if anyone has advice on that let me know..

For the copper paint I was looking at the hammered metal paint by Rustoleum. I put some on a scrap piece of steel rod and liked how it came out. Has anyone else tried using this on a build?
 
Re: 1940's Huffman build

Got the frame painted this weekend. I wanted a flat copper finish which was difficult to find paint for. I found a satin finish by Valspar which looked good. I sprayed it over etching primer then covered the satin paint with a clear flat. The paint had a very fine metallic flake. When it's in the sun it has more of a glow than a shine now. Adhesion appears to be very good at this point. I'm extremely pleased with how it came out.

Now I just need to wait for my spokes to come in.

I purposely shot it in front of my dirty garage door to make it look even better! :)

WP_000156.jpg

WP_000158.jpg

WP_000157.jpg
 
Re: 1940's Huffman build

Decided to attempt building my own truss rods. I used solid aluminum rods which I threaded on the top side. I also decided to try something new. A product called Alumiweld. It's more like soldering than welding as the base material does not get melted. However, once I followed the instructions to the letter I had a joint on some scrap aluminum that I could not separate even after pounding the heck out of it with a hammer. So... below you see the results on my truss rods. I still wouldn't trust it for anything structural but it did work as advertised.

WP_000175.jpg


WP_000181.jpg


WP_000192.jpg


WP_000196.jpg
 
Re: 1940's Huffman build

Did a loose assembly today. Really like the way it's coming along. Unfortunately the Kenda Flames with the flare they have on the shoulder look like they'll be to wide. Probably got 1/8" clearance on each side on the frame and the chain looks like it will be real close.

I was wondering if it would be possible to shave down that flare a little bit? Anyone ever do that? Otherwise Ill be posting these for sale or trade in the next few days and get something with a rounder cross section.

Few things to do still.

1. Change seat to a springer style
2. cut about 6" from each side of handlebar
3. knock out the reflectors on the pedals
4. add some kind of retro style headlight


WP_000206.jpg


WP_000207.jpg
 
Re: 1940's Huffman build

Got the handlebars chopped down. Looks much better!

WP_000208.jpg


WP_000211.jpg


I'm considering getting this seat.

560-040_4.jpg


Also, I decided to attempt acid etching my own headbadge on a piece of copper using this artwork.

badge2.jpg


I can't take credit for the Lincoln image as I borrowed it from the internet. However it's only for my own use and I won't be selling it.

I have a set of Fatti-O's arriving today. Hopefully they'll have a little more clearance than the Kenda's. I'll post some measurement comparisons on the 24X3 "How to" page when I get them. If the Fatti-O's work the Kendas will be posted for sale.
 
Finally getting to work on this one again. I tried doing an acid etched head badge using copper. Came out pretty good for my first try. I need to decide on the black background or the green patina.

badge_comp.jpg
 
jklier said:
Finally getting to work on this one again. I tried doing an acid etched head badge using copper. Came out pretty good for my first try. I need to decide on the black background or the green patina.

badge_comp.jpg

the green would look much better and go along with the copper stopper theme. Just my $.02 worth
 
What does the top of that truss rod look like? Did you just aluminum weld it directly to the main bolt of the headset or did you fabriacte some kind of adapter?
 
That's a great looking bike. I really like the truss rods, they have a unique profile. Good simple color works real well.
 
ibr said:
What does the top of that truss rod look like? Did you just aluminum weld it directly to the main bolt of the headset or did you fabriacte some kind of adapter?

Here's a closer shot of the top.

trusstop.jpg


I threaded the aluminum rod and ran it through a truss rod bracket that was with the frame when I bought it.
 
jackdaw said:
That's a great looking bike. I really like the truss rods, they have a unique profile. Good simple color works real well.

Thanks! I'm hoping to get it finished this weekend. I'm adding a light to the brace on the truss rod plus an old school leather springer seat, and also one of the head badges I posted previously.
 
jklier said:
ibr said:
What does the top of that truss rod look like? Did you just aluminum weld it directly to the main bolt of the headset or did you fabriacte some kind of adapter?

Here's a closer shot of the top.

trusstop.jpg


I threaded the aluminum rod and ran it through a truss rod bracket that was with the frame when I bought it.

Thank for the pictures, Looks awesome. Mine doesn't have a truss rod bracket, but I think I could custom fab one...it looks fairly simple Thanks again and great looking bike.
 
Back
Top