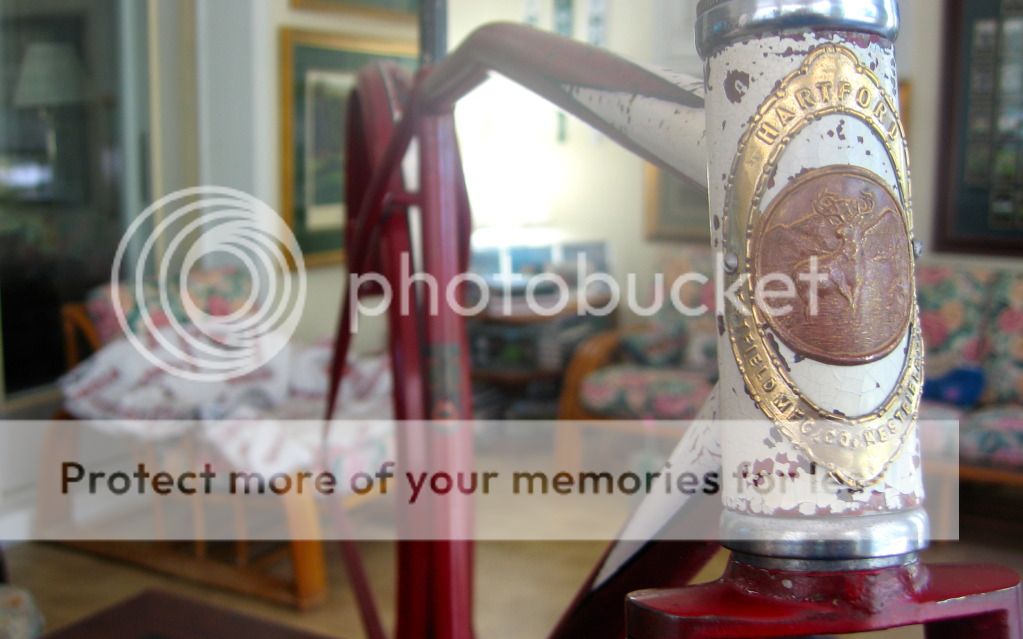
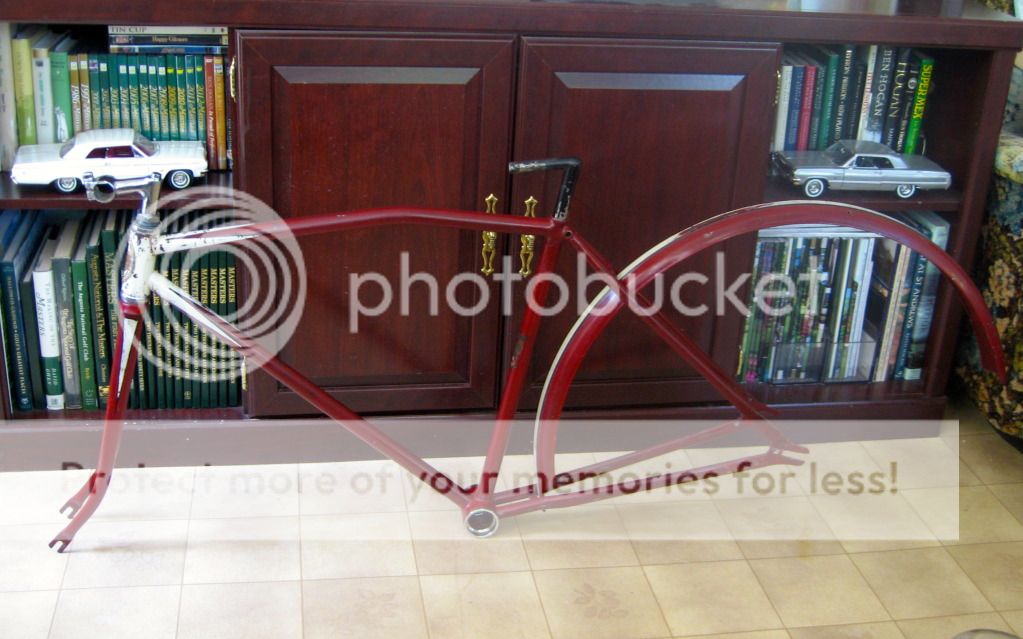
Re: 1930 Hartford by Westfield Mfg/Pope
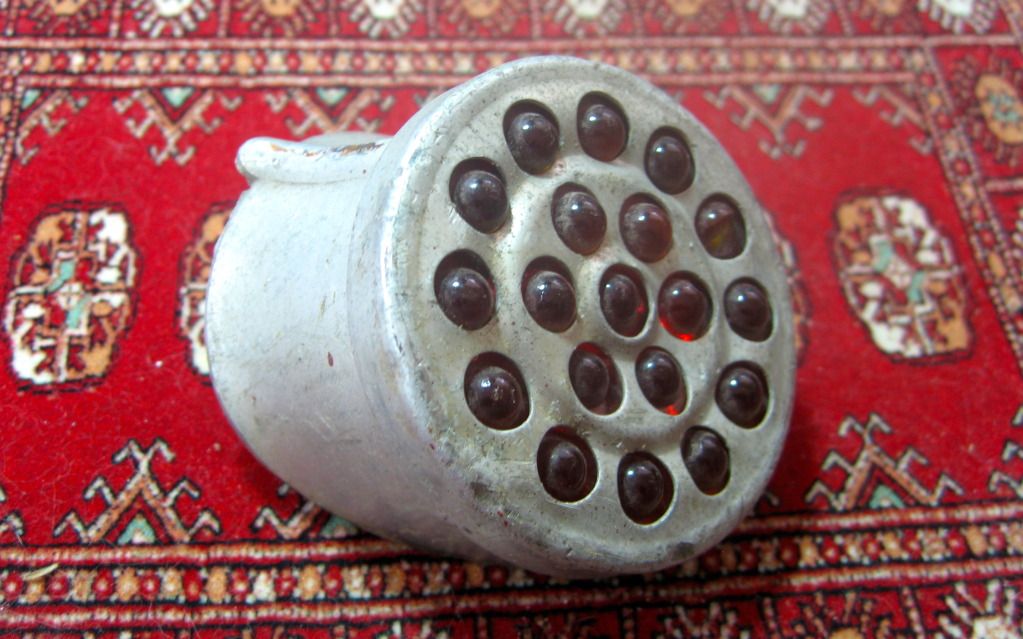
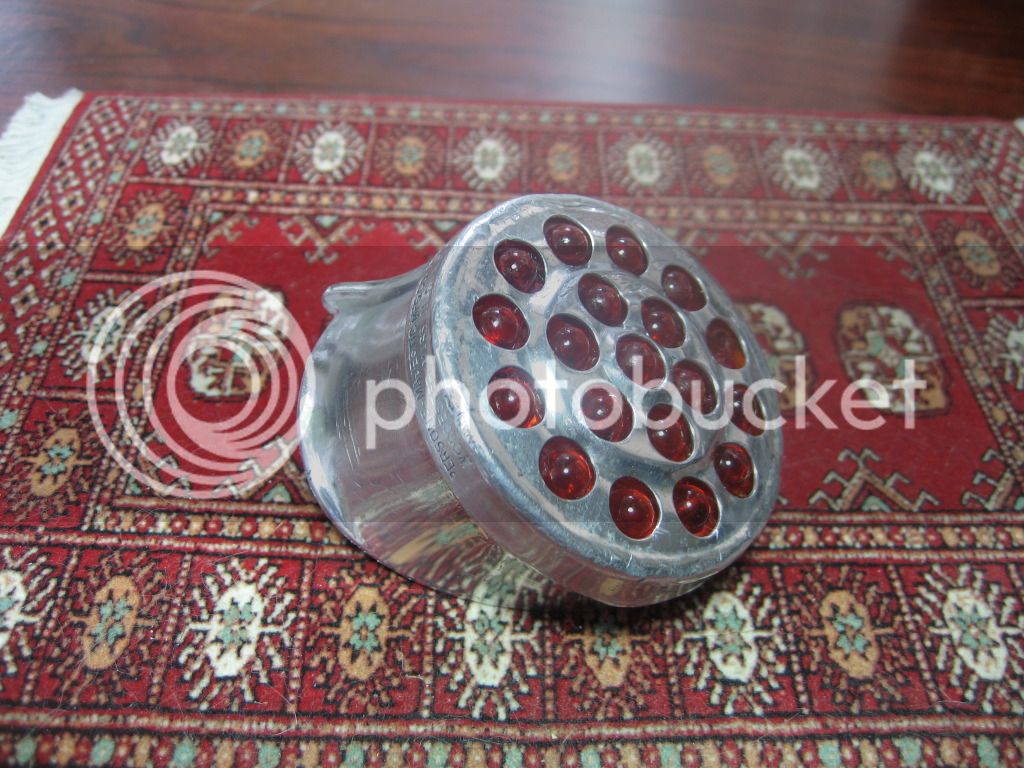
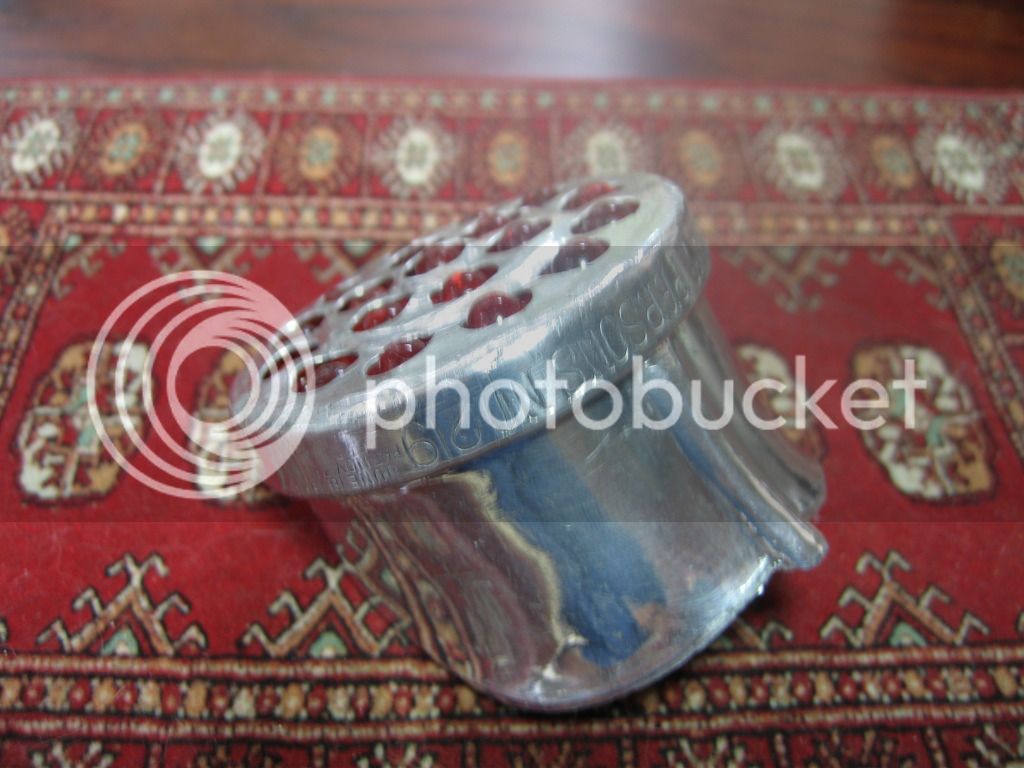
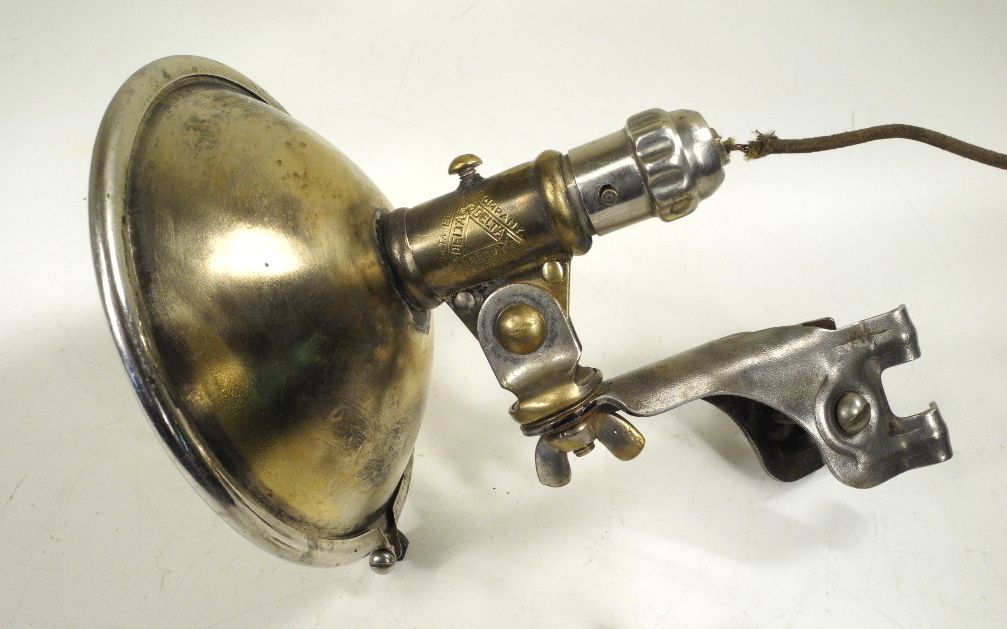
Bought this Persons Model 219 rear reflector about a year ago for the Hartford. After I received it I realized the glass was in pieces in the housing. Looked pretty good & would probably have never been a problem but I decided to go ahead & do a mild restoration on it too.
Here’s before:
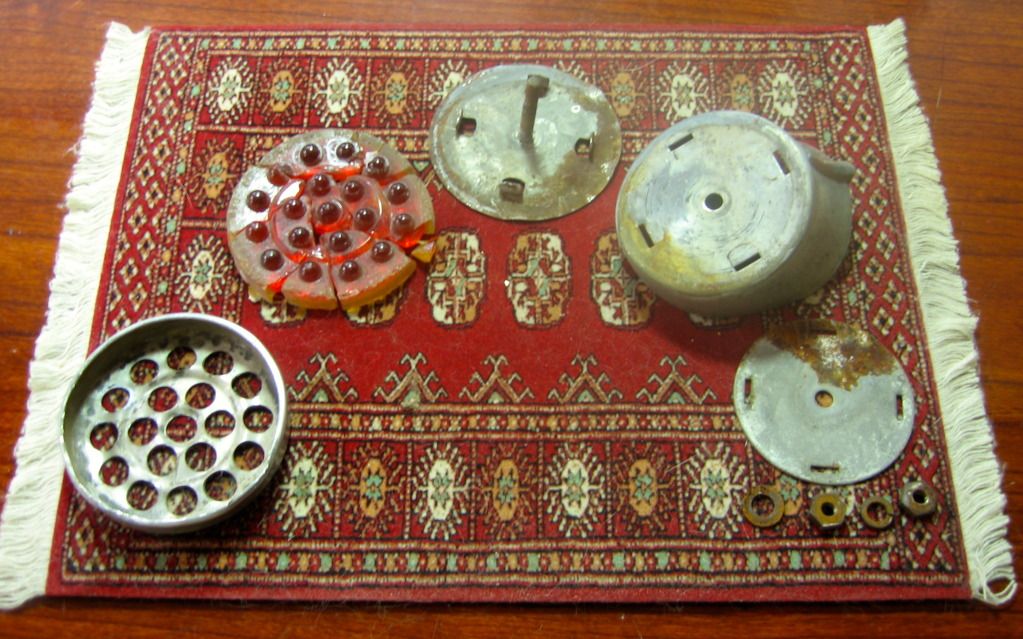
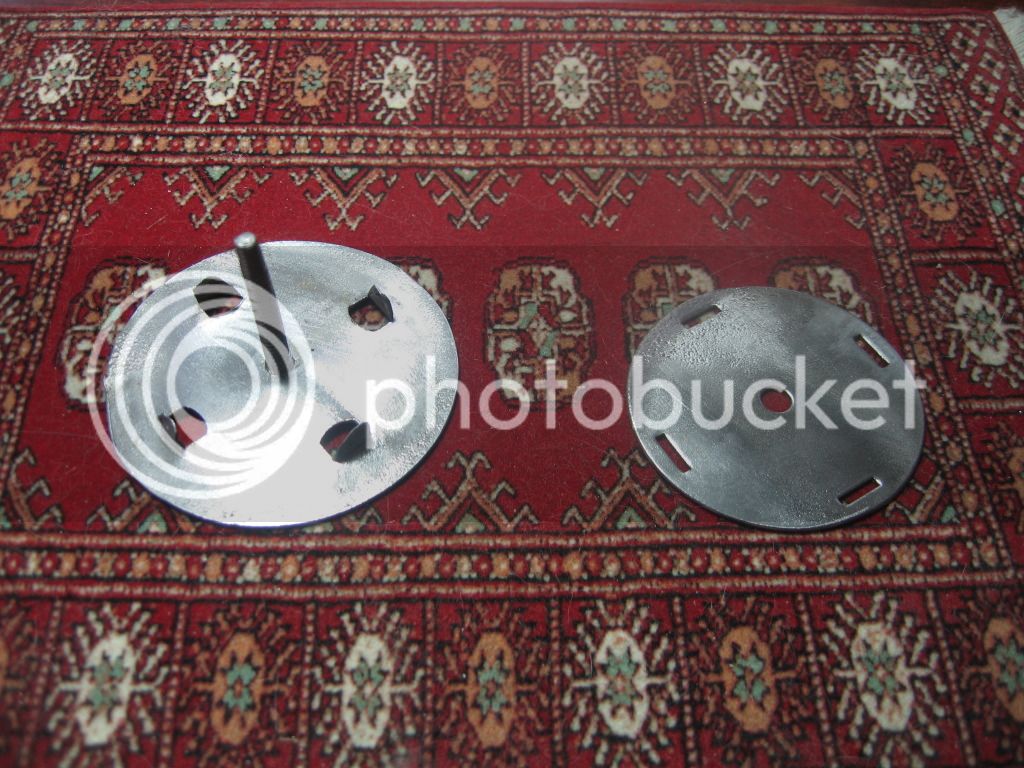
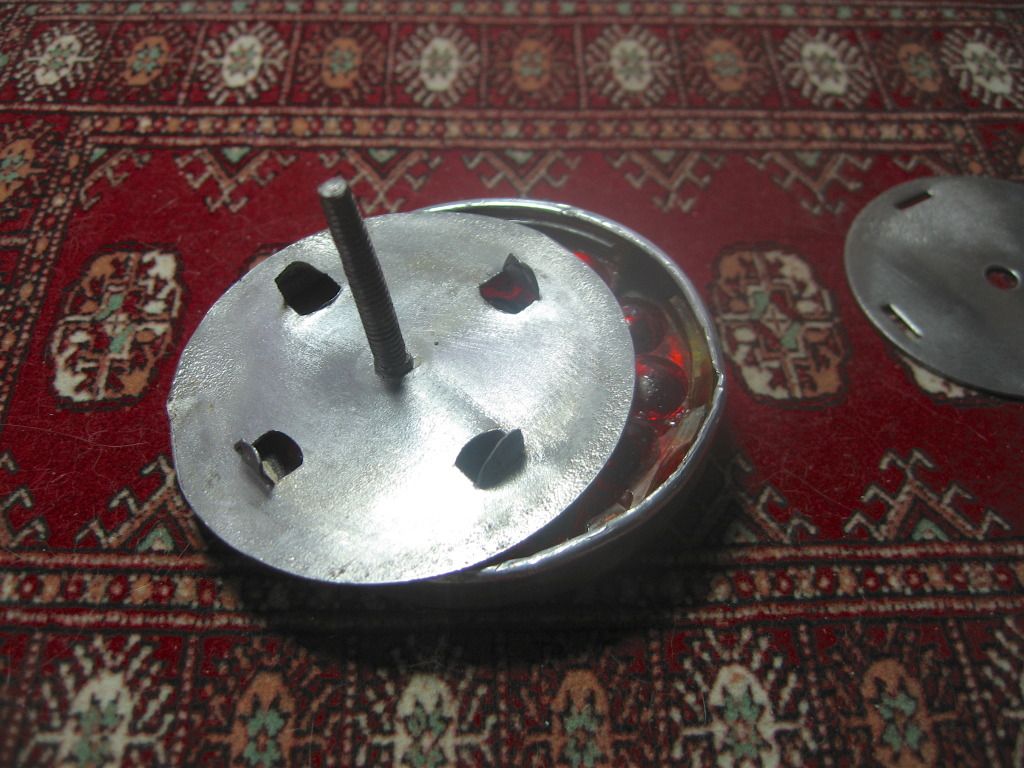
Here are the parts after disassembly. As you can see the glass is 10 separate parts. I am going to show the reassembly steps. Disassembly would just be in reverse but let me give some tips here first. During disassembly when you get down to just the actual reflector housing, determine where you want the bottom to be and at that point gently pry out the back in that location. Bend the back as you pull it out being very careful to not distort the housing is key to this process. You only want to have to repair this one area. If the glass were intact in one piece you would have to pry up all edges which would make getting it back together a little more difficult. Had my glass been in one piece I probably would have just tried to polish it up without removing it.
Next step was cleaning all the glass with Windex & then puzzling the glass back together using superglue gel going from 10 to 3 total pieces. I stopped at 3 so I could get them back in without distorting the housing further.
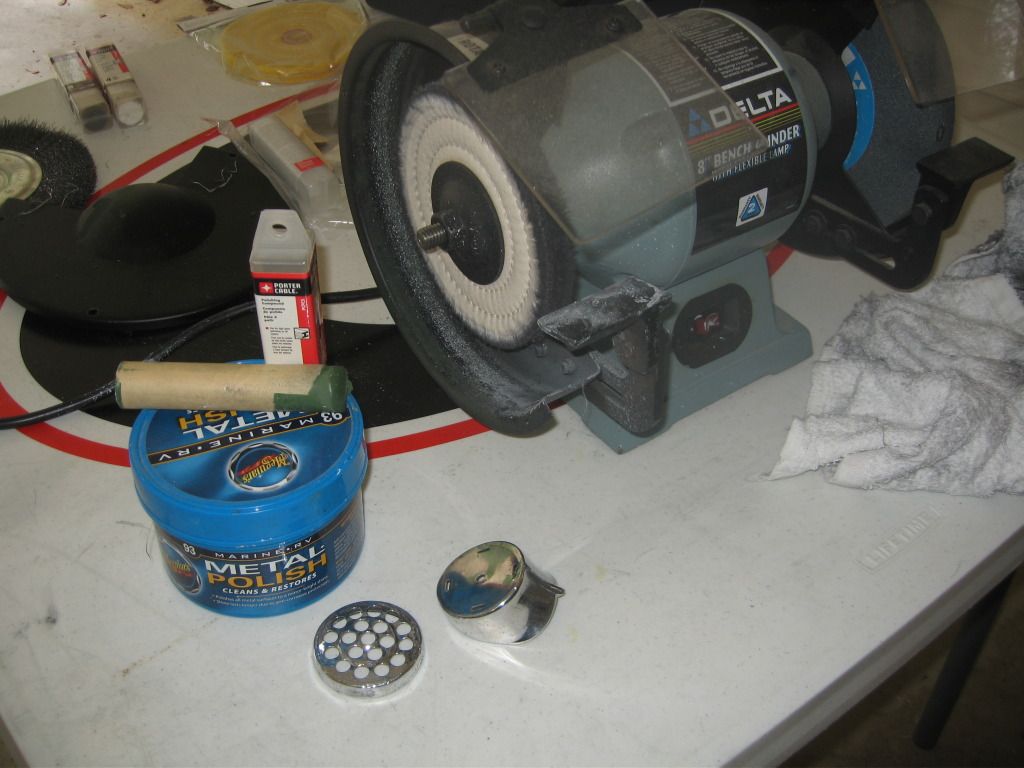
Next step is polishing the 2 housings. I used a buffing pad in my bench grinder trying both a Porter Cable fine metal polishing stick & Meguiar’s Boat/RV metal cleaner polish. I like the Meguiar’s much better and used it mostly. This is my go to product on chrome, nickel, & aluminum. I love it and always get great results. Key is to put product on the metal, buff on the grinder, and wipe off product repeating these steps over & over until you get the results you desire. Keep in mind I was not looking for perfection just mild restoration, I wanted them to shine but was not looking to get rid of the scratches, just minimize them somewhat & eliminate the ozidation that had occurred over 80 years.
Next step was reassembling the now 3 glass pieces into the housing insuring a good fit on both sides remembering you need room in the housing for the back. Keep in mind this is a puzzle and there will be a natural fit to which glass part needs to go first, second, third, etc. Just keep trialing until it fits and remember to check the side that will show to insure the glass balls are correctly positioned. Do not try to superglue the edges, instead use the gel superglue on the back side a little heavy but not enough to go through to the housing or glass balls. Put aside until it dries.
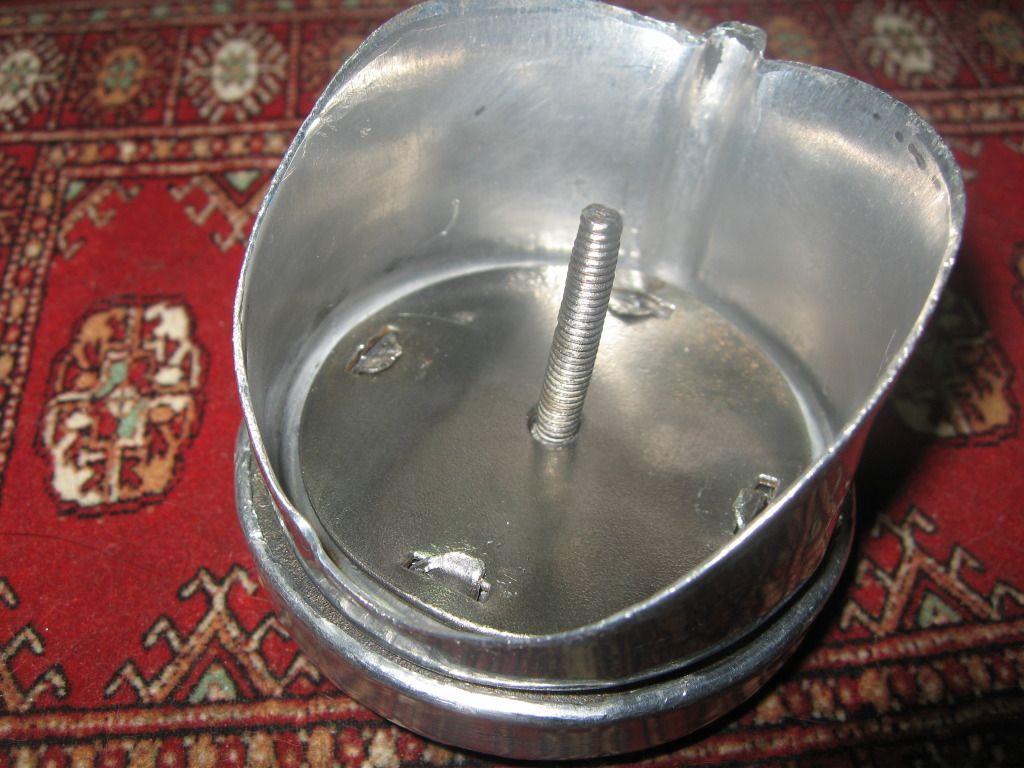
Next step is cleaning up the back of the reflector housing & attachment that fits in the back of the larger housing. After a distilled white vinegar soak to remove the rust I used a wire wheel in my bench grinder to clean these up and remove all the rust.
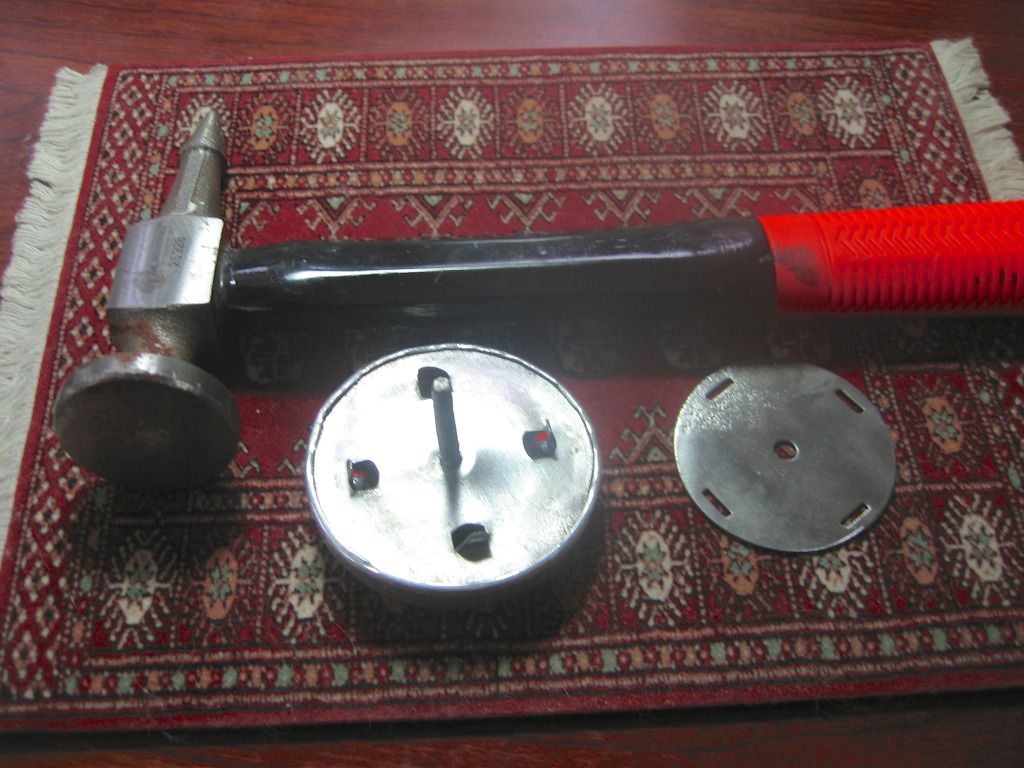
The next step after the superglue dries is to put the back of the reflector housing on covering the glass reflector. Gently pry it in place with a small screwdriver. Next I use my small auto body hammer with the entire reflector in my hand to gently tap around the edges until the back is completely enclosed. This hammer works great for this application. It is small & light. Key here is to do this with the reflector in your palm & use very gentle taps. Keep working it around the back edges until complete. Again, be gentle as you do not want to break the glass again.
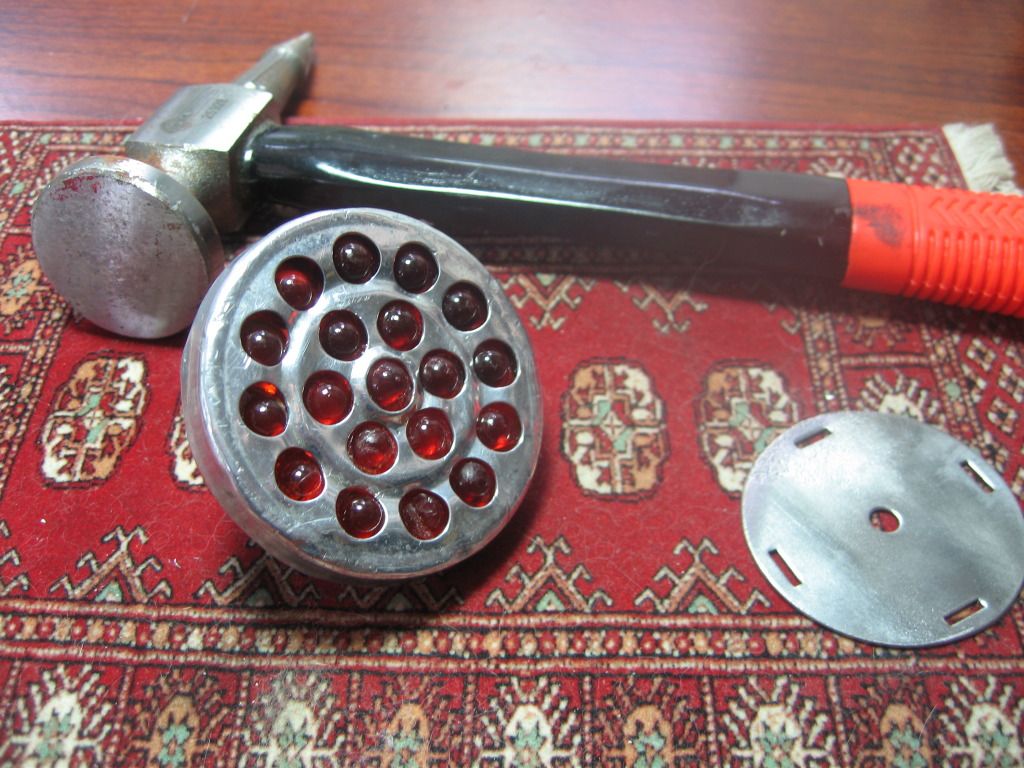
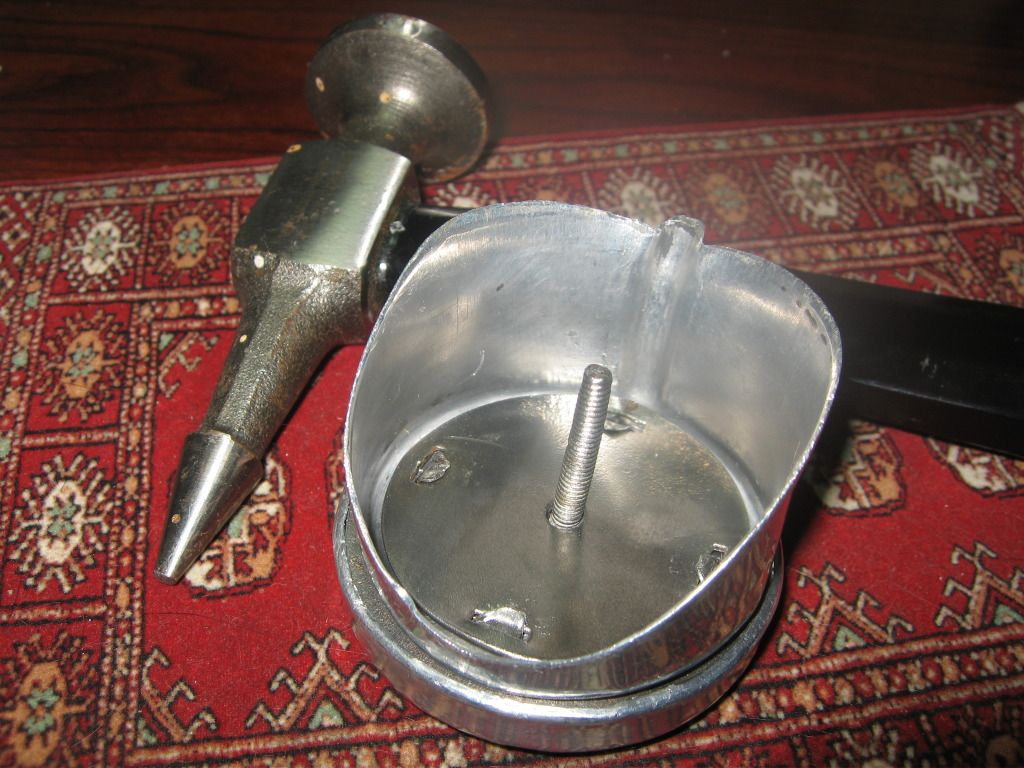
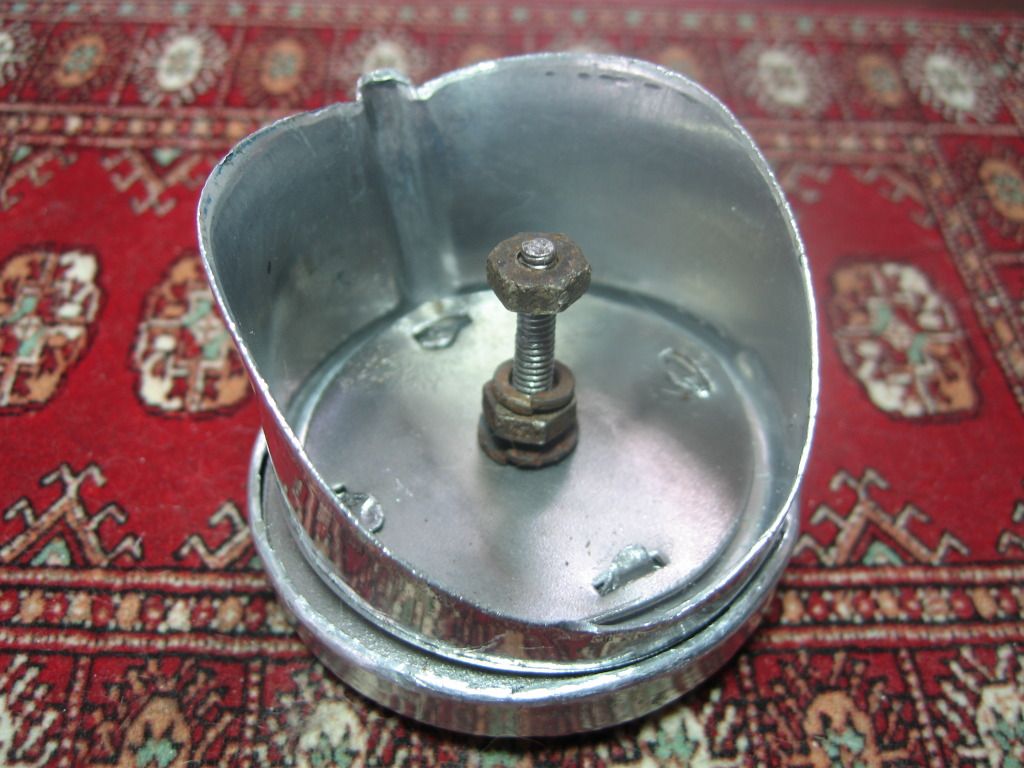
Now that the actual reflector housing is reassembled, full is assembly is next. Slide the reflector housing onto the larger housing that fits against the rear fender carefully getting the tabs & bolt through the large housing. Next place the small flat part into the back of the larger housing again lining up the bolt & tabs. Then bend the tabs inward with a small screwdriver and replace the nut/washer & tighten it. At this point gently using the small end of the auto body hammer with the entire assembly in your palm, tap down the tabs good. Again use great care & be gentle. Last, just screw on the nut & washer that attaches the unit to the rear fender to attach it to the bike for safe keeping until it goes on the bike.
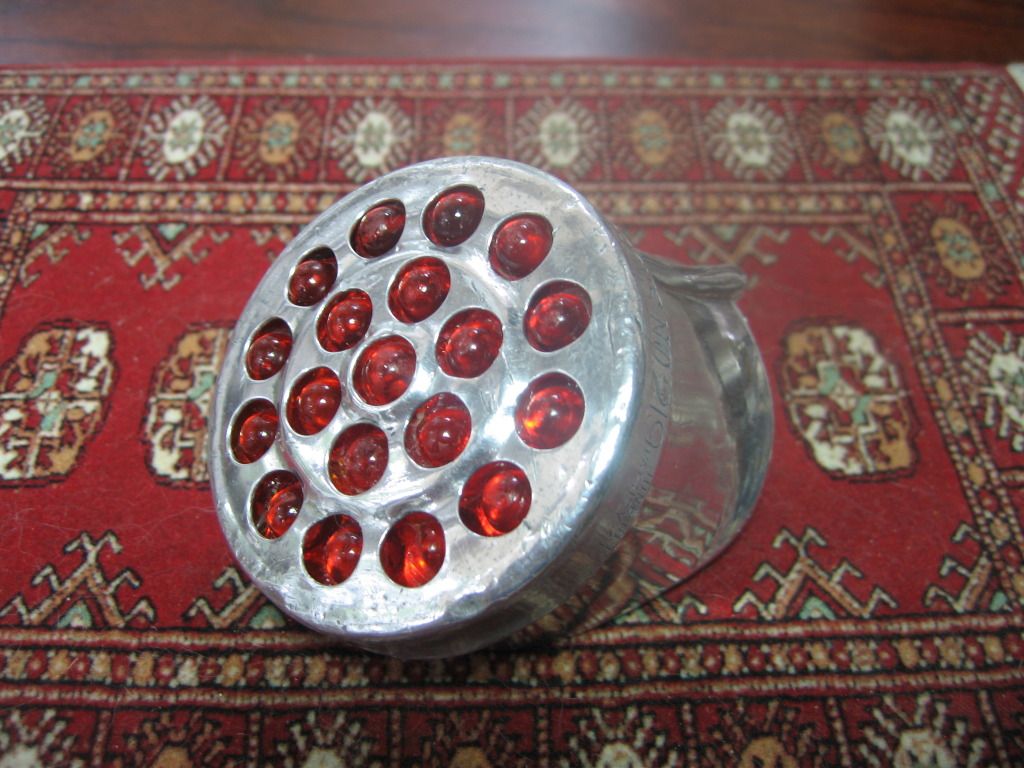
After Restoration:
That was about all it appears I’ll get done this weekend. Total restoration time was about 3 hours on the reflector. Hope this helps somebody else & good luck with your restorations or builds!!!!!!!
Thanks – Gary Mc