Western Flyer / Murray

Rat Rod Bikes Bicycle Forum

Help Support Rat Rod Bikes Bicycle Forum:

This site may earn a commission from merchant affiliate links, including eBay, Amazon, and others.
Joined
Aug 5, 2008
Messages
366
Reaction score
3
Location
Aurora, MO
Rating - 0%
0   0   0
I have been wanting to work on this project for awhile now and finally got started on it today. My brother got an old Western Flyer frame somewhere that someone had tried to spread the bars on the back so it would accept a wider tire. The back bars were pretty bent up and I decided it would be easier to just replace them rather than try straightening them. I had an 80's Murray girls bike laying around and decided to use it for a donor.

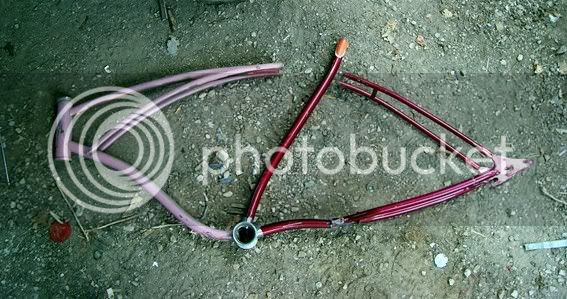
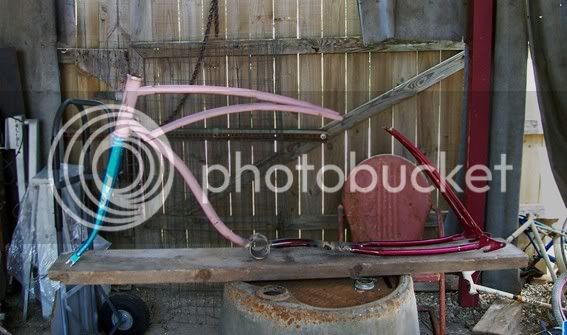
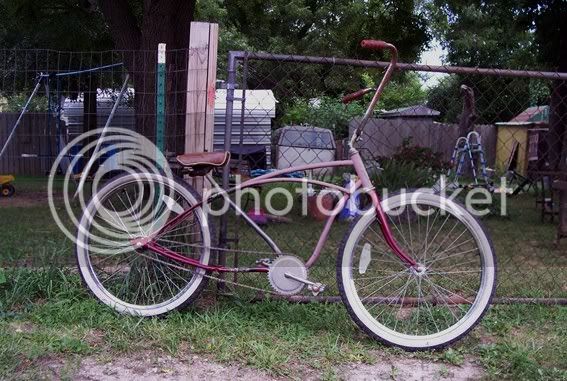
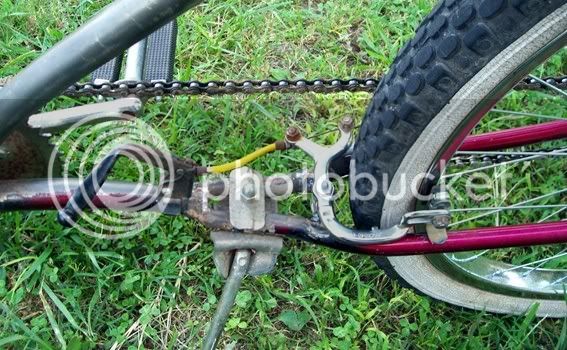
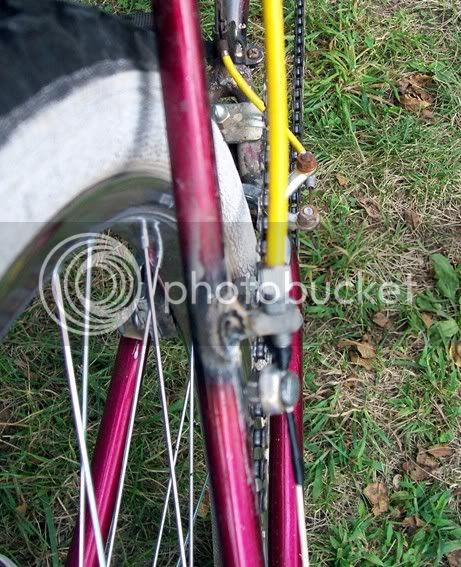
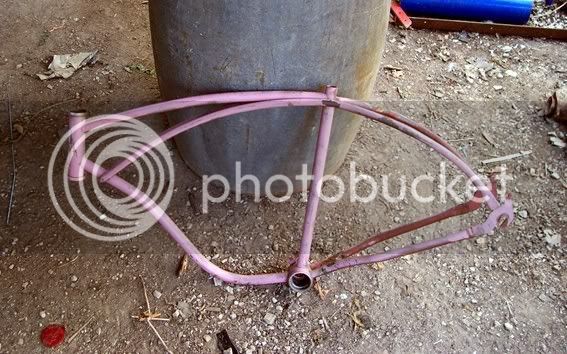
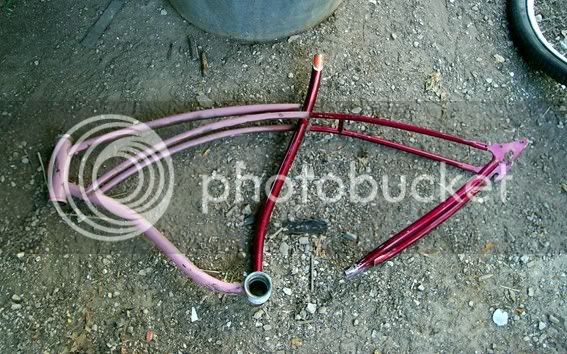
Here is the Western Flyer frame.

WesternFlyer-MurrayBuild1.jpg


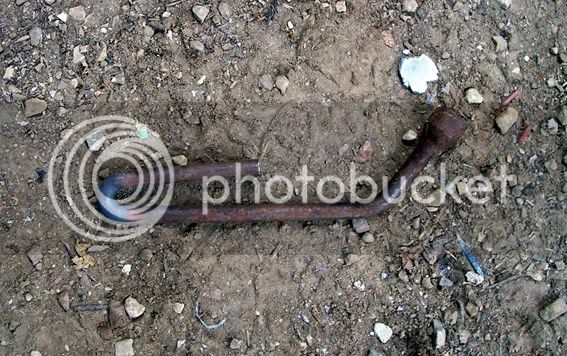
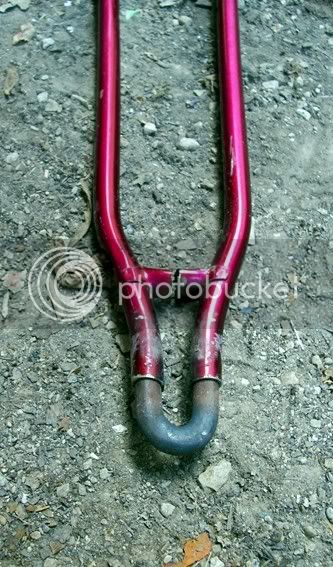
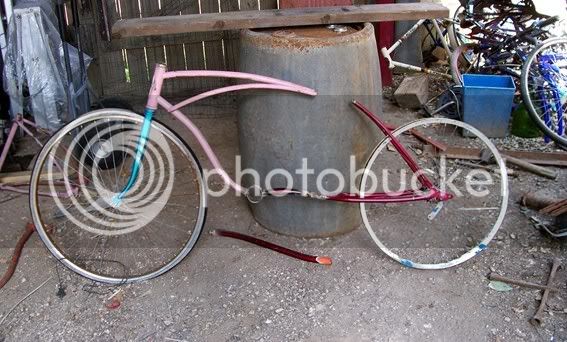
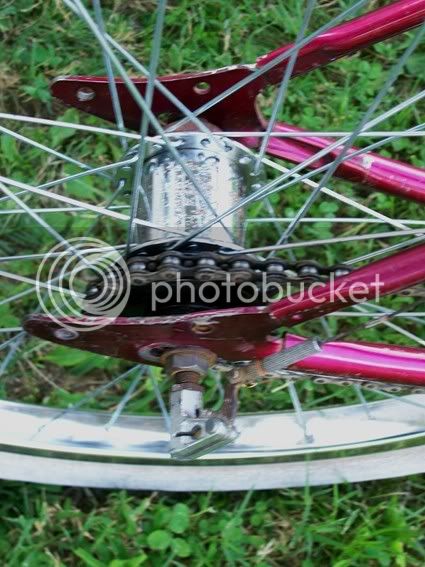
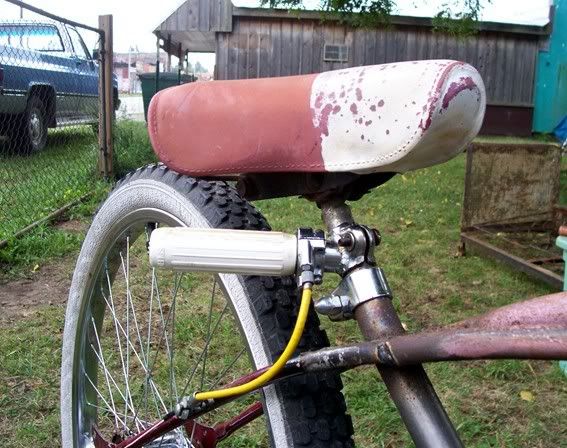
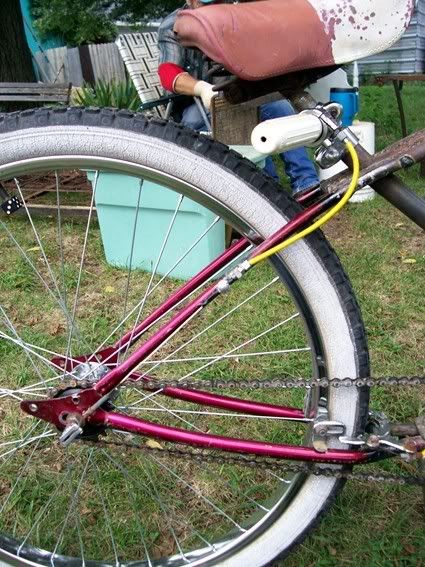
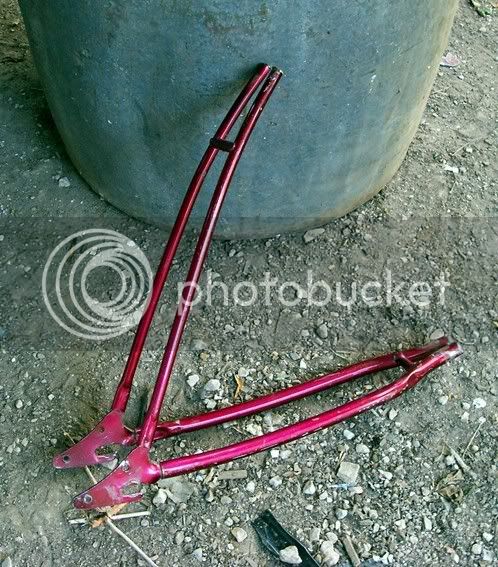
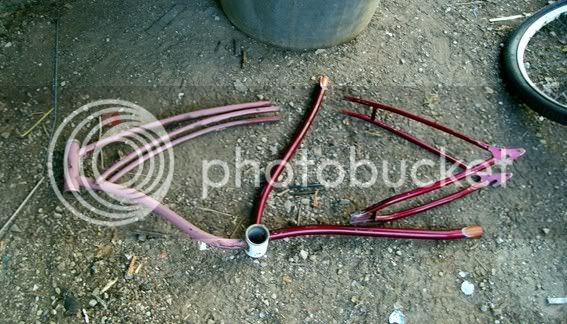
The back end from the Murray girls frame.

WesternFlyer-MurrayBuild2.jpg


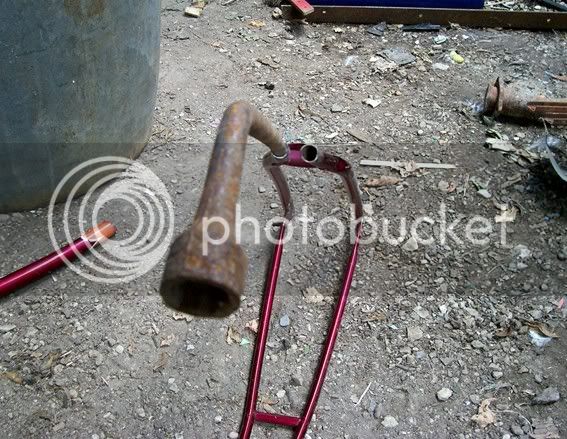
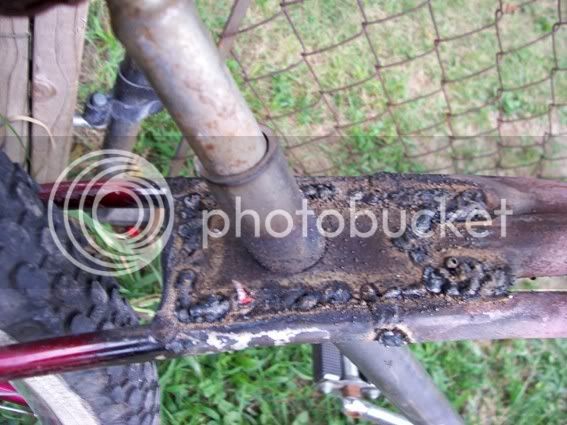
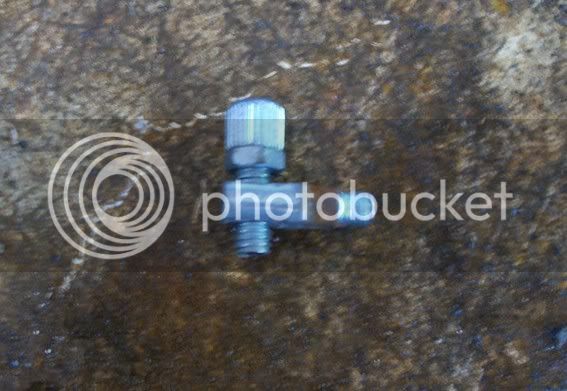
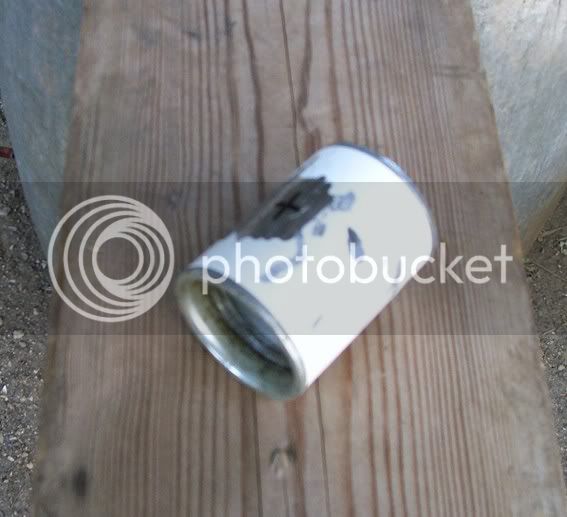
I got a new crank tube off an excercise bike since it did not have any holes in it.

WesternFlyer-MurrayBuild3.jpg


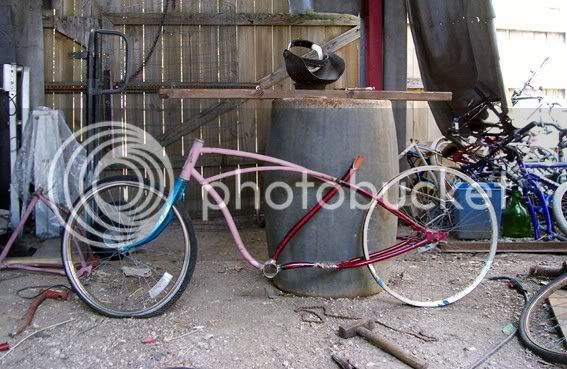
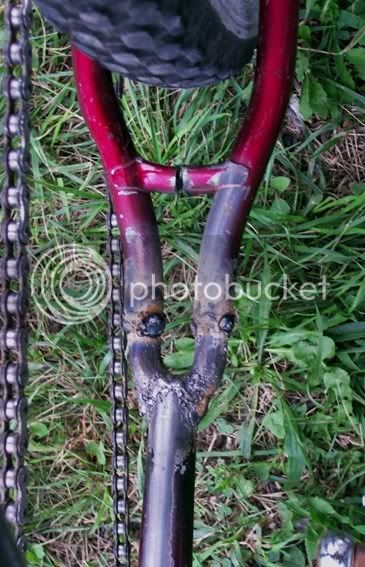
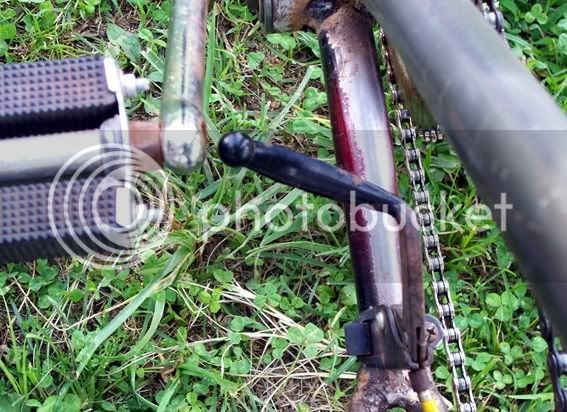
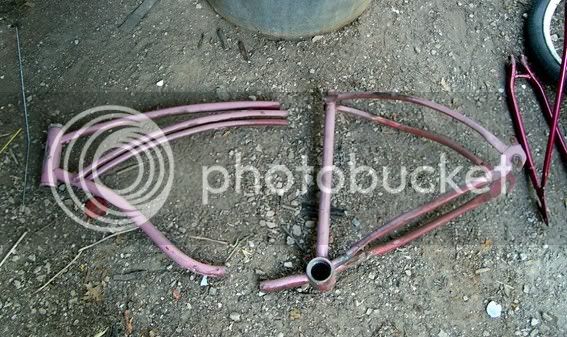
Next I cut the bottom bar on the Western Flyer so I could move the cranks forward a bit and cut the top bars in front of the seat bar.

WesternFlyer-MurrayBuild4.jpg


I used a holesaw to cut new holes in the crank tube from the excercise bike.

WesternFlyer-MurrayBuild5.jpg


I was planning to just put the new back end on leaving the bike close to it's original length with the cranks moved forward and adding a new curved bar( another donor piece from the girls Murray ) to accept the seat.

WesternFlyer-MurrayBuild6.jpg


I thought as long as I am doing all this work I might as well go ahead and stretch it a bit using another bar from the Murray.

WesternFlyer-MurrayBuild7.jpg


I still need to do a bit more cutting then it is time to start welding. I will try to do some more on it tomorrow and post photos of my progress. I look forward to hearing everyones comments on this project as this is the most intense build I have ever done.

Flame Jigger
 
I got a quite a bit more done today and had alot of fun at the same time. Here are pics of my progress.

I cut the bar coming out of the back of the crank tube to length.
WesternFlyer-MurrayBuild8.jpg


I found an old jack handle that fit inside the bottom bars from the Murray
WesternFlyer-MurrayBuild10.jpg


Then bent it U shaped.
WesternFlyer-MurrayBuild11.jpg


And cut it to the desired length.
WesternFlyer-MurrayBuild12.jpg


I slid this into the bottom bars.
WesternFlyer-MurrayBuild13.jpg


I then cut a notch into the bar coming out of the back of the crank tube to accept the jack handle piece.( oops! got busy and forgot to take photos of this step)

I tack welded things together to make sure everything was going to work so far.
WesternFlyer-MurrayBuild14.jpg


I stuck some wheels on to see how it would look when finished. The cranks looked to high and I had not yet realized the front wheel I grabbed was a 27".
WesternFlyer-MurrayBuild16.jpg


I decided to try a 24" front wheel and then bent the forks a bit also but it was still sitting to high. Since everything was just tack welded at this point I put my foot on the crank tube and pushed down which brought the top bars together and eliminated the need to lengthen them.
WesternFlyer-MurrayBuild17.jpg


I have done some of the final welding and will try to finish it up tomorrow and post photos showing more detail. I am happy with how it looking so far.

Flame Jigger
 
i like where this is headed. It's amazing how well the line of the top tube and the rear end lined up with your sophisticated stomp bend
 
Dang, its looking really cool! Take lots of pics. This is good info on a build for this noob.
 
GTCOMA said:
i like where this is headed. It's amazing how well the line of the top tube and the rear end lined up with your sophisticated stomp bend

I did have to slightly adjust the front top tubes to make them line up, but it was easy to do as they were only attached at the front were they meet the the bootom bar.
 
I got everything welded solid and borrowed parts from another bike to see how this one was going to ride.

Here are my ugly welds at the seat post area. I put a plate on the top and bottom and am planning to hide the ugly welds with some grinding and bondo.
WesternFlyer-MurrayBuild18.jpg


Here is the area were I used the jack handle to attach the bottom bars. Ugly welds again but I have ridden the bike quite a bit and they seem to be holding up good.
WesternFlyer-MurrayBuild19.jpg


Here is the bike all together and ready for a test ride. I wasn't able to use the forks I had bent because I decided to go with a 26'' wheel up front and it rubbed with the bent forks. I might get a bent springer later but don't know yet.
WesternFlyer-MurrayBuild20.jpg


And here is how it looks with it's rider. I think this is the best riding bike I have had since I was a little tike.
WesternFlyer-MurrayBuild21.jpg


I will keep everyone updated as I progress with this one, but right now it rides so good I can't bring myself to take it apart long enough to finish it. I have ridden this one everyday since I got the wheels on it and I love it. I am amazed at how well everything has turned out and how things just seemed to fall into place.
 
Markm said:
with the BB lowered, are you gonna have to run 20" cranks? Actually might look cool!!

I went with 26'' wheels and straight forks so I was able to use longer cranks. I could probably go with a bent springer front end and still be good as long as I didn't try to peddle while turning.
 
Nice design! You gotta finnish it, even if it's primer only! 8)
 
Well I did some more work to this one the past couple days. I am not as young as I once was and I was having some trouble peddling up hill with the single speed so I decided to convert it to a 3 speed. I relaced a Shimano 333 hub from a 27 inch narrow wheel into a wide 26 inch rim.
WesternFlyer-MurrayBuild22.jpg


I used the thumb shifter from the 27 inch bike that donated the 3 speed hub to see how everything was going to work. I took it for a test ride and decided I needed some kind of braking system other than dragging my feet. I didn't want to use a hand brake on the handle bars because I didn't want long cables running along the frame. I came up with the idea to try making a foot brake. Here is what I ended up with.
WesternFlyer-MurrayBuild23.jpg


I was concerned that this set up might get in the way as it barely clears the crank but I have ridden it for 2 days now and everything works great.
WesternFlyer-MurrayBuild24.jpg


I needed to come up with a different shifter to get rid of the long cables and keep the handle bars clear. I was thinking of modifying a stick shifter and mounting low and toward the back of the bike like ones I have seen on this site. I looked through all my parts and couldn't find a working stick shifter. I found a couple of 3 speed grip shifters and got an idea. I got a handle bar extender froma mountain bike, cut it off a bit and mounted it to the seat bar. I then mounted the grip shifter to this.
WesternFlyer-MurrayBuild30.jpg


I still needed to get the cables ran so I borrowed a cable adjuster from a set of brakes.
WesternFlyer-MurrayBuild28.jpg


I drilled a hole in the down bar and welded the cable adjuster in place.
WesternFlyer-MurrayBuild29.jpg


Here is how it turned out. It looks like it would be inconvenient but it actually is fairly easy to reach and isn't in the way of my leg.
WesternFlyer-MurrayBuild31.jpg


I also wanted a light for riding at night. I had an old generator light but I didn't like the look of the generator on this bike so I used the triple LED bulb assembly from a flashlight and wired it up to run off a 9 volt battery. Now everything fits inside the light case.
WesternFlyer-MurrayBuild26.jpg


I installed a small toggle switch were the original wire mount was. Now I have a nice bright light even when stopped.
WesternFlyer-MurrayBuild27.jpg


I still haven't decided what kind of finish to go with. I did buy some bondo with the intentions of smoothing things up and hiding my welds. I was thinking of going with flat black or gray primer originally but now the more i ride it the more the ugly welds grow on me. I do need to do something to get rid of the ugly pink paint someone used on the front half. I have some ideas brewing but don't want to give it away until I make up my mind.

Thanks to everyone for the compliments and kind words. I feel like you all are my kind of people.
 
UncleKudzu said:
that's outrageous, man! i'd be tempted to leave it as-is.

the step-by-step is much appreciated. really makes me want to learn how to weld, or at least braze!

I would be seriously tempted to leave it as is if it didn't have the pink paint on the front half. I am starting to like the look of the rough welds, bare metal and rust. I have not welded much since I was in high school but I am improving since I have been practicing almost everyday.
 
g kustom kuhl said:
loving the ideas...the frame came up looking great and the shifter idea really works!
don't know about the pink bits though!!!

Thanks! The only thing I have done to it the past several days other than ride it is to sand most of the pink paint off.
 
Back
Top