yoothgeye
I build stuff.
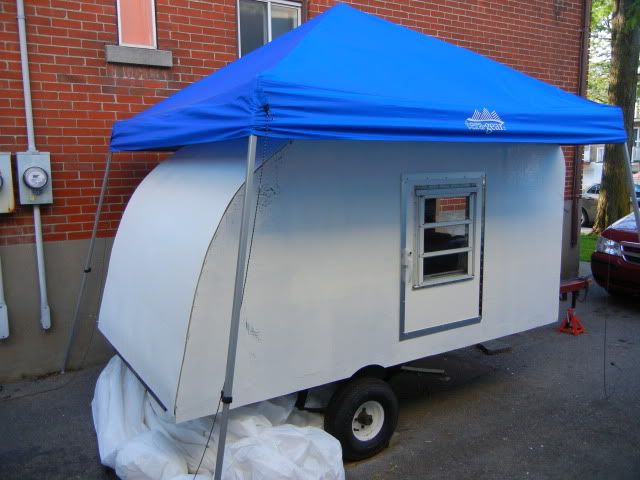
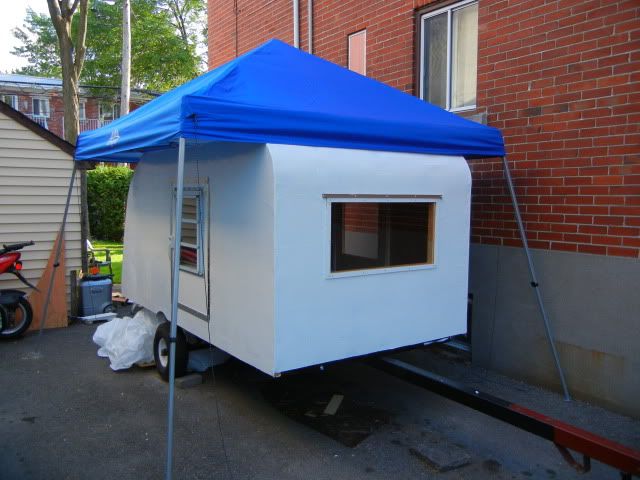
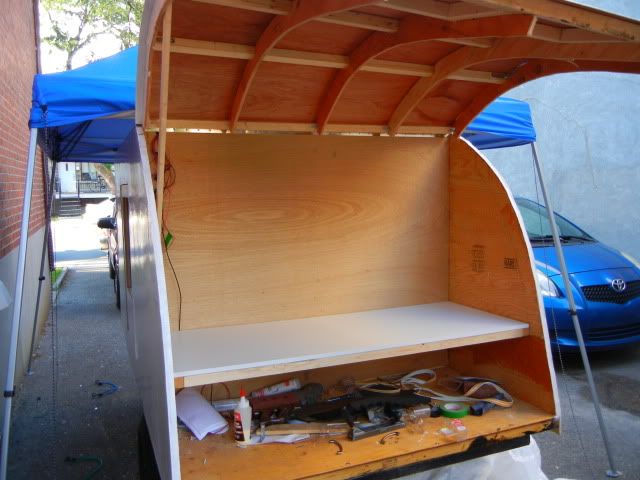
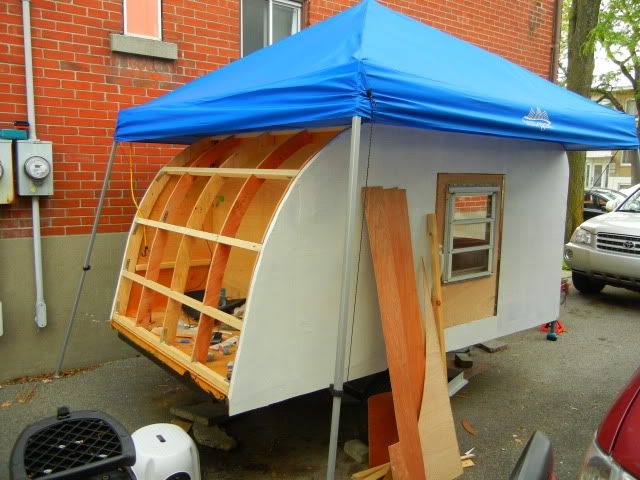
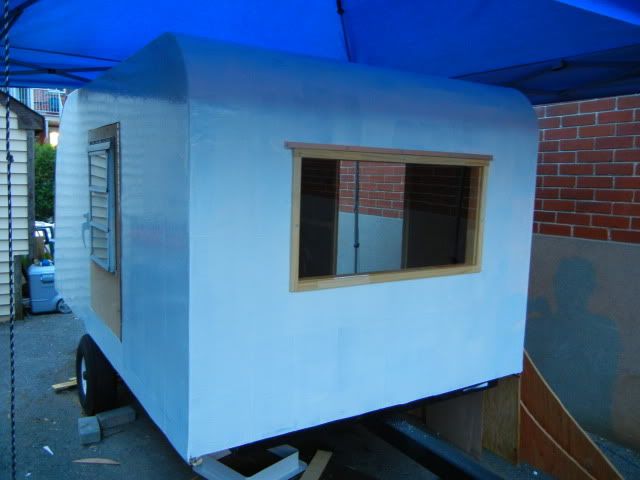
xddorox said:That's a great idea. I figure at least 500lbs if not more.yoothgeye said:Any idea of the weight of the camper without the trailer? I've been planning on making one freestanding that I can put on and take off my little utility trailer. Just your basic sleeper, nothing else, an alternative to a tent.
I'd like to shoot for about half that weight, using thin materials and fiberglass, then put legs on it that drop over the side so I can push it up on it's legs and drive the trailer out from under it.


")