Rodeo Bike

Rat Rod Bikes Bicycle Forum

Help Support Rat Rod Bikes Bicycle Forum:

This site may earn a commission from merchant affiliate links, including eBay, Amazon, and others.
Joined
Apr 24, 2007
Messages
1,598
Reaction score
3,122
Location
Iowa
Well I messed up by not taking before pictures. So I had to borrow one from the www. I mean who takes pictures of bikes pulled from dumpsters. This is to give you an image of what I started with. Only my starter bike was much worse than this picture. The starter bike was a Raleigh M40, ladies mtb, circa, hum 1990s perhaps. Chromo steel frame. 3 piece crank.

beforem40.jpg
 
rickpaulos said:
I mean who takes pictures of bikes pulled from dumpsters.

Umm that's a silly question to ask around here! :lol:

2010junbreeze1.jpg


Who would do such a thing?

Have fun with your build!

--Rob
 
Geeze, forgot to get my foot in this picture.

Bike dismanteled, frame bits sawed off. Brake mounts and cable stops gone for a cleaner look. head badge removed. I started with primer to touch up the ground off spots, then hit it with some red & green rustoleum. Boring. Thinking about the long term rodeo idea, I got some hemp rope and started wrapping. Too thick. So with some help from the wife and neighbor, i stuck one end of the rope in my cordless drill, hit reverse and unwound the rope into its 3 strands. Those are about 1/8 or 3/16". A better size. I used a hot glue gun to get started at one end. Each frame tube takes about 50 feet of that wrap. When I ran out of rope, I got a bundle of twine to finish up the stays and forks. Same process, hot glue to start and a few dabs along the way, then more at the end. I didn't want it unraveling later on. It takes quite a while and an extra pair of hands helps alot.

I had some left over so I did the hub shells too.

Now before you ask about where the idea for wrapping frames came from, I've seen it before. In NYC it's common to see bikes completely wrapped in black electrical tape for padding and to make the bike so ugly no one would want to steal it. I saw a nice panasonic at good will one time what was all wrapped in a rainbow of benotto tape. Preeeety.

framewrapped.jpg

fronthubfirst.jpg

rearhub.jpg
 
Oh girl, just wait until you see the wheels and video.
 
Okay, I'm back.

Computer was zapped during a storm a couple weeks ago. Got a newer 'puter now.

Front wheel finished.
FrontWheel1.jpg


video of the wheel in motion

http://youtu.be/DnDYiLjutcg
 
Thanks for that link. I was trying to figure out how to embed the you tube video in bbcode.

Extreme is right. Too extreme! Guess I didn't measure right. The tire jams in to the fork crown. Doh.
Back to the drawing board.

frontwheel1interference.jpg
 
Here is why I ground off the brake boss on the project bike. This plum colored fork is from another project that I used for the photo shoot. Because the rim goes up and down so much, the tire will catch on the brake boss. Grind or use a skinny tire. Grind is the way because you can't use the brake boss for brakes. The choices for brakes are disk brakes or a coaster brake or a drum, etc. No rim brakes. I went with a coaster because they are cheap, simple, the bike wasn't built for a disk, I didn't want any cables, etc.

brakebossinterference.jpg
 
Back from the drawing board. Built up another front wheel with less offset. Went for a radial spoke pattern this time. The angle that some of the spokes on the first wheel meet up with the rim were pretty severe. The radial pattern is better in that regard. It also took much less time to build the second wheel.

That first wheel was a 2x pattern with a enormous flange hub from a box mart kids bike. I'll keep it for a future build, with a longer fork of course.

Oh yeah, I forget to mention I covered all the hemp in shellac to give it a more vintage look and to help solidify the fibers to keep them from unraveling. It did help but there are still a few fraying ends.

So here is the second wheel.
frontwheel2.jpg


And a link to the video:
http://youtu.be/bQMV7dwzUTc

I got distracted with another build the past couple of days. I picked up a 1990 Schwinn Frontier from the local scrap metal pile. It was Schwinn's low end attempt at a mtb bike that year. 10 speed gearing, tig welded steel frame, rigid fork, steel 650B rims, cruddy brake levers, shifters, ders, bolt on wheels, etc. I did a conversion to a single speed coaster brake with black anodized aluminum rims and 26 x 1.5 street tires. Ground off all the braze ons and brake mounts for a cleaner look. Doesn't meet the build off rules because I didn't do a full repaint and I'm doing the rodeo bike first. This bike was black and I used black rustoleum to touch up the ground off spots and other scratches. I wanted to keep the original decals (except the 'china' one). Here's a pic:
IMG_4080.jpg


My favorite instrument of destruction and modification these days is my cheap Harbor Freight angle grinder. Makes short work of removing braze ons, rust and paint. It's small and lightweight so it's easier to use on bike frames than some expensive professional version. I got a variety of discs for it. The standard wheel works good for the braze ons. The sanding flap discs are great for smoothing the final surface as well as paint removal and metal removal if you over do it. You can get a near mirror finish with a soft touch. I think I paid $15 for it on sale, and maybe another $25 for a big stack of discs of many types. Sure beats my old method of the hacksaw and flat files. Oh yeah, 1980 or so I tried to remove a finger. I was cutting off frame bits with a hacksaw and on the last stroke, the part came off, my hand over shot and cut to the bone on the exposed and clamped down frame.
 
rickpaulos said:

Busted link again... I can't fix this one. Just go to your youtube page where you watch the video and copy the stuff in the address bar (should look like "http://www.youtube.com/user/whatever/random_letters_numbers") and then paste it in here.

rickpaulos said:
Doesn't meet the build off rules because I didn't do a full repaint and I'm doing the rodeo bike first.

Don't be fooled, true, you can only enter one bike, but the paint rule just says that you must apply any paint you put on by yourself, it doesn't say you have to paint the bike any. You can keep stock paint or no paint or aftermarket paint from the previous owner (alert: loophole).
 
embed youtube video link help?

Ideally I'd like to see the youtube vid embeded like I see on so many other sites where you see the first frame with the big arrow in the middle that indicates it's a video, with the other youtube controls at the bottom. More than just a clickable link. With so many bikes in the build off, I find myself just looking at the pictures and not doing much reading to get caught up. I'd guess others are doing the same. My own bike will be more about the ride than the look and the videos will be the way to show that off.

here is the direct youtube url
http://www.youtube.com/watch?v=bQMV7dwz ... e=youtu.be
or
http://www.youtube.com/watch?v=bQMV7dwzUTc

youtube also provides embed code:
<iframe width="425" height="349" src="http://www.youtube.com/embed/bQMV7dwzUTc?rel=0" frameborder="0" allowfullscreen></iframe>

and they also have the "Use old embed code" option:
<object width="425" height="349"><param name="movie" value="http://www.youtube.com/v/bQMV7dwzUTc?version=3&amp;hl=en_US&amp;rel=0"></param><param name="allowFullScreen" value="true"></param><param name="allowscriptaccess" value="always"></param><embed src="http://www.youtube.com/v/bQMV7dwzUTc?version=3&amp;hl=en_US&amp;rel=0" type="application/x-shockwave-flash" width="425" height="349" allowscriptaccess="always" allowfullscreen="true"></embed></object>

I read the BBC forums help where they say to use the [ youtube ] and [ / youtube ] BBCodes to mark the vid but that didn't work either.

I see to the right that flash is off. youtube is based on flash so maybe that's why I can't get this to look like I want.

Thanks, rick


test area:

direct
http://www.youtube.com/watch?v=bQMV7dwzUTc

embed
click here to see front wheel #2 in action

<iframe width="425" height="349" sr...=0" frameborder="0" allowfullscreen></iframe>

old embed
<object width="425" height="349"><p...ays" allowfullscreen="true"></embed></object>
 
I can't help you, I never embed, but find someone who has and send them a PM or click "quote" on a post with an embedded video and within the quote you should see the correct code to use.
 
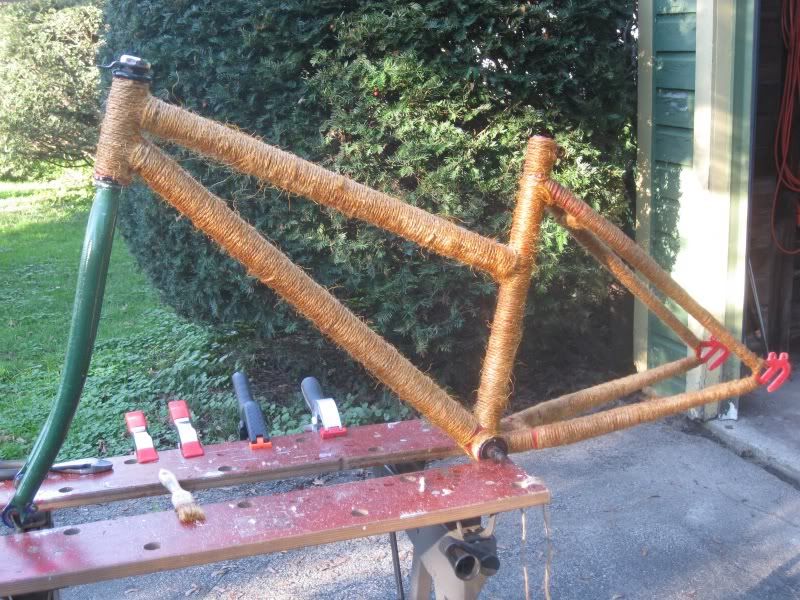
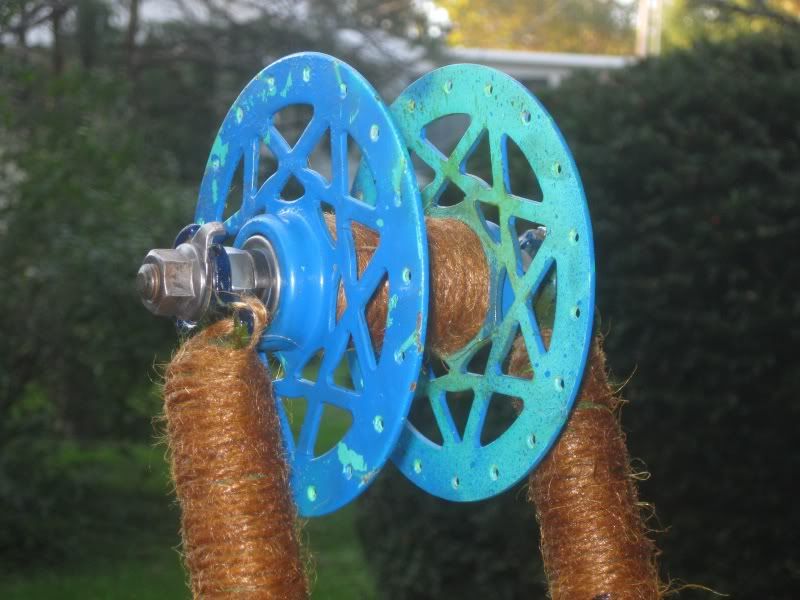
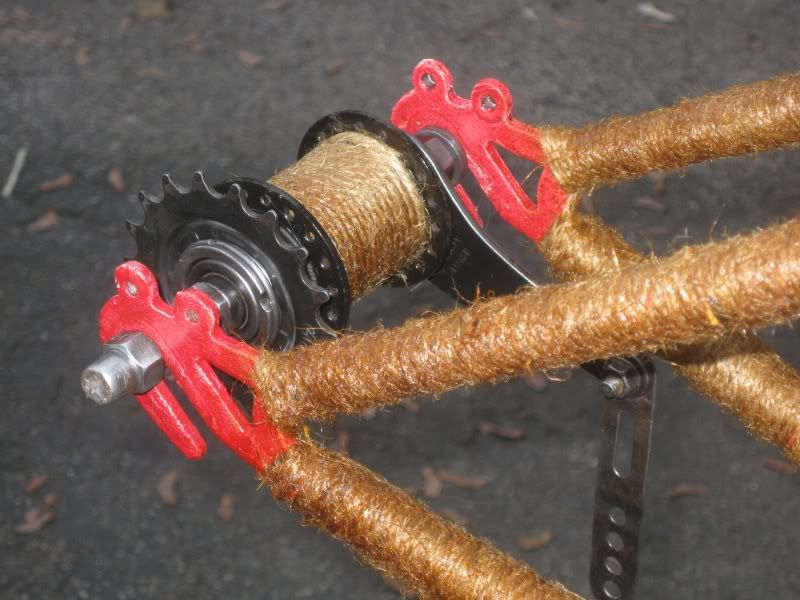
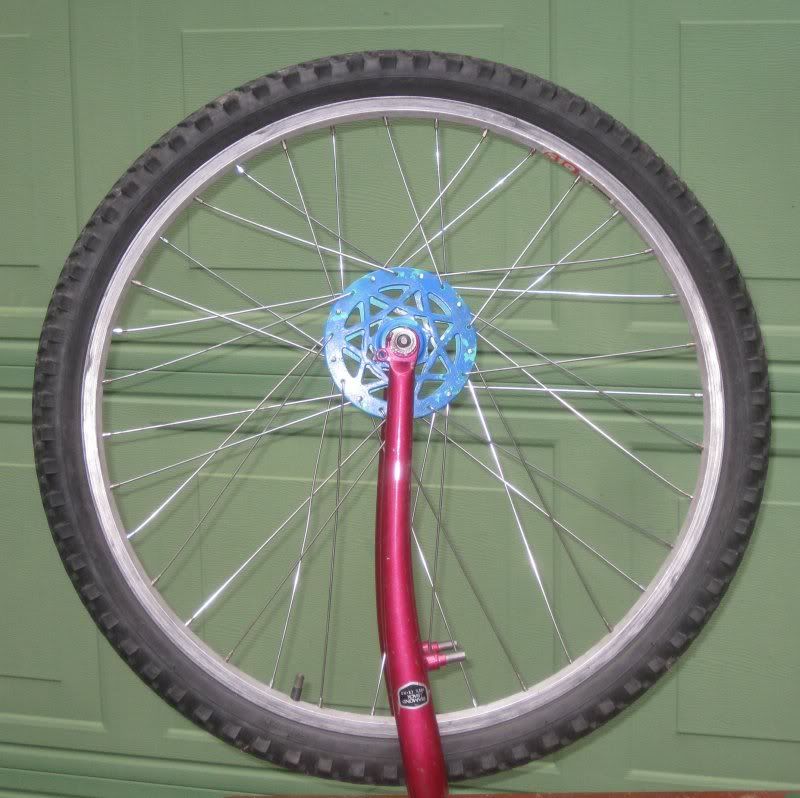
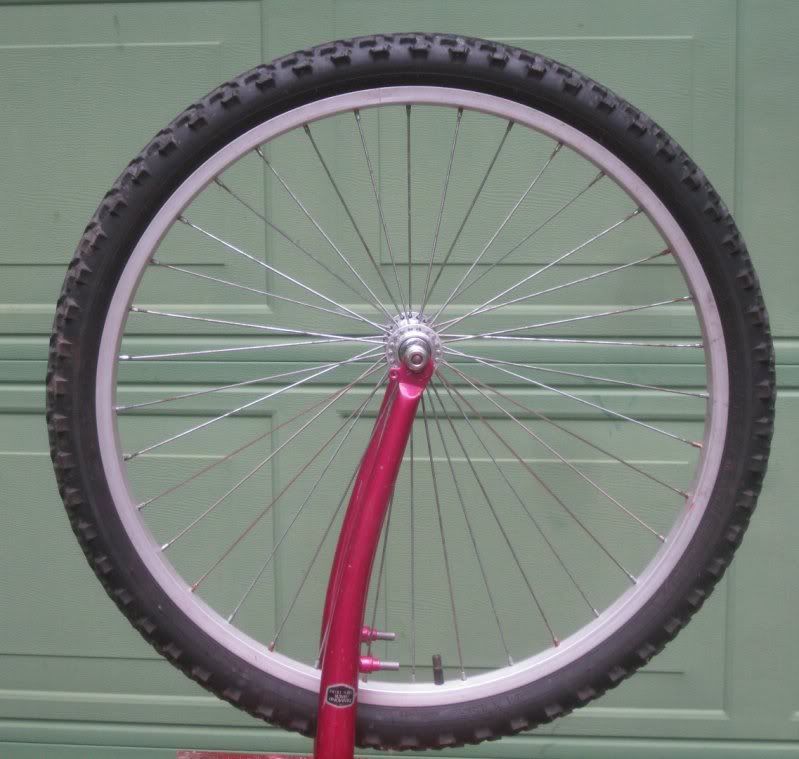
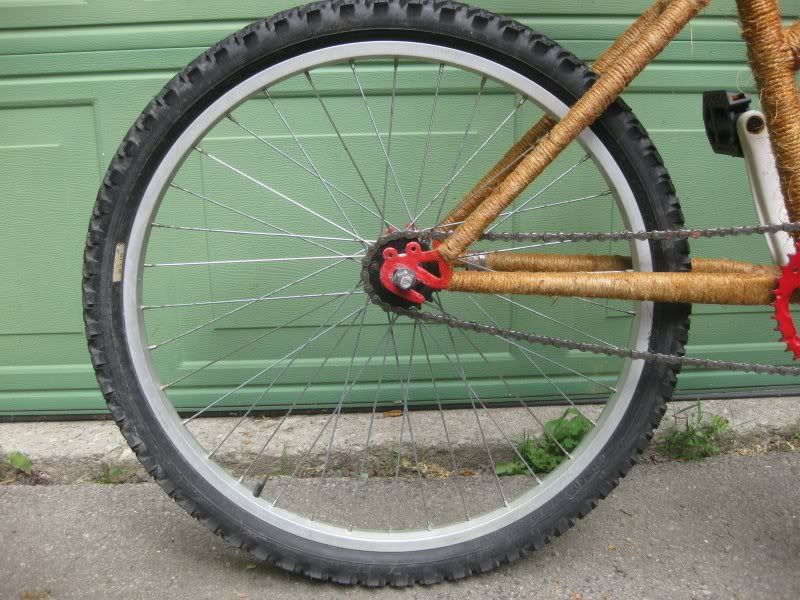
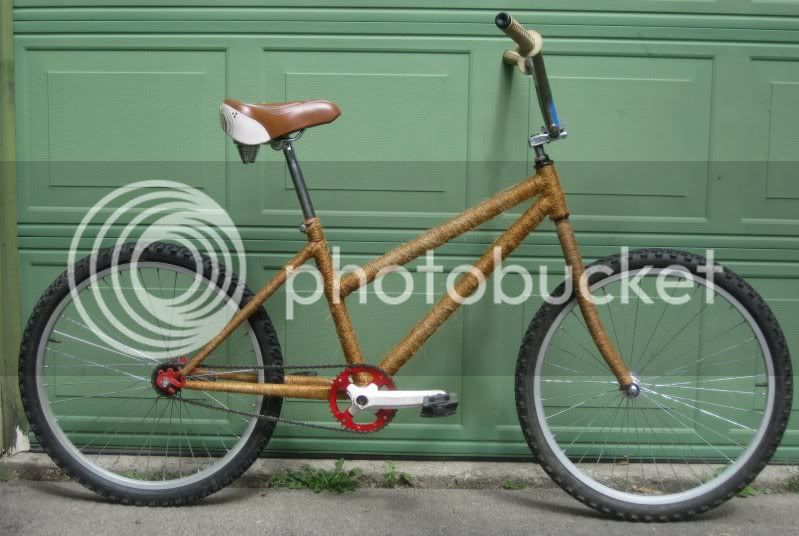
update: second front wheel installed with enough clearance this time. Rear wheel built and installed. I did something different on the rear wheel. It's a mixed spoking pattern some times called a Crows Foot pattern. Every 3rd spoke is radial, with the two adjacent spokes crossing the radial.

Flat plastic/rubber pedals.

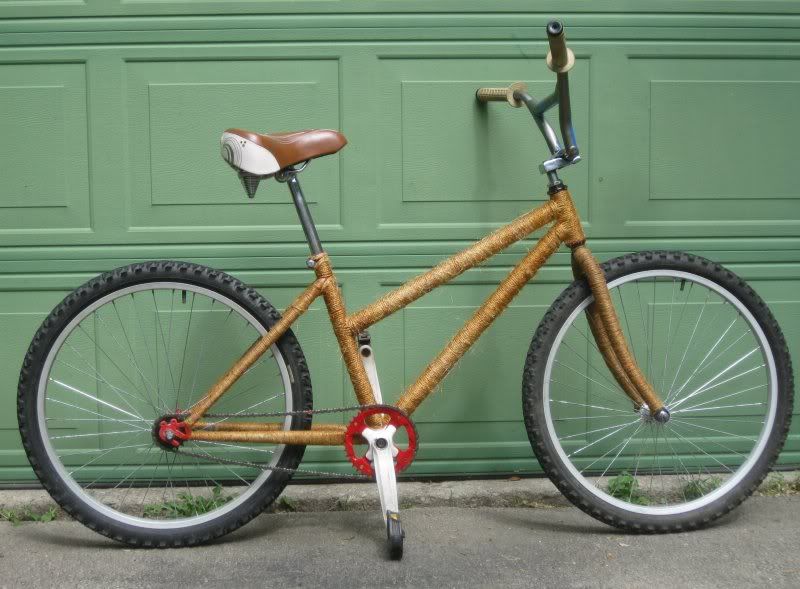
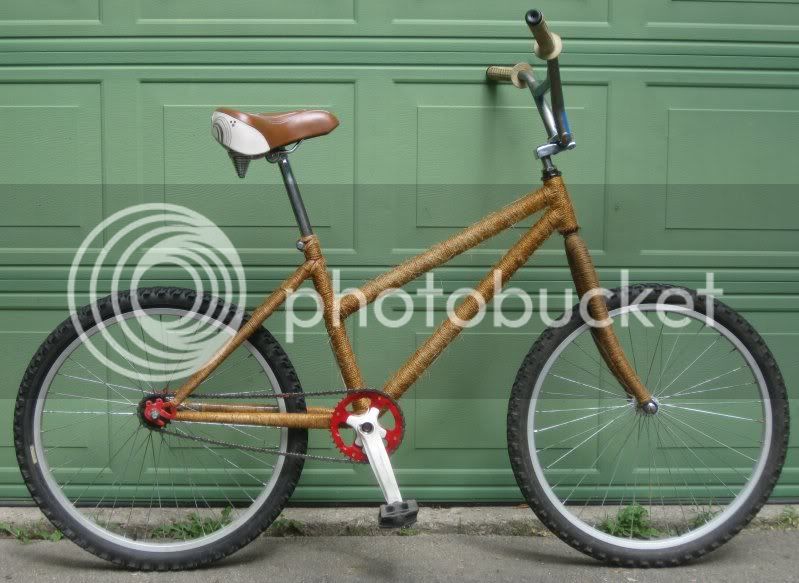
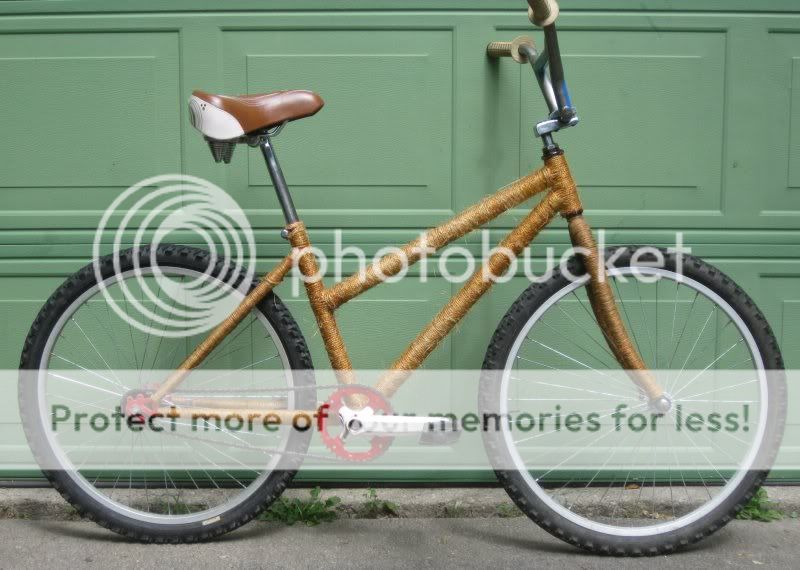
The bike is done now.

Turns out there are lots of vital measurements that should be made and considered for this build that I didn't do. The pedals do just brush the ground when both wheels are "down" and there are any bumps in the road. I can use the pedals as a kickstand if I get the wheels oriented just right. Guys with big feet have more trouble catching their toes on the front wheel when the wheel is "back" and the rider is turning any amount.

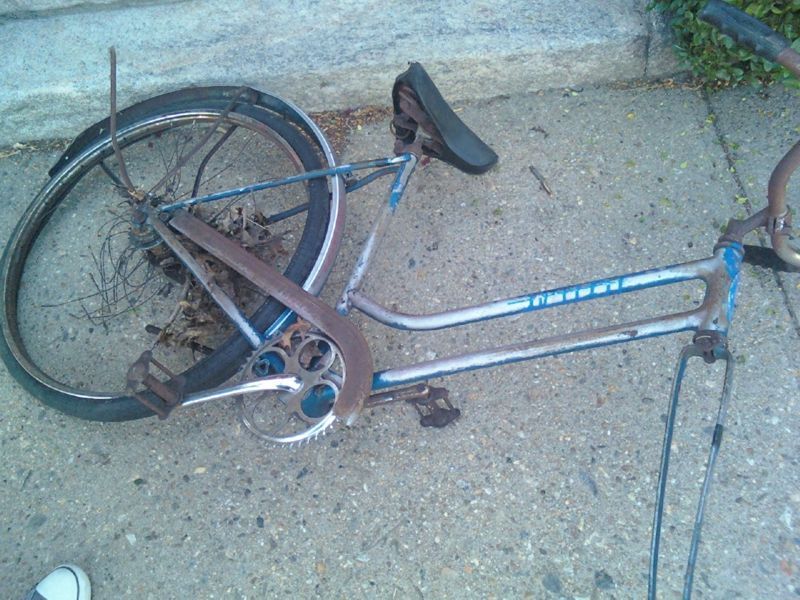
Lastly, the frame is rather bent and twisted. I hadn't noticed that before. Only saw it when I was watching someone else ride it. That would explain why it was in the dumpster where I found it. The rear wheel tracks about 4 or 5 inches left of the front wheel and both wheels lean inwards about 5 degrees. It doesn't affect the ride much. Top speed is pretty slow. Best to ride at a walking pace. Too fast and you may get tossed off.

I need to get a decent video together. That shows the bike off far better than static photos.

Rear wheel crows foot spoke pattern. Wheel installed. No clearance issues here.
crowsfootpatternrearwheel.jpg

rearwheelinstalled.jpg


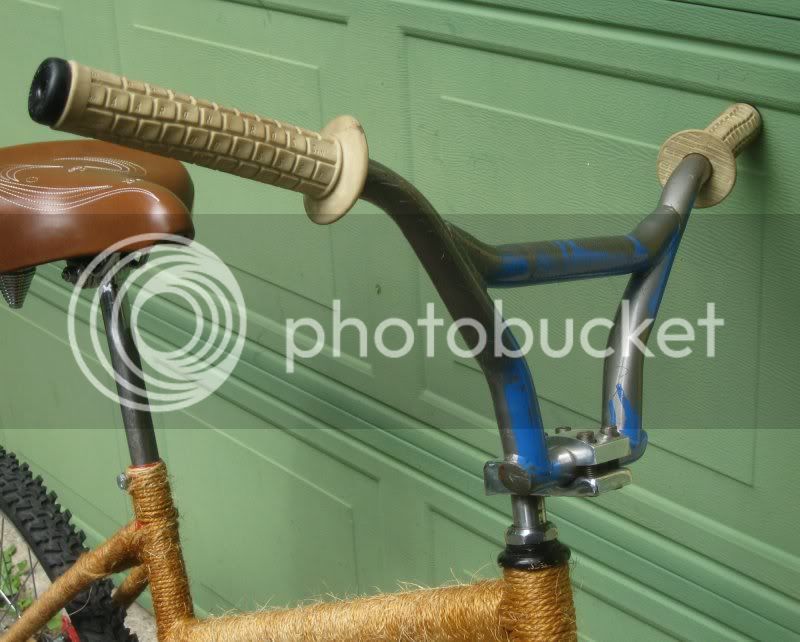
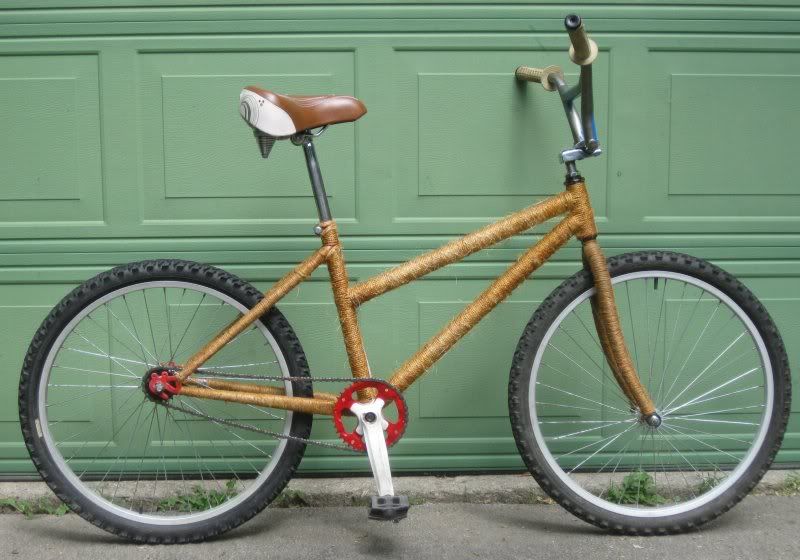
Grips. I bought these Arron Ross design Odyssey grips a few years ago when I first saw them. Too cool to pass up. So this pair found a bike. look on ebay for a whole new batch in many color options.
ArronRossgrips.jpg


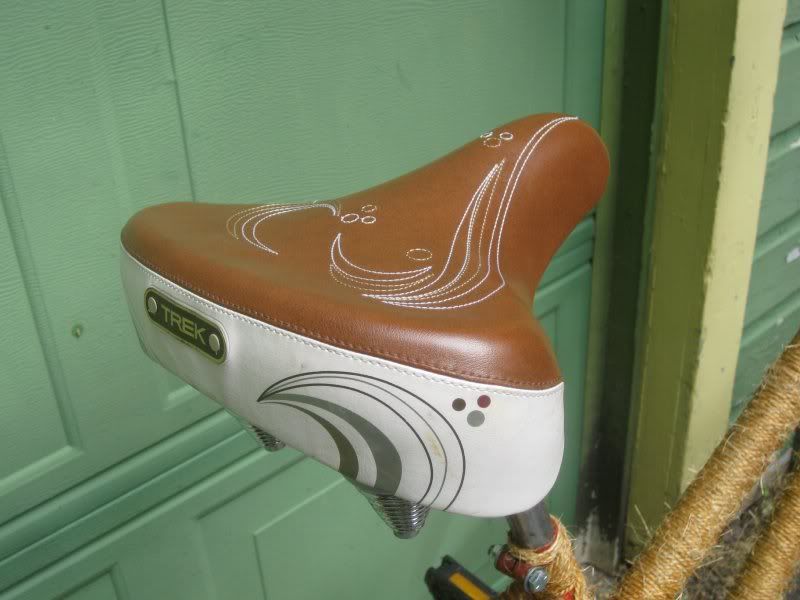
Seat was a swap meet score for $2. Nice match to the rodeo theme.
barginbinsaddle.jpg


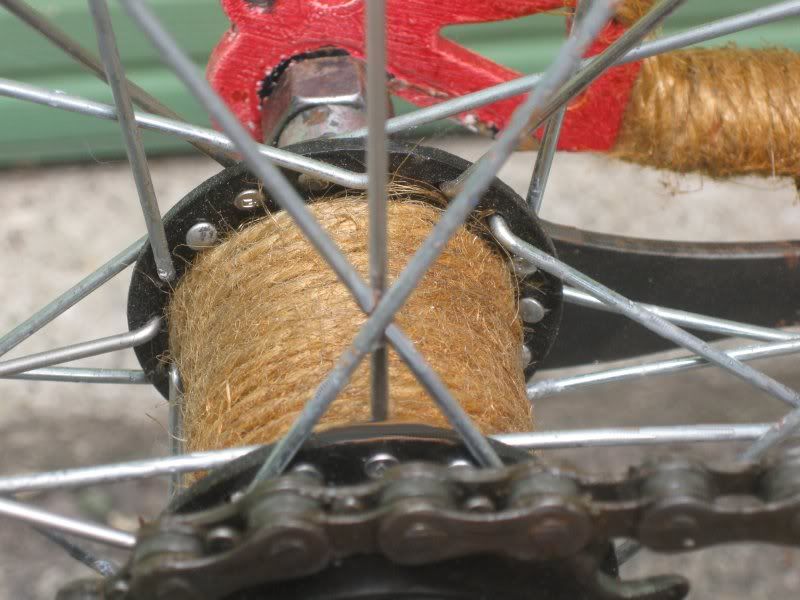
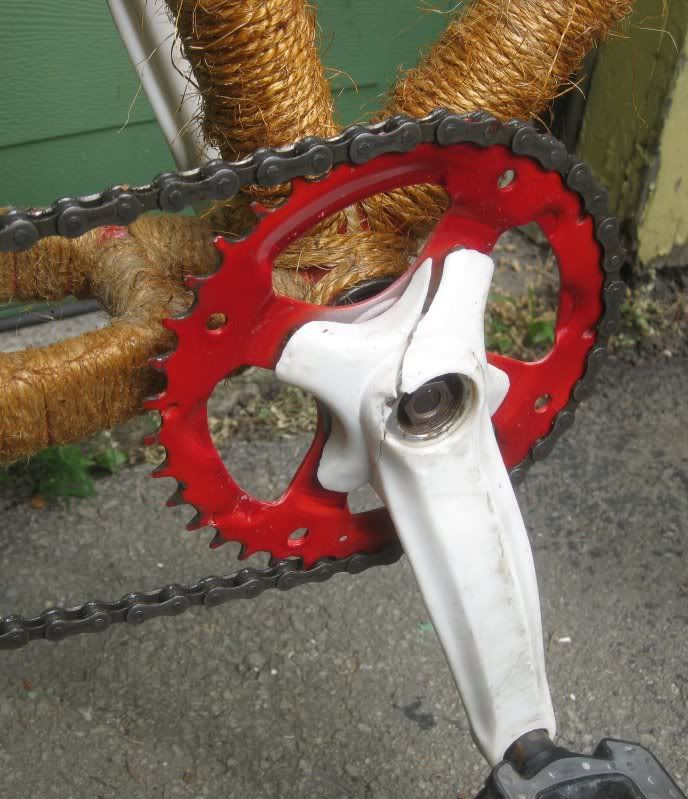
Crank modified, extra rings ground off as they were riveted together. I painted the remaining chain ring. The plastic covering is cracked but doesn't affect anything.
crackedcrank.jpg


Handle bars have the factory paint job. Taken from a box mart bmx bike.
handlebars.jpg


Both wheels down. See the pedal touching the ground.
wheelsdown.jpg


Both wheels up.
wheelsup.jpg


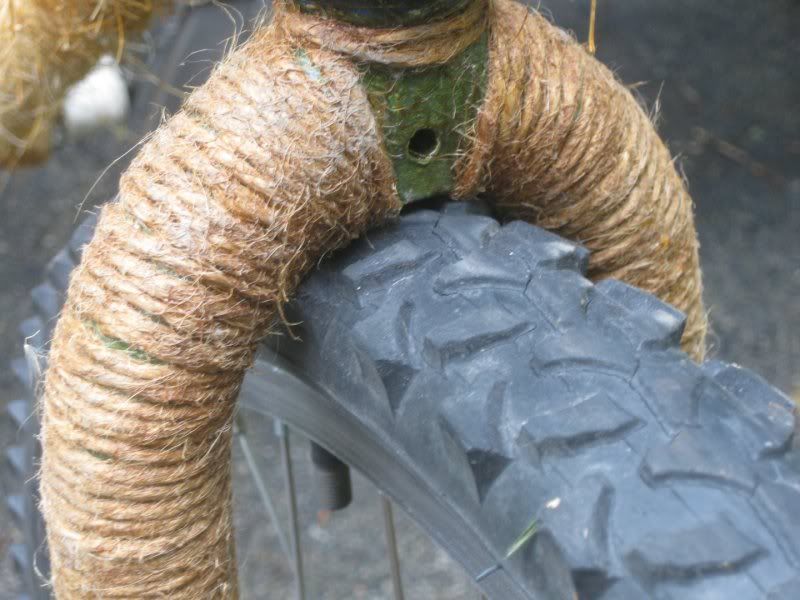
Front wheel back. the pedal gets pretty close to the tire. Big footed riders watch out. The knobby tires like to grab your toes.
frontwheelback.jpg


The bike looks longer but the wheel base does not change.
frontwheelforwardbackwheelback.jpg


forward tilt max.
frontdownrearup.jpg
 
That is hilariously awesome. I can't wait for the video.
You should use "Save a Horse RIde a Cowboy!" as your soundtrack.
Giddy Up!
 

Latest posts

Back
Top