J.B. 40

Rat Rod Bikes Bicycle Forum

Help Support Rat Rod Bikes Bicycle Forum:

This site may earn a commission from merchant affiliate links, including eBay, Amazon, and others.
Nice weather this evening so I went home right after work and sprayed silverpaint on the frameplates.
ramplatta11.jpg

Still looks like primer in the photo, but they look....silver in real life. :D
Tomorrow I'll mask them off and shoot some red!

I've been making some changes to the first idea I had for the headbadge. The second one I drew was the one on the bottom right. I liked that one better but then I thought that since the name of the bike is my brothers initials, that's what should be on the headbadge, so then I drew the top one and that's the one I'll use.
headbadge2.jpg


Now I'll get off the computer and go home and start cutting brass!! :D
 
I´ll be paying close attention to that brass cutting process.
Great designs, looking awesome!
I been wanting to make an aluminium version of my own designed head badge but I can´t find the way to do so.
So, once again, please lead the way! :wink:
 
Thanks guys! :)

stretch: I don't know how a great metalworker would do it (I guess they'd have some nice tricks, maybe heat it or something...), but I plan on trying to bend it with my fingers. :) The brass I'm using is thin, less than a millimeter and I think it will be easy to bend to the right shape. I might bend it around a tube with slightly smaller diameter than the fork tube first so that the fork tube will press it out a little. We'll see... :wink:

Got started on it last night! As so often it's a bit of experimentation on my behalf and if I mess up you know what not to do! :D

First I cut out a paper template...
headbadge3.jpg


...and traced it onto the brass with a marker pen.
headbadge4.jpg


Then I drilled holes in all the areas that will be cut out. Also cut the outlines roughly with a small hack saw.
headbadge5.jpg


That's where I'm at with the headbadge as of now. More to come!

Today before I had to go to work ( :| ) I masked off the frameplates and sprayed them red.
ramplatta12.jpg

ramplatta13.jpg

ramplatta14.jpg


Next thing to do on them is to stripe the Galtbacken logo in gold, and some black pinstripes.

More to come soon! :D
 
your the great metalworker i was referring to! :mrgreen: but that makes sense. brass is soft enough, and it being really thin would make it easy.
 
stretch: Oh man, I've got a long way to go before I'd consider myself a great metalworker you know! I'm still guessing my way!! :) 
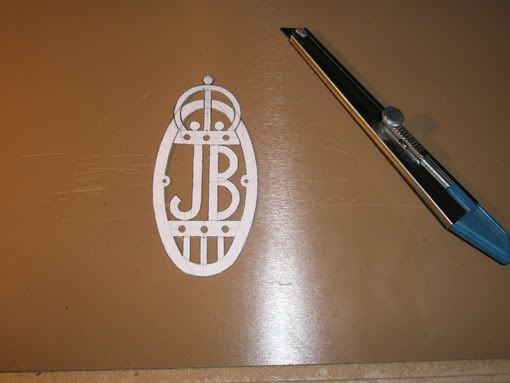
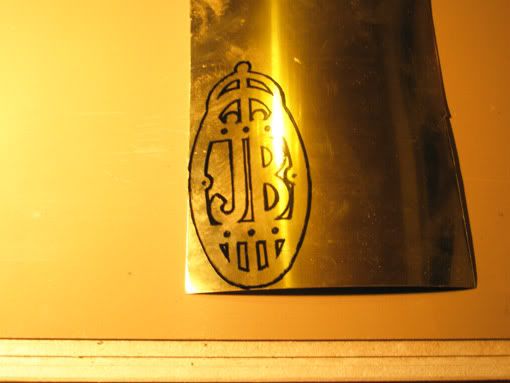
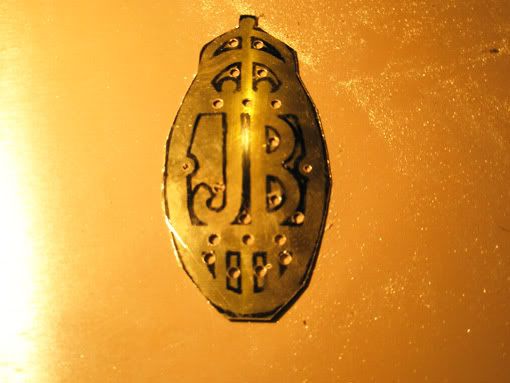
Yeah, I think the headbadge will be bent into shape easily. Brass is soft and after I've cut the pattern in it it will be even softer.

deorman: I've been seeing it like that all the time! :lol: Thank you, glad you like it!

Thanks g kustom kuhl! I've been admiring your bikes too, they're beautiful!


Have I been awfully quiet lately? Have you enjoyed the peace? :wink:
Anyway, the reason for my absence is that I've spent every minute I could trying to finish as much as possible on the bike. Tomorrow is my brother's birthday and the bike will not be done by then, but I hope it'll be finished not too long from now.
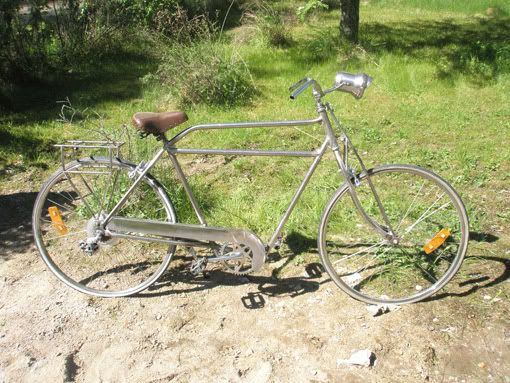
Here's photo proof of what I've been up to:

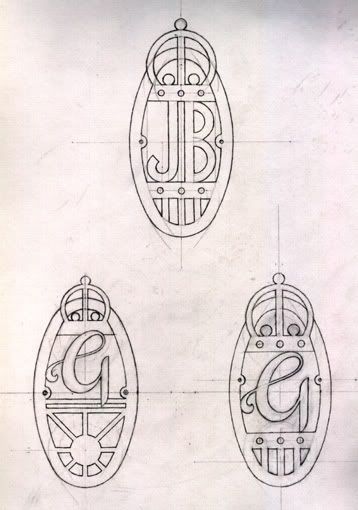
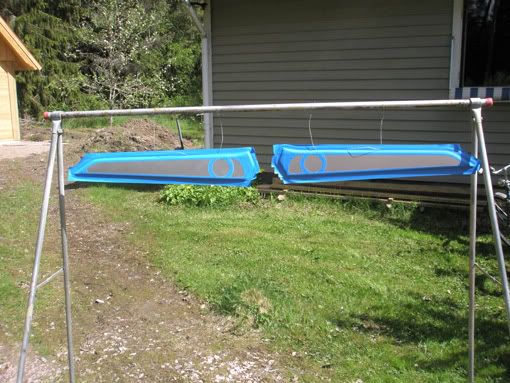
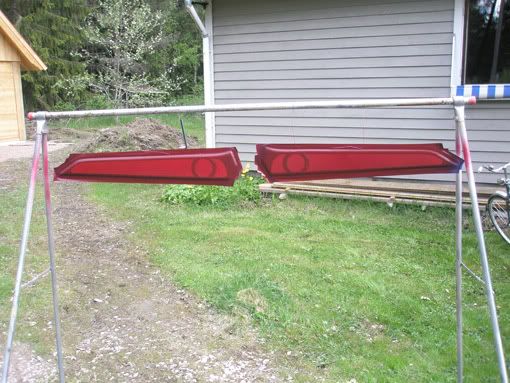
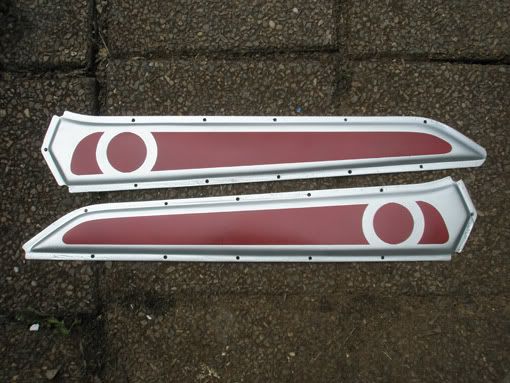
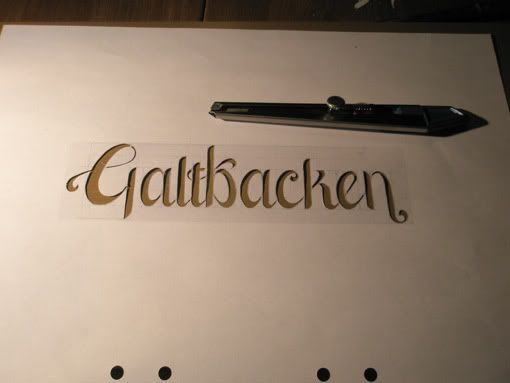
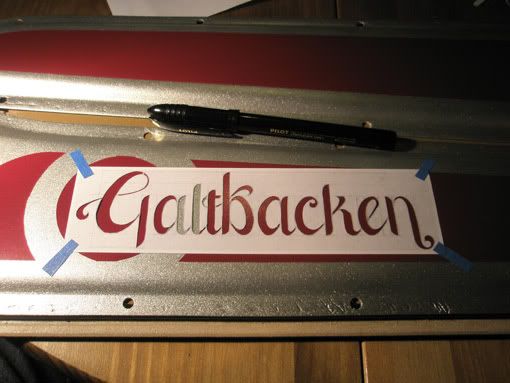
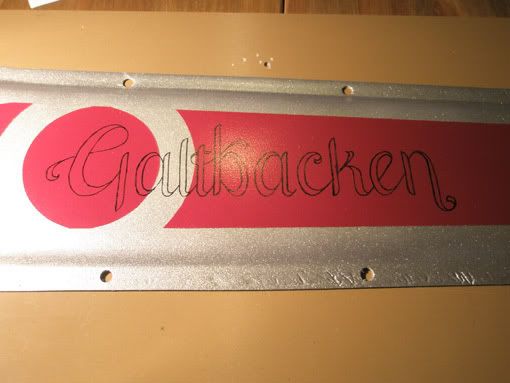
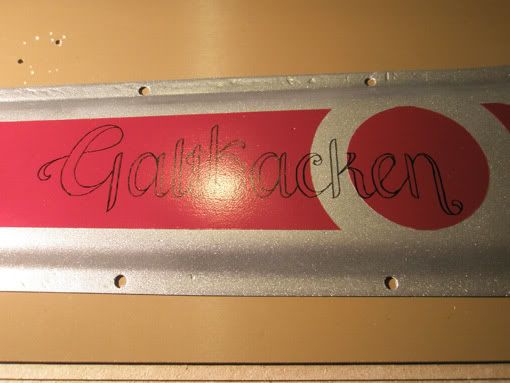
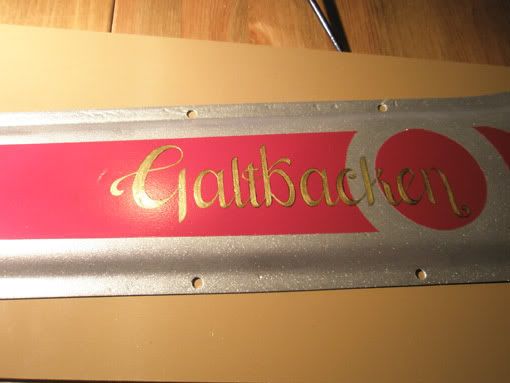
Painted the logo on one of the tankhalves and started on the other.
logga1.jpg

logga2.jpg

logga4.jpg

logga3.jpg

logga5.jpg


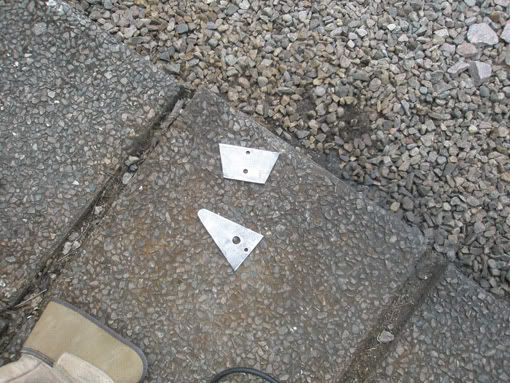
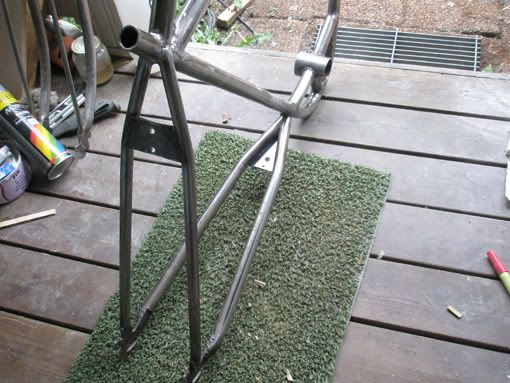
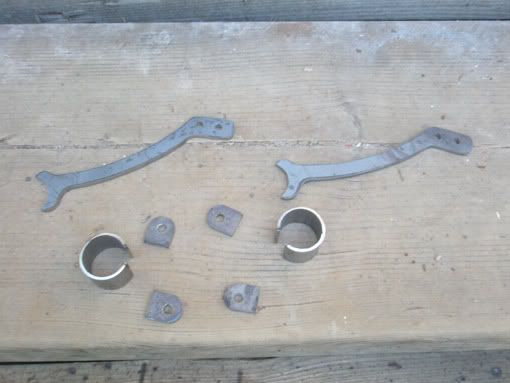
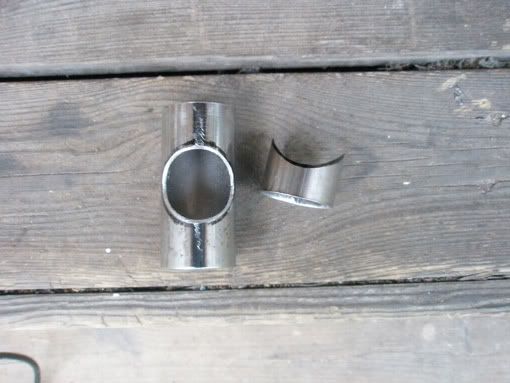
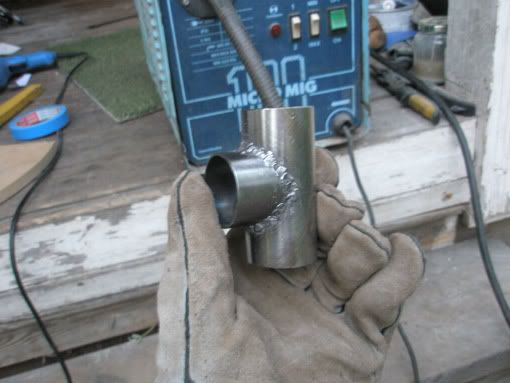
Rearbrake- and bikestandbrackets.
bromsochstdfste1.jpg

bromsochstdfste2.jpg

bromsfste2.jpg


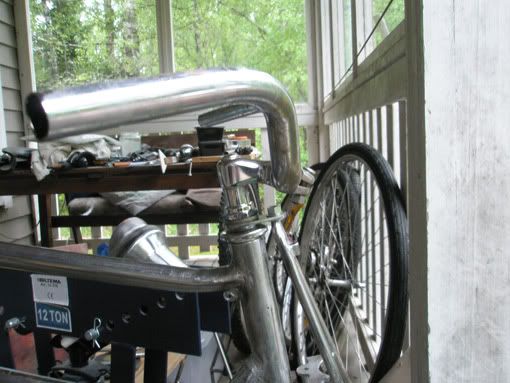
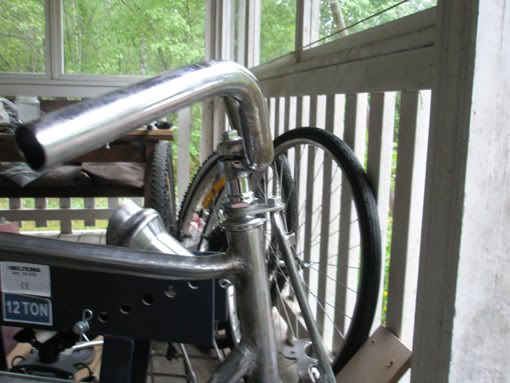
Here's the stem from the donorbike:
styrfste1.jpg


Decided to use this one instead! The other one will go on my next build...
styrfste2.jpg


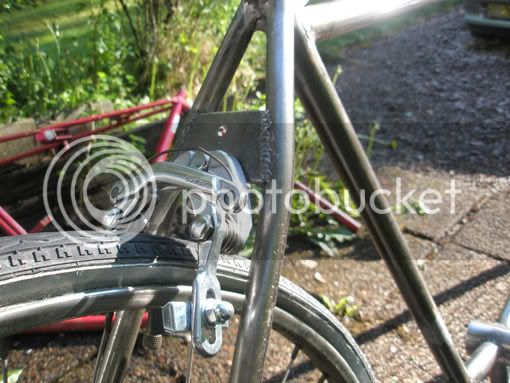
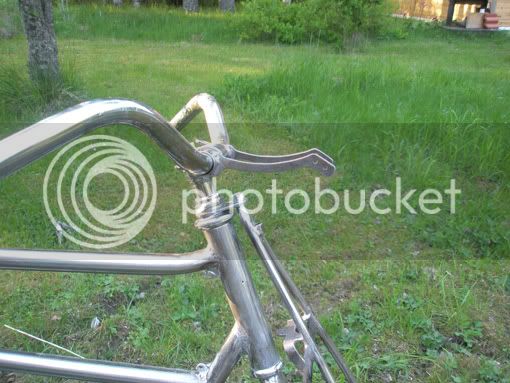
Here's how the headlight is mounted:
framlyktfste1.jpg

framlyktfste2.jpg

framlyktfste3.jpg

mockup2.jpg

Oh, and there's the chainguard too! :)

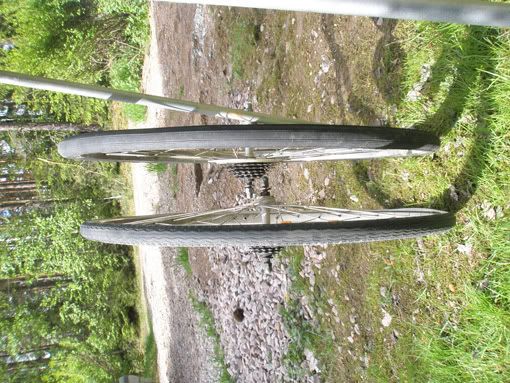
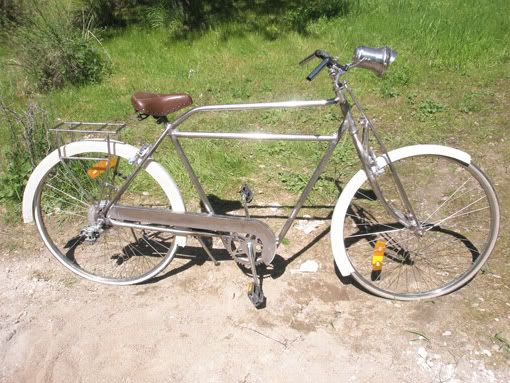
I learned the difference between 28" wheels and 28" wheels! :lol:
storleksskillnad28tum.jpg

Ooops sorry, forgot to rotate! I originally planned on using the top one (the one on the right, had I only turned the photo a quarter turn clockwise) but the fender molds were made from the measurement of the other wheel (which is a 700c and what I up to then thought was the only 28" there is...) so I had to go for the smaller 28" wheels.

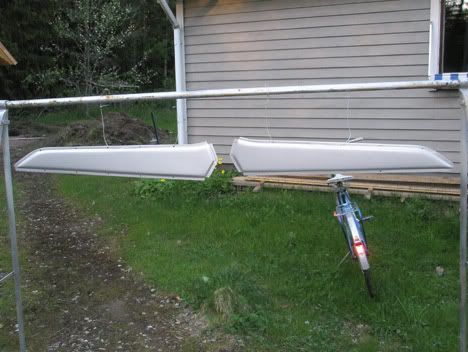
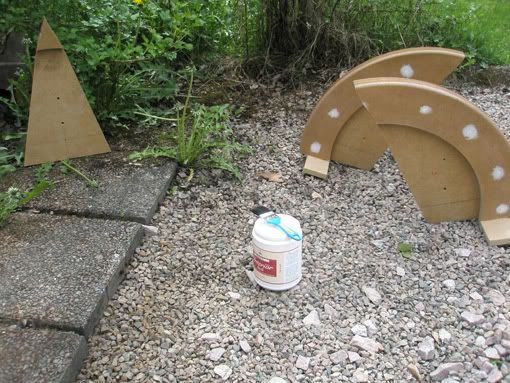
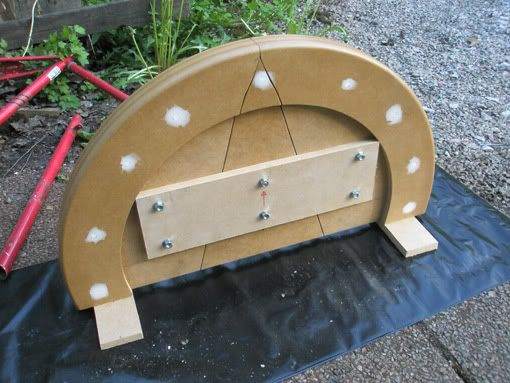
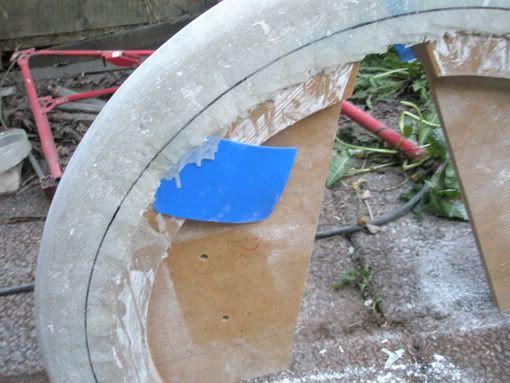
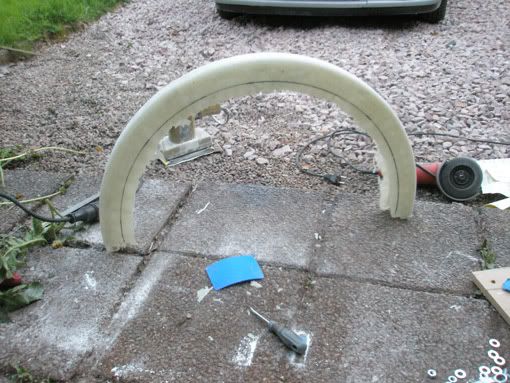
Talking about fenders, here they are!
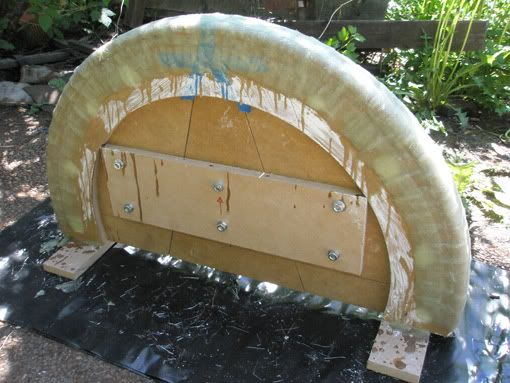
Some pics of the mold first. Used acrylic clearcoat on them. Not sure how that will hold up in the long run...
skrmform8.jpg

skrmform7.jpg


I cut 1" squares of fiberglass (the kind with fibers going crosswise in all directions, not the woven one) and put them on overlappning, so that there where two layers of fiber everywhere. Car wax was applied on the mold before the fiberglass and polyester went on.
skrm1.jpg


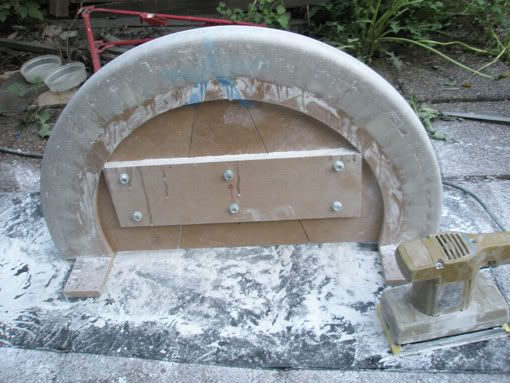
Sanded somewhat smooth, will use some filler to make them really smooth.
skrm2.jpg


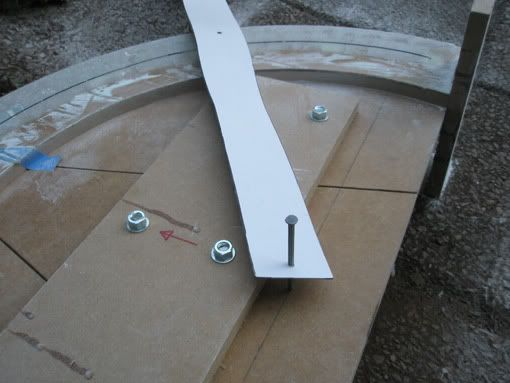
I had drilled a hole in the center of the mold to be able to easily draw the contours of the fenders using a strip of cardboard with a hole punched in each end and a marker pen. For the front fender I had drilled another hole to get it...more...uh...you'll see it later. :wink:
skrm3.jpg


Then I released the fender from the mold using one of those plastic whatever-they're-called-in-english that you get when you buy filler.
skrm4.jpg


Raw.
skrm5.jpg


Trimmed.
skrm6.jpg


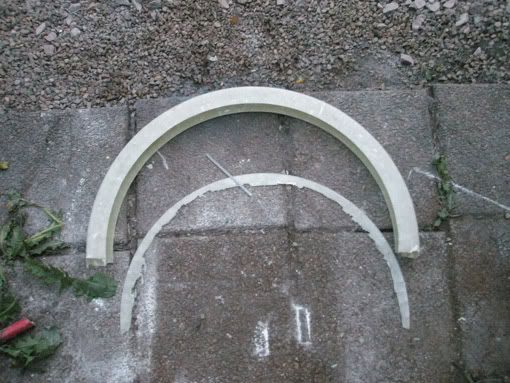
Laid over the wheels to get a feel what they'll look like on the bike. Here you see how the front fender is thinner at the top/front than at the back/bottom.
mockup3.jpg


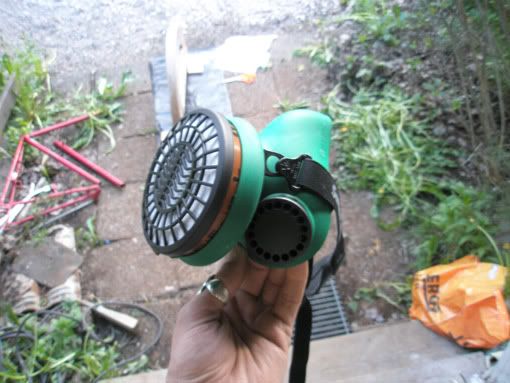
I bought this to use when I work with fiberglass or spraypaint or when I'm sanding stuff. Got a couple of different filters depending on what you'd like to not get into your lungs, fumes or particles or fumes and particles. Great investment! Last time I worked with fiberglass I didn't have this, and those fumes are like a kick in the head (in a bad way!! :shock: ) and when you sand fiberglass the dust is like...awful. I wouldn't want it in my lungs! With this on, the only thing I could smell was... my own breath, hm....
gasmask.jpg


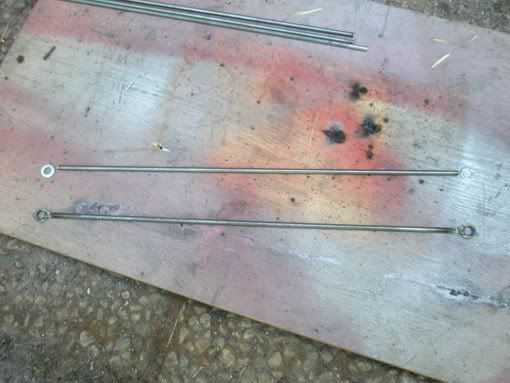
Fender struts...hehe, "struts" means ostrich in swedish! :D
skrmstag.jpg


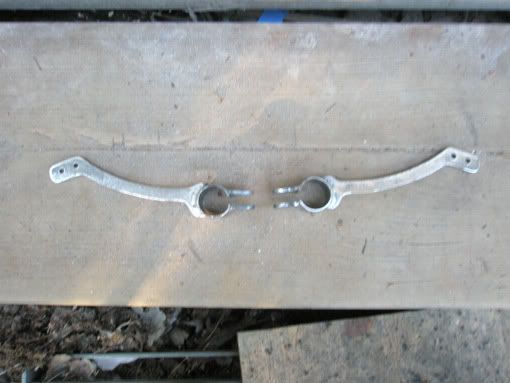
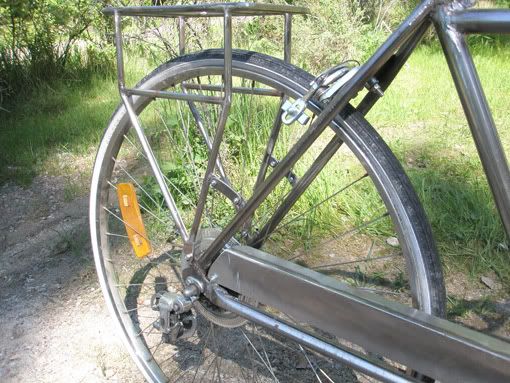
Braces for the rack.
pakethllare4.jpg


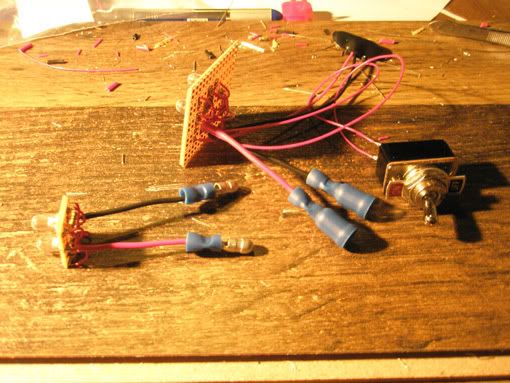
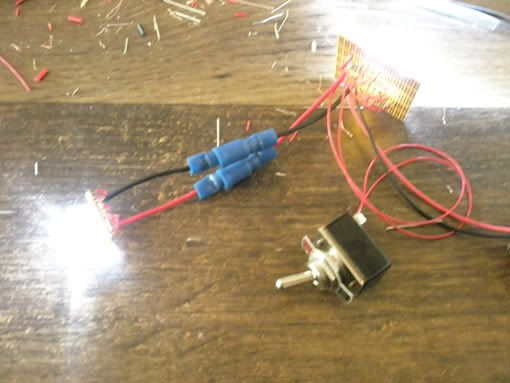
LED-circuits for the lights. This time I'll only have a battery and a switch in the headlight and run cables inside the frame to the rearlight.
LEDkretsar1.jpg

click...aaaaah! :)
LEDkretsar2.jpg


And I've started on the rearlight.
baklykta1.jpg

baklykta2.jpg


Now I'm working the nightshift so I won't get anything more done on the bike until tomorrow afternoon when I get off from work...no, wait a minute... :wink: ...I brought the other half of the tankplate to work, so now when all the others are sleeping I can do some painting!! :D :D :D

More to come soon! Take care everybody! :D
 
Thank you all for your response and the kind words! :)

I managed to paint the gold-logo on the other half of the tank last night. I'll paint the black pinstripes when I get home this afternoon. After that it just the clearcoat left for the tankplates to be done! :)
 
OMG, those wheels! I'm sorry to say, but I'm glad I'm not they only one with the tiremeasurment issue...
But your build is coming allong soooooooo nice. Great to see good ideas happen for real. You've drawed something up and now your making it for real... That frame is really goodlooking. Pretty amazing that you can handle all sorts of crafts to make your own bike in such high quallity.
 
Thanks Jeffrey! It's such a great feeling and so much fun to find ways to make something that you picture in your mind! And when I do something I love I'm patient and willing to put in time and effort and I want to try and do my best. I'm really glad you like the bike!
Man, those wheelsizes!! :shock: I would have thought an inch is an inch but nooooo! :lol:

Forgot to mention that when I made the fenders I tried to think of other ways of making those. If I really have to use fiberglass or if I could use other materials with the polyester resin, maybe some sort of stretch fabric would make the prosess easier and more efficient and....that's when I got a wild idea about ladies' stockings... I'll come back to that on my next build. :wink:

Yepp, you said gosh!! And it's aaaaaalright! :lol:
 
Back
Top