I'm no expert by any means, but the travel on that front end doesn't look right. The geometry of the whole setup looks wrong. What is the trail of your front wheel to the headset, is it a negative trail?
You are using an out of date browser. It may not display this or other websites correctly.
You should upgrade or use an alternative browser.
You should upgrade or use an alternative browser.
Fork #2
- Thread starter blown240
- Start date


Help Support Rat Rod Bikes Bicycle Forum:
This site may earn a commission from merchant affiliate
links, including eBay, Amazon, and others.
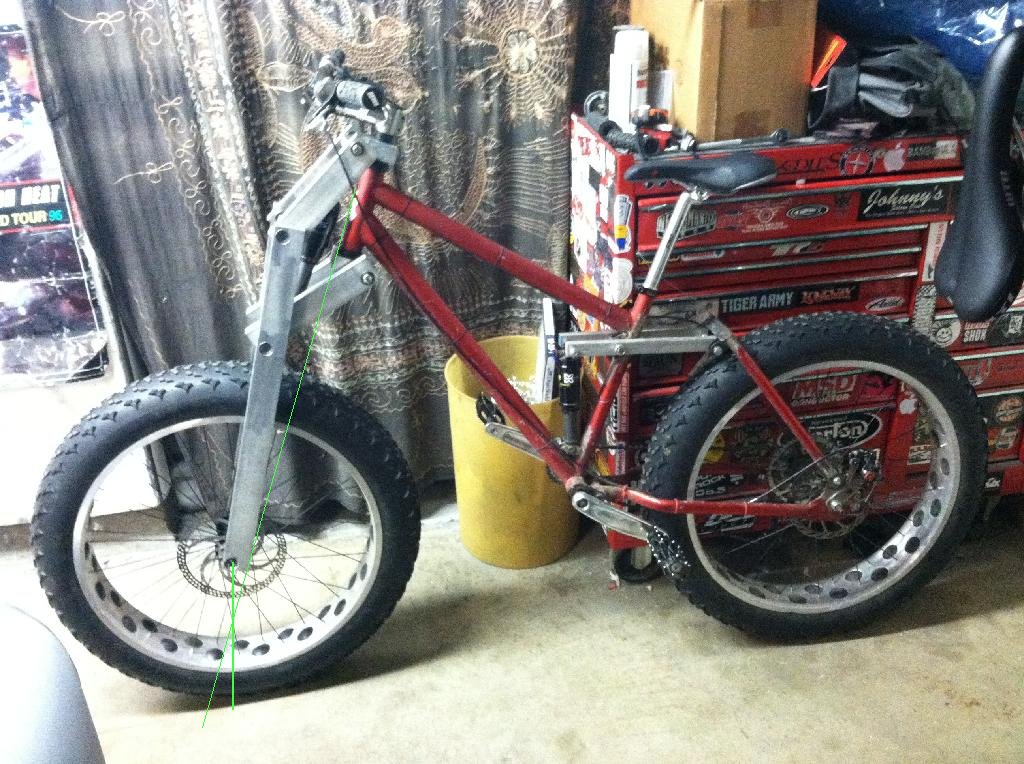
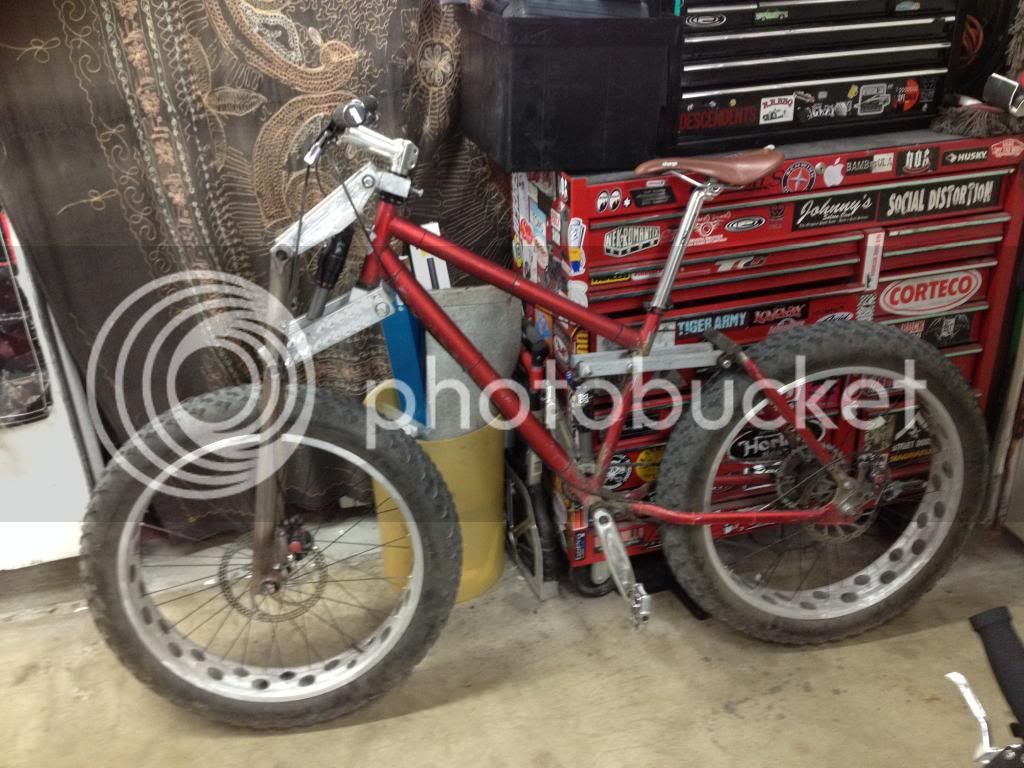
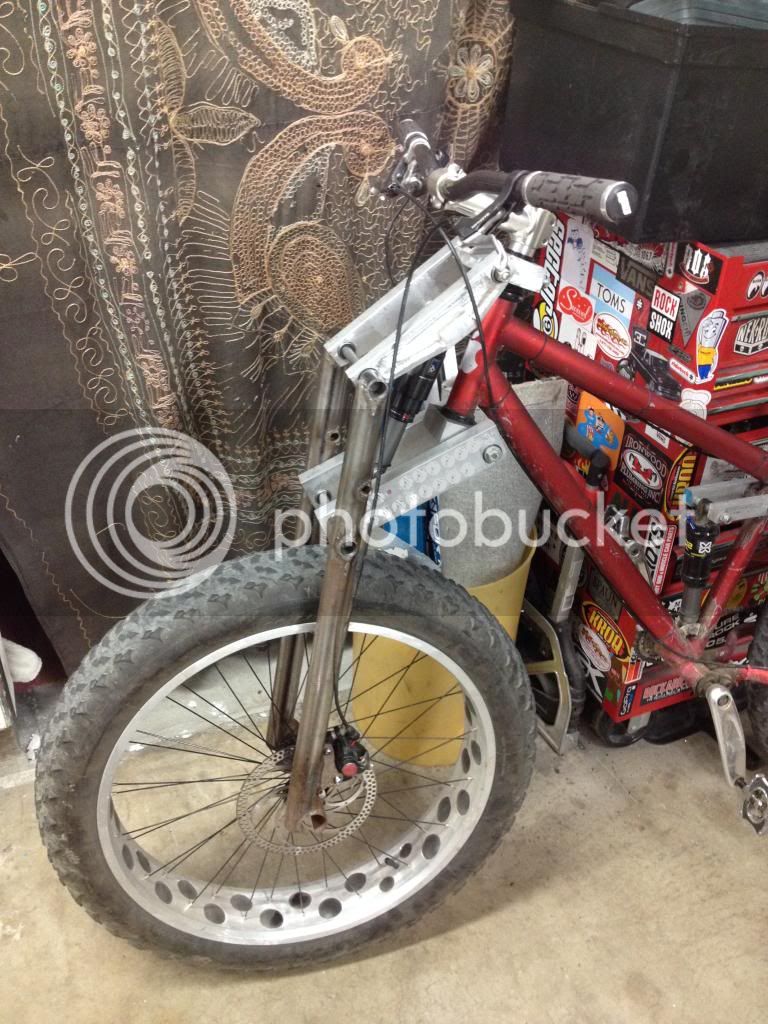
If you look at the two pictures below you will see I added 2 green lines to each one. The one comes down from the head tube and the other from the axle point. The one from the axle point needs to trail behind the one from the head tube. It does do that some when the forks are not compressed, but doesn't when they get compressed. Now please understand what I drew in isn't prefect because the slight angle the bike is sitting at in the pictures. If I understand how this type of forks should be setup you should be seeing the travel movement more linear to keep your negative trail through much of its movement.Trail is 50-55mm. In one of the pics it looks strange because the crowns aren't at stack height.

Also as stated before I do believe you need one point of the shock mounted to a fixed position on the forks for it to work right.
Ok. I see what your saying. In the pic with it lowered down, it's moving too far. The crown is sitting on the tire. The effect you are pointing out is there, but it's not as bad as it appears, because once it's done, the fork won't compress as much.
Good looking out though!
Good looking out though!
Whatever the cause of this one not working out quite as expected, I am really looking forward to the next version! 
Luke.
Luke.
Thanks Luke! Ill get to it soon I'm sure. Right now I am gathering parts for my Fat Trike, and I may be getting another Beast!
That, plus I have a 10 day old baby, and my dad died last Friday. These last couple weeks have been nuts!
That, plus I have a 10 day old baby, and my dad died last Friday. These last couple weeks have been nuts!
To measure trail, your long green line should go thru the center of the head tube, not along the front of it. The second line should be perpendicular to the ground, going thru the front axle. Trail is measured from one point to the other where each line cross the ground. Many bikes have a trail of 2.5 -2.75 inches.
On another note, your front swing arms don't move parallel to each other due to the lower pivot being behind the steerer tube. Is that on purpose? Most forks are designed to keep the blades moving in the same plane, where as yours will change angle as they go up and down. Having the fork angle change when going over bumps could be real fun (not in a good way).
On another note, your front swing arms don't move parallel to each other due to the lower pivot being behind the steerer tube. Is that on purpose? Most forks are designed to keep the blades moving in the same plane, where as yours will change angle as they go up and down. Having the fork angle change when going over bumps could be real fun (not in a good way).
The links not moving parallel is on purpose. They are different lengths too. The reason for this is that it makes the axle path nearly the same as a telescopic fork, with the main difference being a slightly curved path the minimize brake dive. I did a TON of reading and made many models of link design before settling on this one.
We'll it's been a little over 2-1/2 months since I stopped working on this. In that time I have built my fat trike, and my second Beast. So it's time to get back to work on this project.
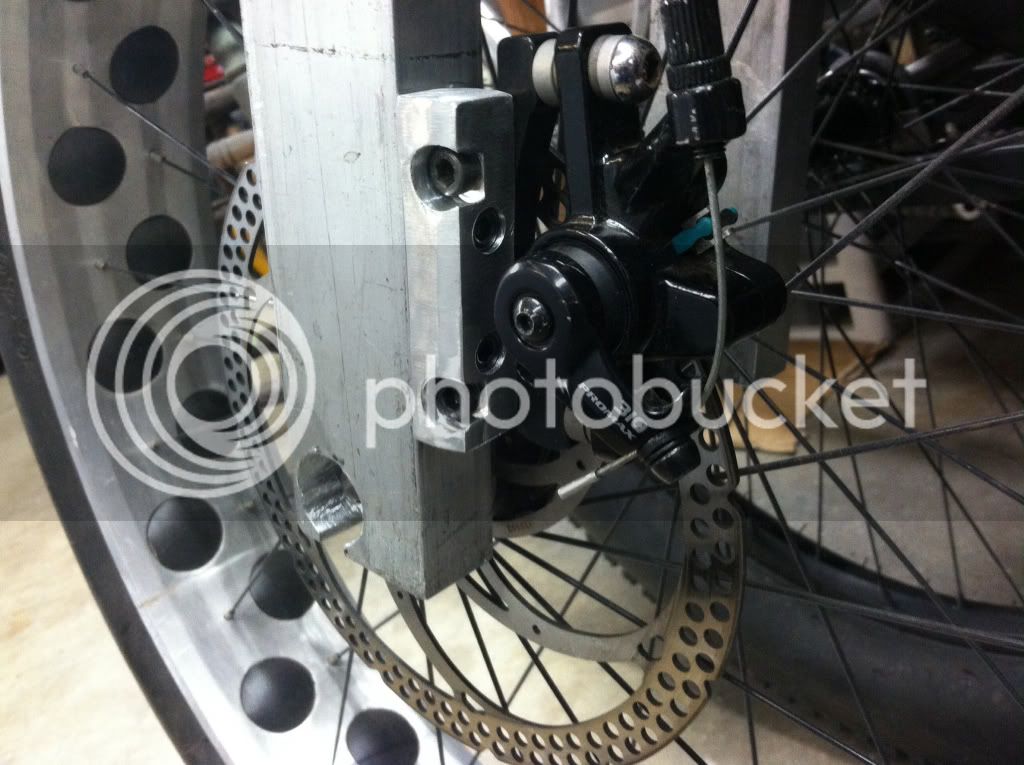
I started last night, and tonight I got the travel dialed back. As it sits the fork has 7-7/8 travel, and the crown no longer hits the tire. I also shimmed the air chamber to give the shock a more progressive spring curve. Tonight I also started to make the mount for the disc brake adapter.
Updates to come...
I liked how the axle path was looking, seemed pretty logically thought out!
Post pictures as I got injured on the job, miss machining.....
Post pictures as I got injured on the job, miss machining.....
WOW! Great work!
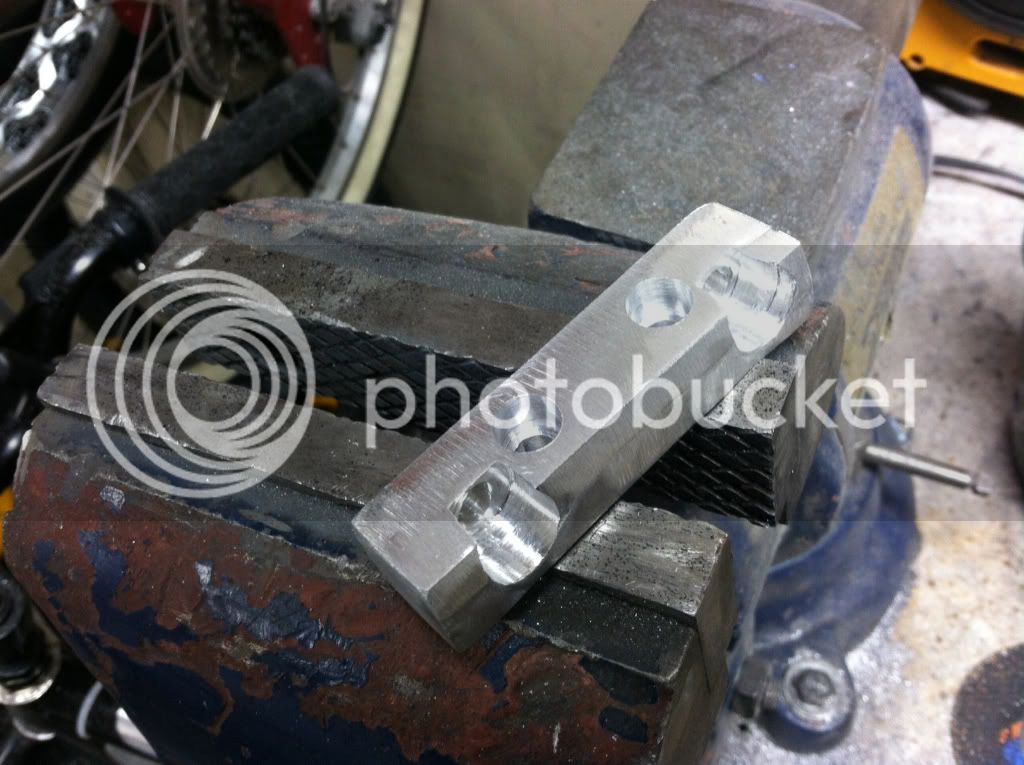
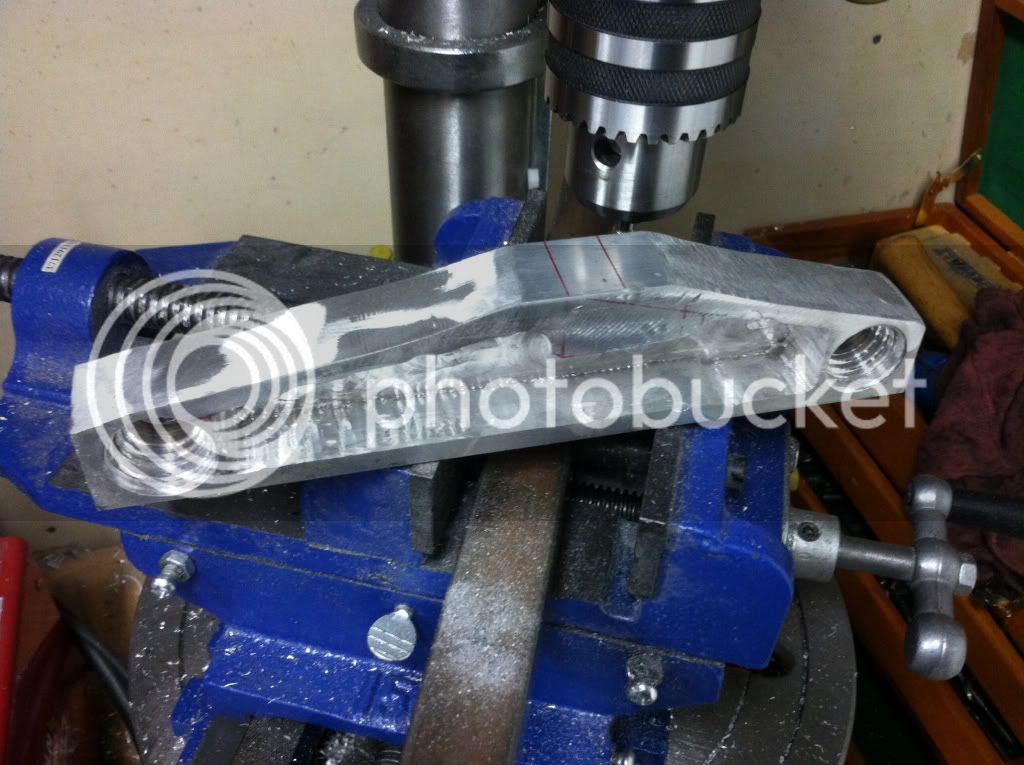
I started to mill out the links tonight. Man I wish I had an end mill. This was all done with a drill press and a cros slide vise. I already know how I can do the next one cleaner. This is one of the short links, the longer links and the legs will have cross bracing too.
Before:
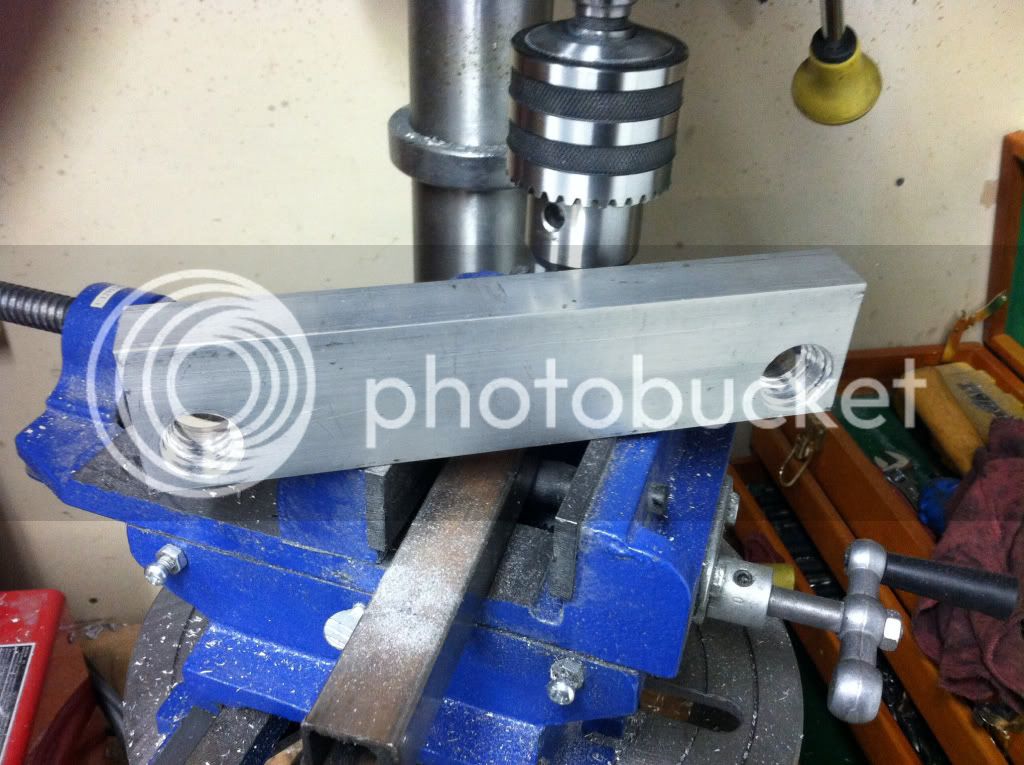
After:
Before:
After:
Wow! You are doing some awesome work with the tools you have!
Luke.
Luke.
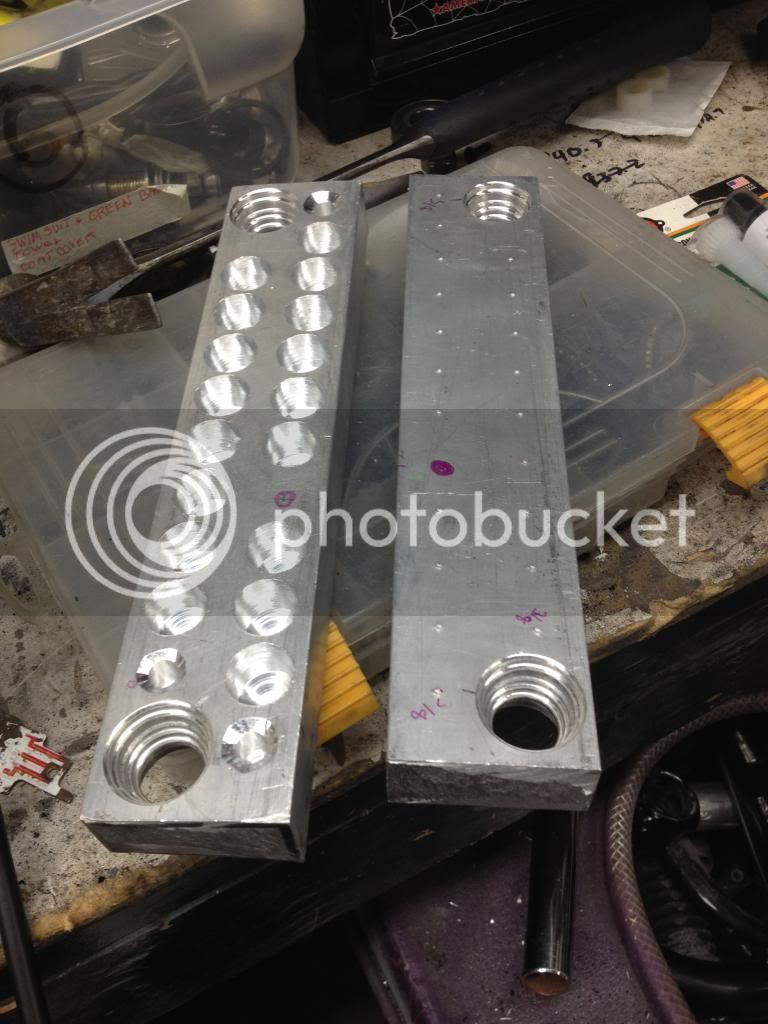
Ok. Well first off the upper links are done. They turned out pretty good.
But then I had an issue: I ended up ruining one of the legs because my tools just aren't precise enough. It sucks, but it led me to do some calculations. As it turns out, I can build this thing in .065 steel tubing and save some a lot of time, while ending up with a lighter fork. So I've wasted about 10 hours, and some $$$, but I'm the end I'll have a fork that's better and lighter.
The good news is that the legs on my first fork build will work on this fork too.
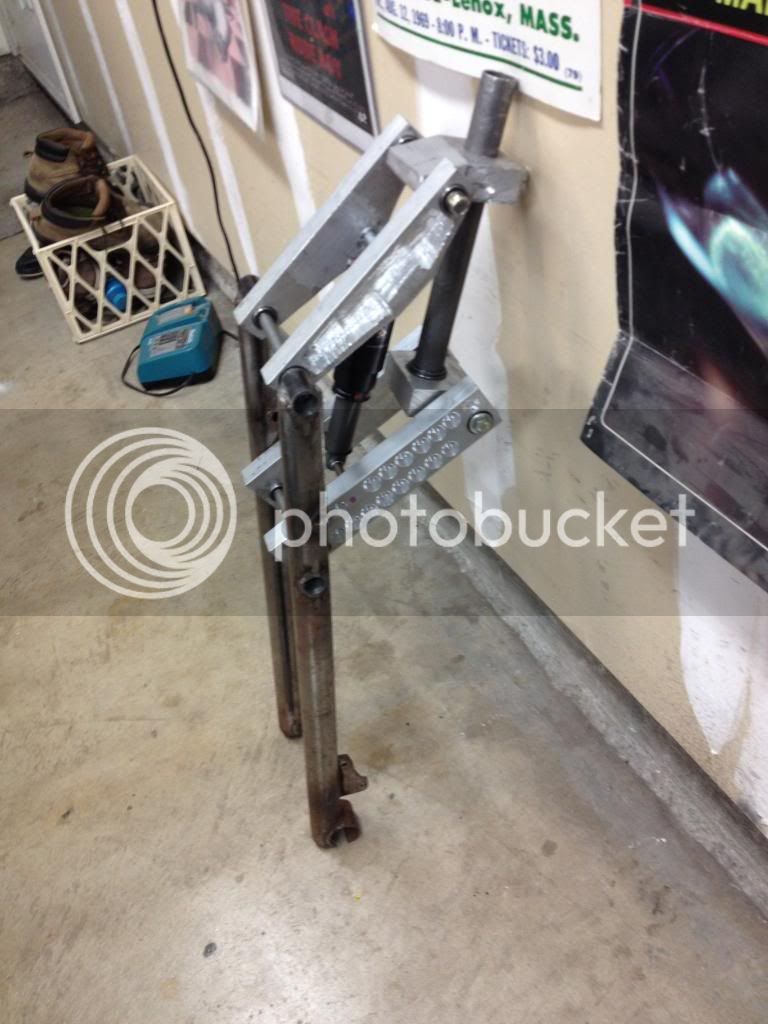
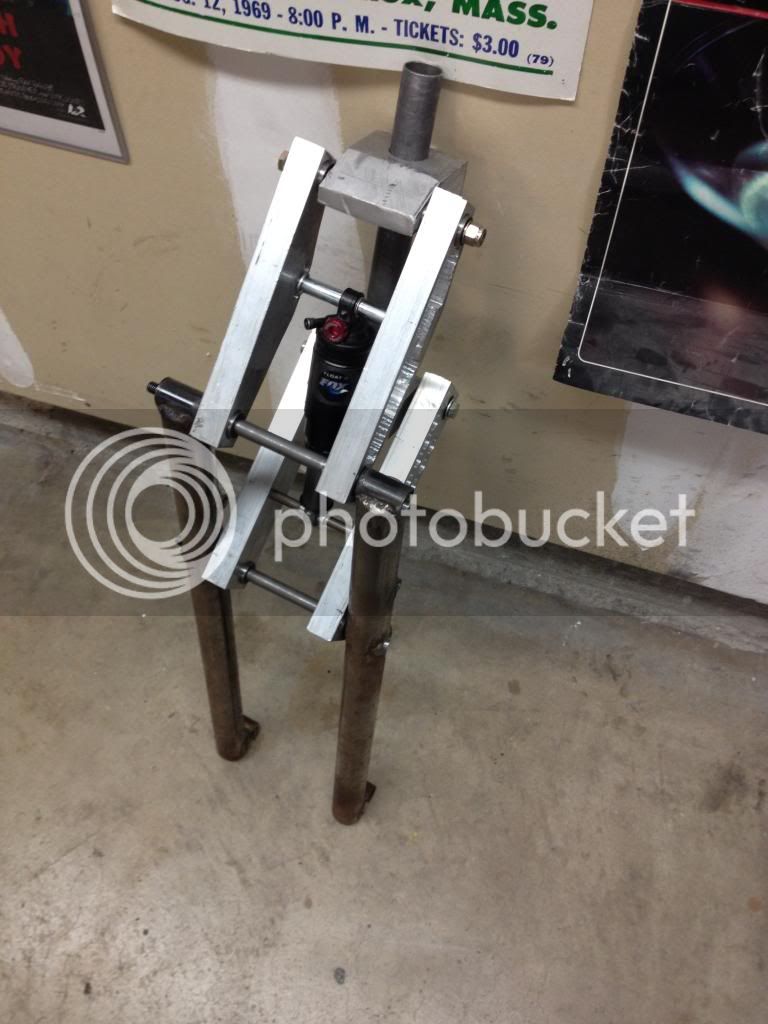
I got the fork put on last night. I used the legs off of my first fork. For some reason it still hits the tire, but not nearly as violently as before. The travel is just under 8" at this point, but the front of the bike is unrideable tall. The fork works buttery smooth though.
I need to do some more tweaking. At this point the fork is 13.4 pounds.
Lower Links:
Fork:
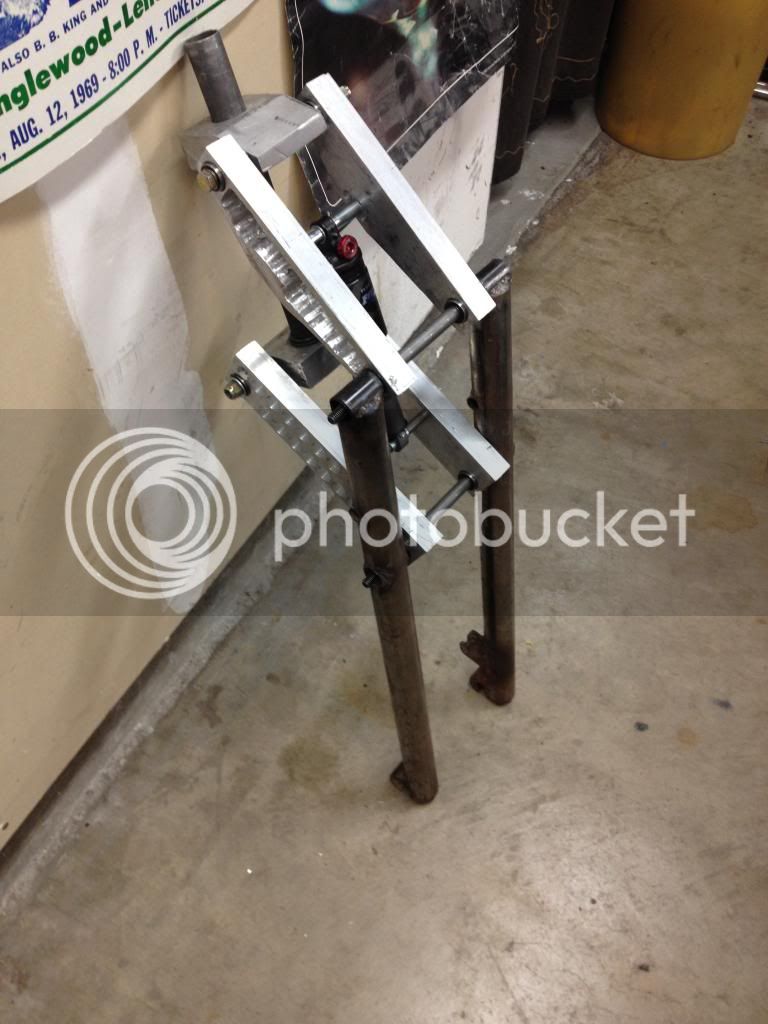
On the Bike:
I need to do some more tweaking. At this point the fork is 13.4 pounds.
Lower Links:
Fork:
On the Bike:
You must be running some low pressures in the tires on that video...
Luke.
Luke.
You hit that curb any harder you will be bending those rims in a heartbeat running that air pressure.