Rat Rod
Owner & Founder
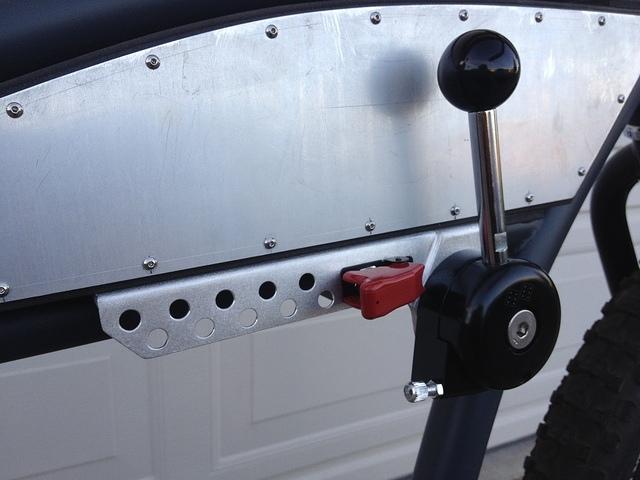
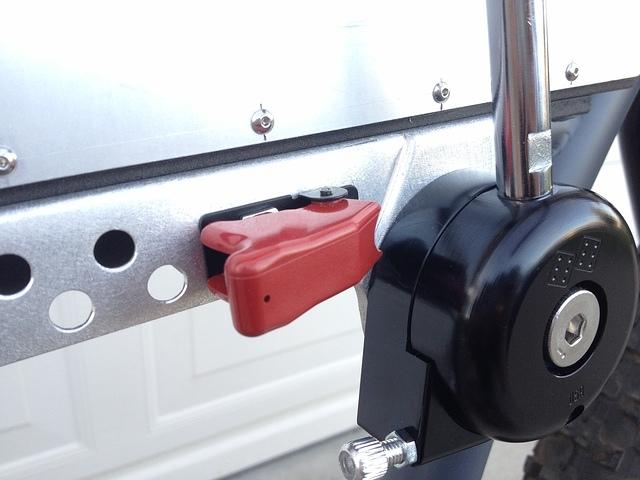
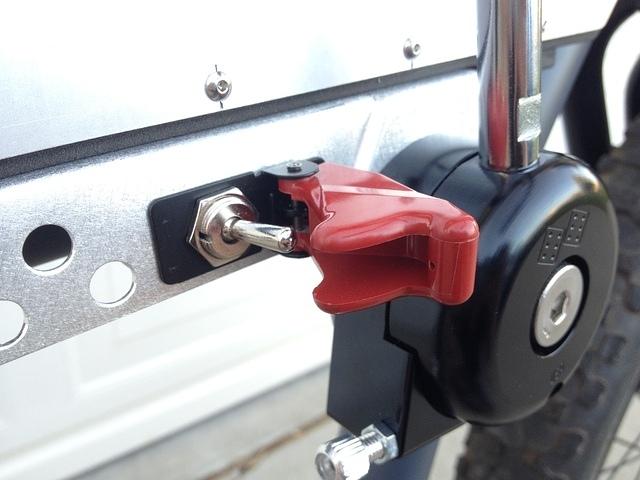
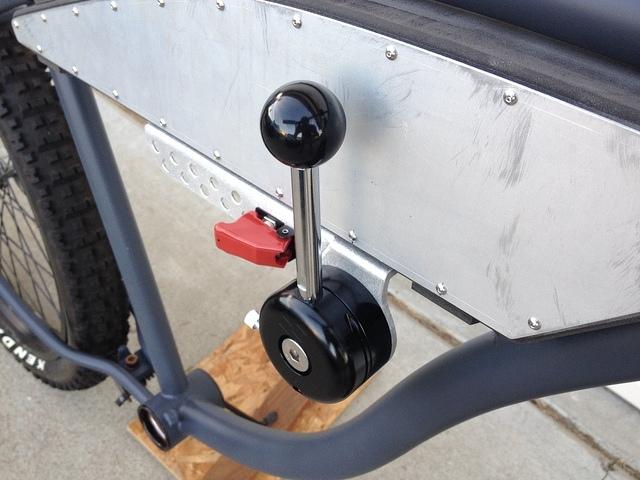
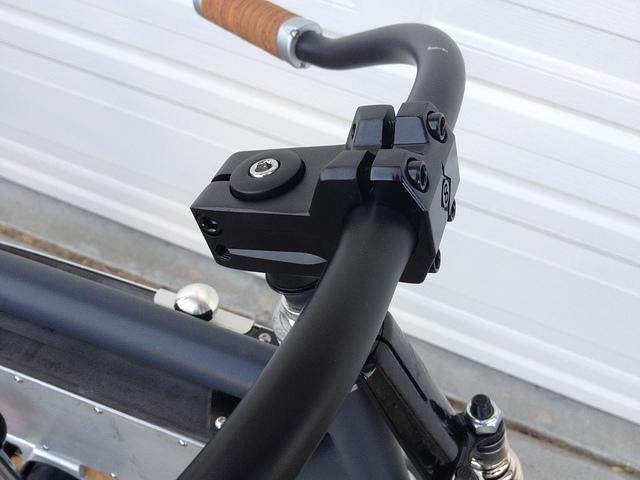
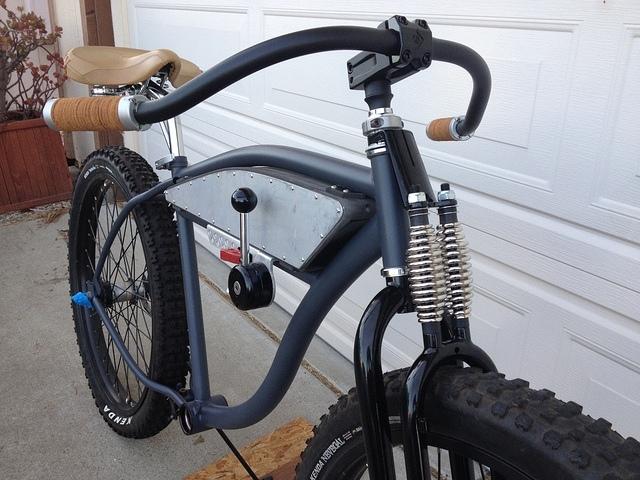
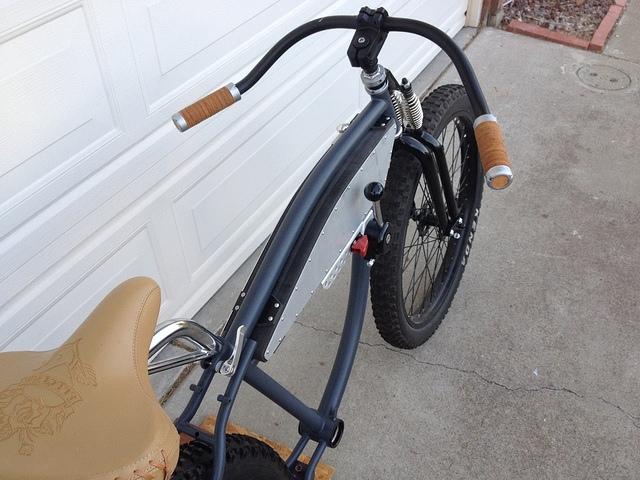
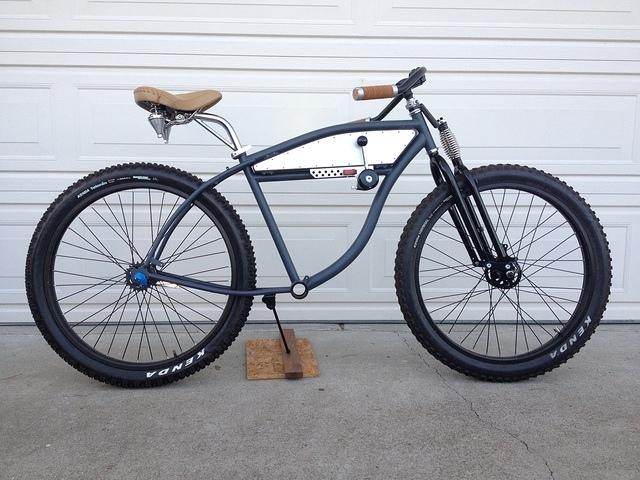
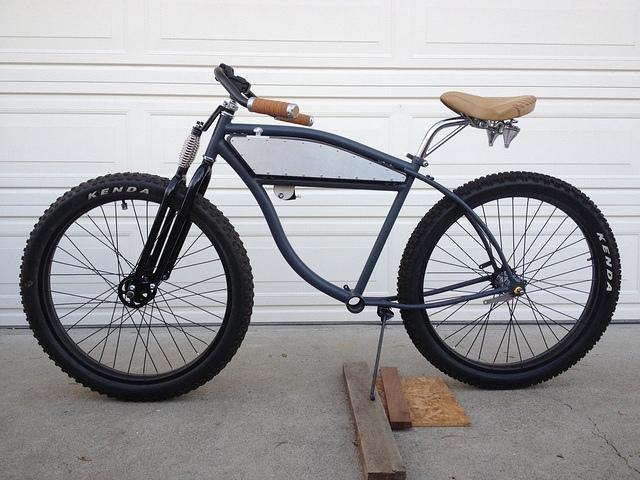
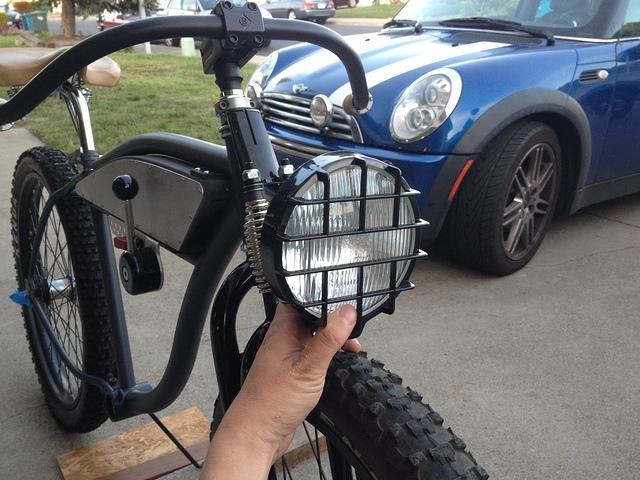
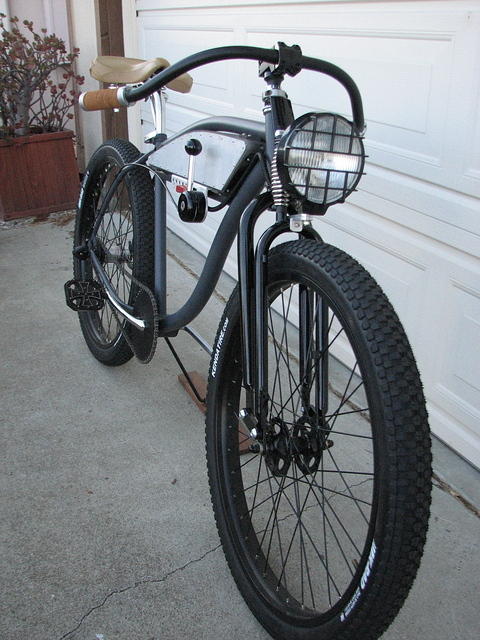
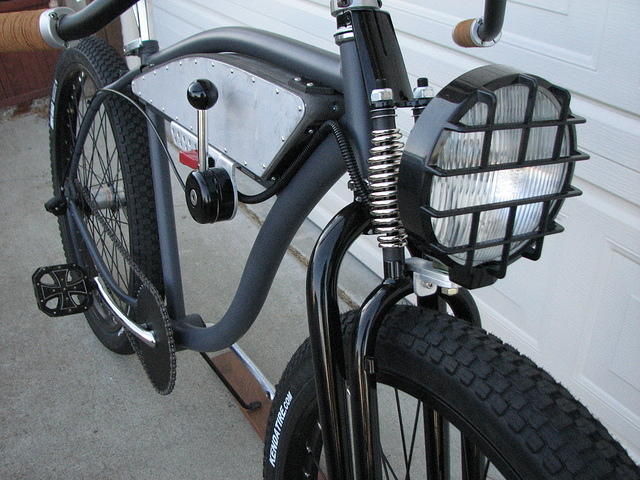
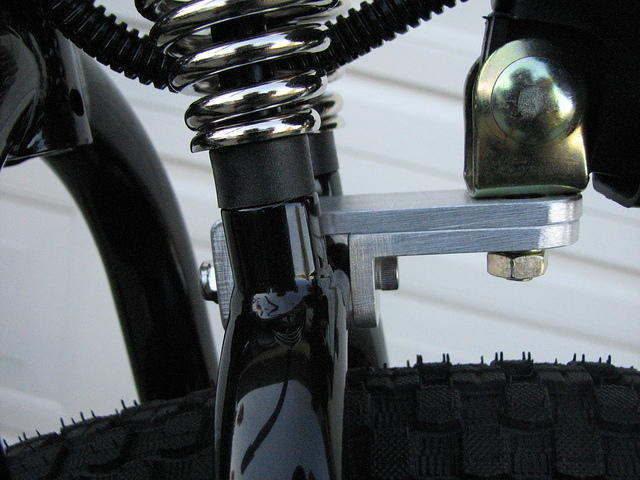
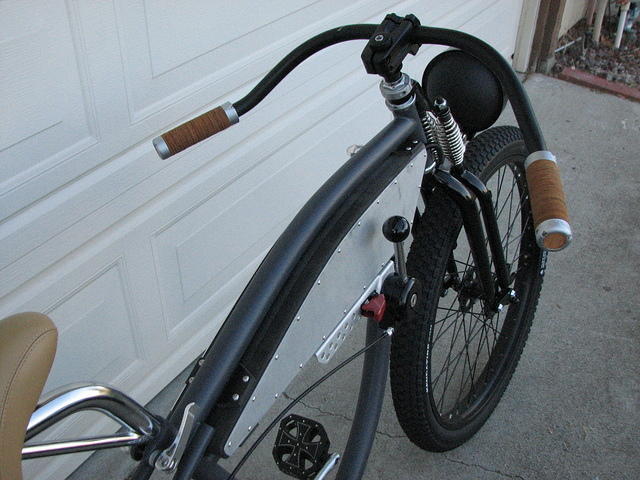
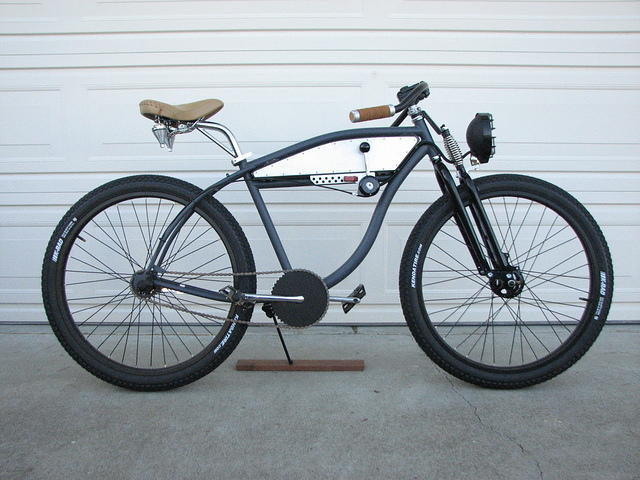
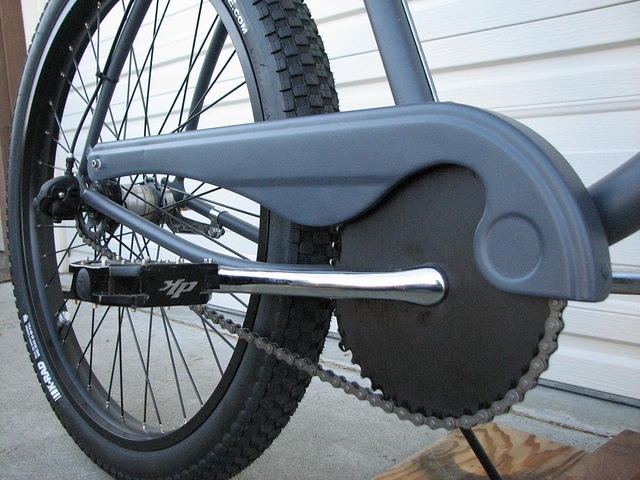
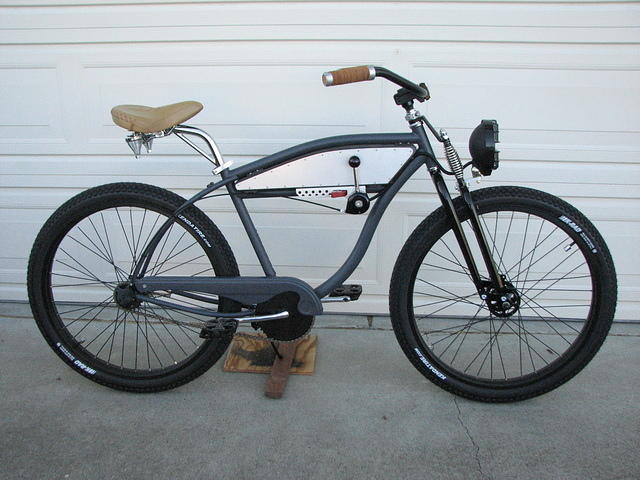
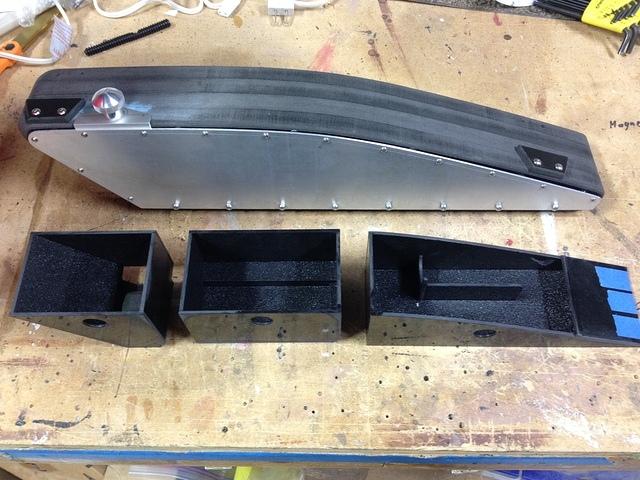
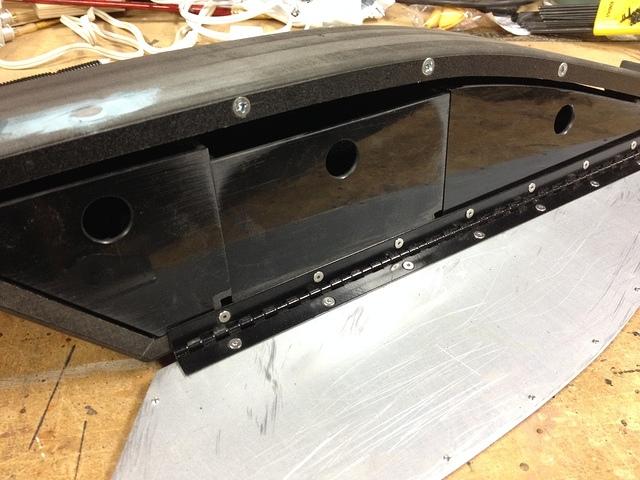
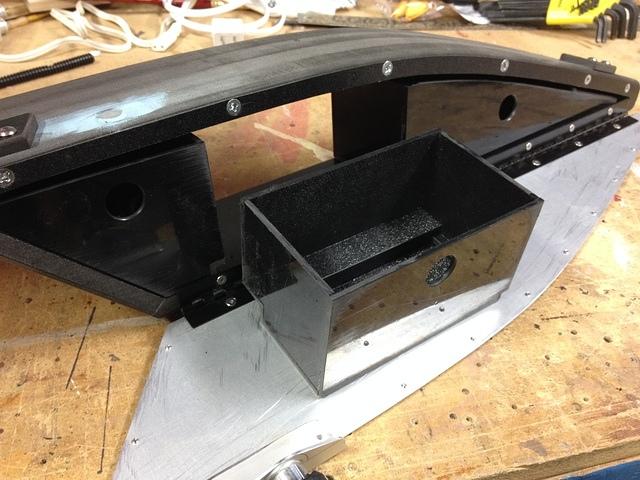
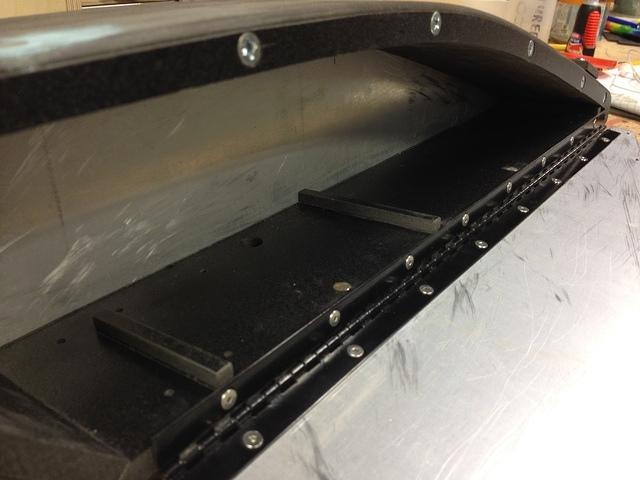
Re: First mockup!! The FC-40
This project is turning out great!
Love all of the details and your great write up on this.
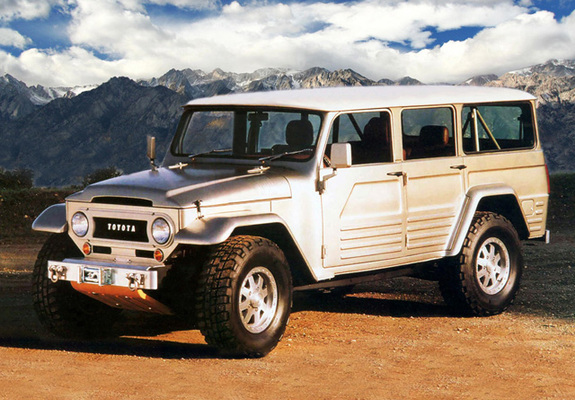
Not sure why, but when I saw the bike mocked up it reminded me a little of the Hawk Ace.

This project is turning out great!
Love all of the details and your great write up on this.
Not sure why, but when I saw the bike mocked up it reminded me a little of the Hawk Ace.