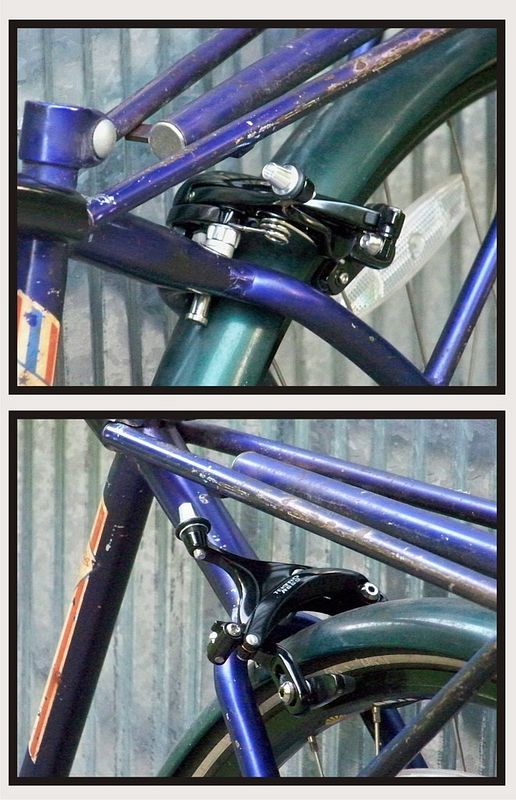
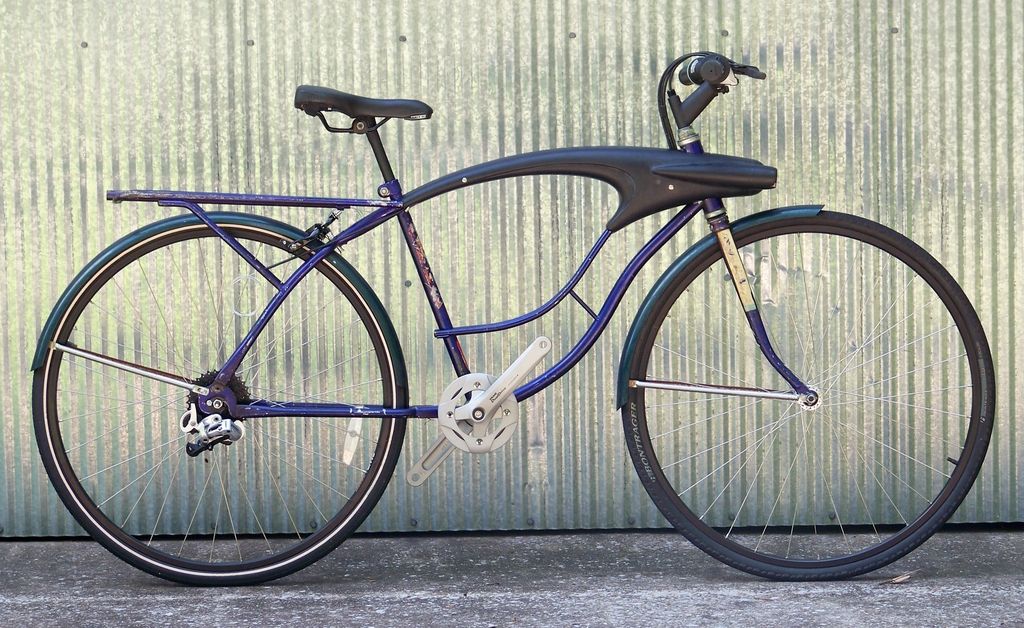
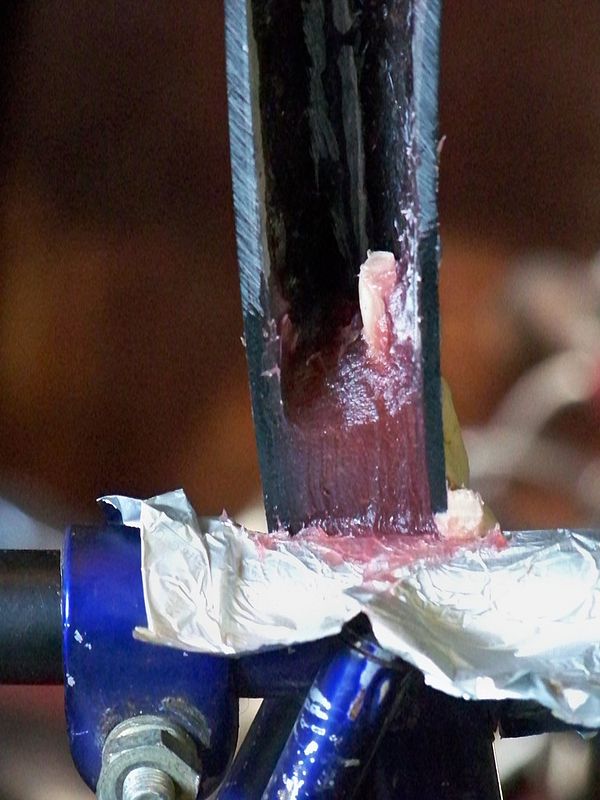
As I mentioned yesterday, the trailing end of the tank was getting a little fragile looking to me after I drilled for the cables. Normally the tank would extend beyond the seat tube which added strength, but with the rack it had to just butt into the seat tube.
So I mixed some two part epoxy paste called Goop and filled the ends. To get a molded fit, I did each half one at a time with it on the frame. To keep it from bonding to the frame I used some very thin foil that came from a chocolate wrapper. The foil worked great for forming around the tubes. After it cured, it separated from the frame without any problems.
The white thing is a piece of modeling clay that I rolled up and put in where the cable would be. It will be removed later to leave a cavity for the cable.


")