AngryGorillaChopper, Done!

Rat Rod Bikes Bicycle Forum

Help Support Rat Rod Bikes Bicycle Forum:

This site may earn a commission from merchant affiliate links, including eBay, Amazon, and others.
Joined
Dec 11, 2011
Messages
47
Reaction score
6
Location
Texas
Rating - 0%
0   0   0
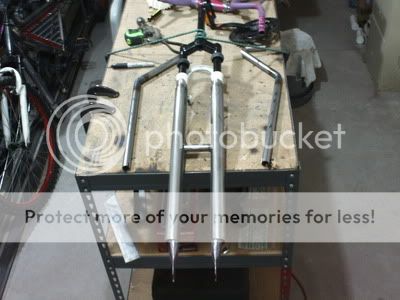
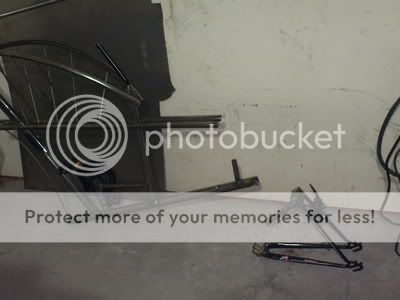
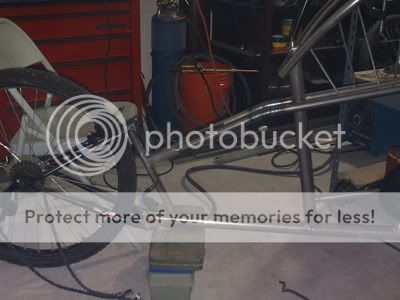
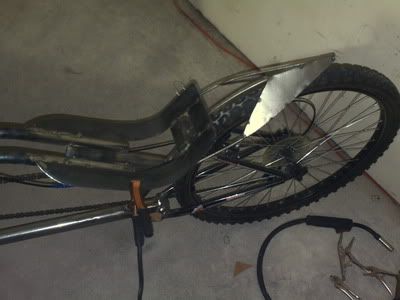
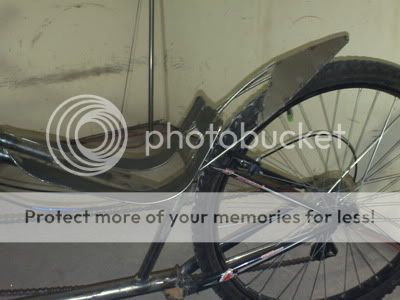
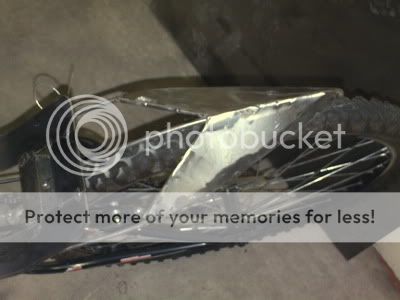
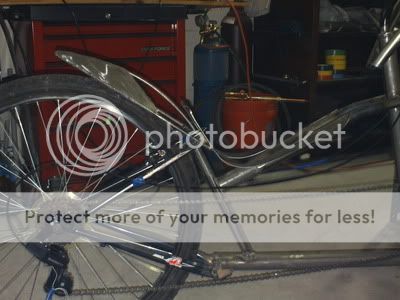
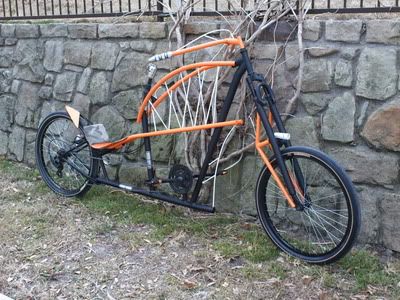
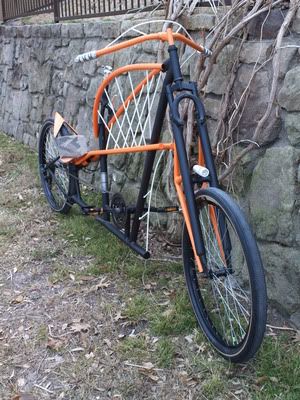
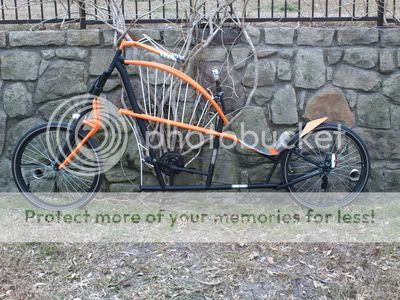
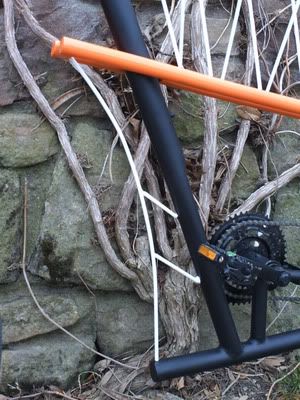
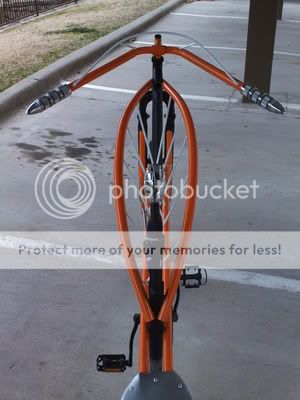
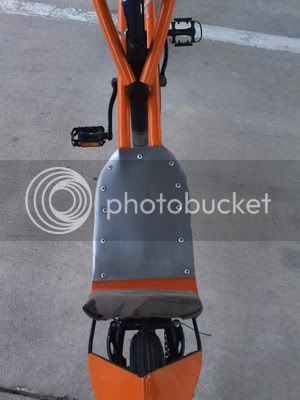
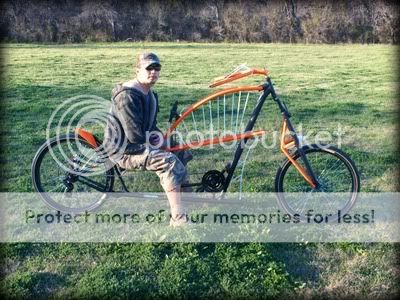
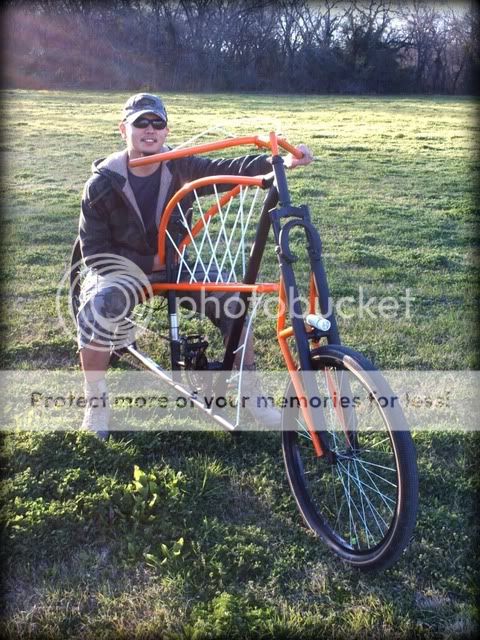
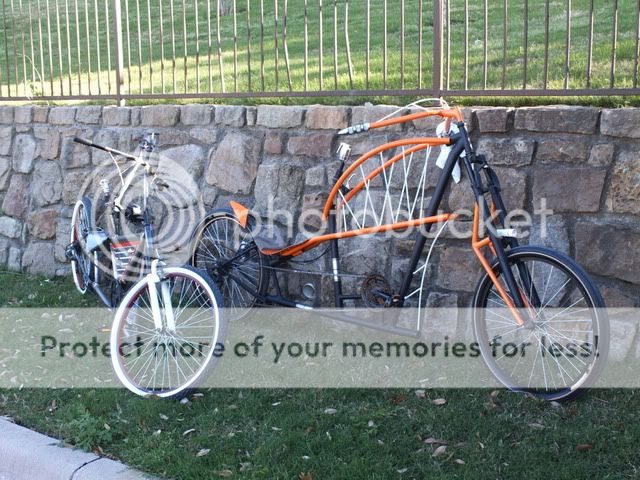
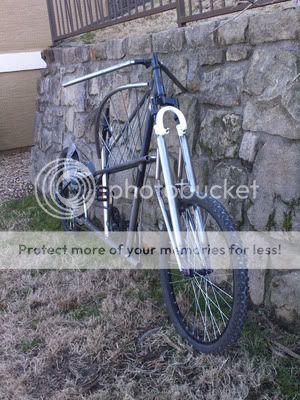
I'm posting some pics about mid way through this build. This build has taken quite awhile
as a lot of ideas went in and then out and the process was just too long to keep posting
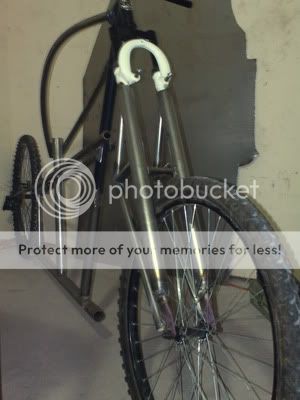
updates on here. I actually fabricated this frame 3 times!!!!! Concept wise, it was all
in my head. But, with my bikes, they have to have to have radical design, aggressive
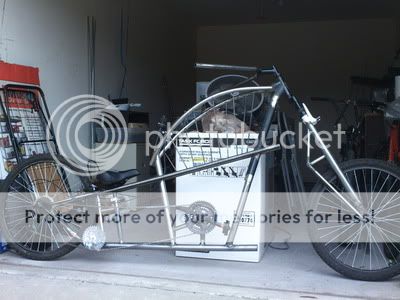
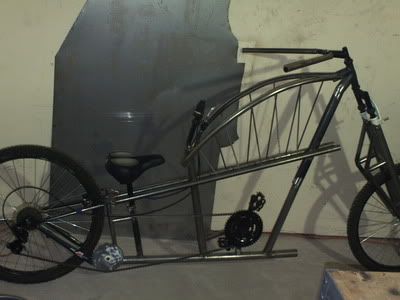
rider position, strength, gears and it all has to work good!! If one part is off, I might as
well throw it out. That's just me though. More fab still, paint and a bunch of things I'm
sure I don't know about yet. Rode great today on another test ride though.
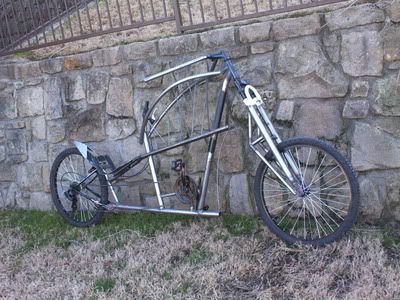
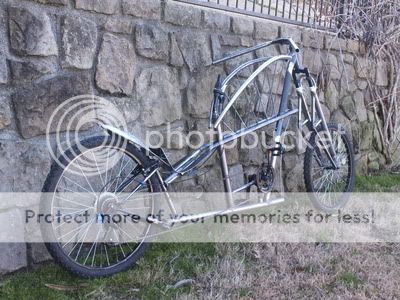
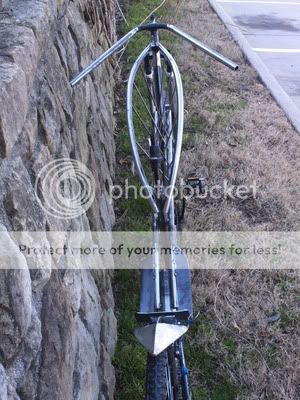
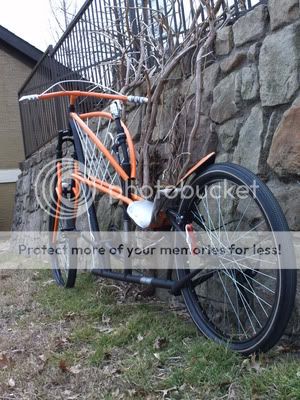
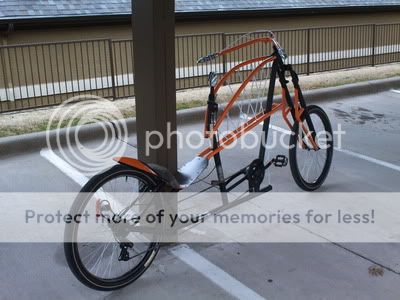

PICT1573.jpg

PICT1574.jpg

PICT1575.jpg

PICT1577.jpg

PICT1578.jpg
 
Re: AngryGorillaChopper, getting there

Thanks for the comments. Backing things up a bit to show what happened. These first
two pics show what went into the forks, which took a whole afternoon of fabrication
all by themselves. They're made from 2 separate forks and all new steel tubing. I could
have gotten away with your standard straight legs only, but, they had a bit of flex in
them even for big tubing. So I added 1" O.D. braces to the back of each leg and then
tied the lower legs together above the tire with a small piece of 7/8 O.D. tubing.
PICT1524.jpg


Besides strength, I think they just look stout and in all my searching, I have not seen
a set like them anywhere.
PICT1525.jpg


This was the original design. What's entirely different is the rear end and drivetrain
set up, the seat and seat posts. A second bottom bracket assembly was harvested
from a kids bike to position the guide sprocket. It was to get the chain to clear the
radically lowered rear triangle. I rode it like this for a week (which it took just to get
that drivetrain working) and decided it wasn't working. It was if I was just goin to cruz
around, but not for hard, fast, beat on it riding.

PICT1550.jpg


The seat position, the seat period, wasn't going to work. I was originally going to build
the seat into the frame which is what I like to do anyway. I like to run low seat positions
too and have a "strapped in" feeling to the bike.

PICT1551.jpg


So between the drivetrain and seat which both added more weight also, I knew the only other
option was to re-chop the rear half and re-do re-engineer the whole thing.
Man that was fun! NOT!

PICT1559.jpg


This also later necessitated cutting out the main bottom bracket to move it 3 inches
forward for leg room with the new lowered seat position. The rear triangle was shifted
4 inches in an upward direction in the front which allows barely enough chain clearence
without tricks and guide sprockets. The twin top tubes were heat formed down and the
seat stay angle got kicked out too.

PICT1560.jpg


The rest was new in-frame seat fabrication and the new over tire fender sport-bike style
tail section to finish out the rear end. I was/am way more happy with the over all flow
of the bike now and it goes through the gears like it should along with keeping the weight
down. Something I'm still big on too. I don't want to pedal a tank around.
PICT1566.jpg


The lesson here, it's not fun redoing your work, but it sure can lead to better things!
PICT1567.jpg

PICT1569.jpg

PICT1572.jpg
 
Well it's been awhile but here it is. There is no plastic on this bike, besides the lights.
Everything else is either steel or aluminum, painted, anodized or chrome plated.
The grenade is steel and the grips are aluminum.
PICT1641.jpg

PICT1642.jpg

PICT1643.jpg

PICT1646.jpg

PICT1647.jpg

PICT1650.jpg

PICT1654.jpg

PICT1657.jpg

PICT1658.jpg

PICT1659.jpg
.

This was on the first serious shake down ride, before I even got the grips on and a few
other things. I have already put a decent amount of miles on this bike. After working
out some gremlins, it rides like a cadillac.
PICT1630.jpg

PICT1633.jpg
 
Back
Top