Warning: This conversion will be very obnoxious to your fellow riders and drivers ")
As a Christmas present, I was inspired to make a huge light for my dad's ratty black schwinn cruiser. I first went to Ebay and bought a 5.75" tractor light for $20. The light had a lot of rust inside so I took it to the wire wheel attachment on my grinder.
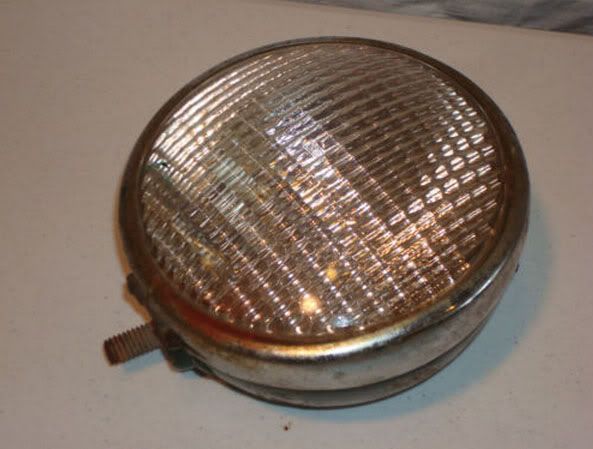
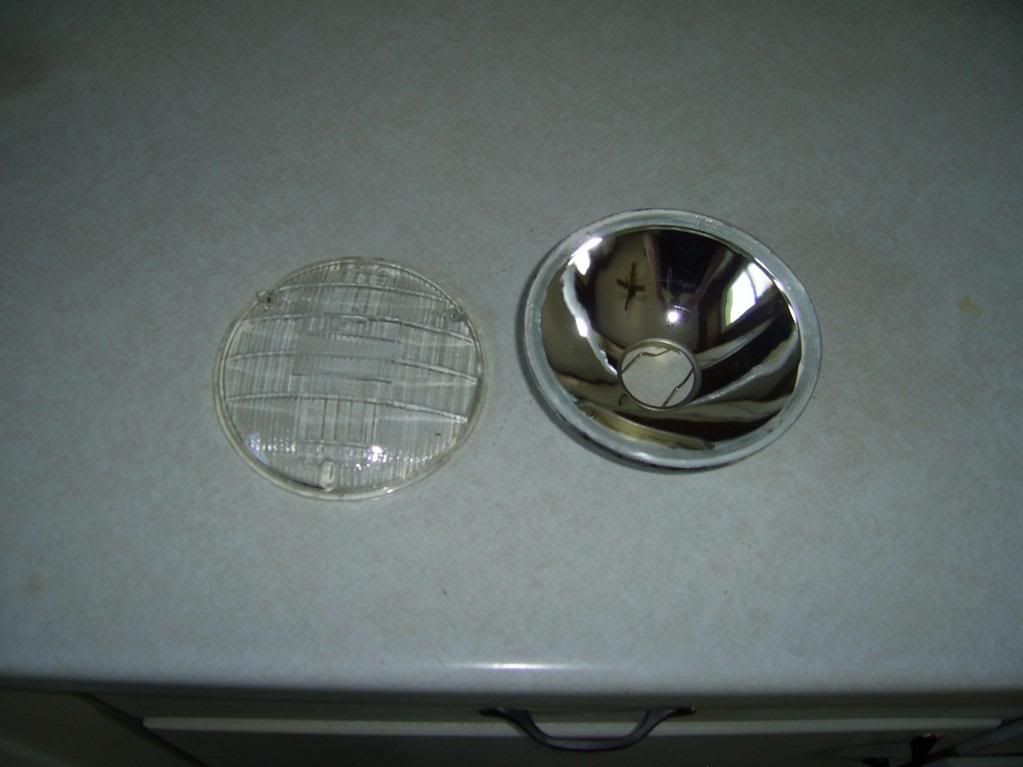
Once I tore the light down, I realized it was using a old sealed beam light. The glass looked multilayered and thin so I wasn't confident about drilling out the filament. I decided to replace the bulb with a sealed beam H4 conversion kit that I bought on ebay for $10. The kit came with a cheap H4 bulb.
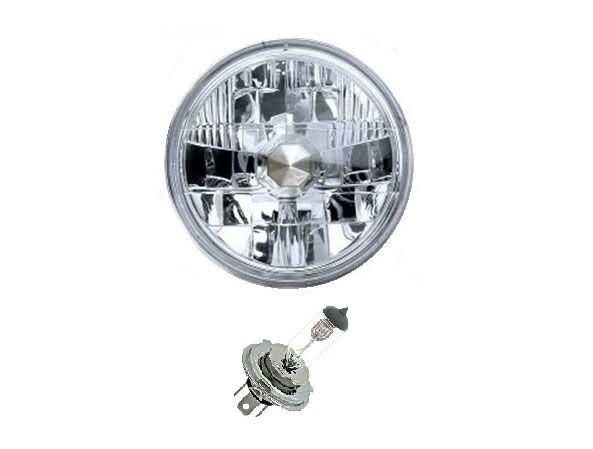
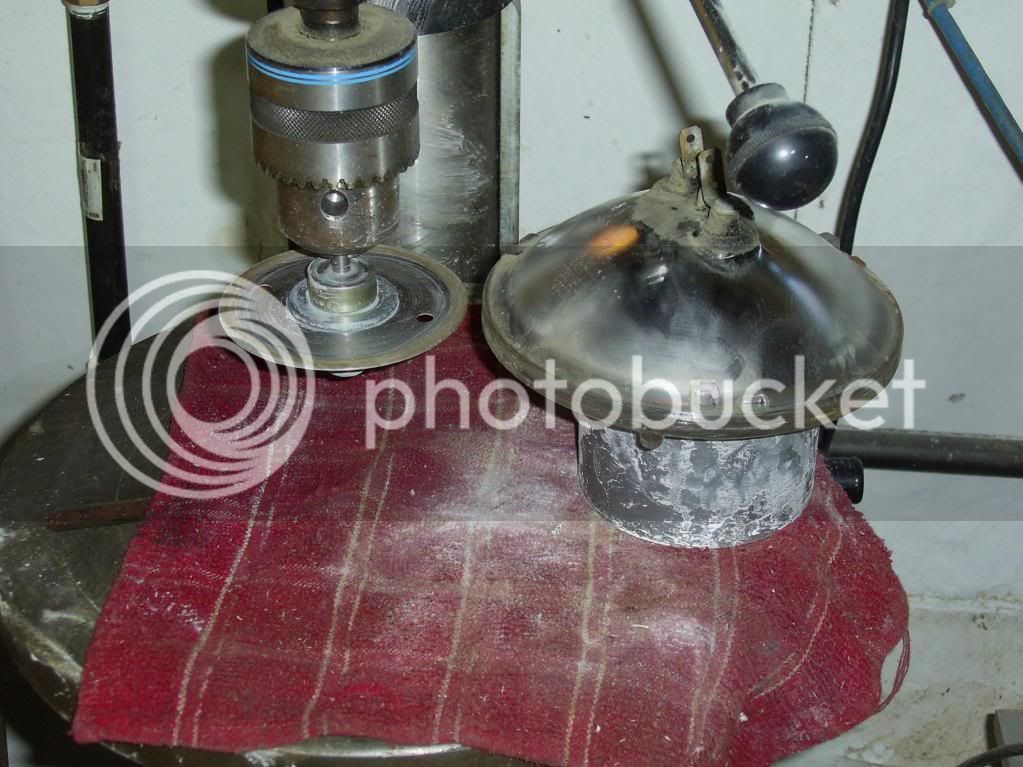
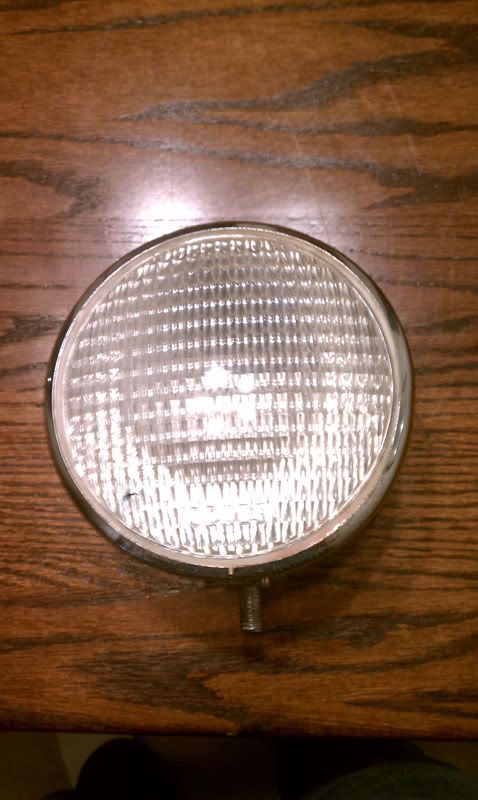
Unfortunately the lens on the conversion kit was pretty ugly. It was also completely clear and wouldn't have dispersed the LED light very well. A lens transplant was necessary. I took a 1/16" tile saw and made a arbor to fit it to the chuck in my drill press. I also used a tape roll to rest the headlight on the drill press table. I had to have a friend spray water on the light and saw while lightly rotating it to make a score line around light and kept doing it until I cut through. That kept the glass from melting. Easy enough.
Once the lens transplant was complete, I needed to buy the LED hardware. I decided to buy a 900 lumen LED from deal extreme. Here are the parts I used:
Led: http://www.dealextreme.com/details.dx/s ... r.87047508
Battery: http://www.dealextreme.com/details.dx/s ... r.87047508
Controller: http://www.dealextreme.com/details.dx/s ... r.87047508
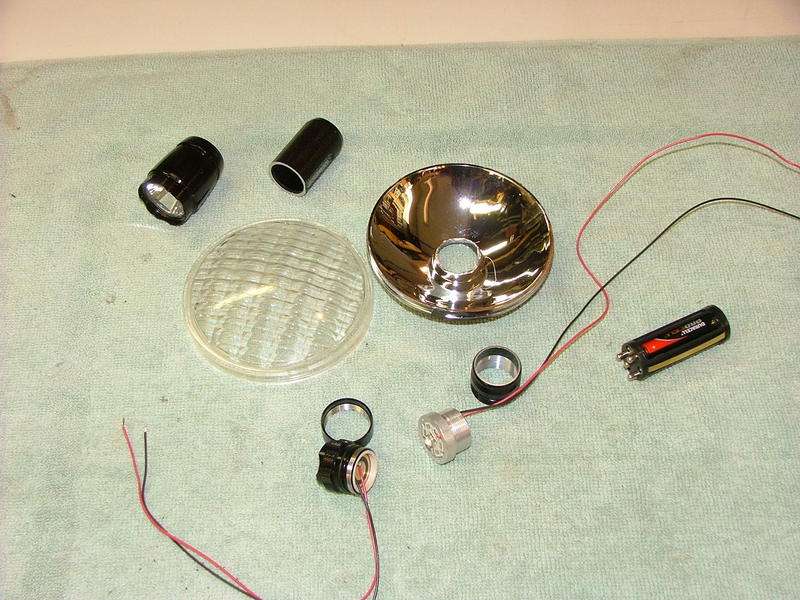
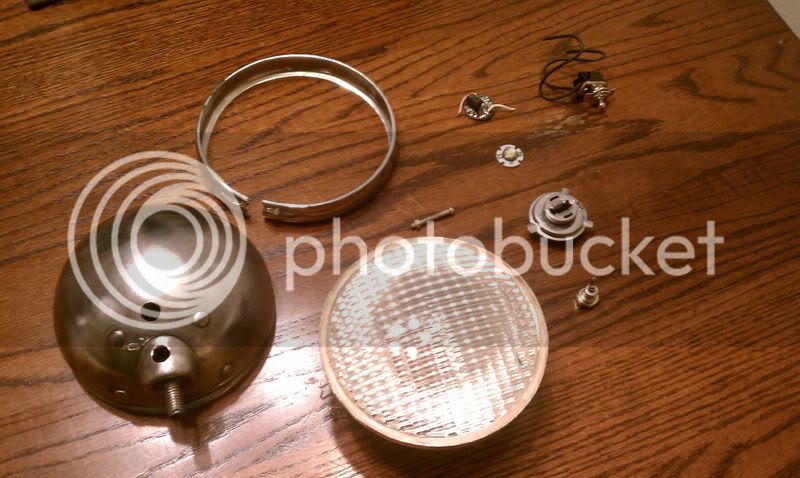
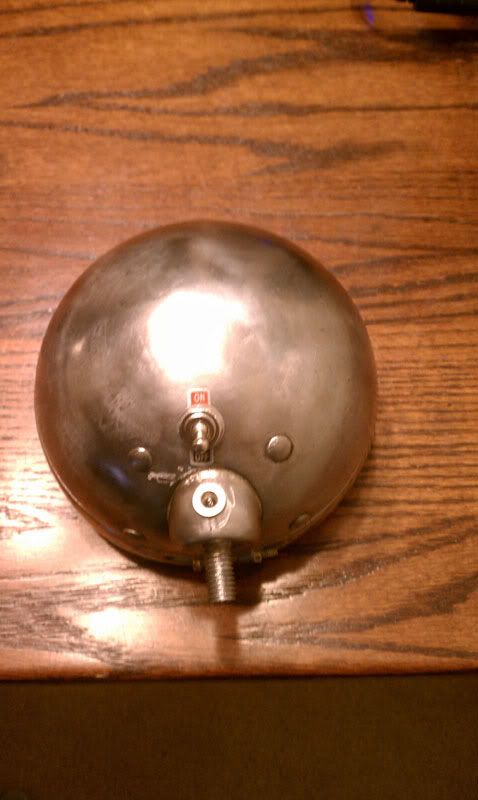
At a local auto parts store, I bought a small metal toggle switch. At radio shack, I bought a size N male and female DC coaxial power plugs. I drilled two holes on the back of the light's housing to accommodate the switch and power port. I realized the H4 bulb that came with my conversion kit could be reused to mount my LED inside the sealed beam. I tore the bulb apart and glued the led on the front and the controller on the back.
In this picture you can see the controller, the LED module, the remnants of the H4 bulb, the switch, and the DC plug.
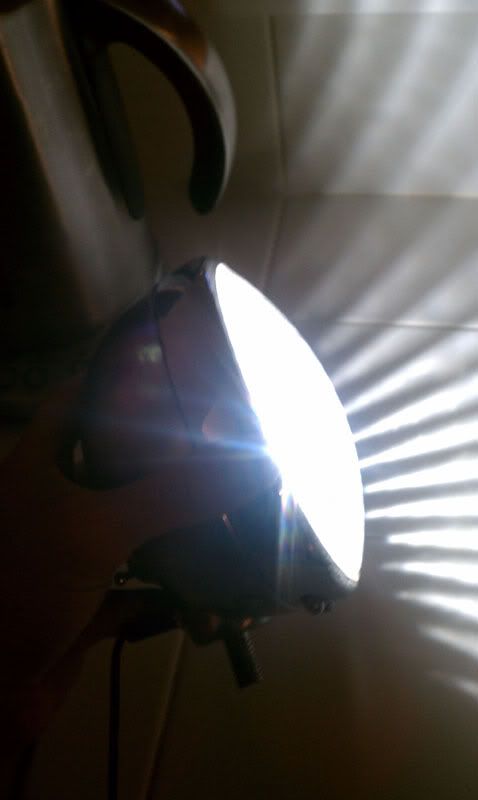
After a little soldering, everything came back together pretty well. To test everything, I ended up using a 4.2v DC power adapter (stolen from a broken electric shaver) in lieu of the lithium ion batteries I bought. It provides about the same voltage as one li-ion battery. Once I build the battery pack, I'll post more pictures. My end goal is to make the light powered from batteries and charged with a cheap solar panel or wall outlet DC adapter.
As a Christmas present, I was inspired to make a huge light for my dad's ratty black schwinn cruiser. I first went to Ebay and bought a 5.75" tractor light for $20. The light had a lot of rust inside so I took it to the wire wheel attachment on my grinder.
Once I tore the light down, I realized it was using a old sealed beam light. The glass looked multilayered and thin so I wasn't confident about drilling out the filament. I decided to replace the bulb with a sealed beam H4 conversion kit that I bought on ebay for $10. The kit came with a cheap H4 bulb.
Unfortunately the lens on the conversion kit was pretty ugly. It was also completely clear and wouldn't have dispersed the LED light very well. A lens transplant was necessary. I took a 1/16" tile saw and made a arbor to fit it to the chuck in my drill press. I also used a tape roll to rest the headlight on the drill press table. I had to have a friend spray water on the light and saw while lightly rotating it to make a score line around light and kept doing it until I cut through. That kept the glass from melting. Easy enough.
Once the lens transplant was complete, I needed to buy the LED hardware. I decided to buy a 900 lumen LED from deal extreme. Here are the parts I used:
Led: http://www.dealextreme.com/details.dx/s ... r.87047508
Battery: http://www.dealextreme.com/details.dx/s ... r.87047508
Controller: http://www.dealextreme.com/details.dx/s ... r.87047508
At a local auto parts store, I bought a small metal toggle switch. At radio shack, I bought a size N male and female DC coaxial power plugs. I drilled two holes on the back of the light's housing to accommodate the switch and power port. I realized the H4 bulb that came with my conversion kit could be reused to mount my LED inside the sealed beam. I tore the bulb apart and glued the led on the front and the controller on the back.
In this picture you can see the controller, the LED module, the remnants of the H4 bulb, the switch, and the DC plug.
After a little soldering, everything came back together pretty well. To test everything, I ended up using a 4.2v DC power adapter (stolen from a broken electric shaver) in lieu of the lithium ion batteries I bought. It provides about the same voltage as one li-ion battery. Once I build the battery pack, I'll post more pictures. My end goal is to make the light powered from batteries and charged with a cheap solar panel or wall outlet DC adapter.