"tire peeler"

Rat Rod Bikes Bicycle Forum

Help Support Rat Rod Bikes Bicycle Forum:

This site may earn a commission from merchant affiliate links, including eBay, Amazon, and others.
well, as kota predicted, my fork bending didnt go well. i had my doubts as well,but kota said to try, and i have no use for the fork in its original form anyway, so im not out anything. and actually, the one side turned out ok, it was the other leg that kinked, collapsed, and belittled me. at least the threads were protected, so when my ability and equipment allow, i can fix that other fork in my parts box.i did get in a quick ride around town with my boy, so the day wasnt a total loss.
 
You disappoint me, grasshopper. My confidence in you is now shaken..I was hoping you prove the master wrong...Get back in line. :x

Now find either a 26" or a 24" fork, preferably oval tubes, and start over. I find that moving the conduit bender further down the tube, about an inch or so, after each bend, stops it from kinking. With the 20" fork there's no room to move it down. Good Luck!

Edit: So you ruined a perfectly good fork...Join the club. At least you tried....Get back in line. :D
 
Do you know the best thing about ruining a fork a la Kota?
After 2 or 3 forks you actually get them to look like an actual KOTA fork! Don´t stop now!!
(But CAUTION! it´s addictive :wink: )
 
new fork is on the way! i think it will work as is. i dont really wanna mess 2 or 3 more up. i think if i would of had the right fork in the first place it would've turned out ok. but more importantly, i sat down with paper and pencil and refined my vision for this build into something im pretty happy with.
 
Paper and pencil, on a BUILD?...Unchartered territory for me...It's good to have a vision. Looking forward to seeing it.
 
actually, i've got a few notebooks full of bike drawings. usually, i got a good imagination and can see it easily in my head. for some reason, i was having trouble seeing this one. maybe its the goofy weather, or maybe i was trying to hard, but now i know what i want it to look like.
 
unfortunatly nothing new yet. waiting on some parts and its been too hot to do much last couple of days. looks like a good weekend for messin around with it some, much cooler anyway. im thinking about joining the big & littles club, a skinny 16" in front if it looks right with the new fork. i dont think i can get away with much fatter than 2.125 in the rear, maybe the skinny front will make it look wider. the front of the seat/chain stays are pretty narrow. saw a documentary on these guys who escaped from jail by making a "bar spreader" to widen the bars on the cell window. it worked like an oversized adjuster for drum brakes. hmmmm, wouldnt be hard to make one of them. if they found the parts to make it on the inside, surely i can find them at the hardware store! just a matter of how far i can go before creating a rule infringement.
 
wow, has life been busy! but i got some parts and took some time today to play around with it. not sure if i'll try fork bending again or not on this build, if i do, i cant go too far or run into pedal clearance issues. once i file the dropouts slightly i can put the front wheel on and i'll have a roller. sorry no pics today, my daughter had the camera.
 
they say no rest for the wicked, if thats true, im in bad shape lately! :shock: but among all the family obligations, work, and gettin ready to swap a new motor into my pickup, i found time to snap a couple "progress" pics of my build. i tried bending my new fork, using a pipe and a v-shaped tree in the yard. thats a 16" wheel on the front.
136.jpg
so, looking for opinions, does it look good, or dare i bend it more?here's a shot showing tire clearance so far.
137.jpg

this frame sits really low as it was, and its short too. this pic im showing off my 20" slick and aproximately were the seat will go after i make a new post and trim down the seattube.
138.jpg

once i decide when the forks sre done, i'll have to cut the steerer down. also, maybe a sissy bar for the seat also, not sure yet.
 
If your comfortable about bending it more, I say go ahea... Wait try a 20" wheel on first!
 
i've been staring at that pic for awile now, trying to decide if i should go more or not. with the 16/20 combo, my kids will be riding it more than me(i'd look like the proverbial monkey with a football on it, :roll: ), so i wonder about handling. the crank laying under it were so i could be sure i could go lower, they just fell outta the bb when i positioned it for pics. i think i passed the limit for a 20'er, but i could try to see if it will fit. i dont think i'll like it with a 20 though. im not really too comfy bending it more with my "caveman's machine shop" aproach. i'll get a real bender after my truck is back together. also, the fork looks really ....-eyed in the second pic, but the tire has no air(or even a tube) in it, and the dropouts need a little more filing to be even. just got excited and took a pic.
 
If your kids are going to use it, I'd think twice about bending any further. You'll have a lot of negative trail, on the steering, and can SOMETIMES be a handful. I don't know how old your kids are or how much riding experience they have.....But hey this is a "build off" make it over the edge...You can always change it. :wink:
 
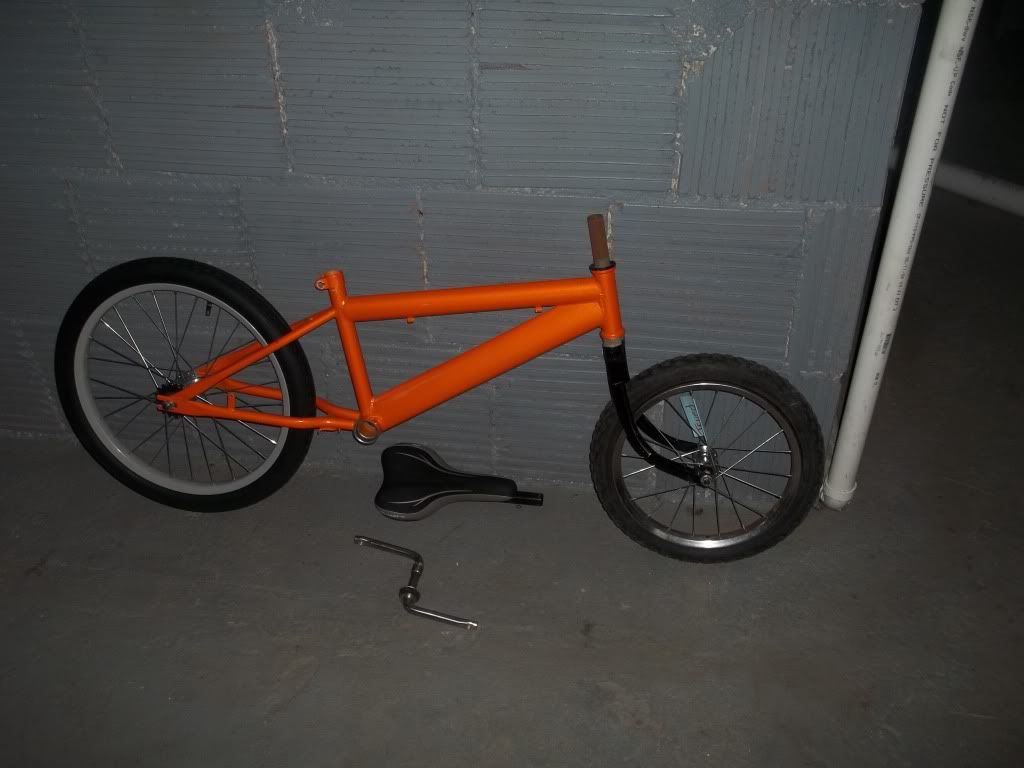
wow, time is flying, before you know it we'll be voting for the winner! and some of us seem to be time-challenged. tonight i managed to get a few things done. cleaned up the dropouts, cut down the steer tube, cut down the seatpost, and although i dont have the seatpost ready, iadded a taillight to the seat. i wish i woulda taken pics of how i did it, but its pretty simple. hope the finished pics explain it well enough.
bikes005-1.jpg

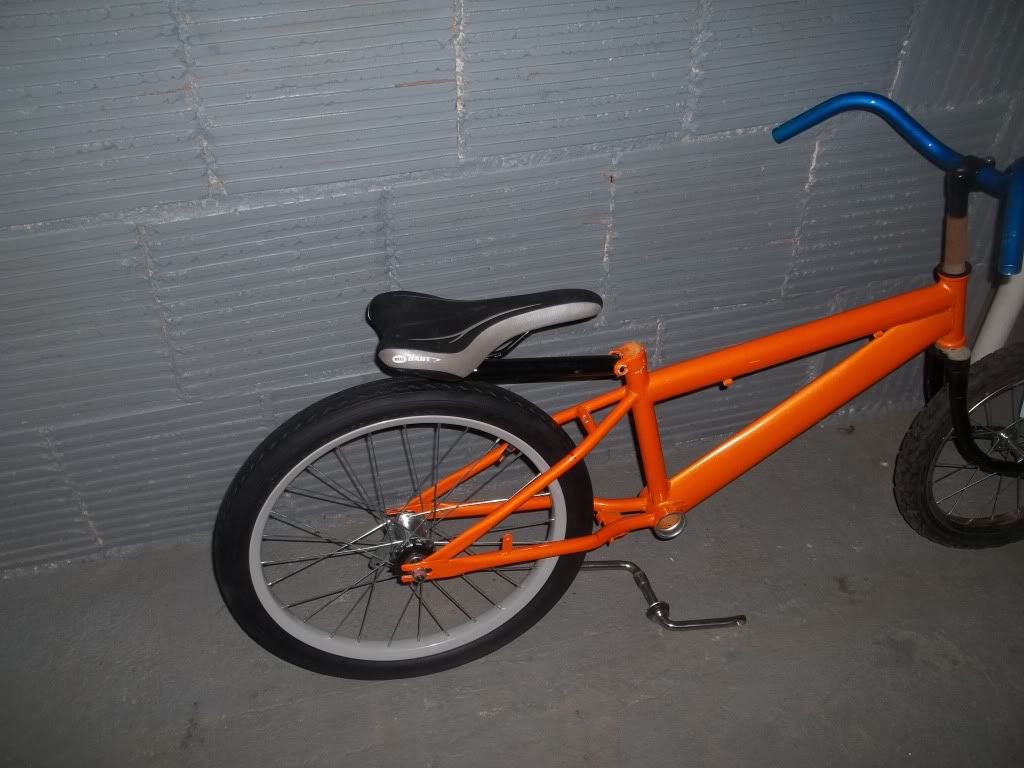
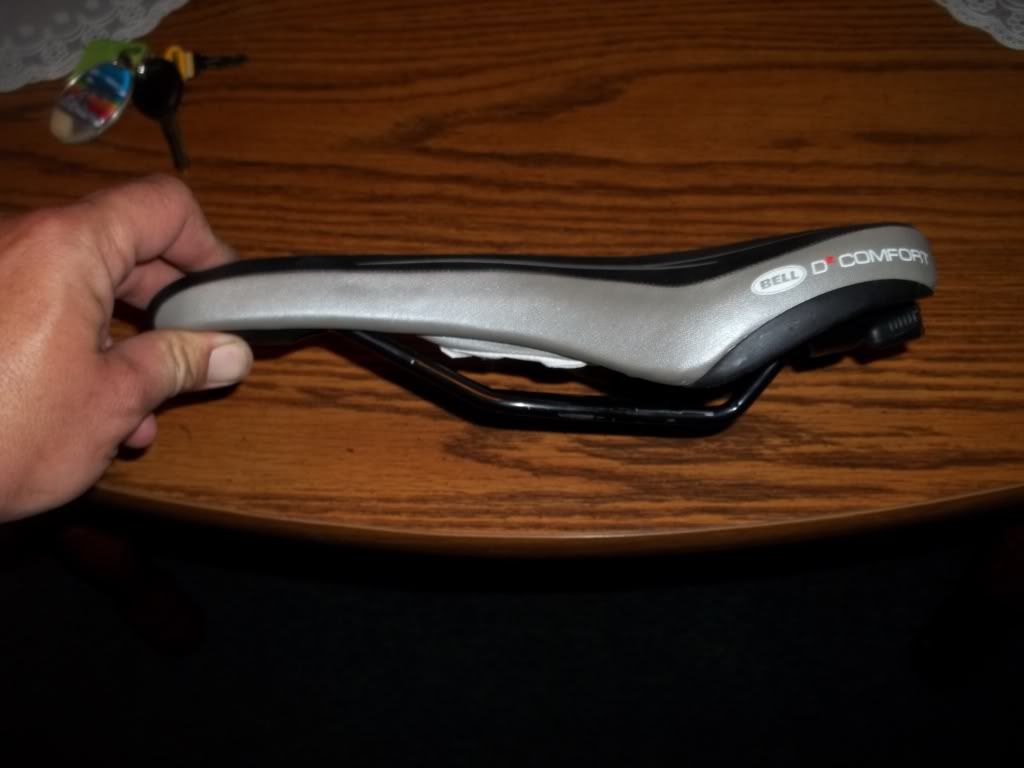
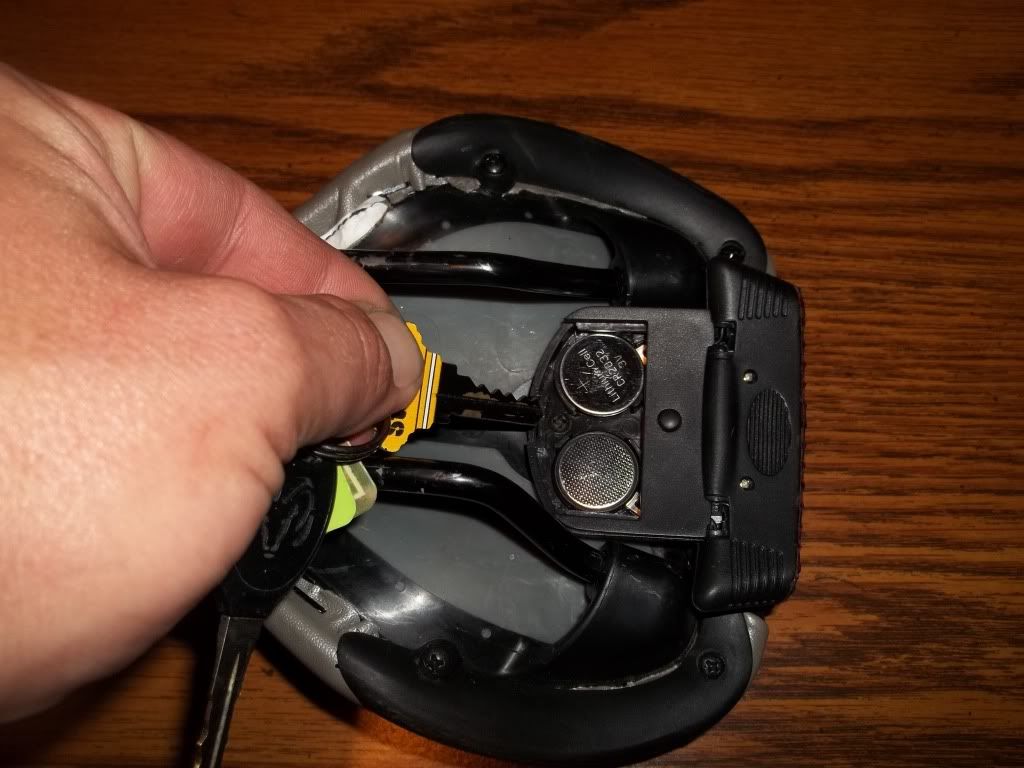
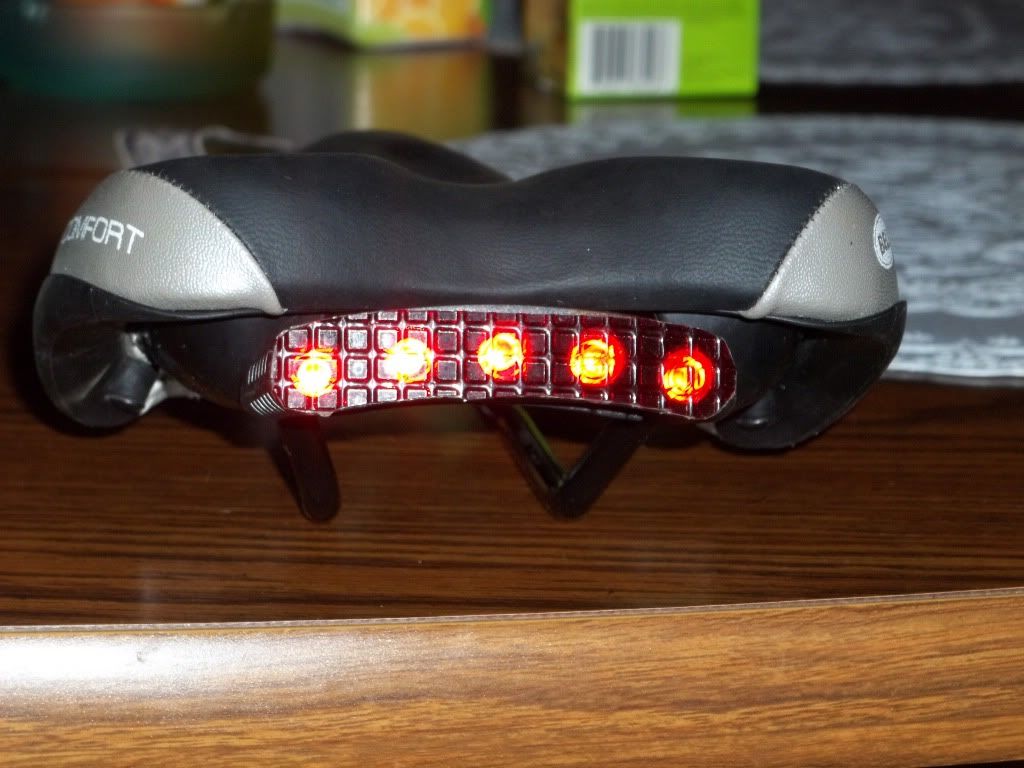
a mtb seat i bought thinking it would be comfy, but it looks better on this project. hard to see the light in this pic. its a hat-brim headlight from the dollar store, the day i got them (bought a few) i knew they would become bike lights. i broke off the piece that clips to your hat, opened the battery compartment and found a place to drill a small hole and run a screw into a hole on the bottom of the seat that i put a plastic plug into for the screw to thread into. if you look close, you can see the screw, pointed out by the key.
bikes004-1.jpg

then, i cut a piece of red plastic from a taillight repair kit to cover the clear led's.
bikes006-1.jpg

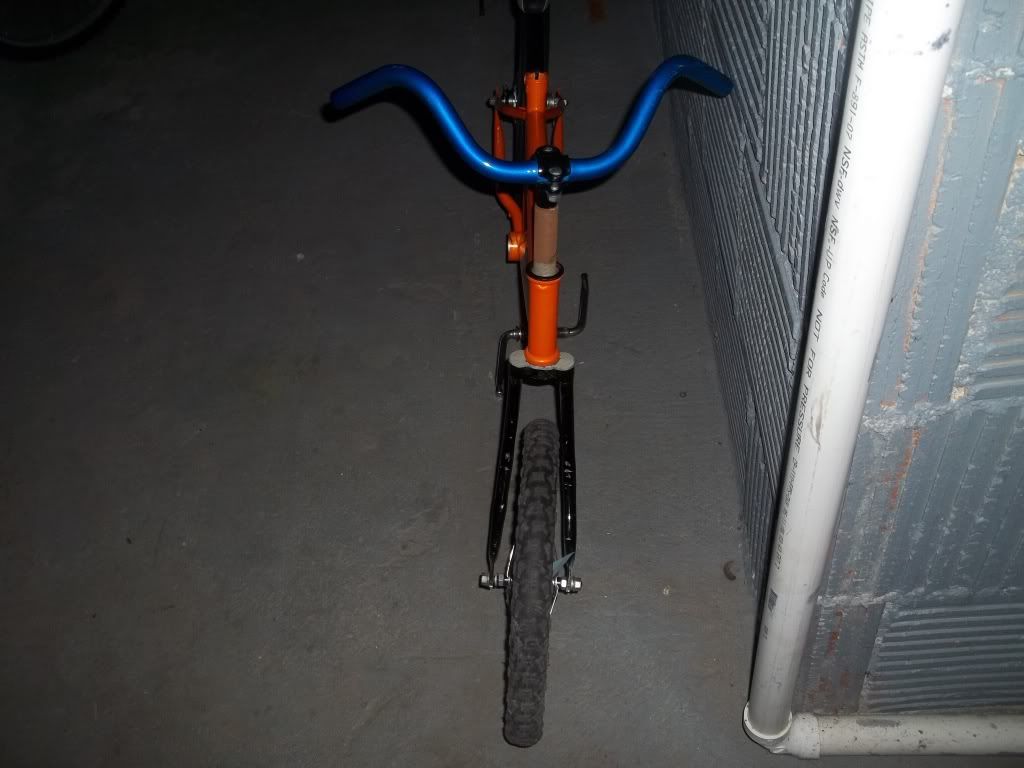
pretty simple, but i like it.also started scuffing the frame for paint, decided on my paint(will match the seat),and decided to leave the fork as it currently is, but have designed the paint scheme so the fork can easily be redone if we decide to bend it more in the future when the kids are used to it.all this done after i rebuilt the coaster on my sons ride, pulled the "new" engine for my pickup and took it to my buddys garage, and found time for a swim with the wife and kids. 3 weeks to go, my truck is taking priority, but im still hoping to finish this build on time.
 
Back
Top