Tribute to our friends

Rat Rod Bikes Bicycle Forum

Help Support Rat Rod Bikes Bicycle Forum:

This site may earn a commission from merchant affiliate links, including eBay, Amazon, and others.
wow girl you are such an insiration to me. you make me wanna get going on my bike asap (waiting on greg to get me some new tubing for a longer neck).gosh i should just have you come over and show me a thing or two instead of waiting for greg to get off his tush and teach me. :roll: cant wait to see ur finished product its gonna be great!! :p :p
 
You're making that frame look so much better than it did when it was stock! I've got a feeling that this is going to be a beautiful bike. :) Any plans on colours/finish?
Oh, and nice shoes! :lol:
 
VERY NICE WORK
you do very good job there better then manny guys :lol: :lol:
we are very proude to have you here to show us how to handle the grinder not only the lipstik like others :lol: :lol: :lol:
 
Dr. Tankenstein said:
Any updates on your build?

Cheers!
Dr. T
Thanks for checking in Dr. T . . . yes we have some new pics, but my daughter wants to do the posting, and with the holidays and school, etc. she's been busy. I'll have her do an update soon.
 
Fireproof said:
Dr. Tankenstein said:
Any updates on your build?

Cheers!
Dr. T
Thanks for checking in Dr. T . . . yes we have some new pics, but my daughter wants to do the posting, and with the holidays and school, etc. she's been busy. I'll have her do an update soon.

Nice! I've been looking forward to updates too. Really curious to see how it's coming along! :)
 
This is a great build! I have thought about splitting a top tube like that, but you are the first one I've seen do it. I'm looking forward to seeing your latest update.
 
I've been in the dark on this build until now and...... :shock: she is doing an absolutely awesome job! Looks like we have some serious competition for this years show circuit! Good job Mark, she really raised the bar for all of us now! Let's see an update! :D
 
Here’s the update you’ve all been waiting for! I learned how to measure with a caliper and used one to check the opening between the two parts of the top bar. This was to see if both sides were even. We marked the differences and ground those particular spots down with a flapper wheel. We got the opening within about 0.030in between the sides (part of our plan).
laylaschopperg006-1.jpg


This is how to read and properly use a caliper. This is the dial of the caliper. There are 100 lines on the dial. Each one represents 1 thousandth of an inch. It currently reads 0.053in.
laylaschopperg002.jpg

The little numbers on the metal bar each represent 1/10 of an inch, or 100 thousandths. The edge of the bar is not quite to the 1, hence it reads 0.00.

laylaschopperg004.jpg

This is the bar when it reads 0.50in. Then to get the final reading, you add what the dial says. If you cannot read it, it says 0.053in. Add them together and you get 0.553in.


laylaschopperg005.jpg

This is how you read multiple inch measurements. On the bar, you can see a larger 5 raised above the other numbers. This tells you that it is 5.0in. Then you add this to the other two measurements, the littler numbers on the bar and the ones on the dial. They still read the same thing as previously, so 0.553in. Add that up and you get your measurement, which in this case is 5.553in! Now, if you didn't previously, you know how to read a caliper! :)
 
Ok, i'm 33 and havn't used a caliper let alone know how to read it? :oops: Thanks for the lesson!
 
WOW!
I am totally impressed.
I have a 14yr old daughter that I am VERY proud of. She is my lil tomboy, but now that she is in Jr High, she found girlie girls. Now she acts like one.
Any way, you must have one proud Dad! I cant wait to see the finished bike.
Devil with the torch. Angle with the Hammer!
 
Recently my dad found these locker doors in the dumpster behind his shop. We have a good use for them . . .
Copy2oflaylaschopperg005.jpg


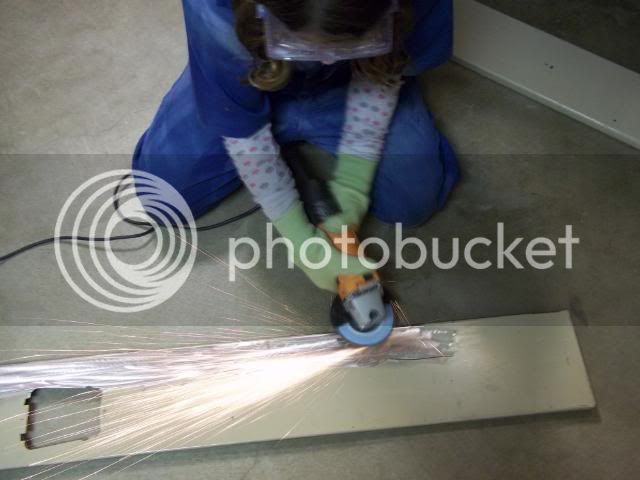
We ground the paint off with a flapper wheel . . .
Copy2oflaylaschopperg007.jpg


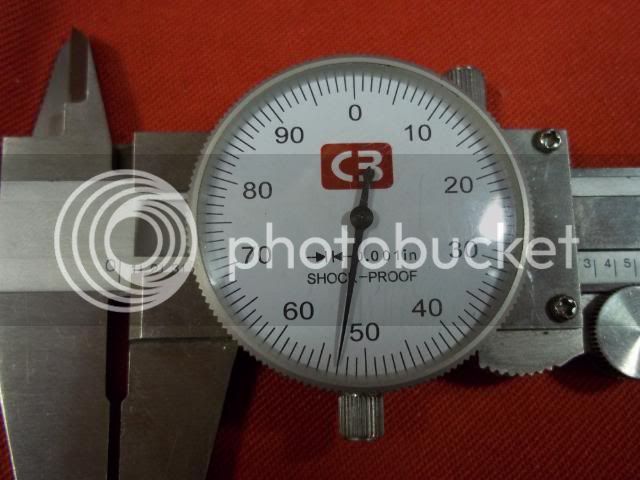
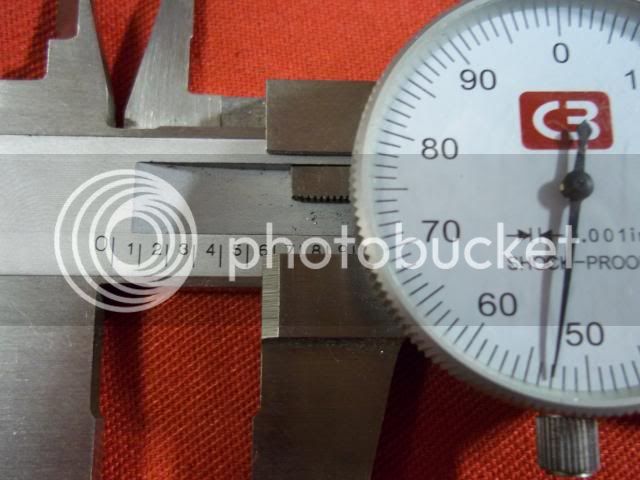
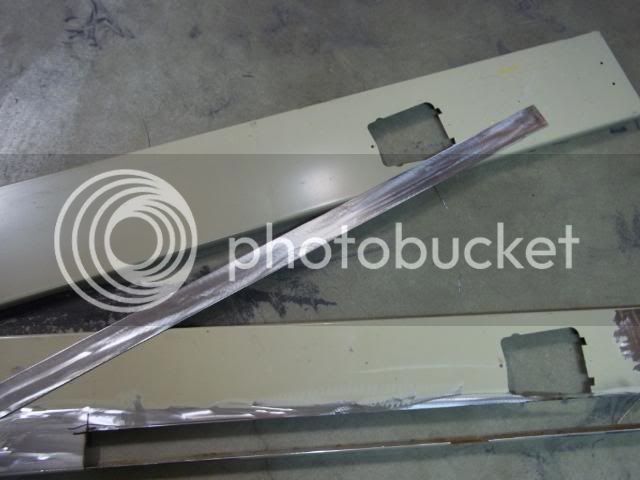
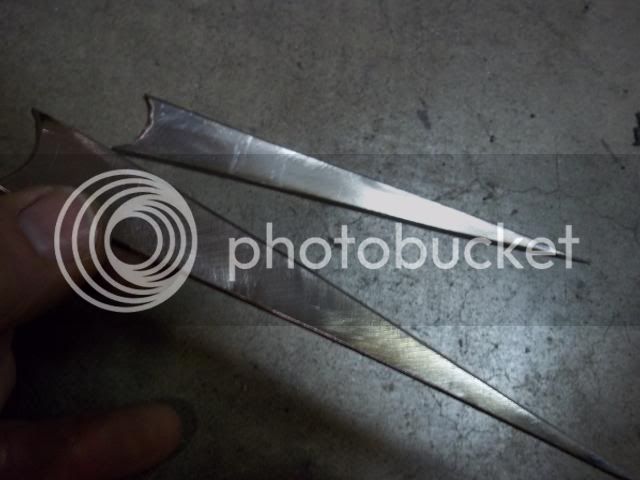
. . .measured it so it would be the right width for its purpose . . .
Copy2oflaylaschopperg011.jpg


. . .and cut it out.
Copyoflaylaschopperg013.jpg


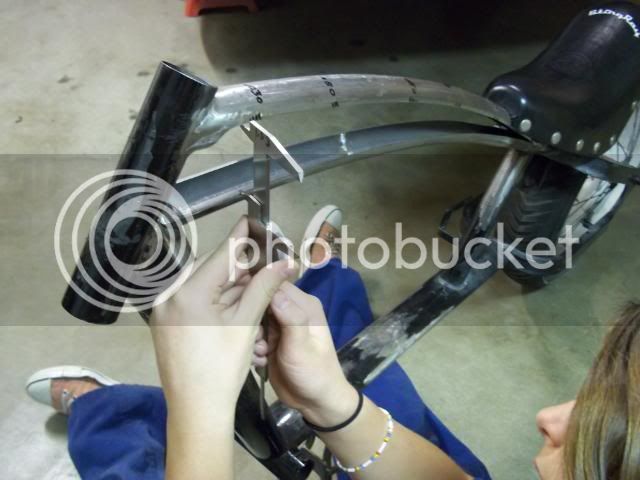
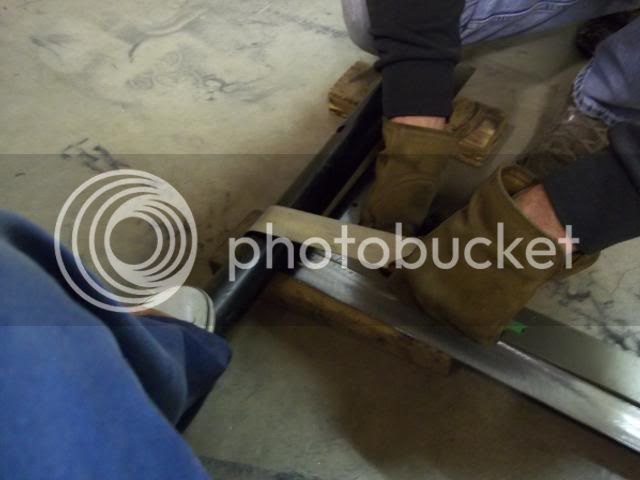
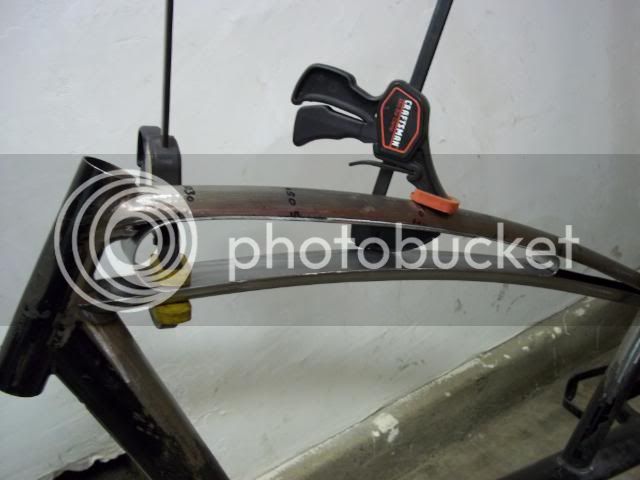
Here we are bending it around a steering column after firing it with a torch.
Copyoflaylaschopperg015.jpg


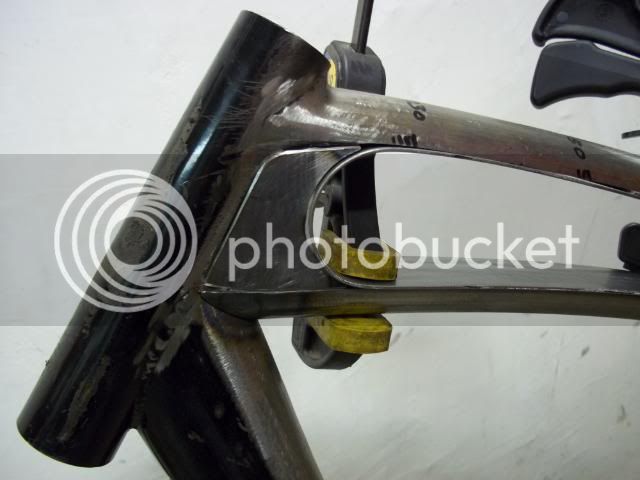
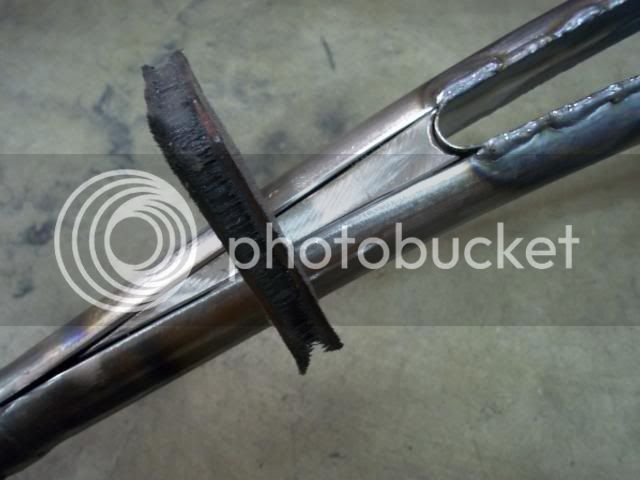
This is how it fits in between the top bars(that being how it's used, obviously).
Copyoflaylaschopperg016.jpg


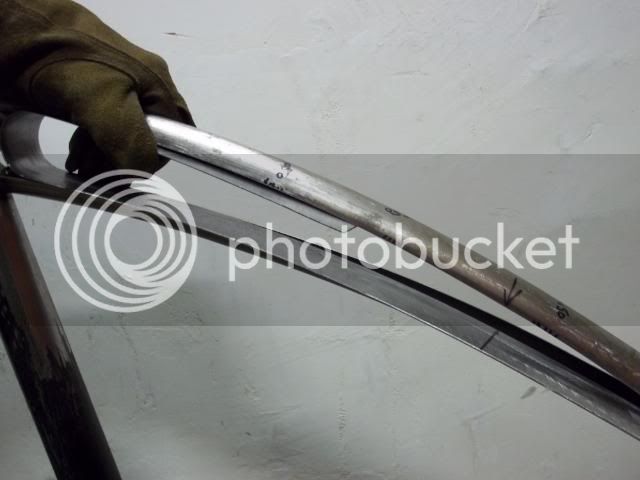
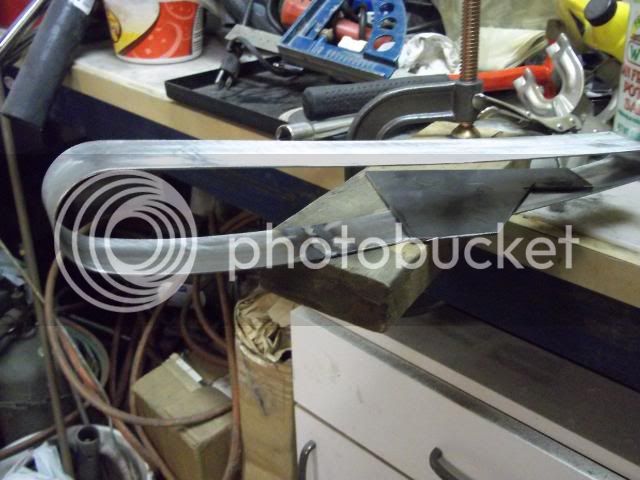
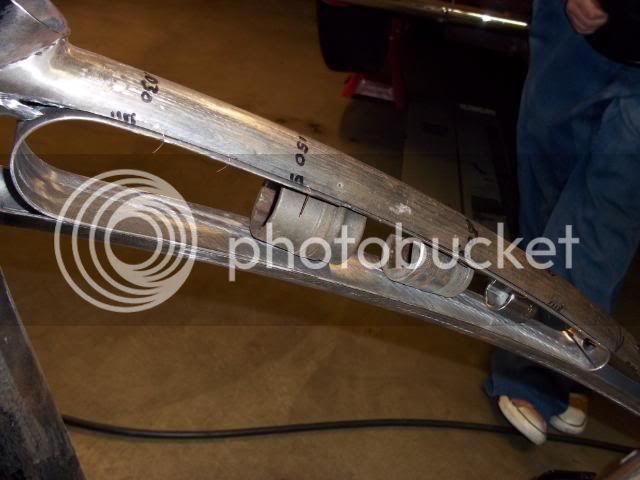
How it fits after bending the rear end(no, not its butt :roll: ).
Copyoflaylaschopperg018.jpg


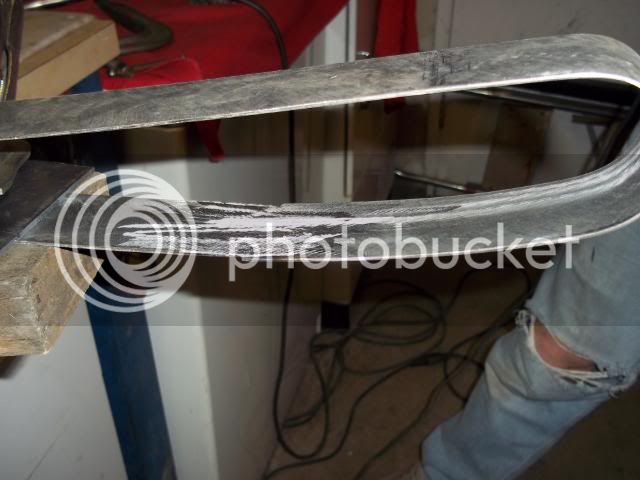
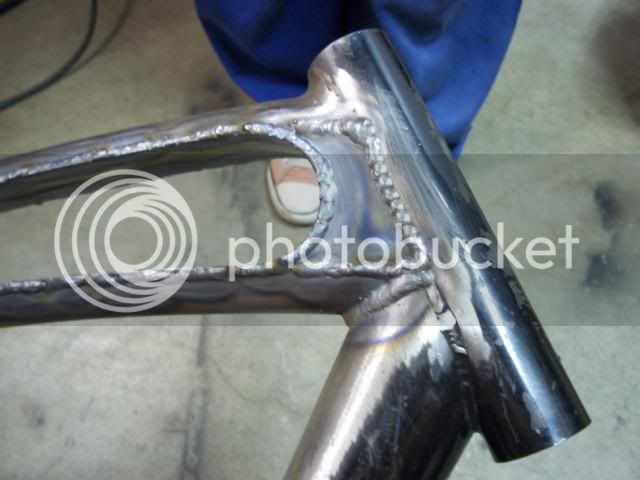
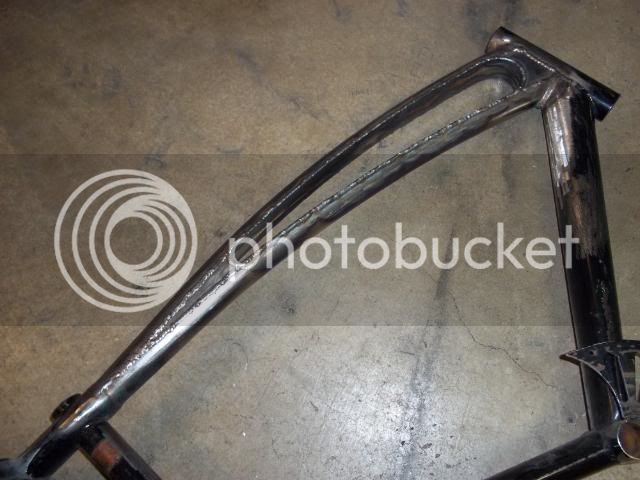
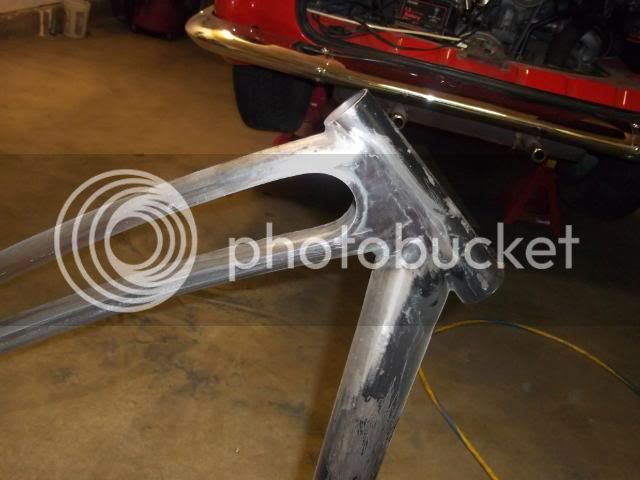
Here it is after being welded.
Copyoflaylaschopperg021.jpg


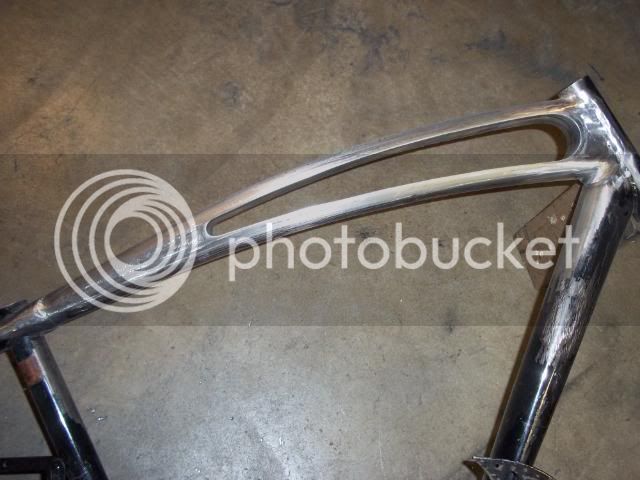
After grinding down the weld.
Copyoflaylaschopperg025.jpg


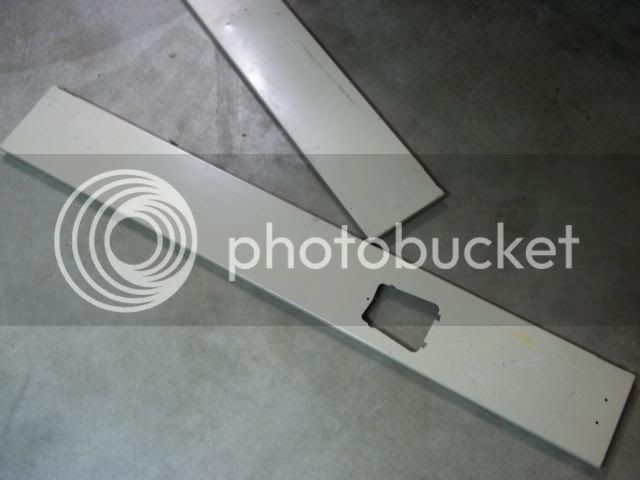
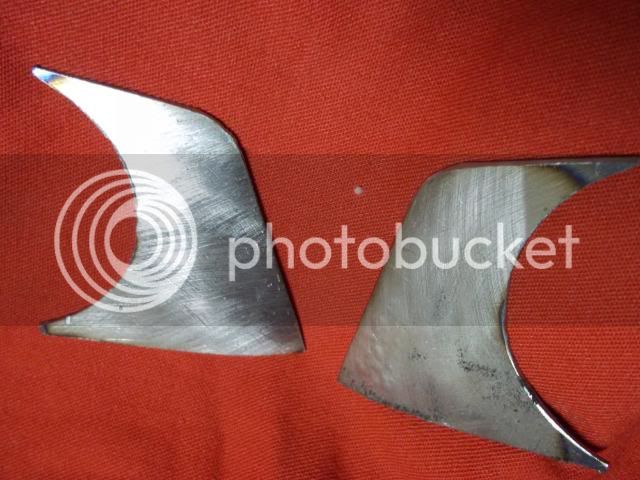
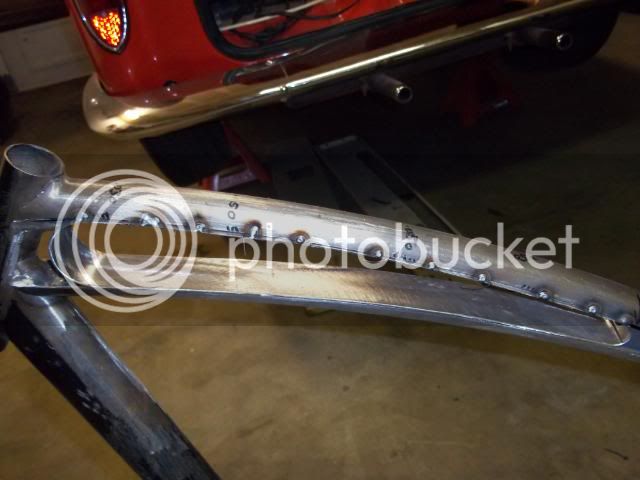
We then cut out two more pieces from the locker door to fit in the space behind the head tube . . .
Copyoflaylaschopperg002.jpg


Which looked like this.
Copyoflaylaschopperg004.jpg


Looks like they fit, don’t they! :mrgreen:
Copyoflaylaschopperg019.jpg


More pictures to come, worked on it today . . .
 
Re: Tribute to our friends: updated 1-16

So yesterday me an my dear ol’ dad worked on my bike for a while and got A LOT done. Here, we are preparing the bike for welding. We used Mig wire to create a gap where we were going to weld so that we could weld in there without burning away too much of the edge of the insert . . . also we added various sized sockets to hold them in place and to create tension.
laylaschopperg022.jpg


After tack welding the seams . . .
laylaschopperg024.jpg


We then welded in the gaps between the tacks.
laylaschopperg025.jpg


Close up on the weld here . . .
laylaschopperg029.jpg


More pieces we cut out of the locker door . . .
laylaschopperg033.jpg


Held in w/ a magnet . . .
laylaschopperg034.jpg


Next we welded them in.
laylaschopperg036.jpg


Then we ground down all those welds . . .
laylaschopperg043.jpg


Yet another closeup on the front . . .
laylaschopperg046.jpg


And last but not least, thank you everyone for all the positive comments! Really appreciate it! :) Oh and I hope you don’t mind all the photos . . . believe me, we have even more than these. :mrgreen:
 
The Quality of your work is outstanding......But it's YOUR imagination, that boggles MY imagination! Great build!
 

Latest posts

Back
Top