


EDIT 6/26/2018: I had to reattach all of the photos, so chances are there are additional images compared to the original post.
This is a build my Dad did over the last few weeks, he is not a member here or any forum... I knew he had purchased a rusty old trike but didn't realize what he had in store for it until after several pieces were built, so in the beginning there are only a limited amount of photos. Please forgive the watermarks, I wanted to make sure he retained credit for the build where ever the pictures may turn up.
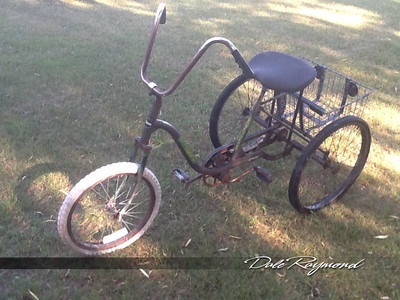
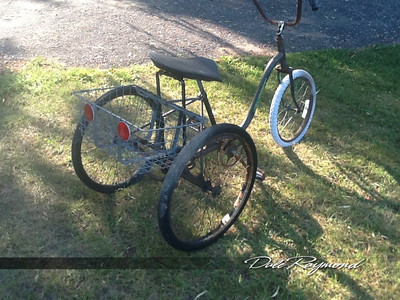
Before photos:
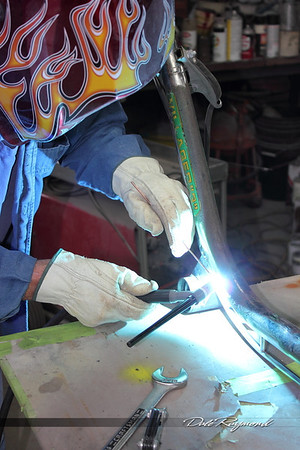
and it begins...
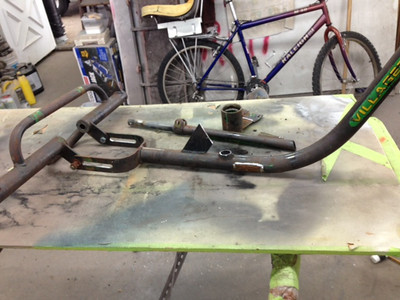
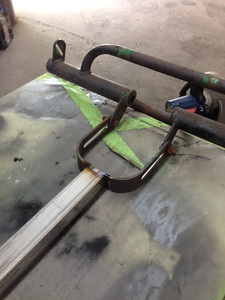
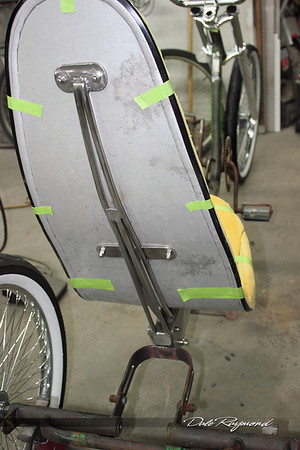
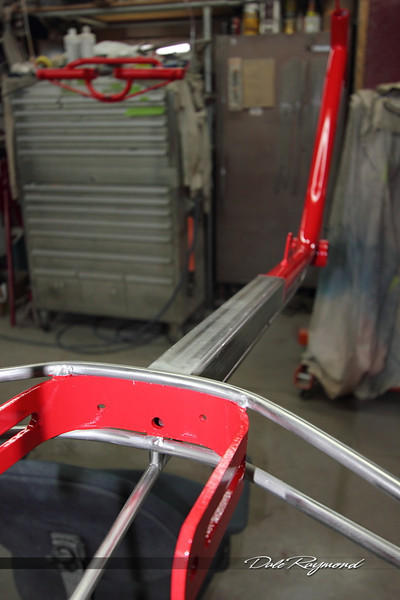
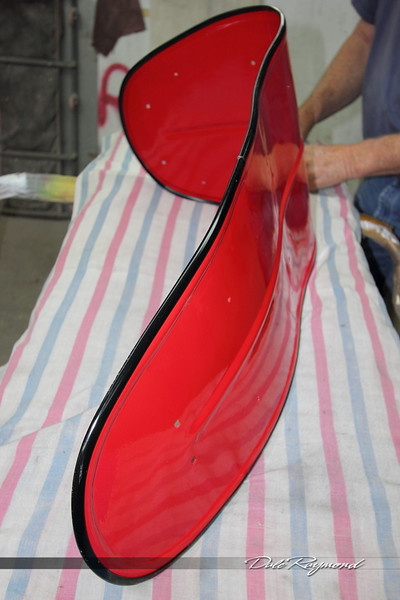
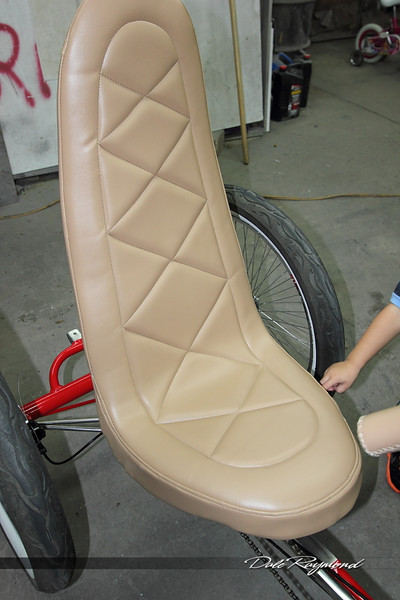
Square tubing was used to make the seat easily adjustable for all size riders, the seat even tilts. Everything you see welded is stainless, which will remain unpainted, all nuts and bolts are also stainless. The seat was formed with an english wheel and a bead roller. (both he also made)
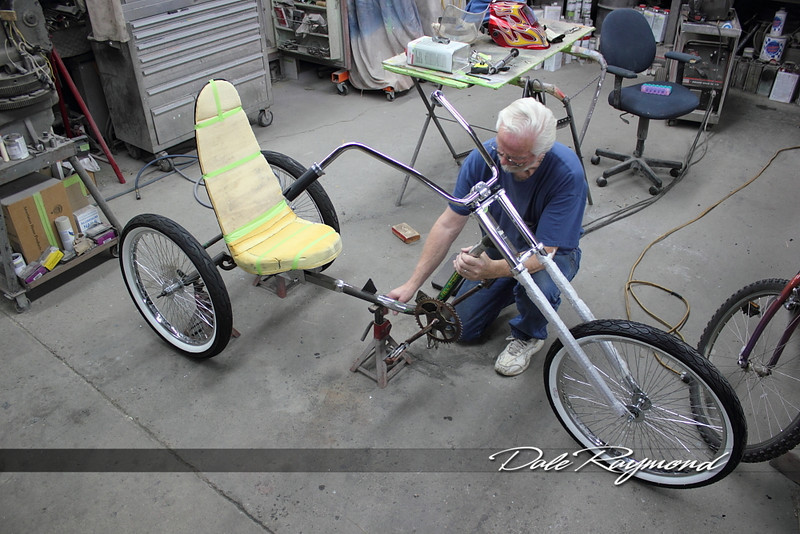
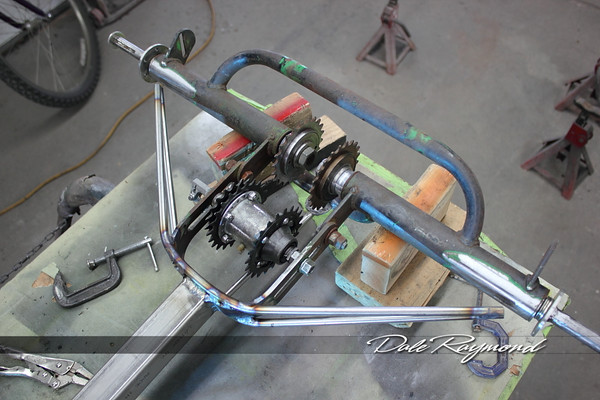
First mock up with jack stands holding the weight, this allowed him to check length while sitting on it.
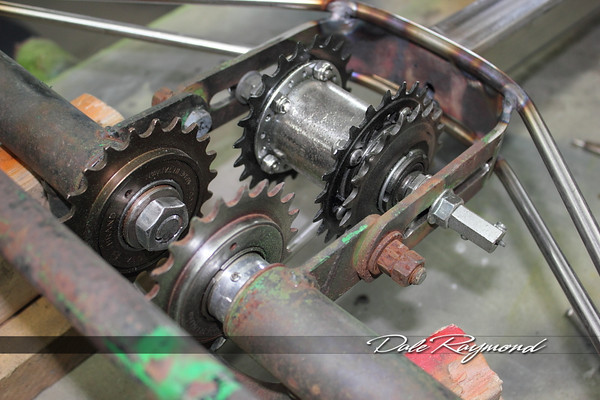
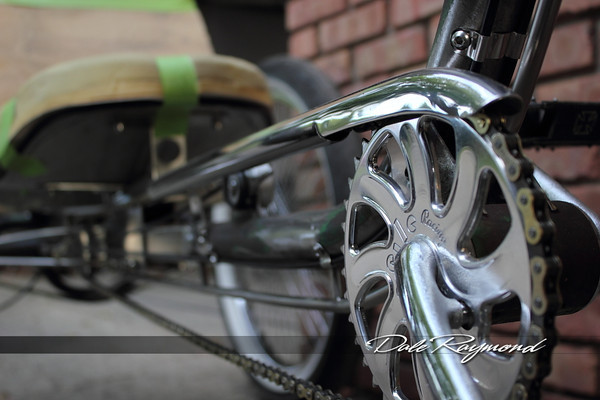
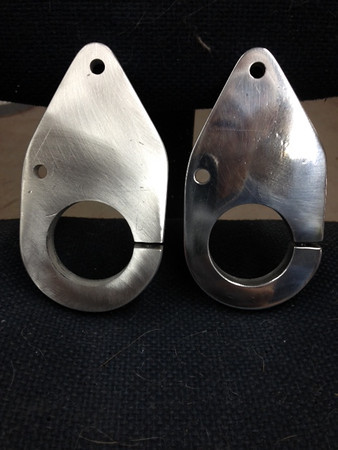
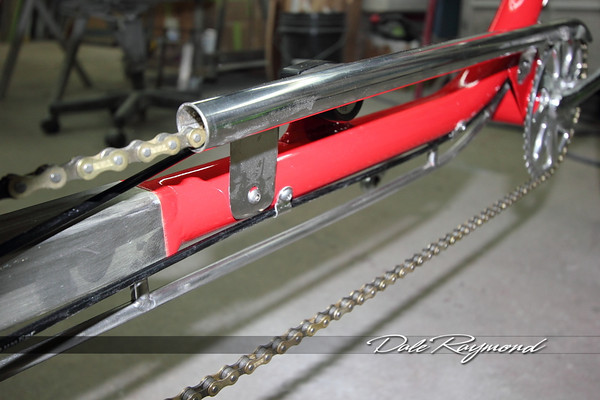
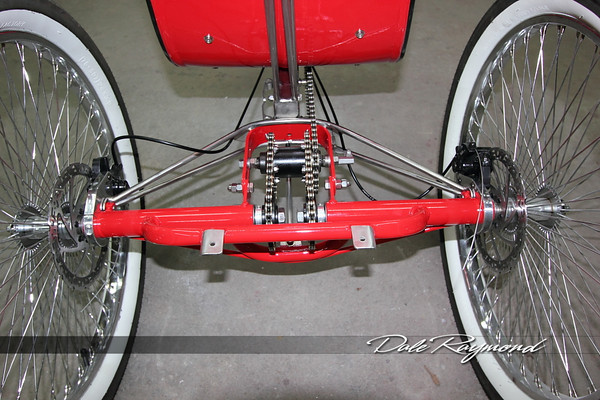
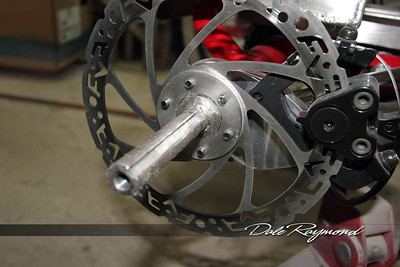
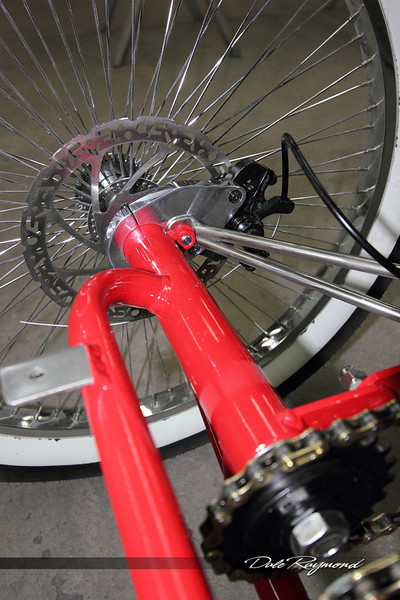
The bottom bracket was tacked, then later adjusted for a tight chain. He also made the disc brake adapters.
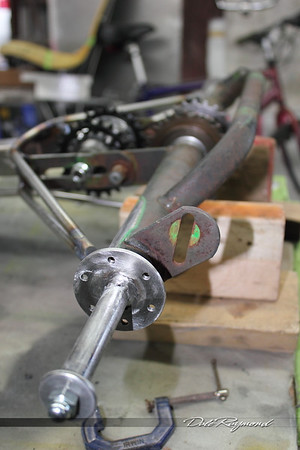
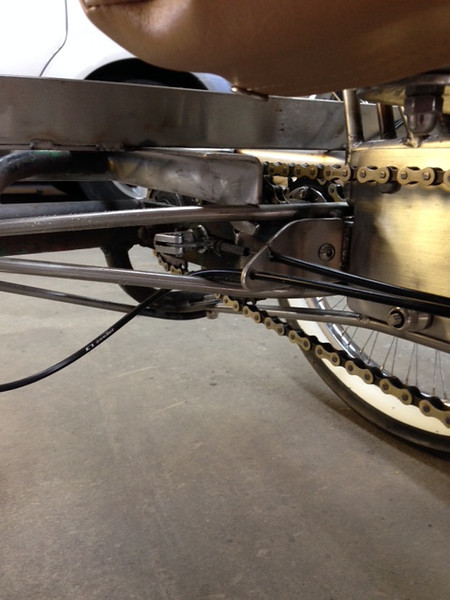
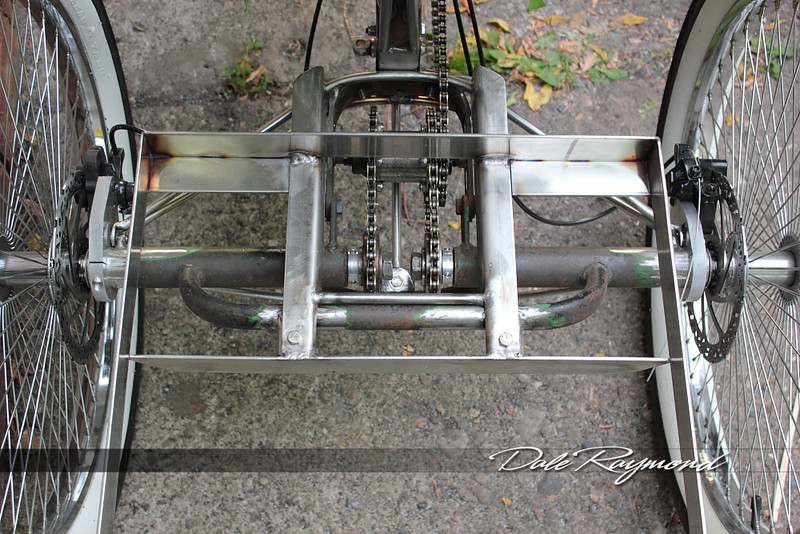
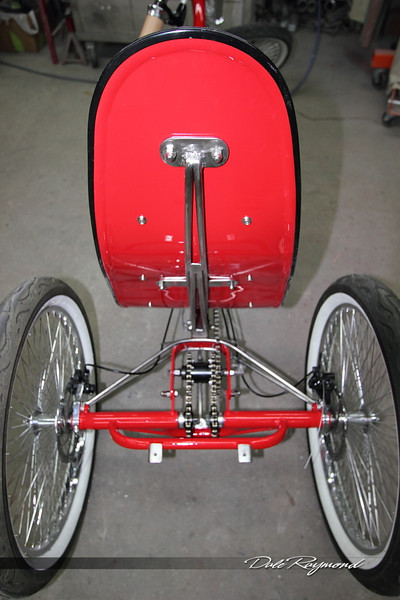
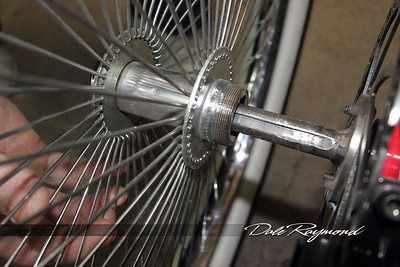
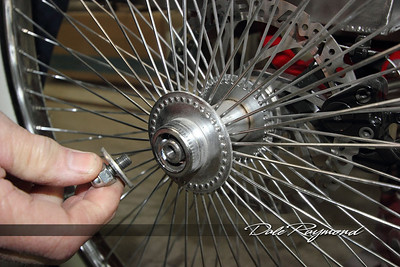
Both rear wheels are now powered, freewheels are on each side, 3 speed hub modified.
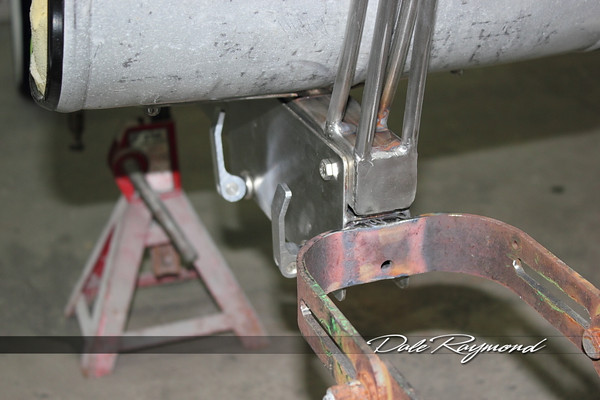
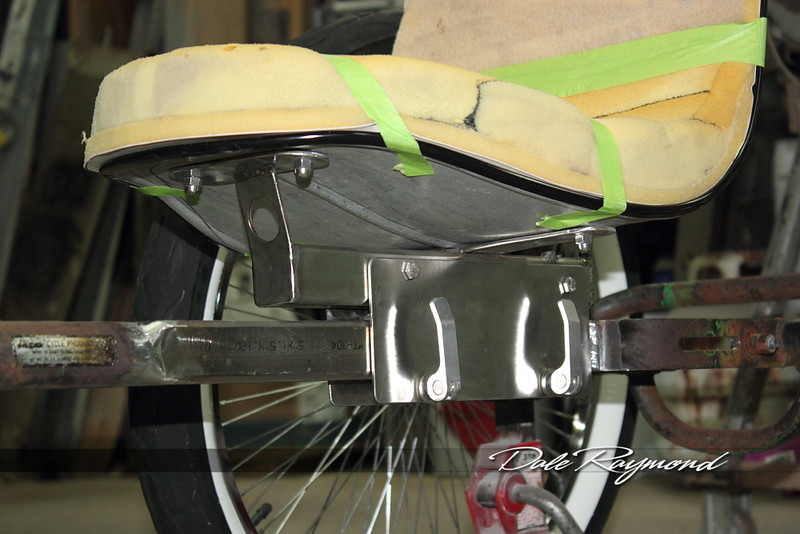
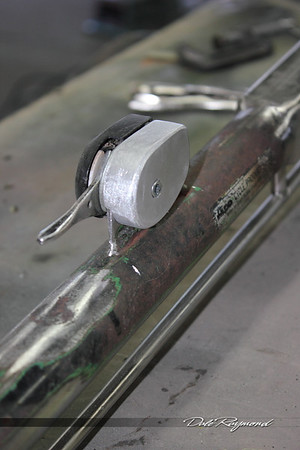
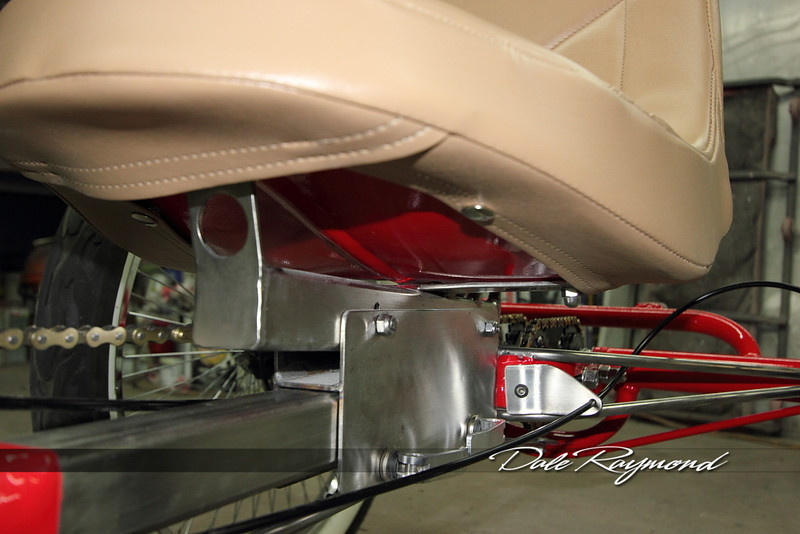
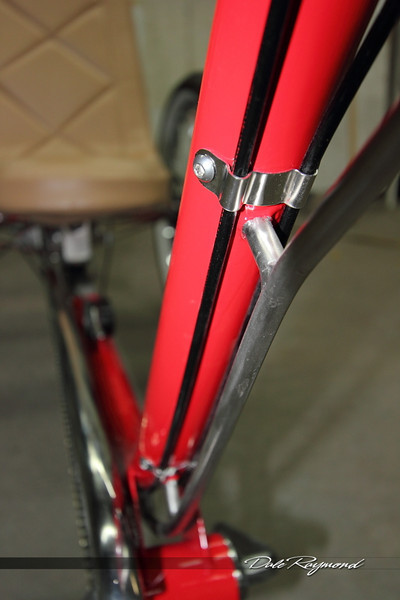
Rear needed more bracing on the weak point, still designed to unbolt. Solid piece of aluminum shaped to match the shifter.

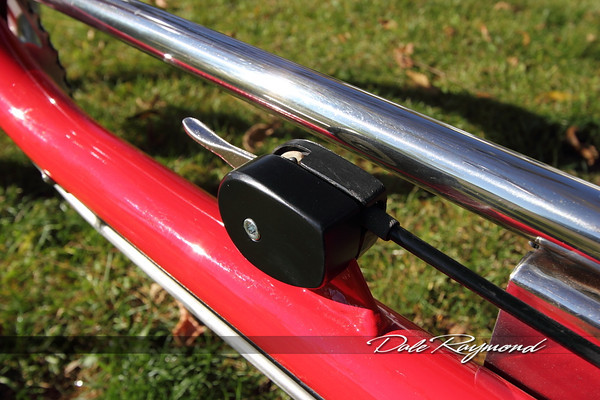
Cable brackets shown underneath.
Chain guard is a stainless boat railing.
Thick aluminum brake mounts and rear deck base complete.
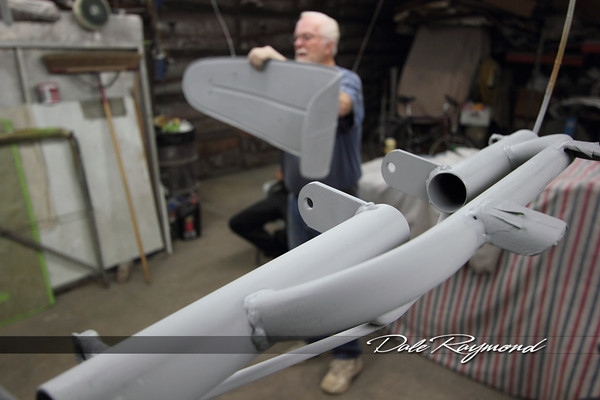
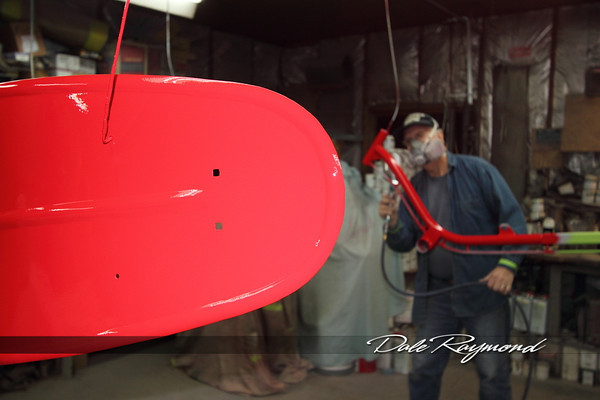
Primed, sanded and ready for paint. Filler primer, IMRON Elite SS polyurethane paint.

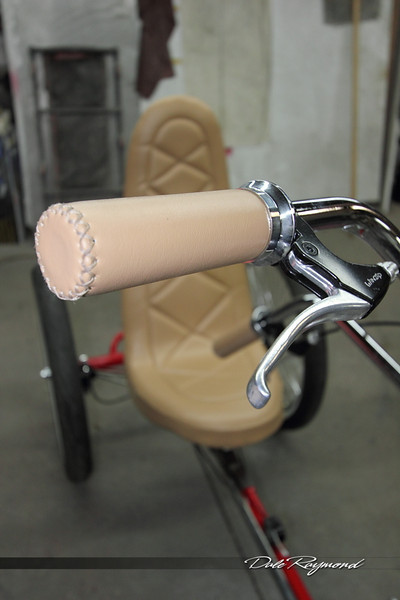
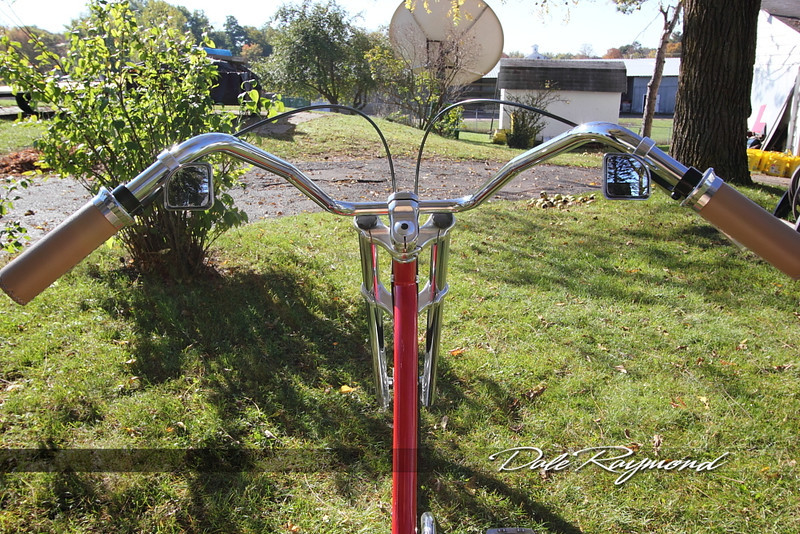
He also made the seat cover and hand grips.
Stainless cable guides, brake mounts polished.
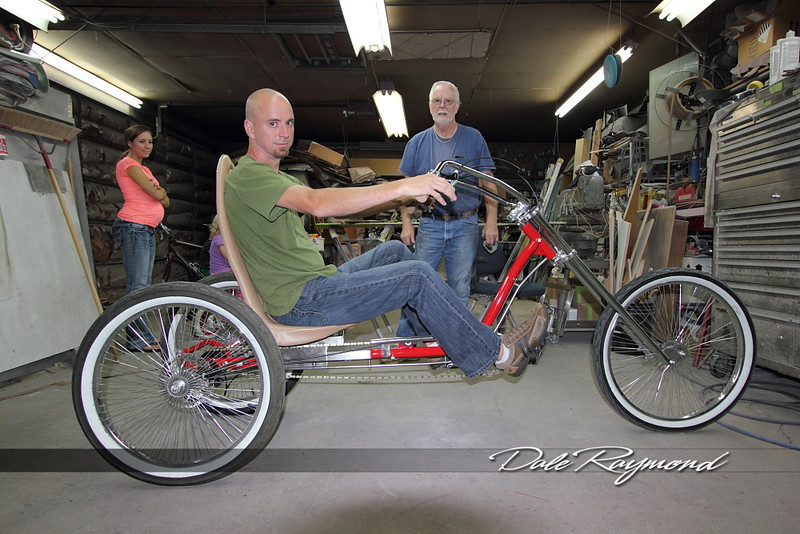
My brother Chris trying it on..... it fits.
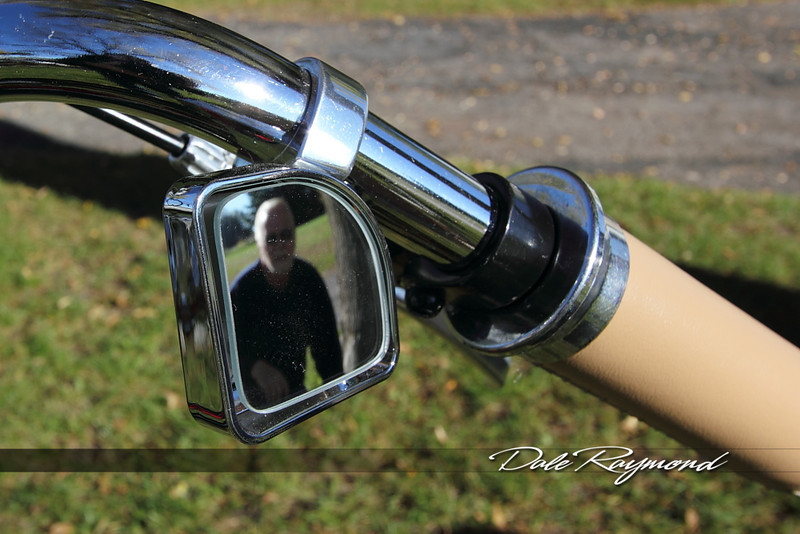
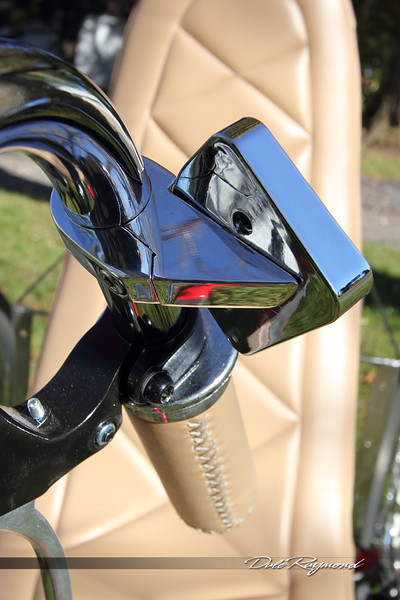
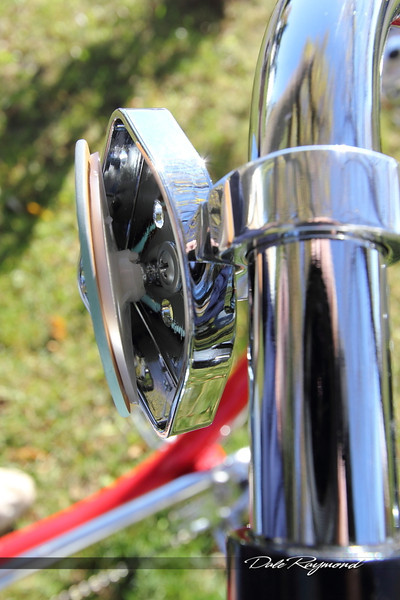
The mirrors come in pairs at some Walmarts, the mirror itself it adjustable separate from the housing.
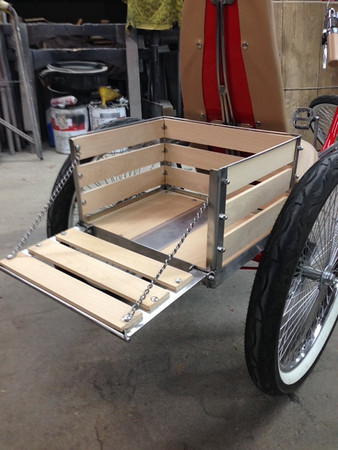
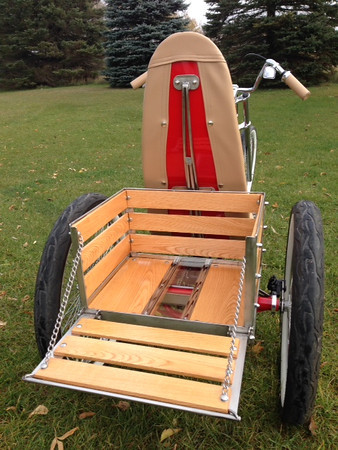
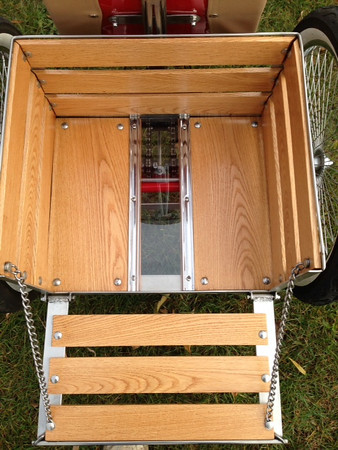
Stainless and oak crate with tailgate.

Clear Lexan over the chain drive.
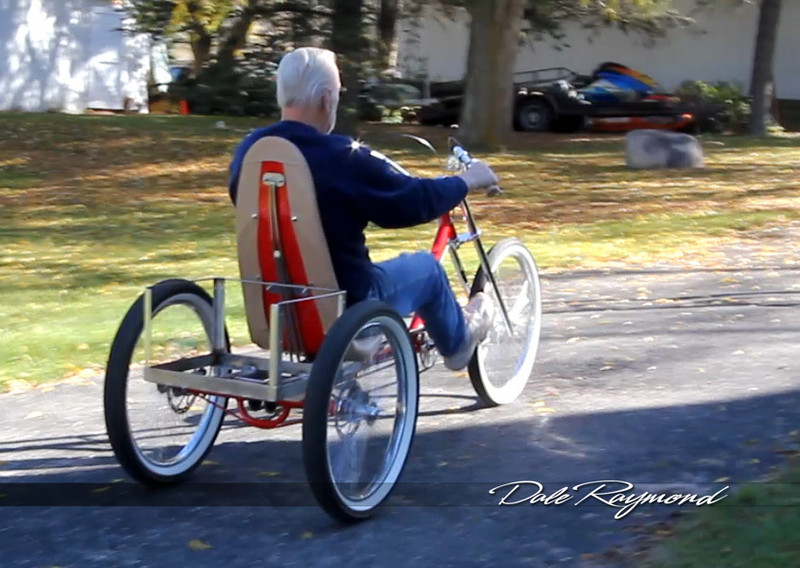
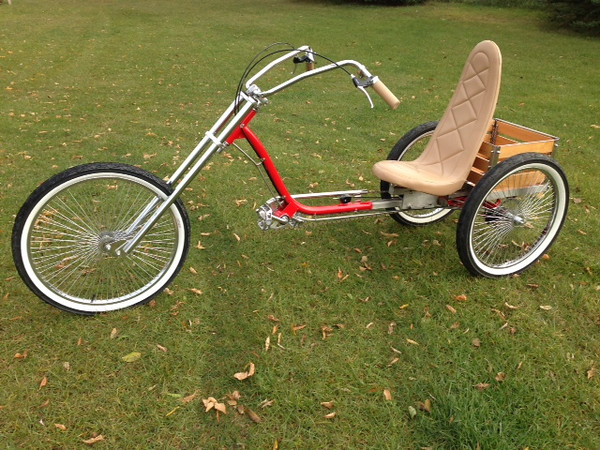
It is now complete!
Troy
This is a build my Dad did over the last few weeks, he is not a member here or any forum... I knew he had purchased a rusty old trike but didn't realize what he had in store for it until after several pieces were built, so in the beginning there are only a limited amount of photos. Please forgive the watermarks, I wanted to make sure he retained credit for the build where ever the pictures may turn up.
Before photos:
and it begins...
Square tubing was used to make the seat easily adjustable for all size riders, the seat even tilts. Everything you see welded is stainless, which will remain unpainted, all nuts and bolts are also stainless. The seat was formed with an english wheel and a bead roller. (both he also made)
First mock up with jack stands holding the weight, this allowed him to check length while sitting on it.
The bottom bracket was tacked, then later adjusted for a tight chain. He also made the disc brake adapters.
Both rear wheels are now powered, freewheels are on each side, 3 speed hub modified.
Rear needed more bracing on the weak point, still designed to unbolt. Solid piece of aluminum shaped to match the shifter.
Cable brackets shown underneath.
Chain guard is a stainless boat railing.
Thick aluminum brake mounts and rear deck base complete.
Primed, sanded and ready for paint. Filler primer, IMRON Elite SS polyurethane paint.
He also made the seat cover and hand grips.
Stainless cable guides, brake mounts polished.
My brother Chris trying it on..... it fits.
The mirrors come in pairs at some Walmarts, the mirror itself it adjustable separate from the housing.
Stainless and oak crate with tailgate.
Clear Lexan over the chain drive.
It is now complete!
Troy
Last edited:

