This is my first build that I'm posting here.
I started with a 70's Huffy frame last year, and have been collecting ideas and parts since then.
Now that I'm making some real progress it's time to post some photos.
My original design was hatched after lusting after an Electra Indy 3, In retrospect it would
have been cheaper and quicker to just buy one,but I don't regret the money or the time spent
at all, especially as this bike should be something that truly is an expression of my dreams.
I really want a beautiful old 30's bike; realistically it's not practical for a number of reasons,
not least of which is the cost. There are other issues, such as the need for multiple speeds
and strong front brakes since I commute to work in a hilly area. My bikes have to work for a
living.
My current bikes are an Electra Delivery 3 and a 90's Murray from Goodwill that I have
modified from a mountain bike into a Cruiser/Commuter (Cru-muter)
So, here are some pictures...
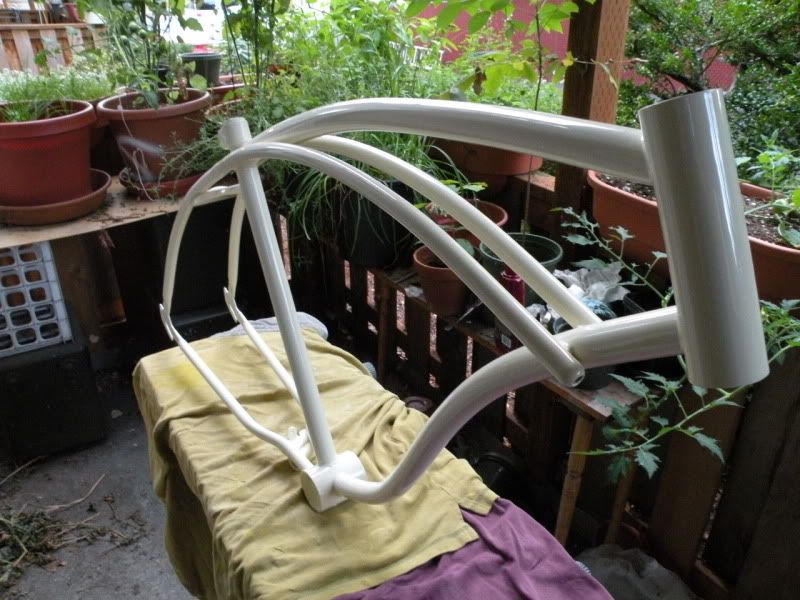
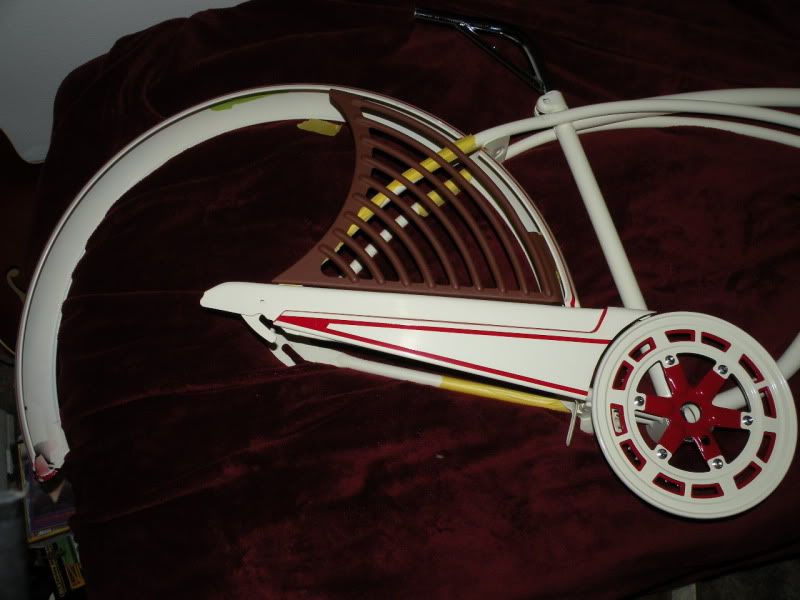
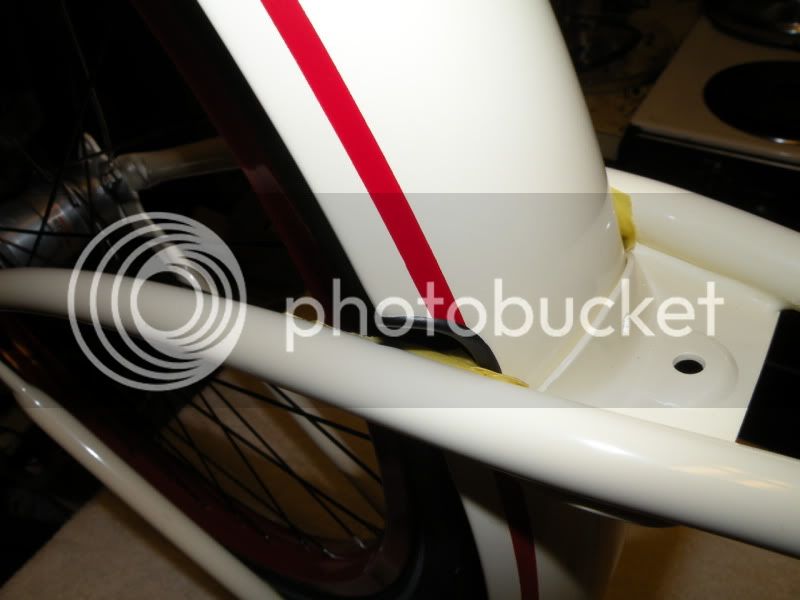
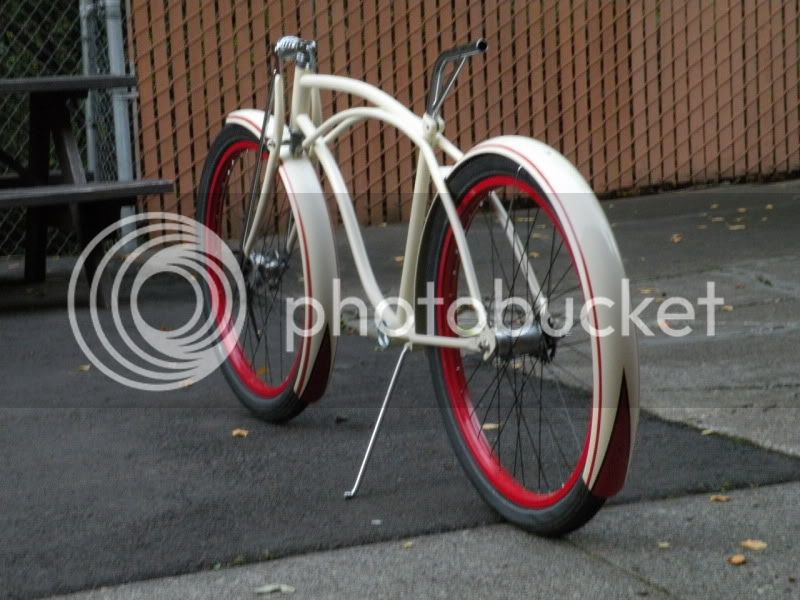
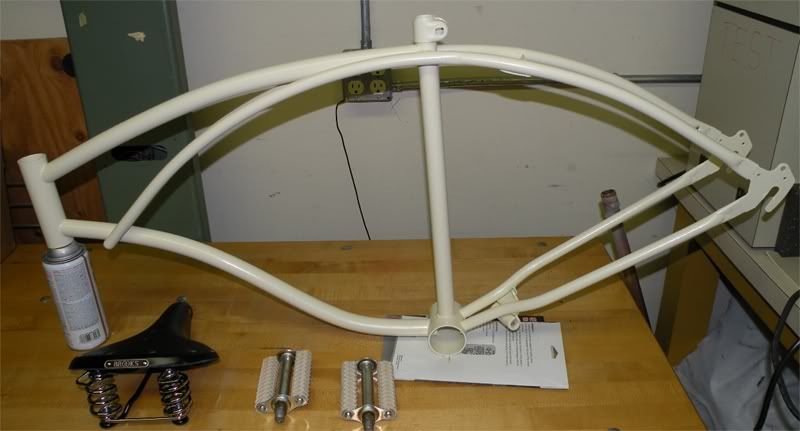
The frame, after sandblasting and the first coats of Rustoleum Antique White
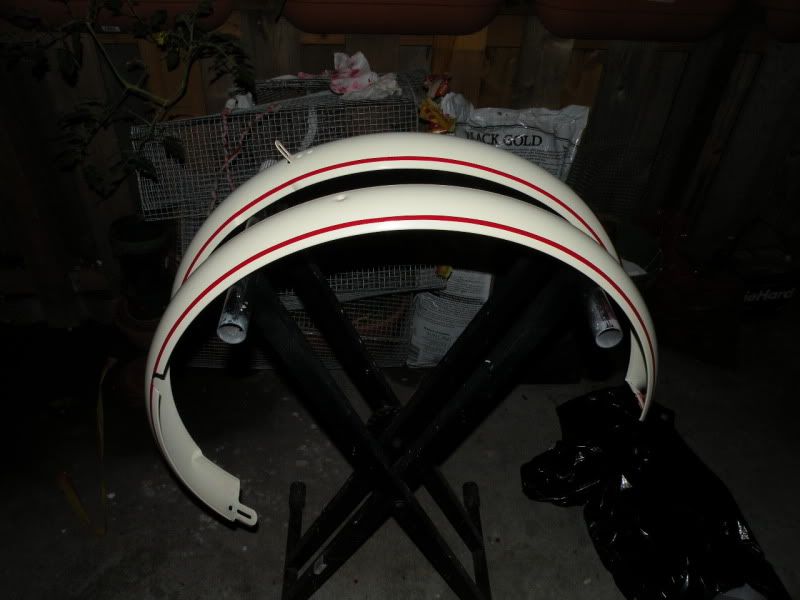
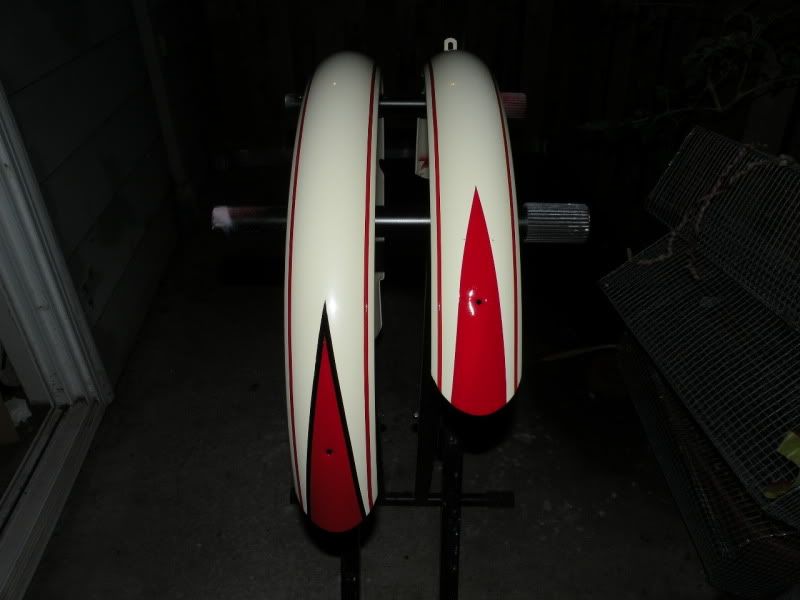
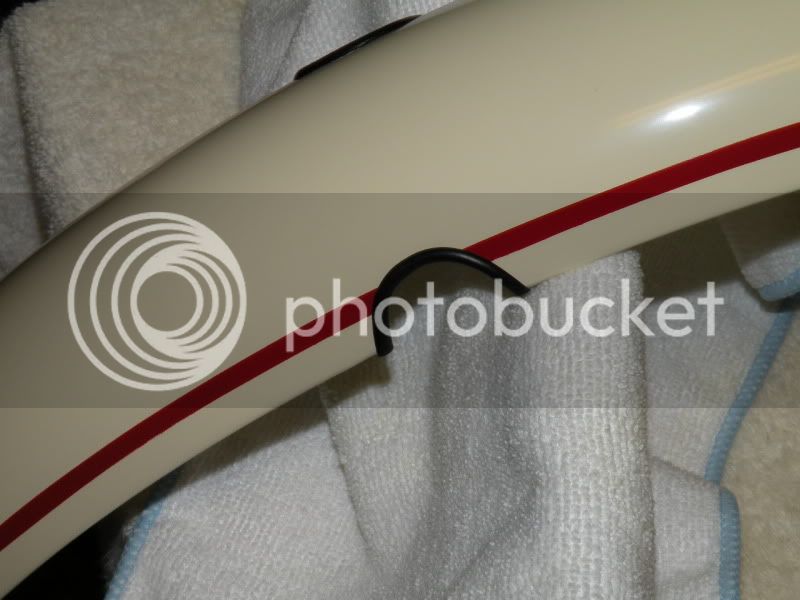
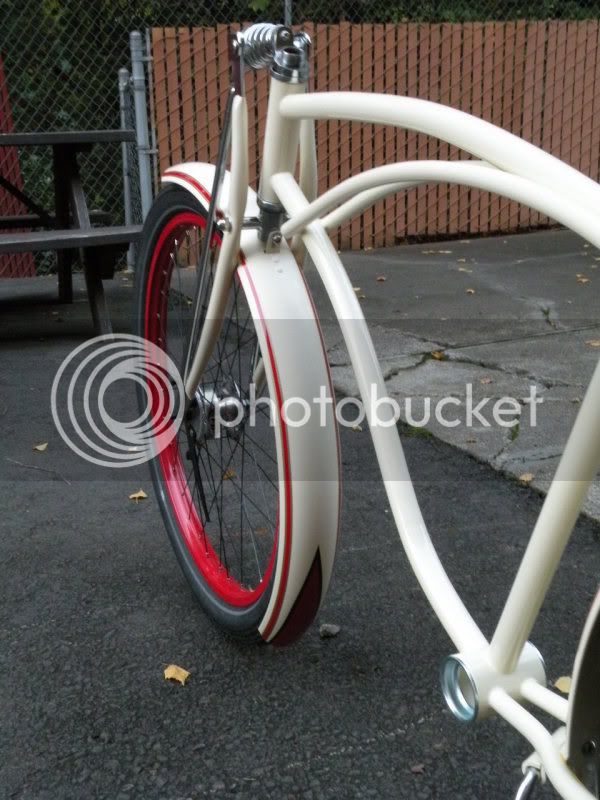
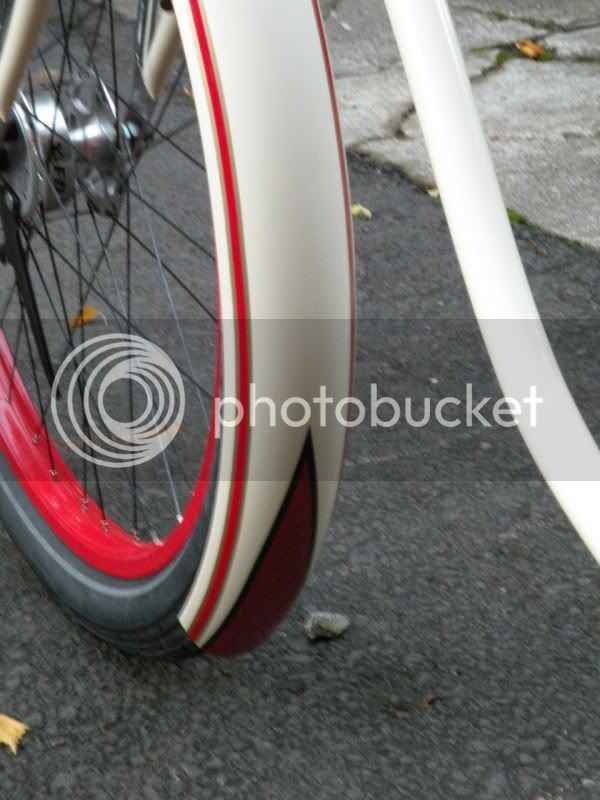
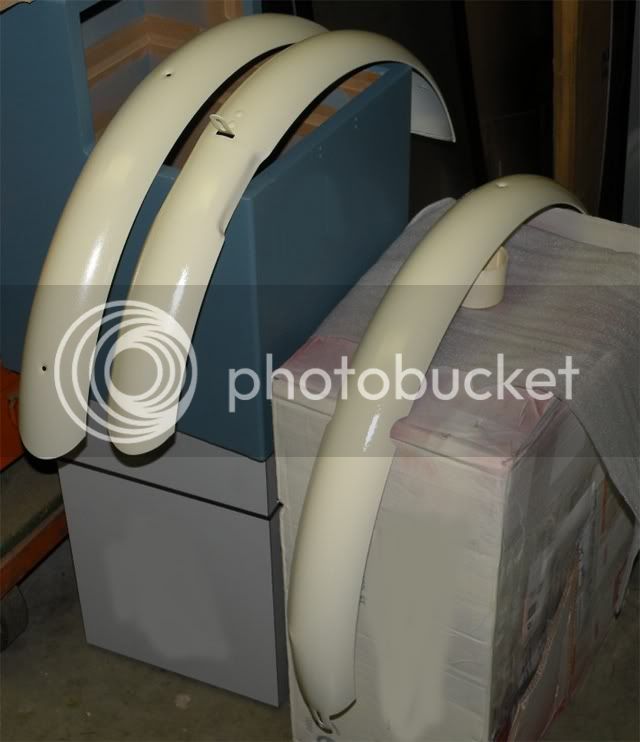
Fenders are Nirve street sweepers with a little something extra, Wrap-Around 2 piece front
and rear.
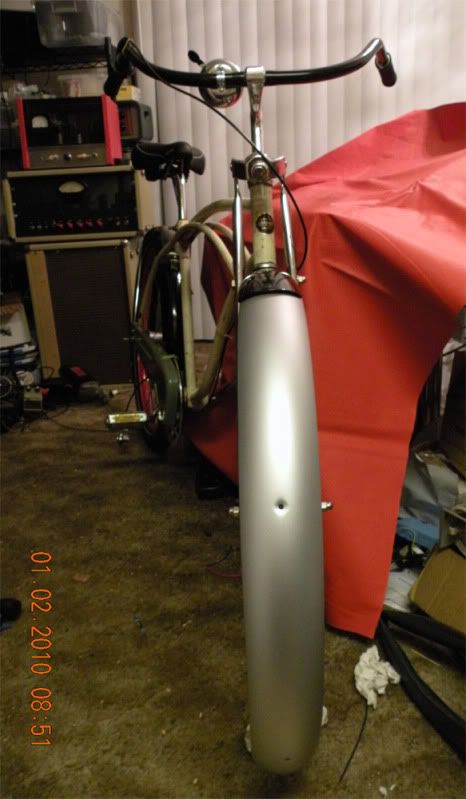
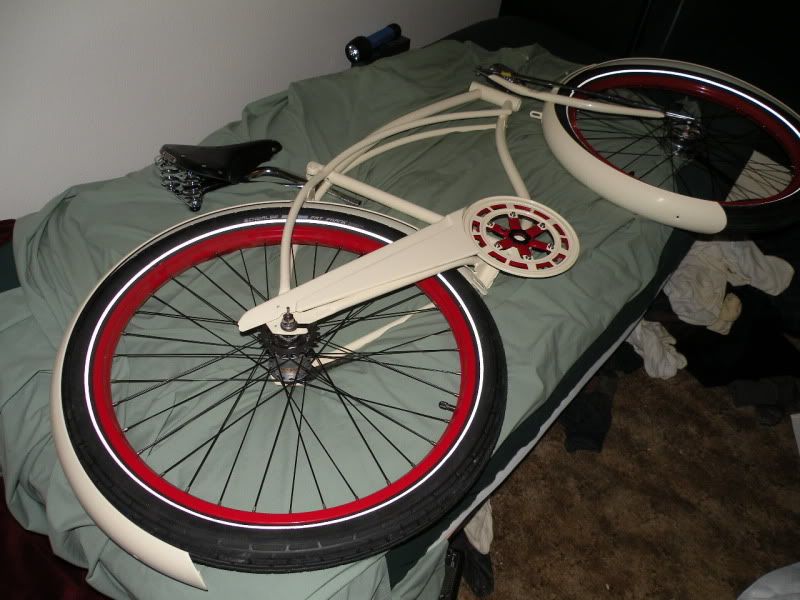
A quick mockup from last year prior to stripping the frame
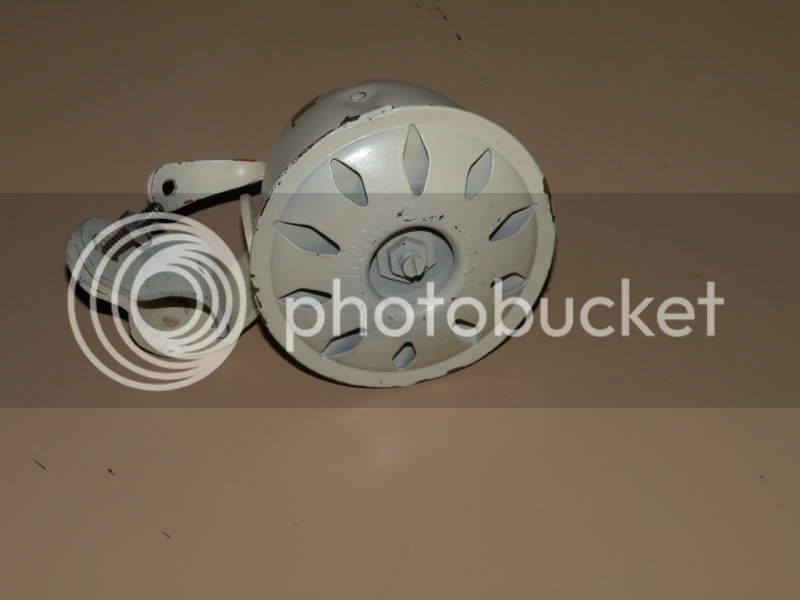
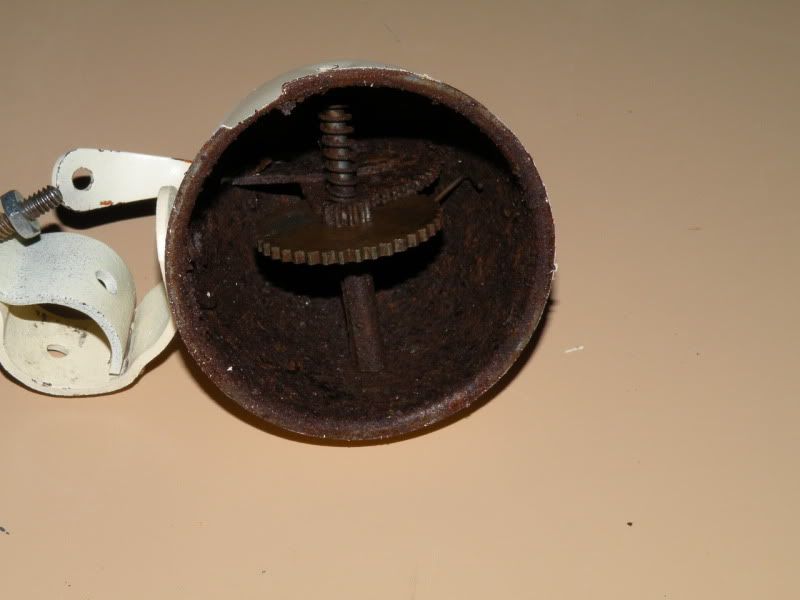
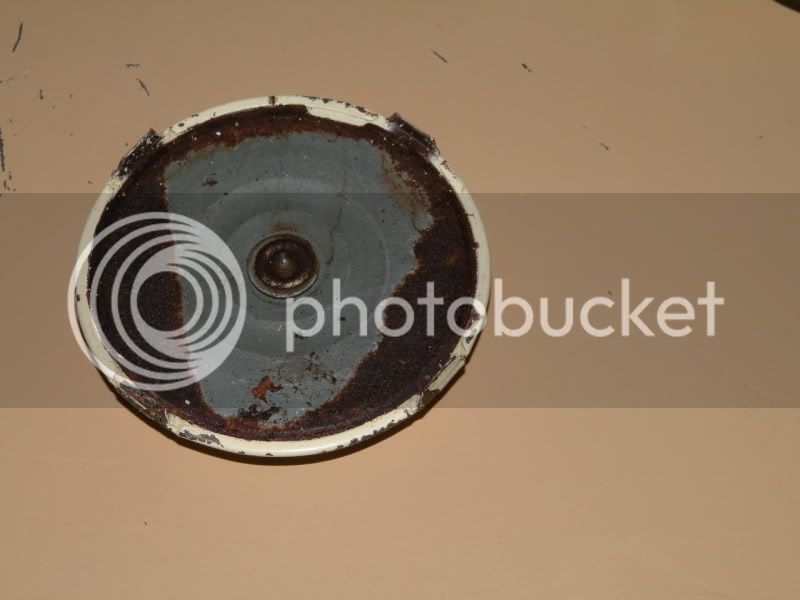
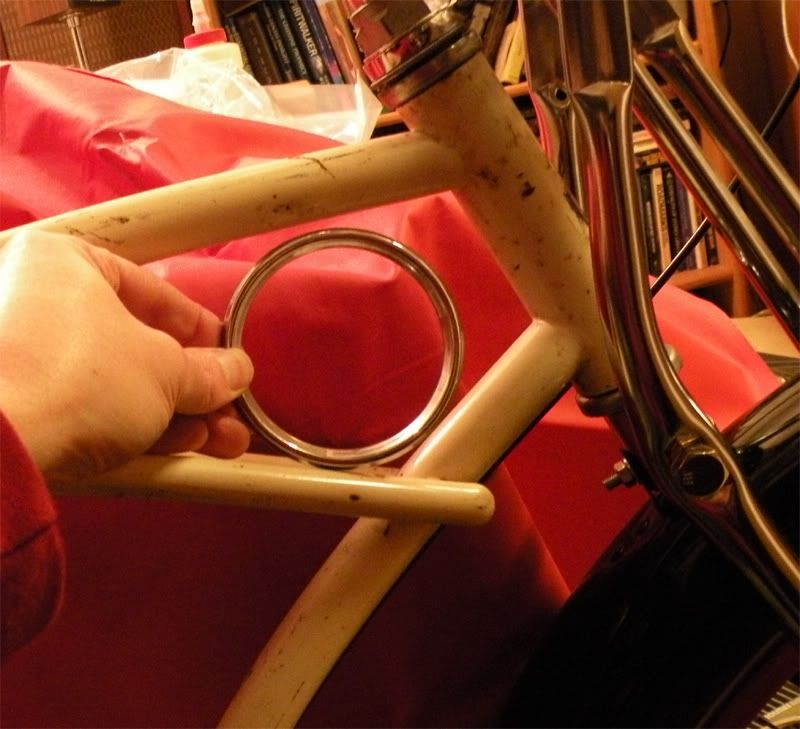
This bike is going to get a homemade tank, not sure just how I'll do it yet, maybe
fiberglass. The portholes are from an old Bogen PA head
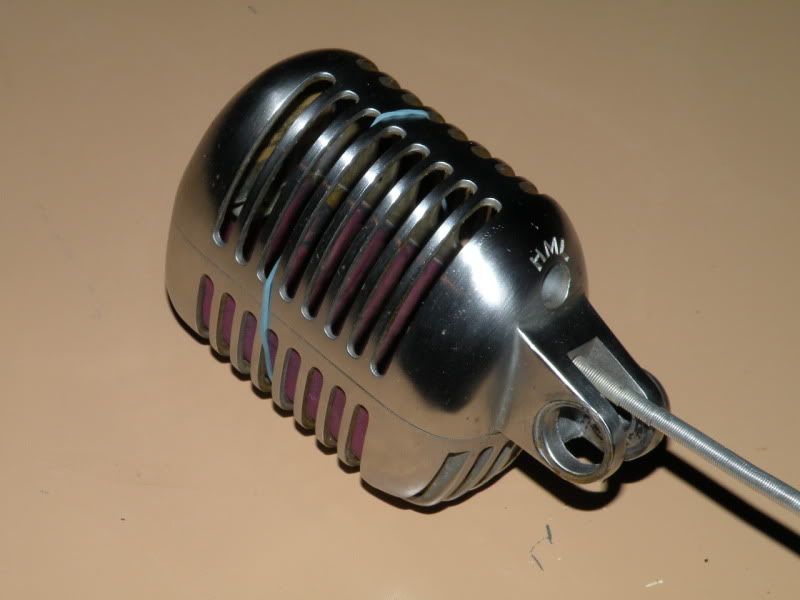
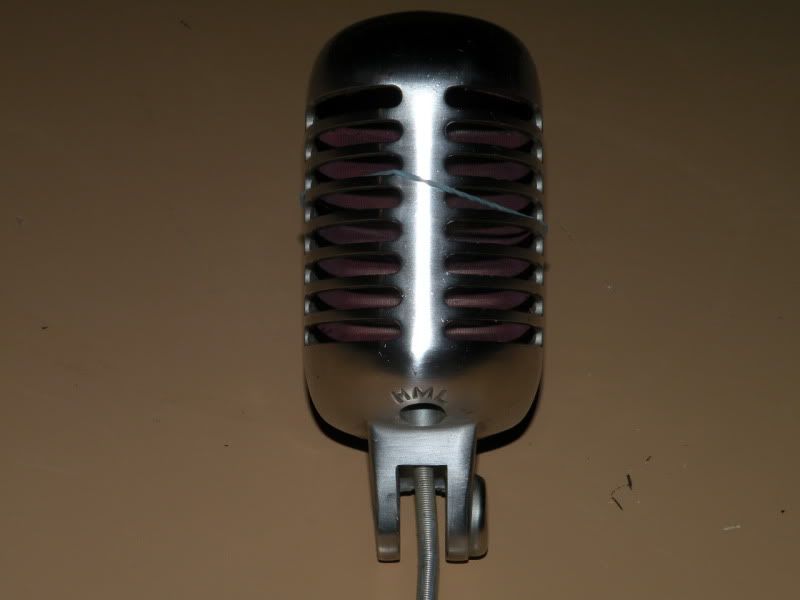
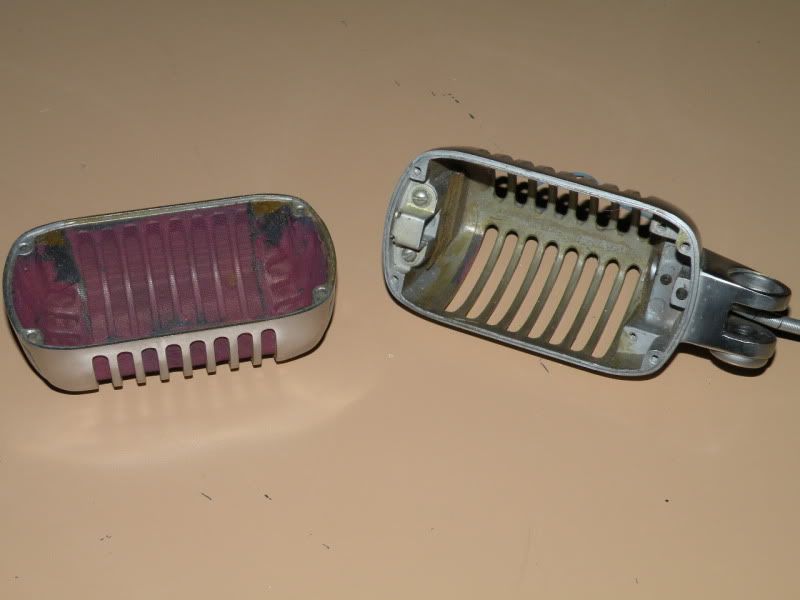
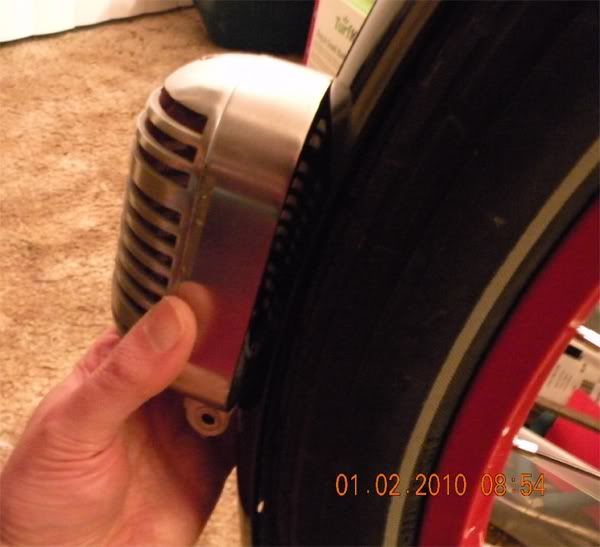
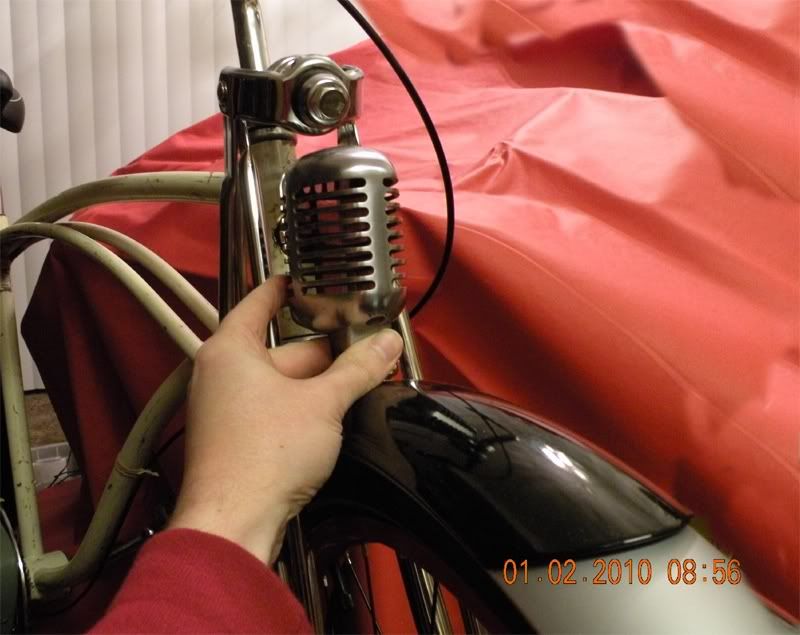
I was digging the shiny Monark someone did last year with a microphone for a tail light,
and several months later realized I had some busted old microphones in a box. I'm going
to do it one better, microphone taillight AND headlight (Elvis!!! :wink: )
They will get some high power LED innards of my own construction

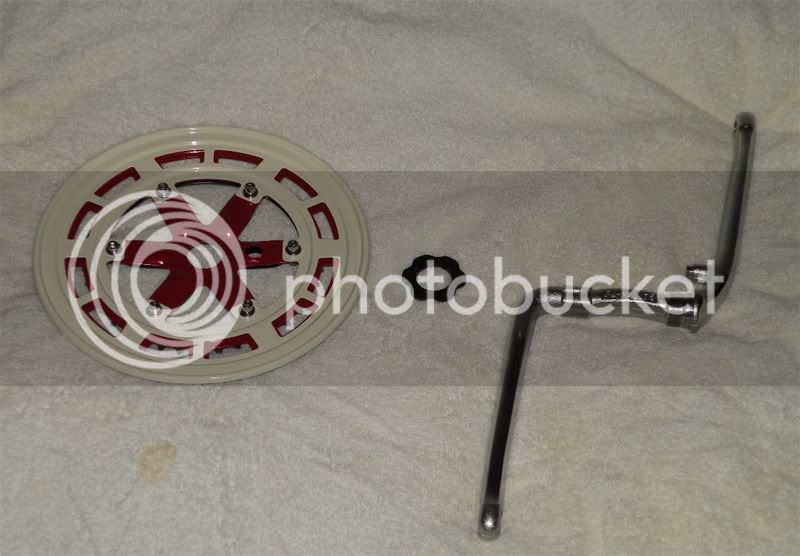
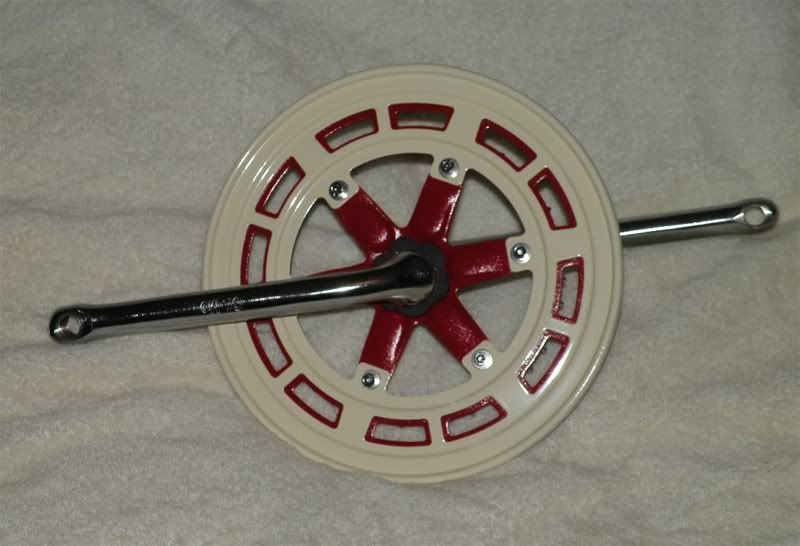
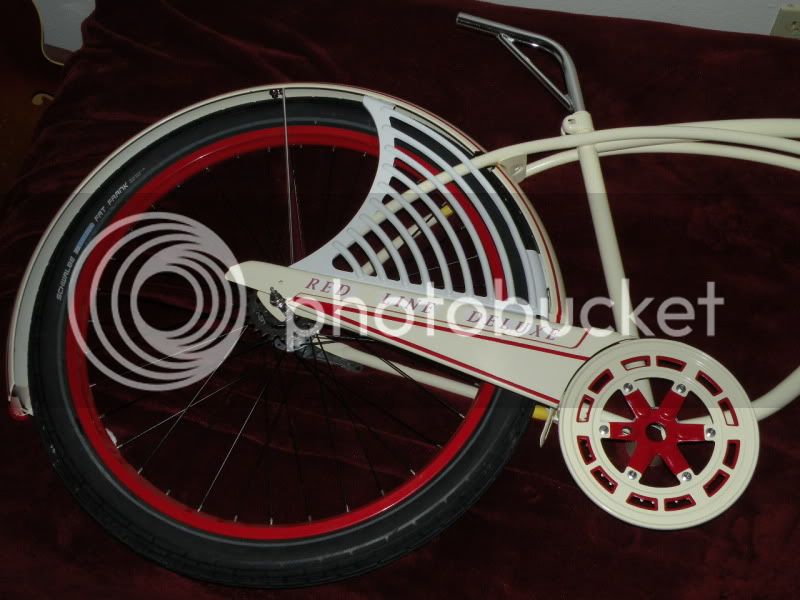
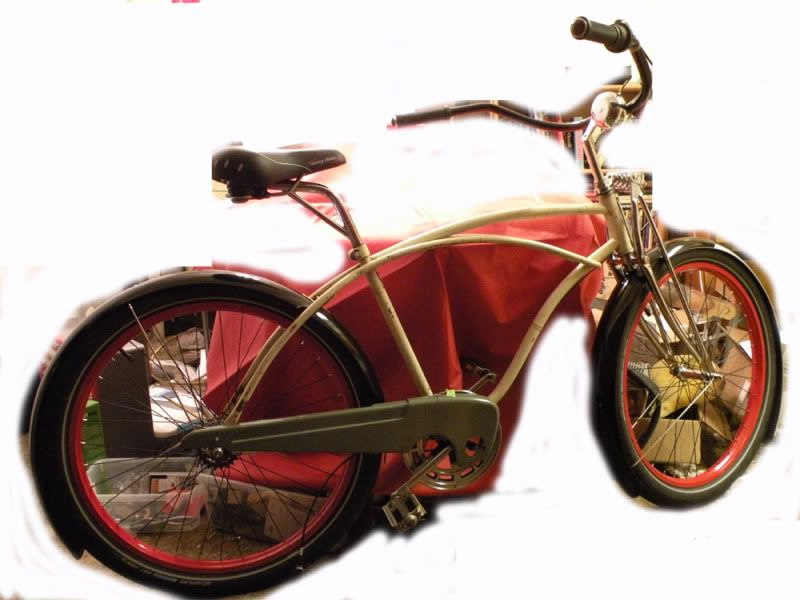
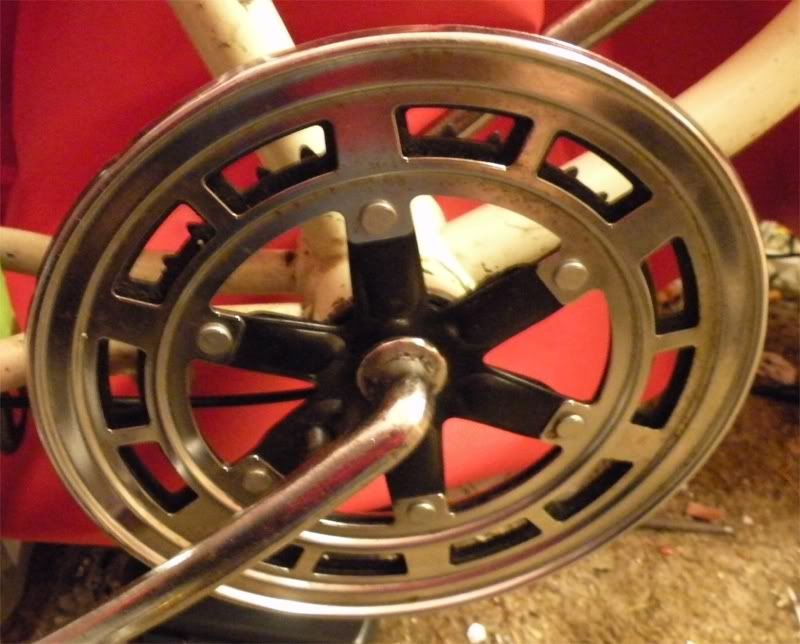
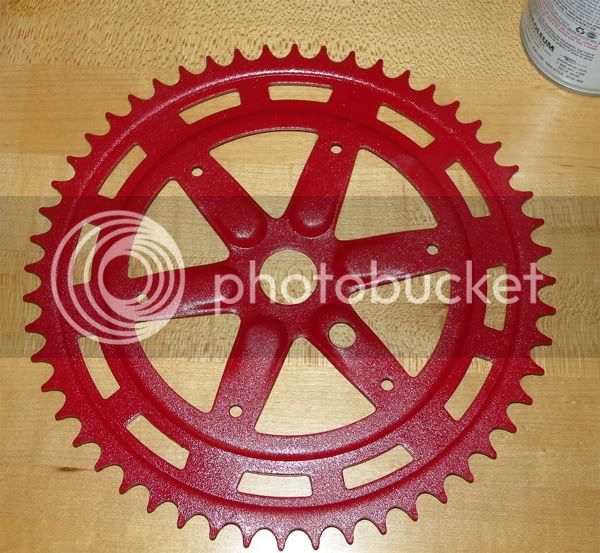
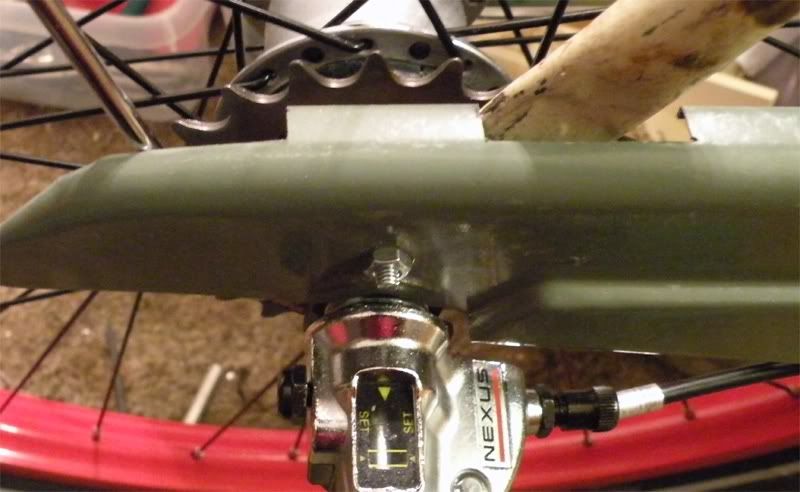
I've separated a chainring from a girl's ten-speed, (sorry girl) and am painting the assembly
red with a white cover, only the inner 38 tooth ring will be used. This works well with
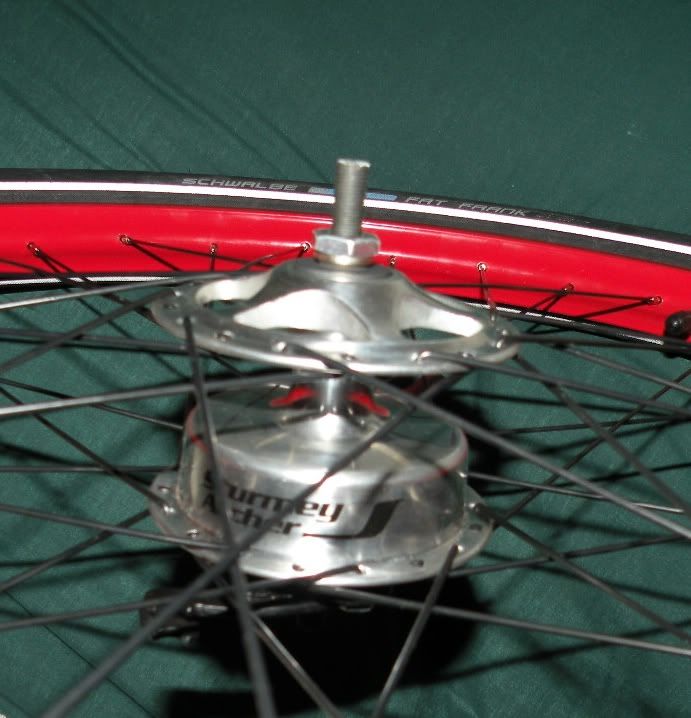
the Nexus 3 speed for climbing moderate hills.
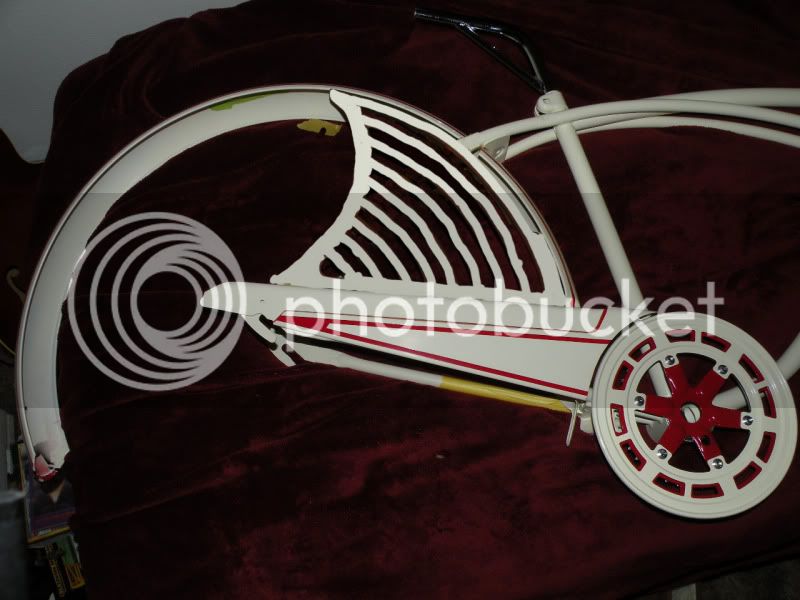
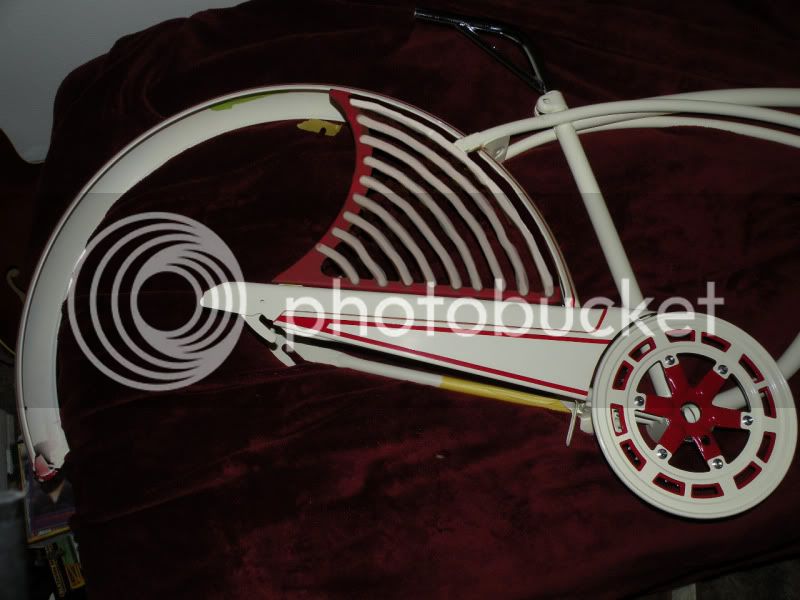
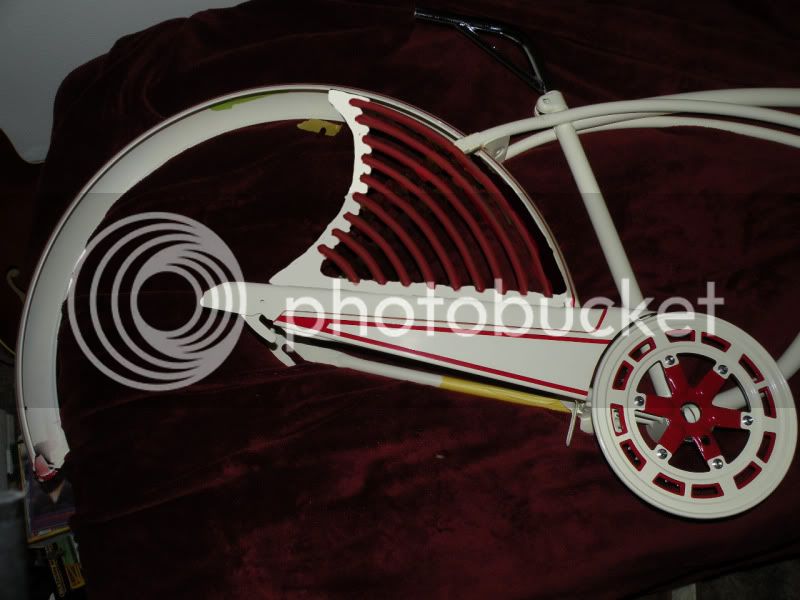
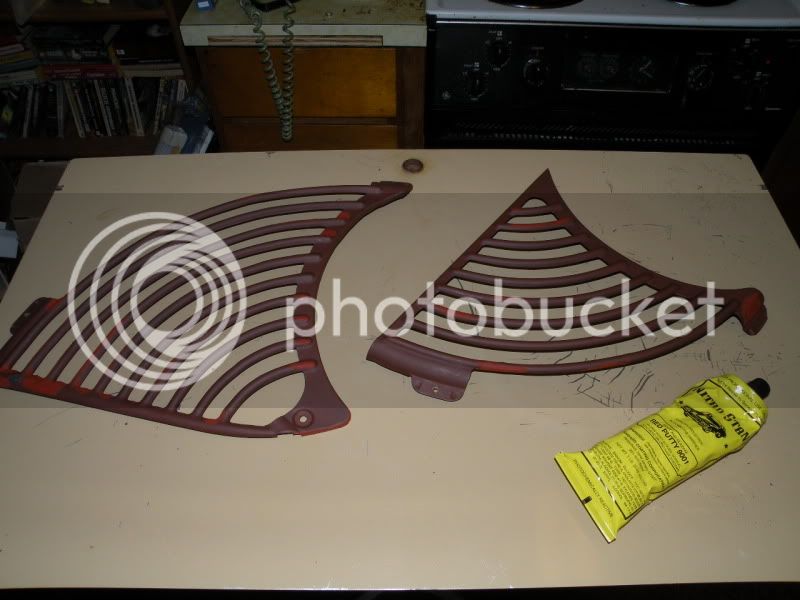
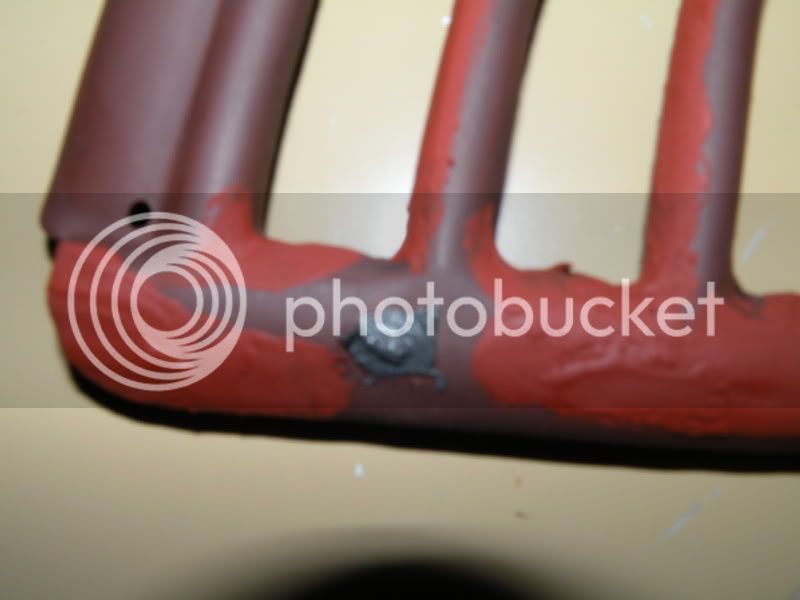
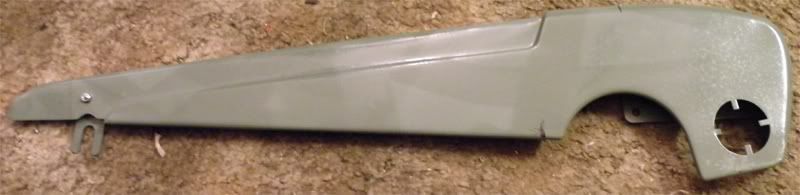
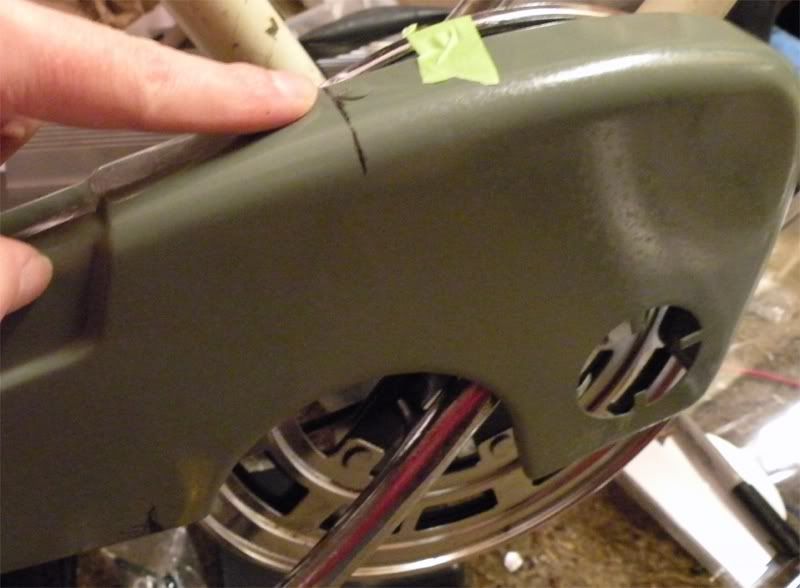
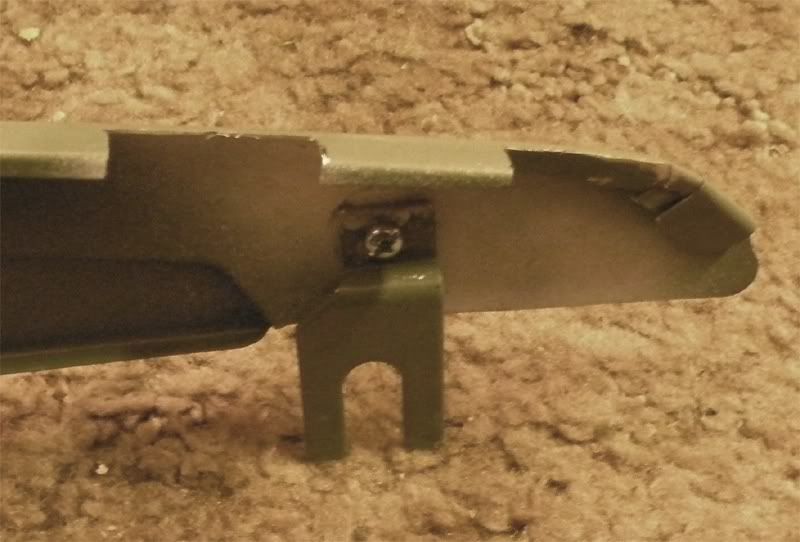
The chainguard is NOS, but was really short, must have been for a kids bike. No matter,
because I was planning on chopping it anyway.
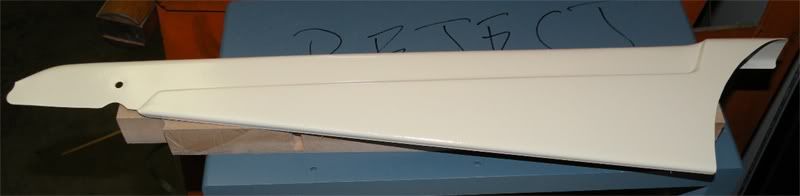
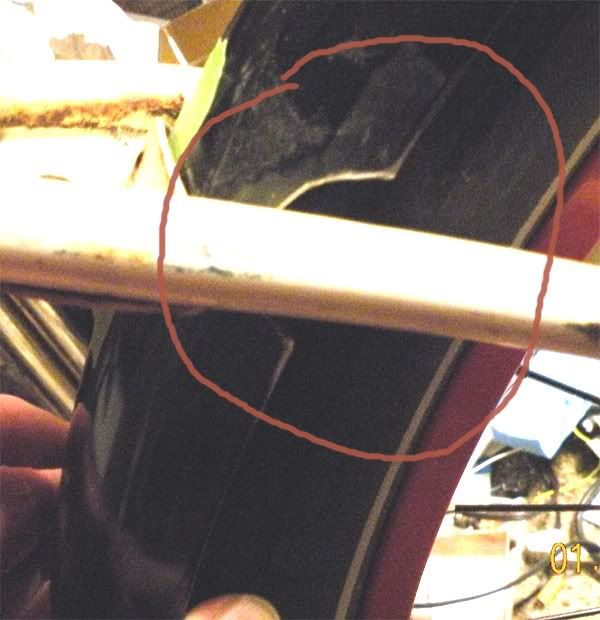
I had to cut the fenders to make them fit too. Love my Dremel!
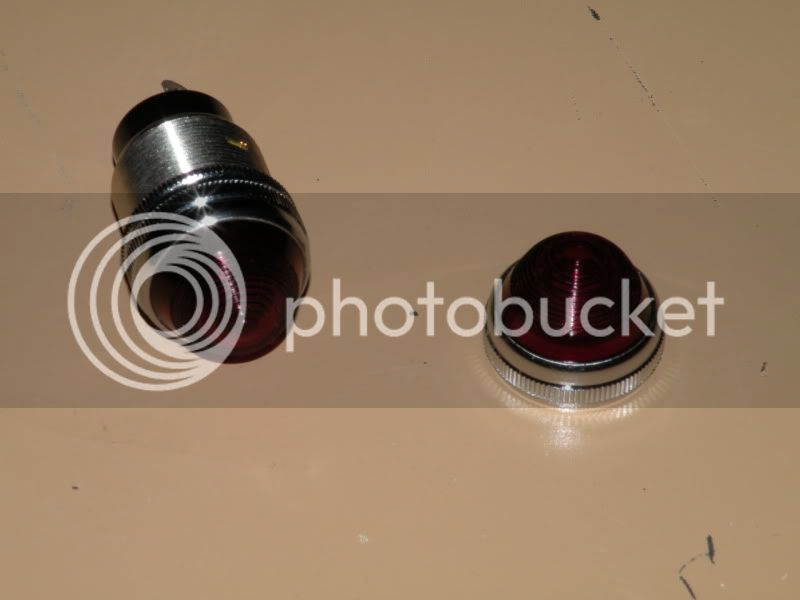
A few goodies for the bike

That's all for now. This is a really great site!
I started with a 70's Huffy frame last year, and have been collecting ideas and parts since then.
Now that I'm making some real progress it's time to post some photos.
My original design was hatched after lusting after an Electra Indy 3, In retrospect it would
have been cheaper and quicker to just buy one,but I don't regret the money or the time spent
at all, especially as this bike should be something that truly is an expression of my dreams.
I really want a beautiful old 30's bike; realistically it's not practical for a number of reasons,
not least of which is the cost. There are other issues, such as the need for multiple speeds
and strong front brakes since I commute to work in a hilly area. My bikes have to work for a
living.
My current bikes are an Electra Delivery 3 and a 90's Murray from Goodwill that I have
modified from a mountain bike into a Cruiser/Commuter (Cru-muter)
So, here are some pictures...
The frame, after sandblasting and the first coats of Rustoleum Antique White
Fenders are Nirve street sweepers with a little something extra, Wrap-Around 2 piece front
and rear.
A quick mockup from last year prior to stripping the frame
This bike is going to get a homemade tank, not sure just how I'll do it yet, maybe
fiberglass. The portholes are from an old Bogen PA head
I was digging the shiny Monark someone did last year with a microphone for a tail light,
and several months later realized I had some busted old microphones in a box. I'm going
to do it one better, microphone taillight AND headlight (Elvis!!! :wink: )
They will get some high power LED innards of my own construction
I've separated a chainring from a girl's ten-speed, (sorry girl) and am painting the assembly
red with a white cover, only the inner 38 tooth ring will be used. This works well with
the Nexus 3 speed for climbing moderate hills.
The chainguard is NOS, but was really short, must have been for a kids bike. No matter,
because I was planning on chopping it anyway.
I had to cut the fenders to make them fit too. Love my Dremel!
A few goodies for the bike
That's all for now. This is a really great site!