1990's Micmo beach Cruiser "L'Aquitaine" with AirRide

Rat Rod Bikes Bicycle Forum

Help Support Rat Rod Bikes Bicycle Forum:

This site may earn a commission from merchant affiliate links, including eBay, Amazon, and others.
I'm back!

I got the Nexus on the 68 custom

lsYHjDf.jpg


And I built the rear wheel for the lowrider.

OFbYTHM.jpg


AND NOW FOR THE PLAT DE RESISTANCE : HOPS!!!!!


I'll start working on the frame this week, but I'll take a lot of time
 
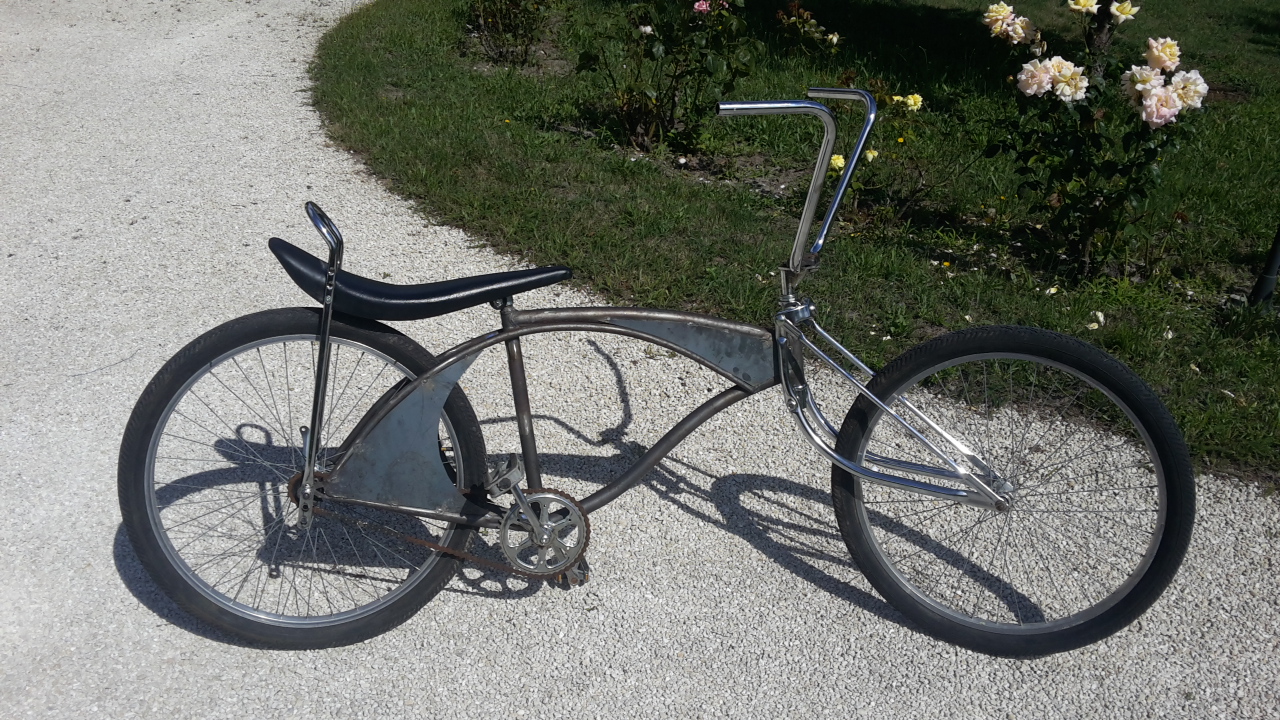
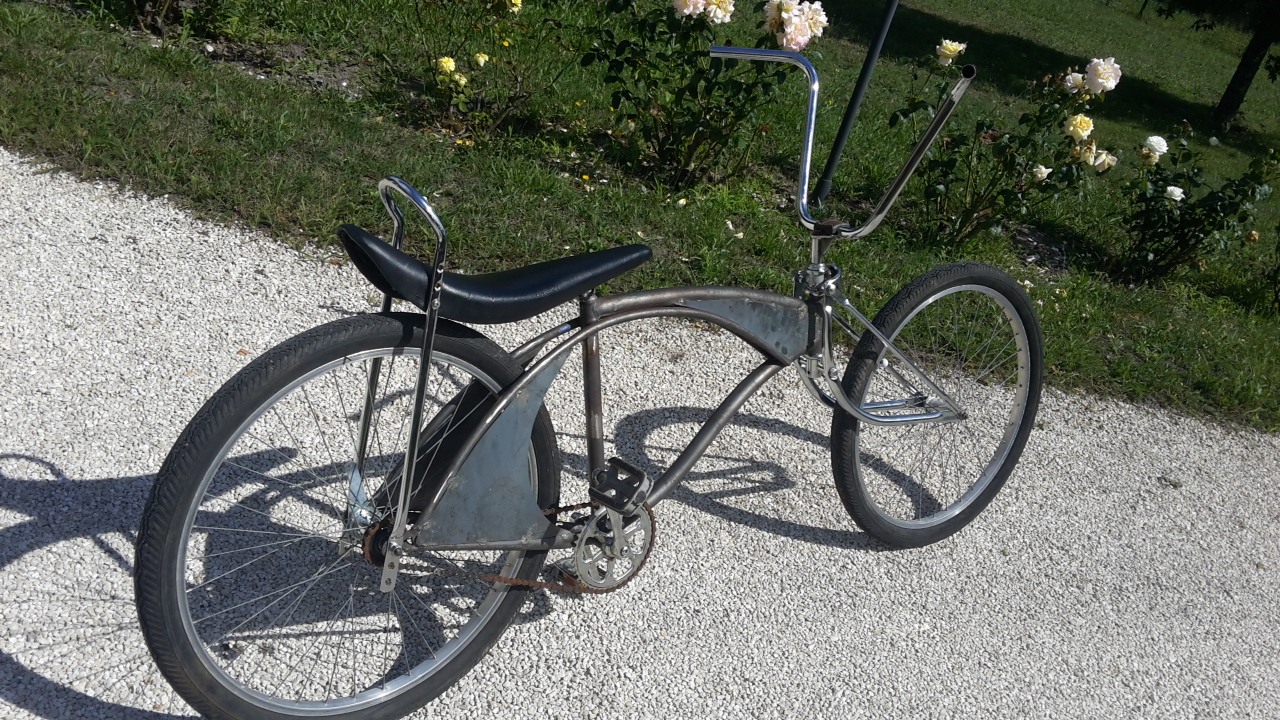
FINALLY SUMMER BREAK!

I'm so excited to get back working on the bike! I ditched all my school stuff and put my building goggles on!

Here's a little about what happened in the last three months :
-Finished off the concept build for the airride
-Drew an extended crown for the piston
-Contacted local artist about the airbrush I want done on the frame
-Lot of thought about future parts!
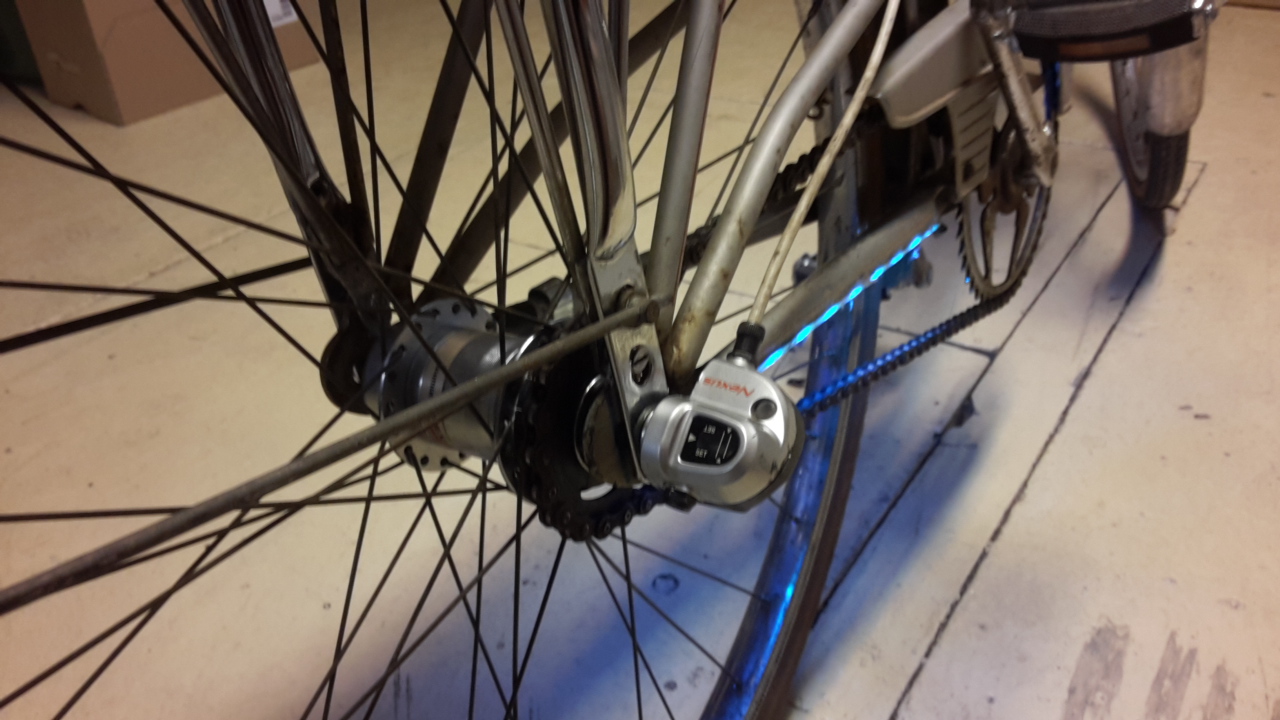
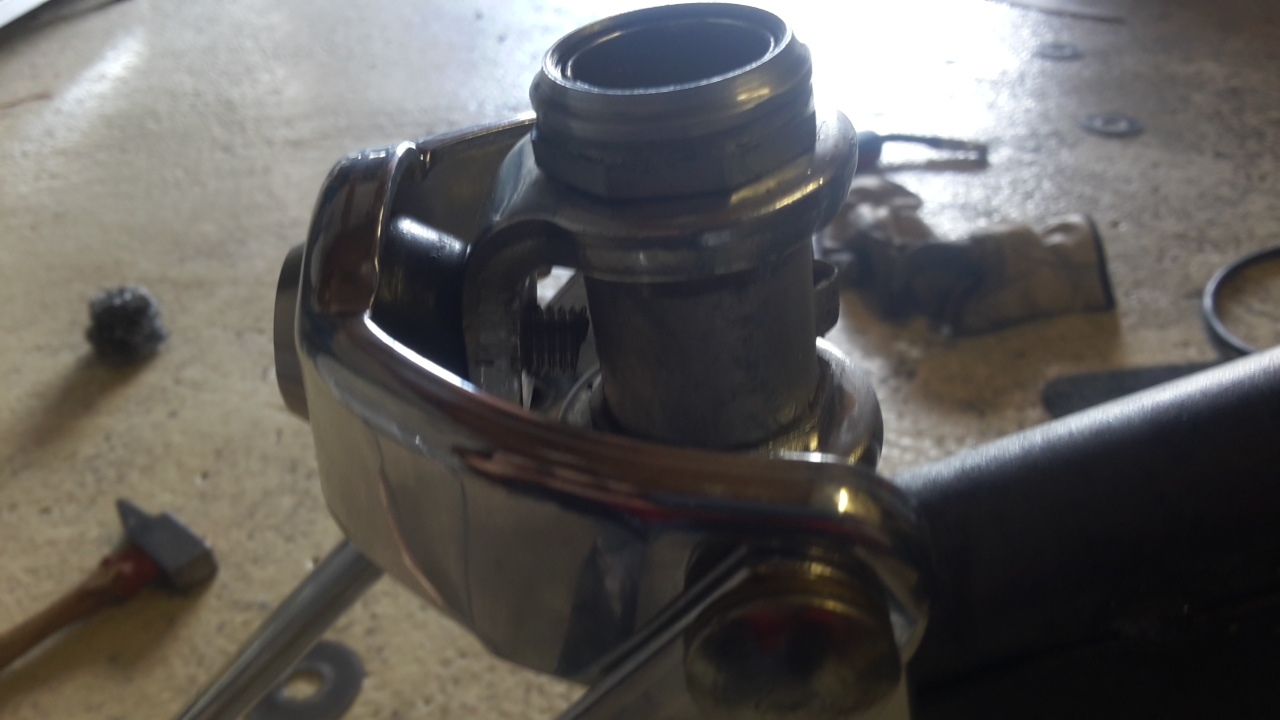
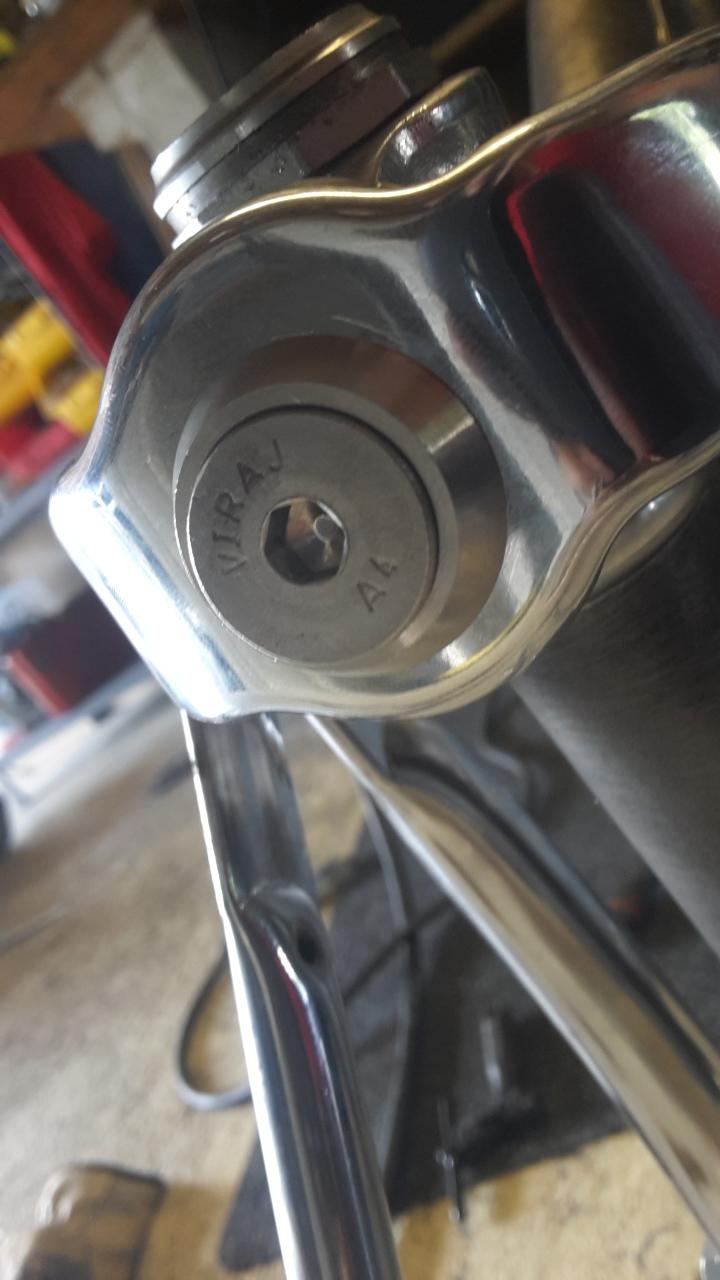
Todays work!

DN1K5FF.jpg


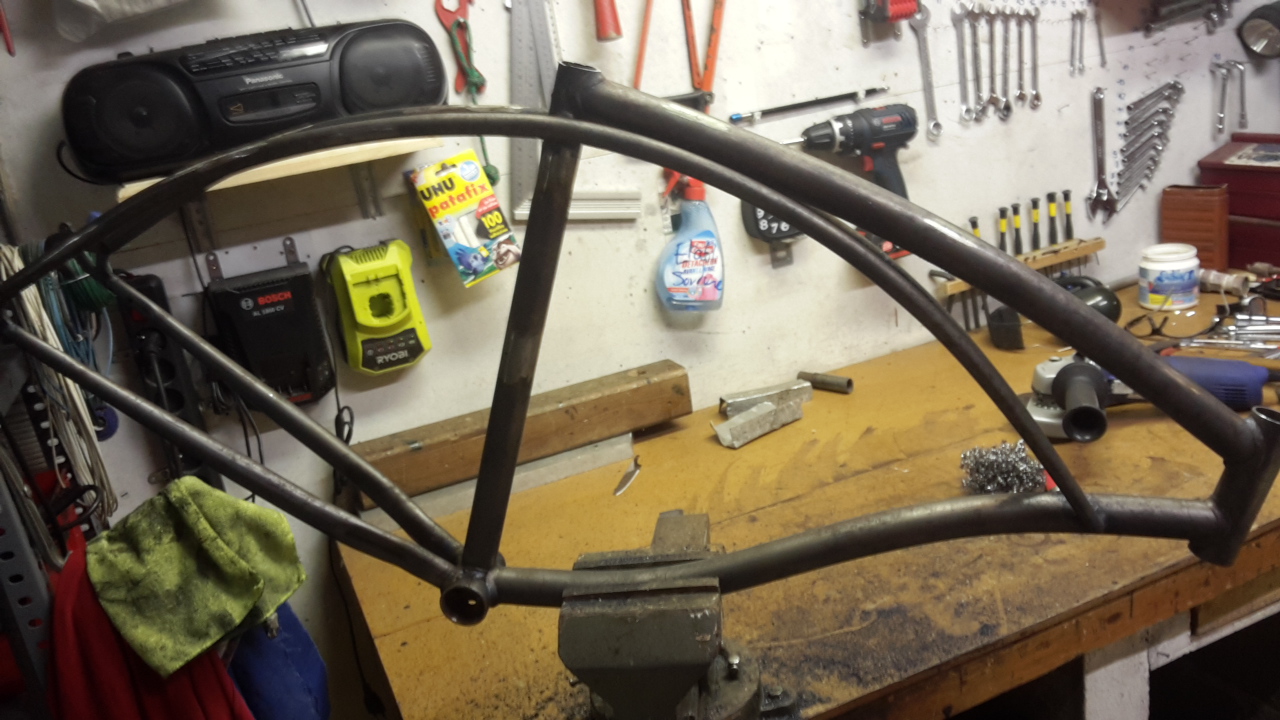
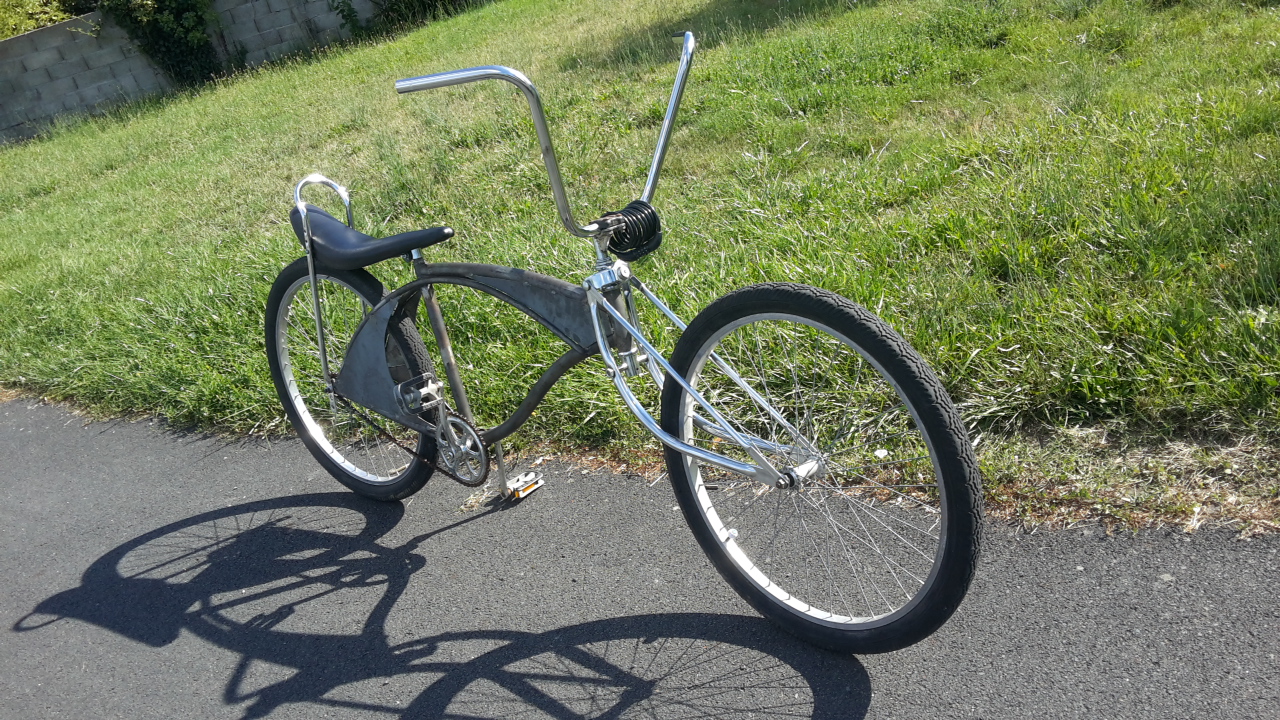
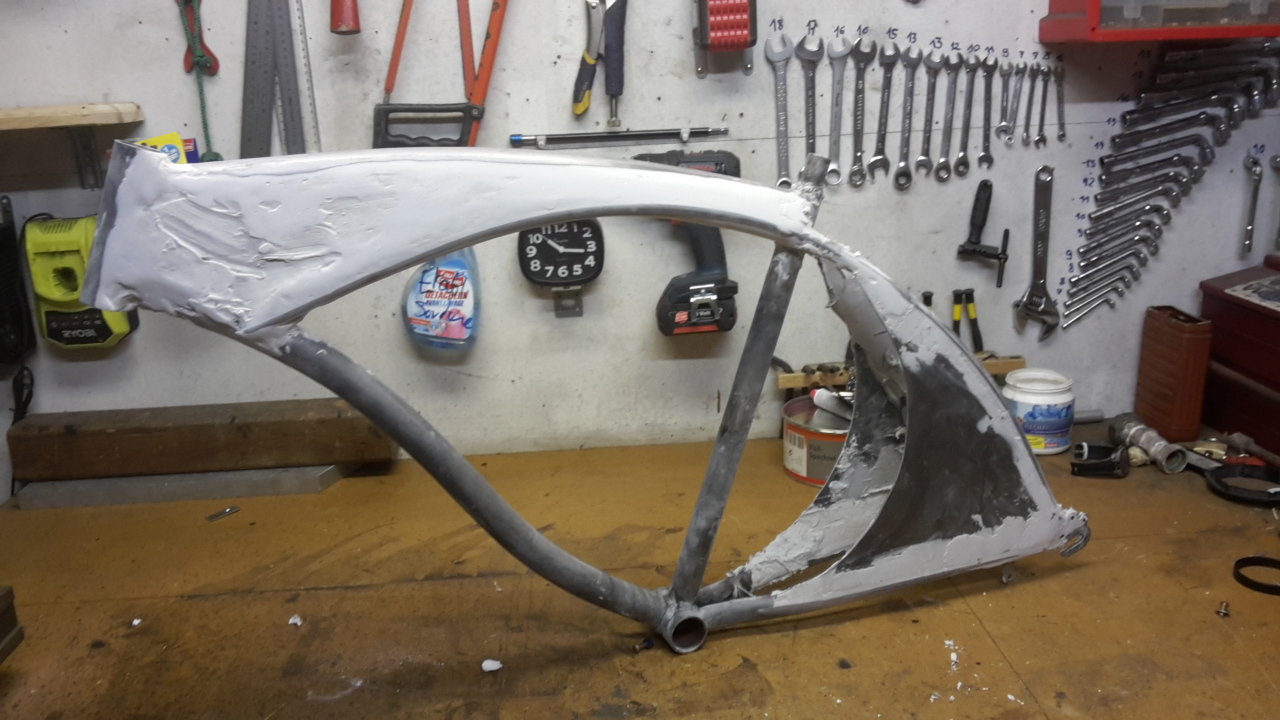
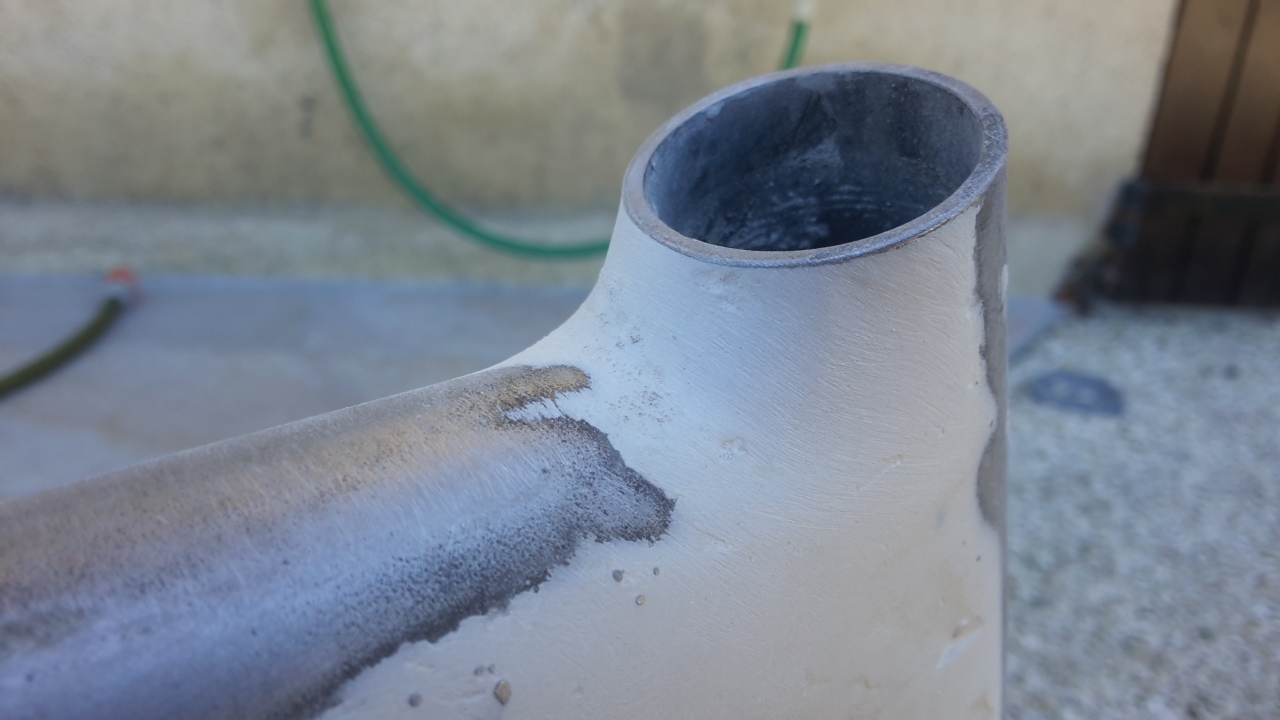
Finally got the frame stripped up after testing different crown lenghts. I discovered a bend in one of the cantilevers tube, but that can easily be fixed.

HGCFrXL.jpg


Bending back the faulty tube. My technique is quite barbaric but it worked great.

HIFYveN.jpg


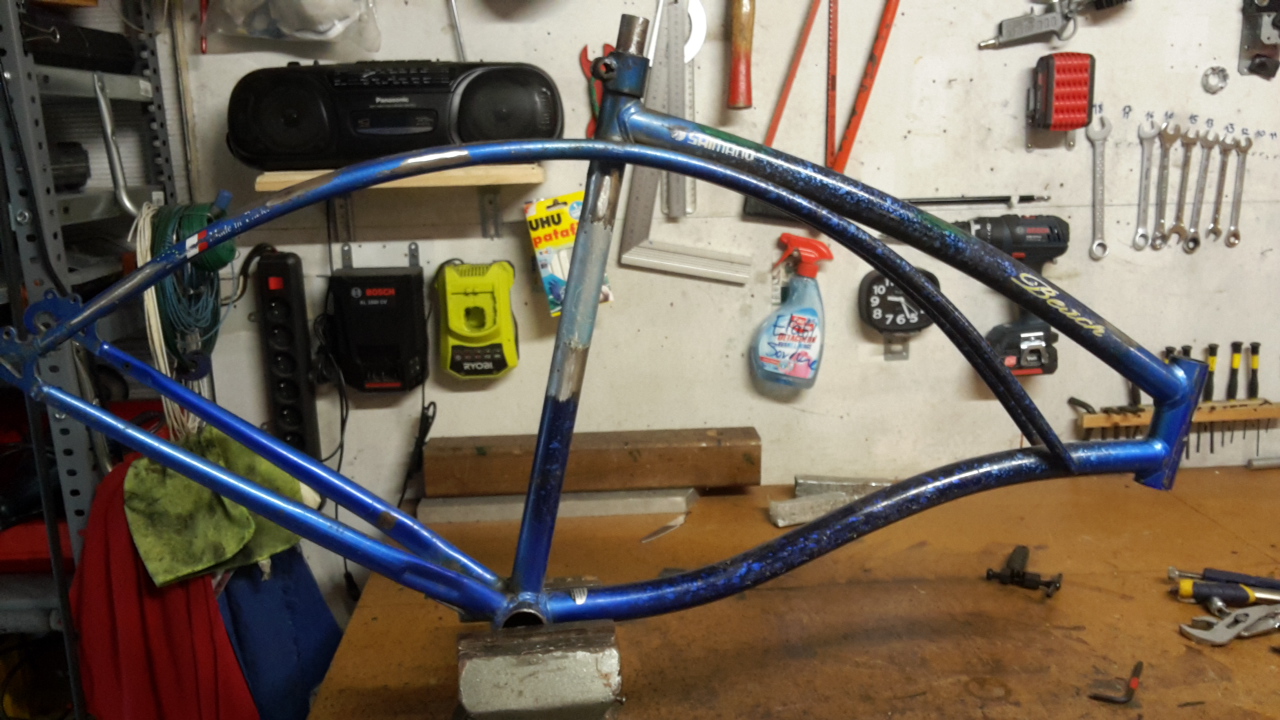
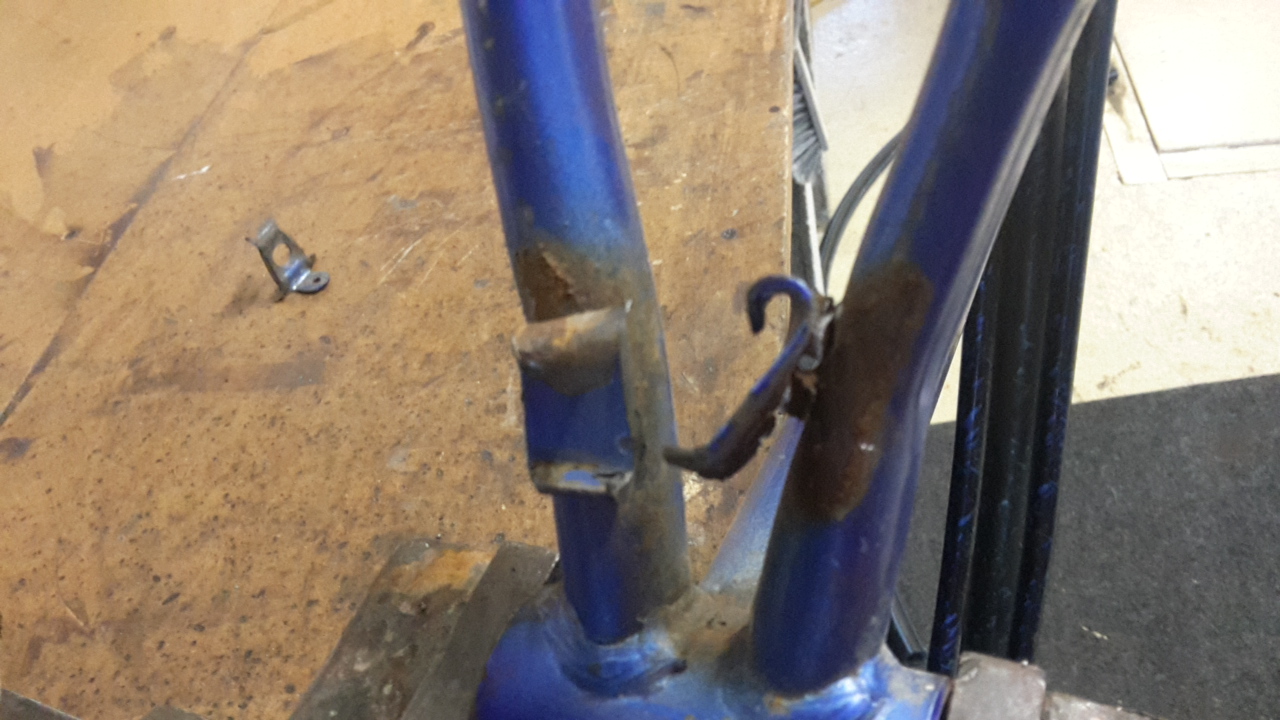
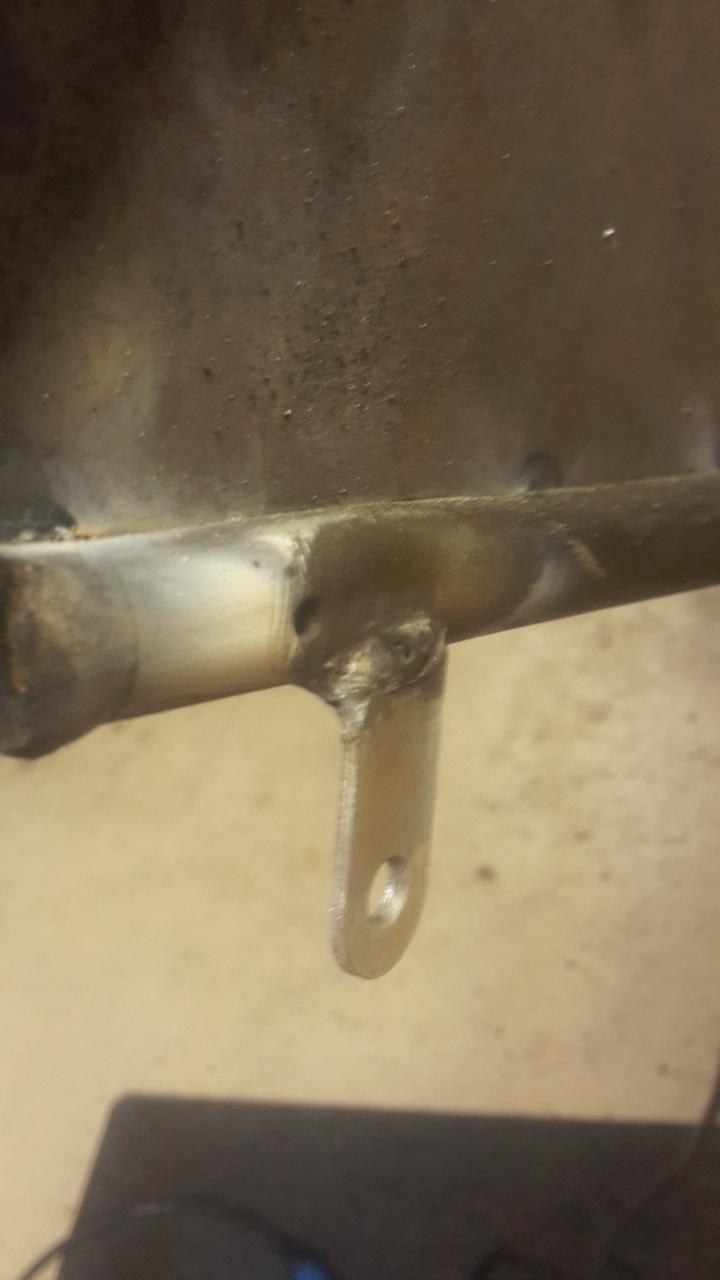
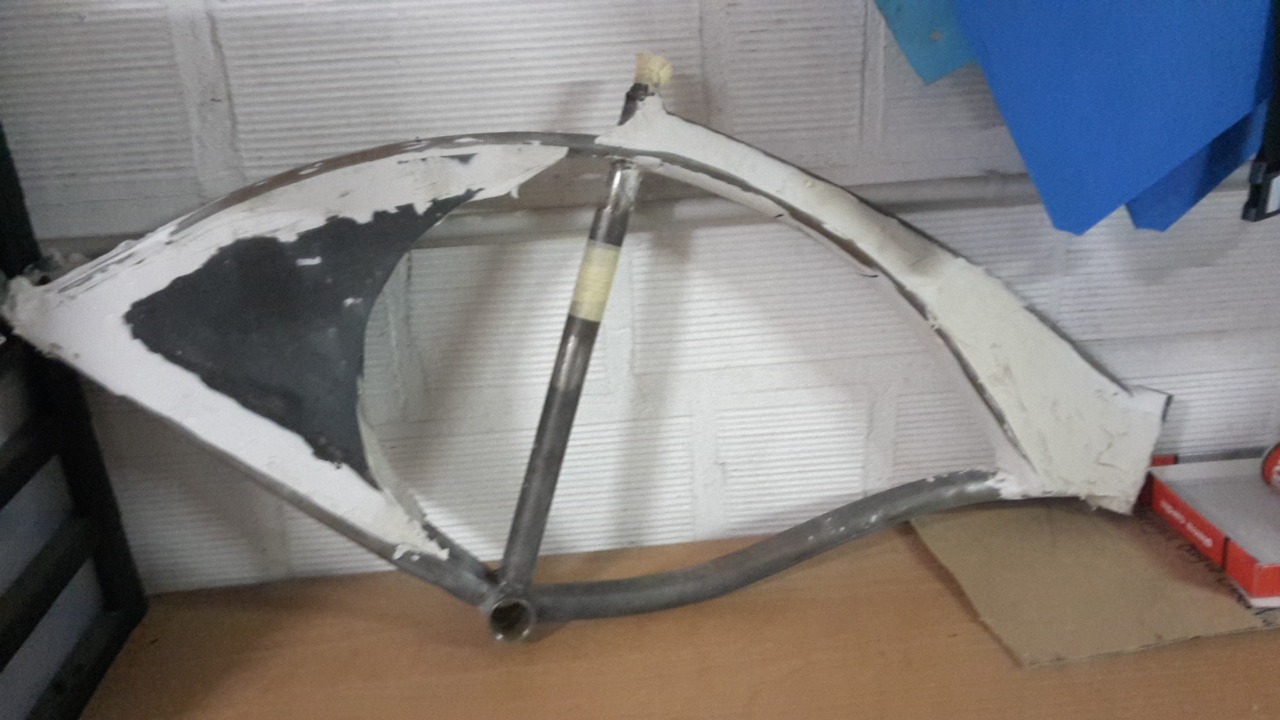
I then started removing the ugly kickstand plate, I plan on fabricating a better plate to mount the fender onto.

rT9MFMk.jpg


I went a little bit too harsh and ripped a little hole. That'll get fixed later :bigsmile:

21xNuhW.jpg


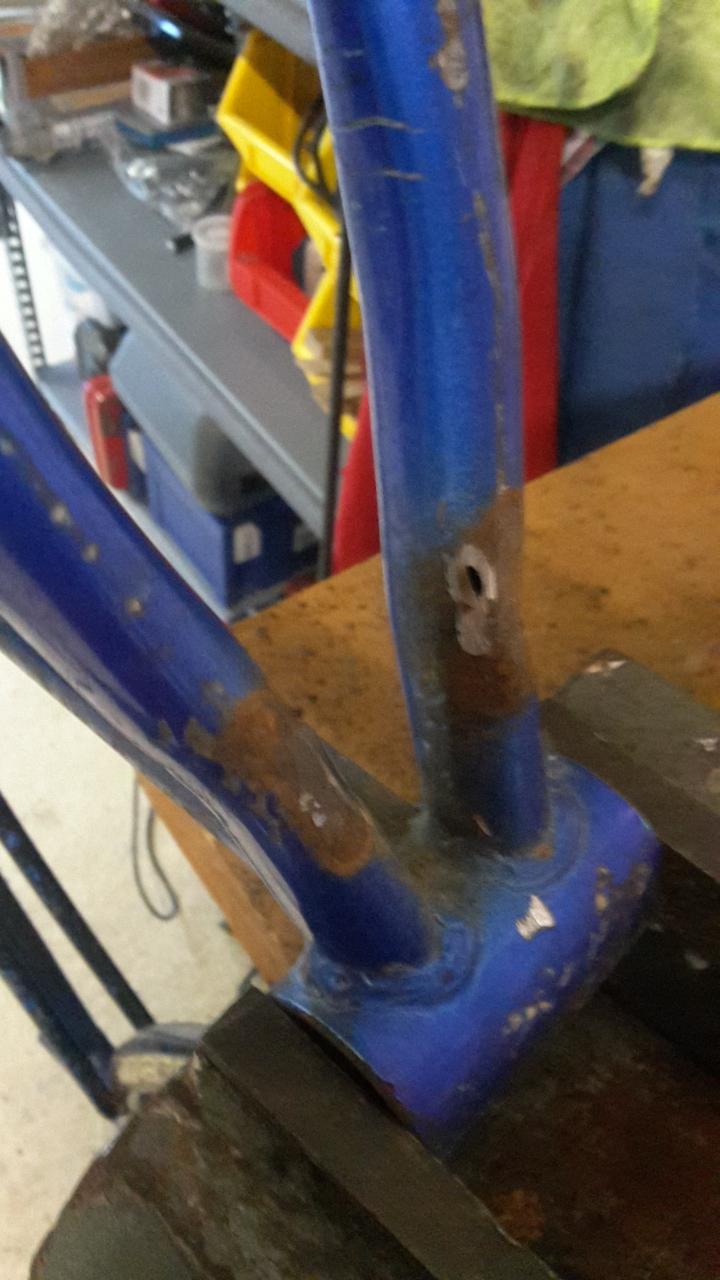
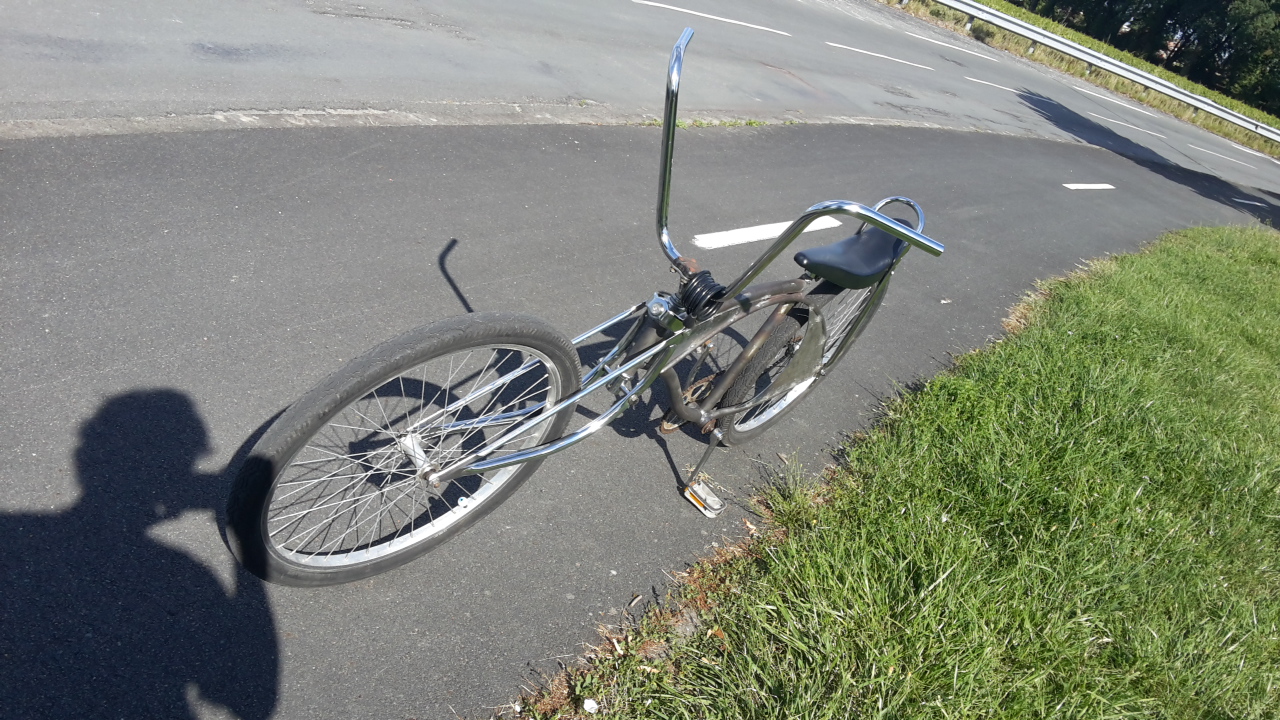
It was finally time to get rid of the paint. I use a flamethrower (Don't know the english word :doh:
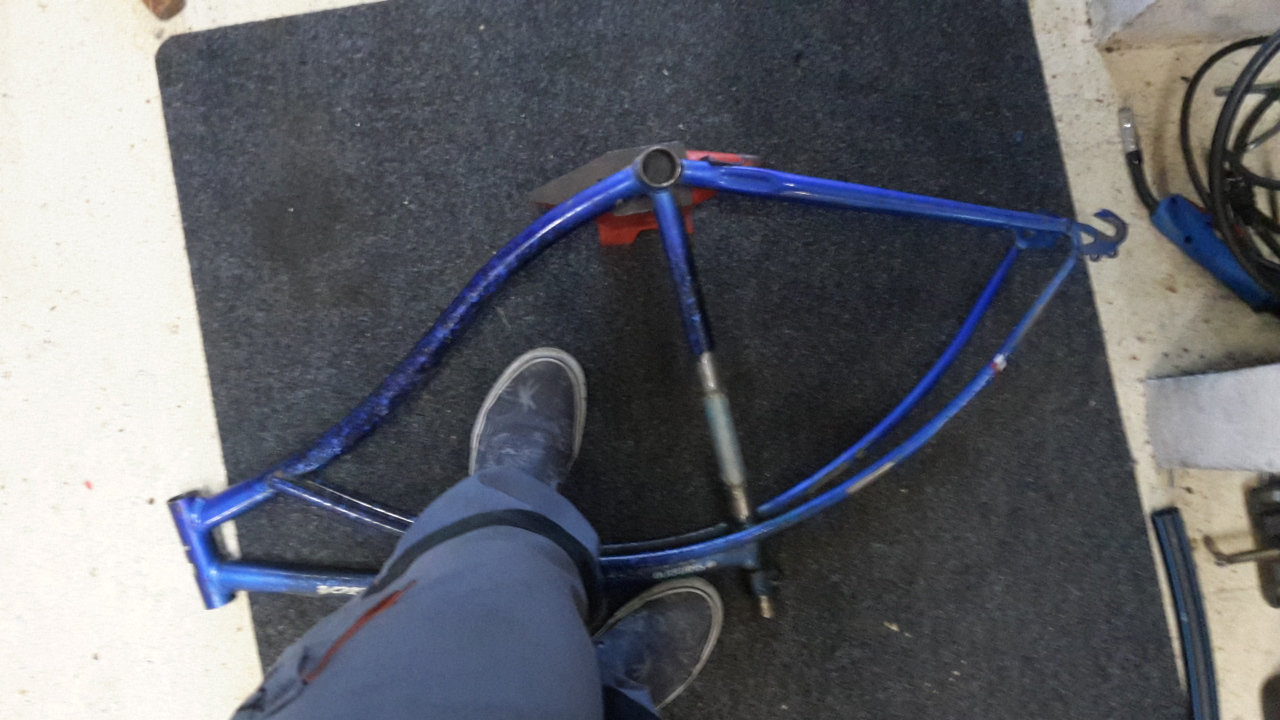
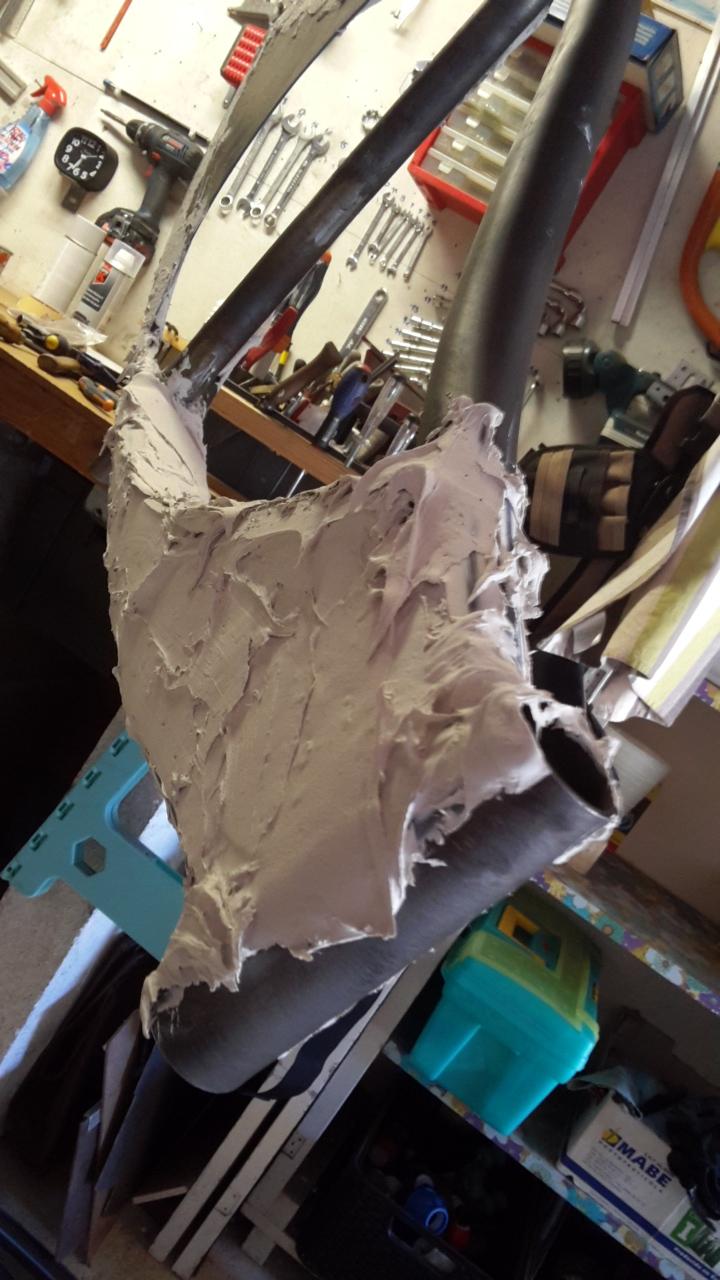
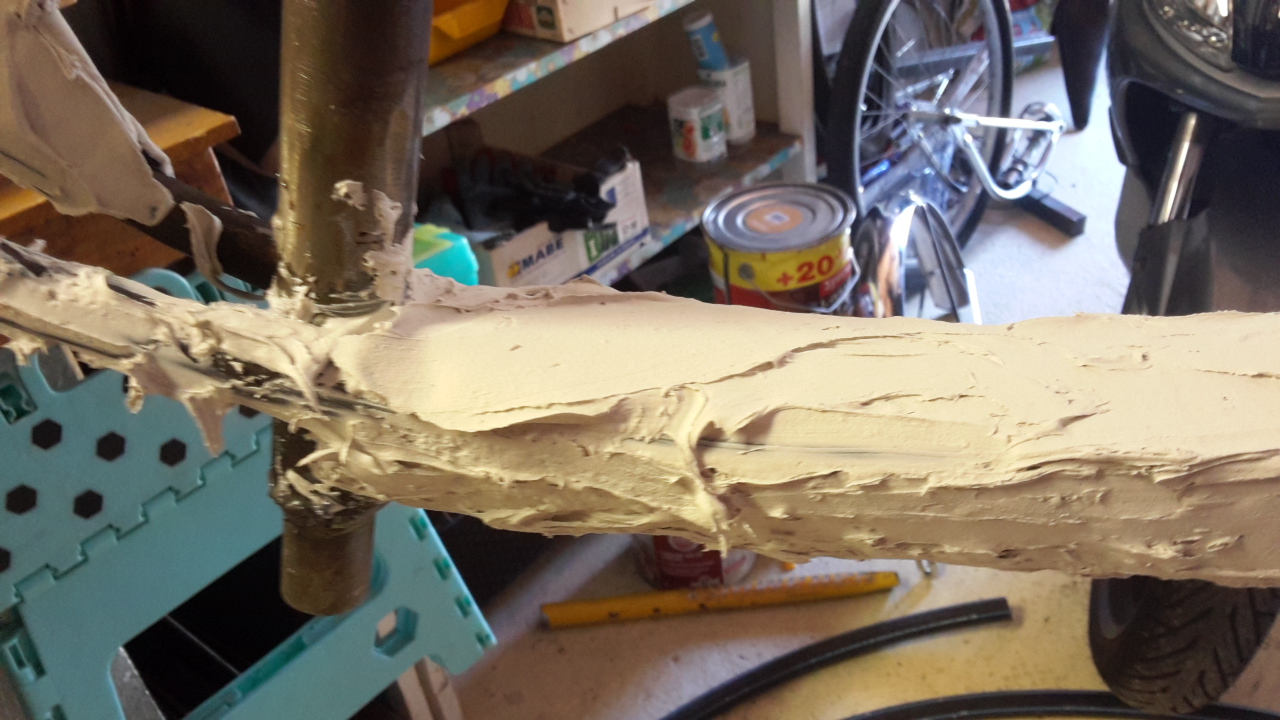
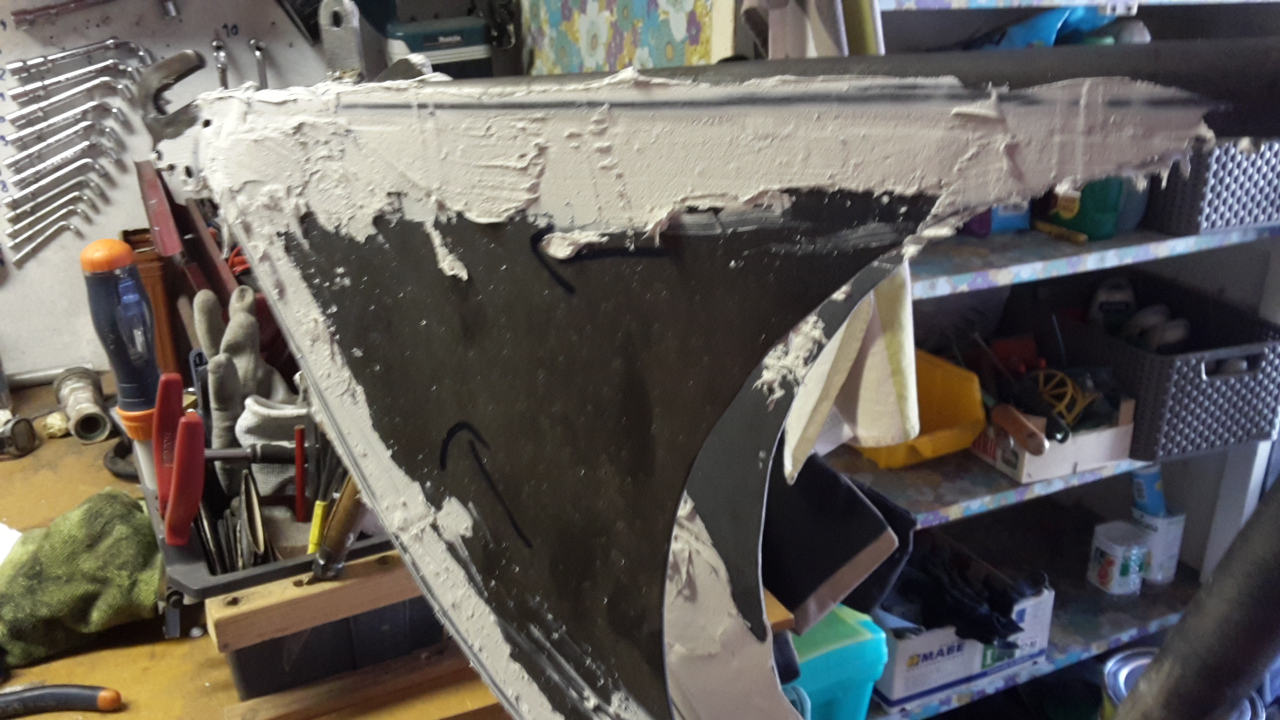
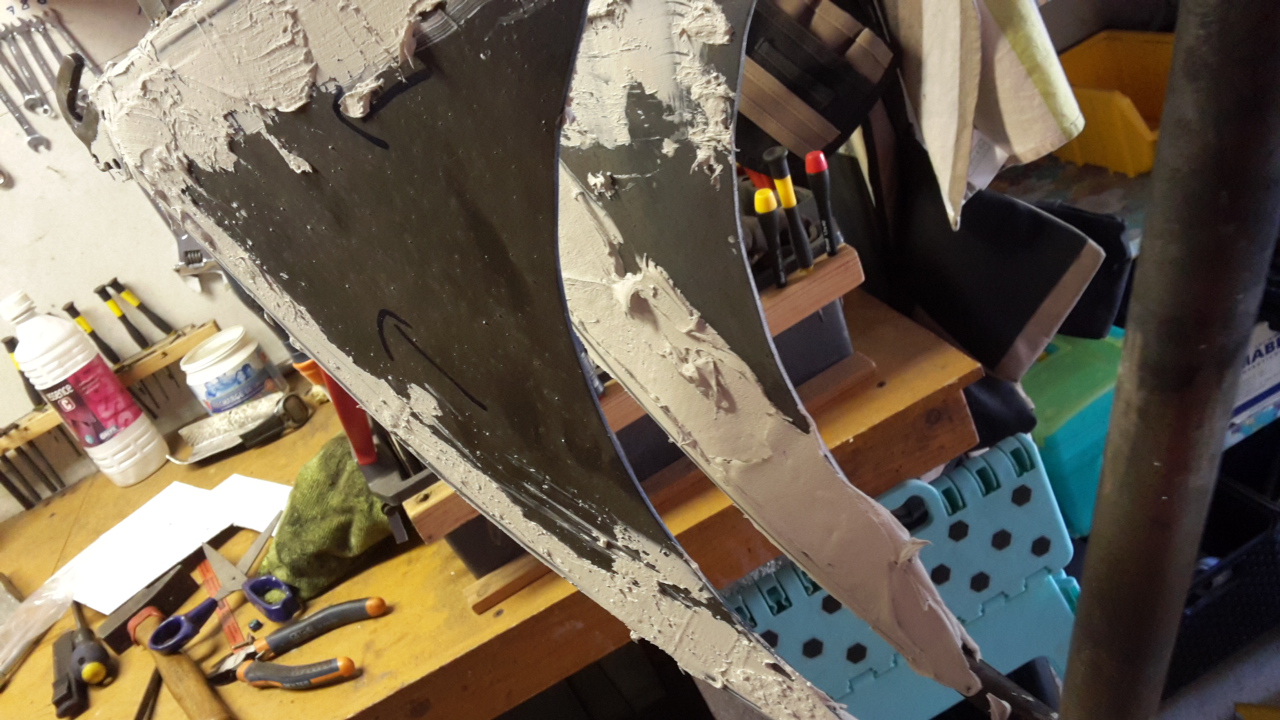
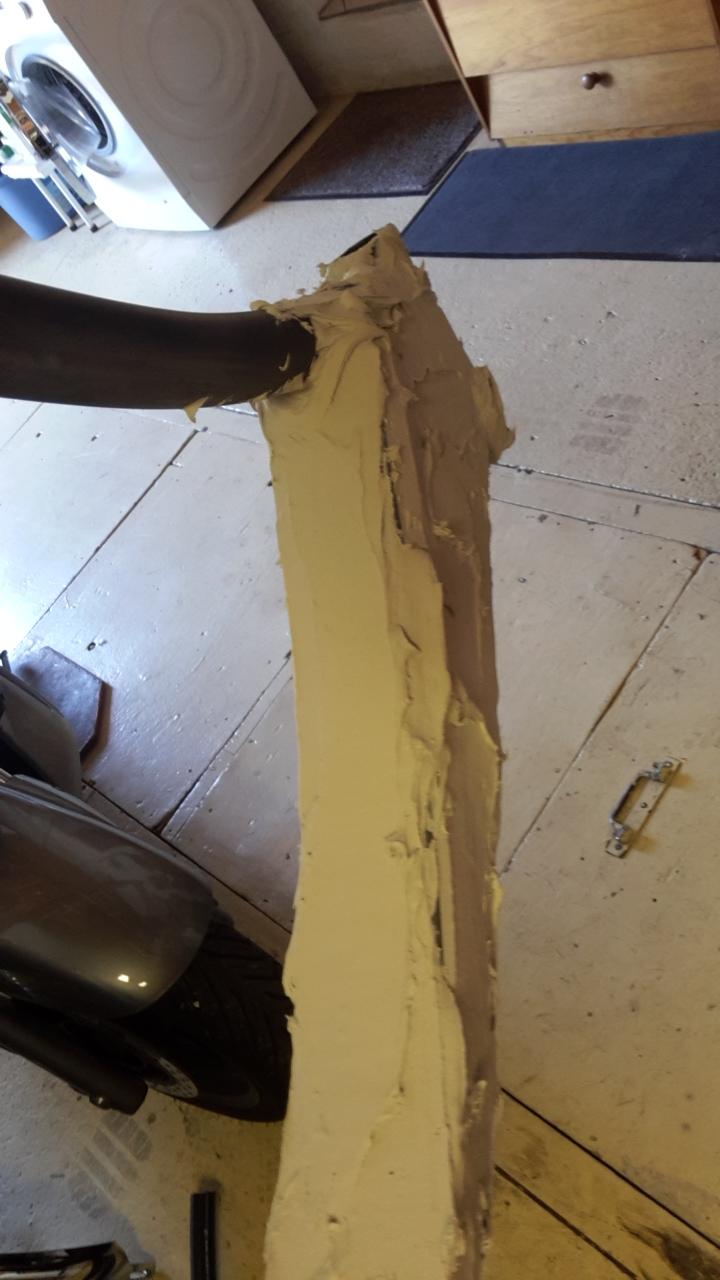
) to burn off the paint then scrape it with a hard wire brush. Unfortunately what I feared the most happened : the frame is riddled with rust. The original paint was so thin a small layer of rust started developping under it. This is the frame after hitting it with a light sandpaper. Overall not too many defaults, but some part will really need a good layer of body filler.

UDVAGtF.jpg


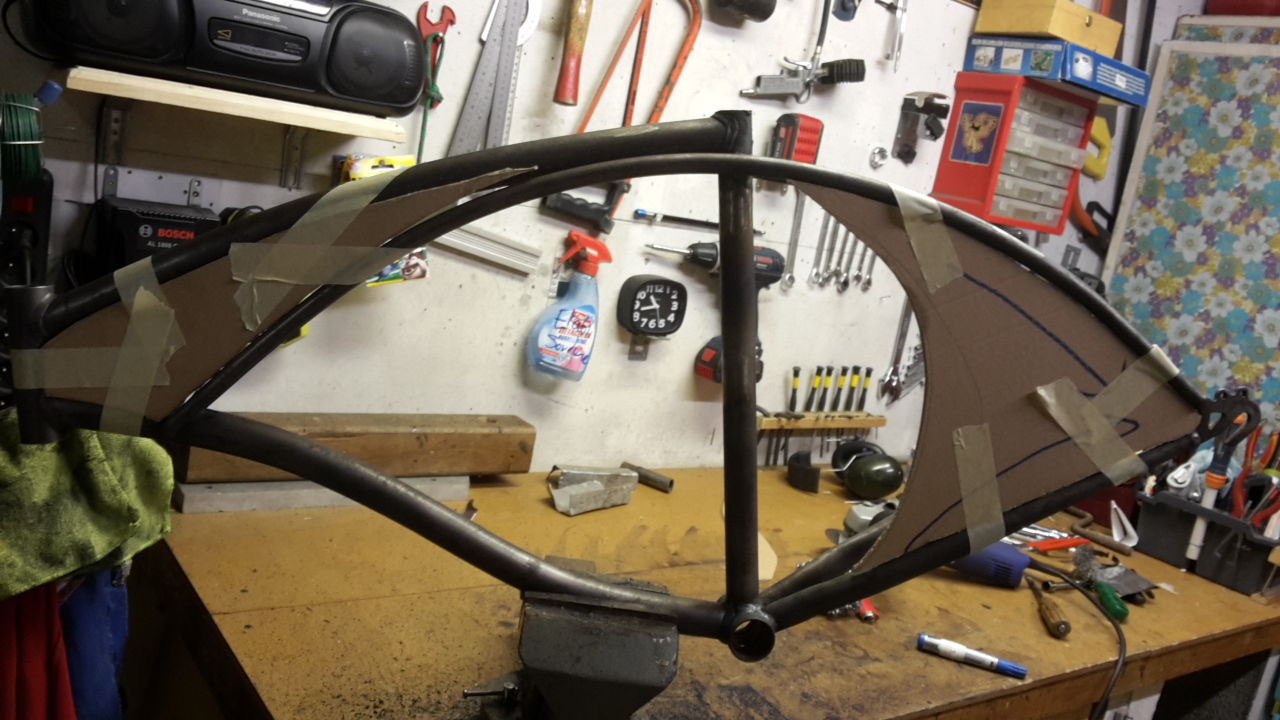
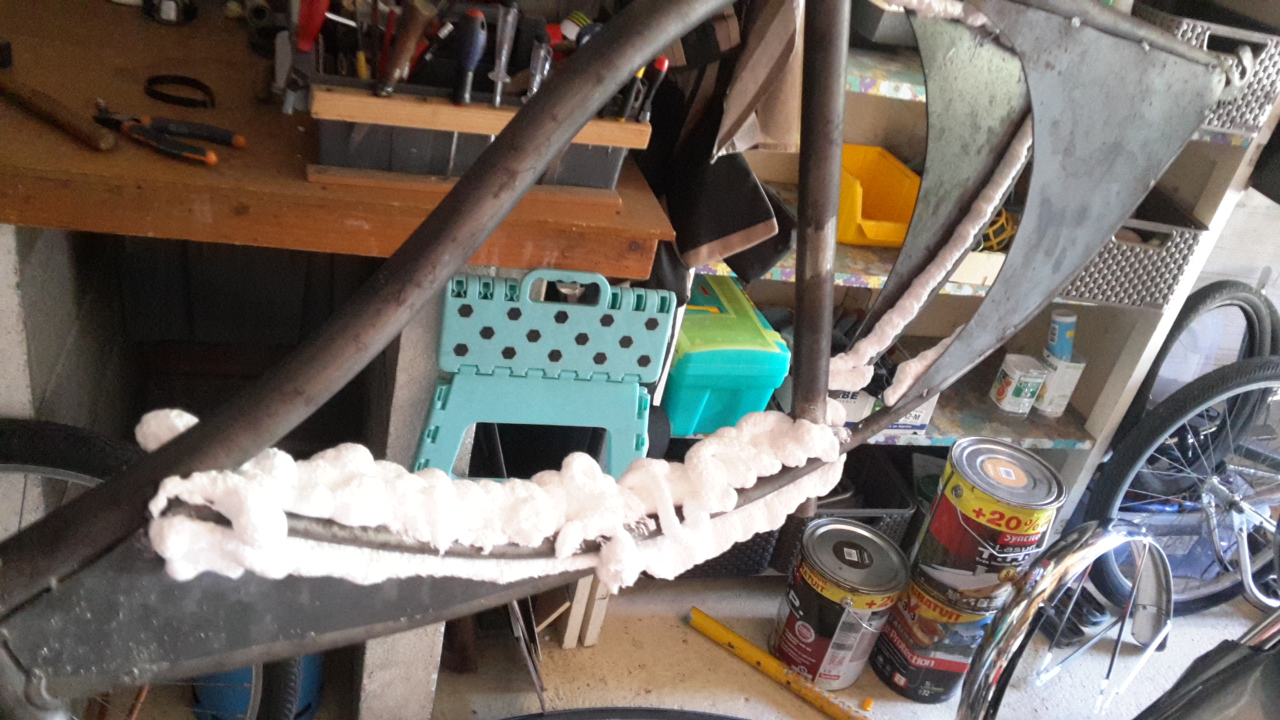
Got the biggest piece of cardboard to do the sheet metal planning. Thanks dad.

H5i13ZD.jpg


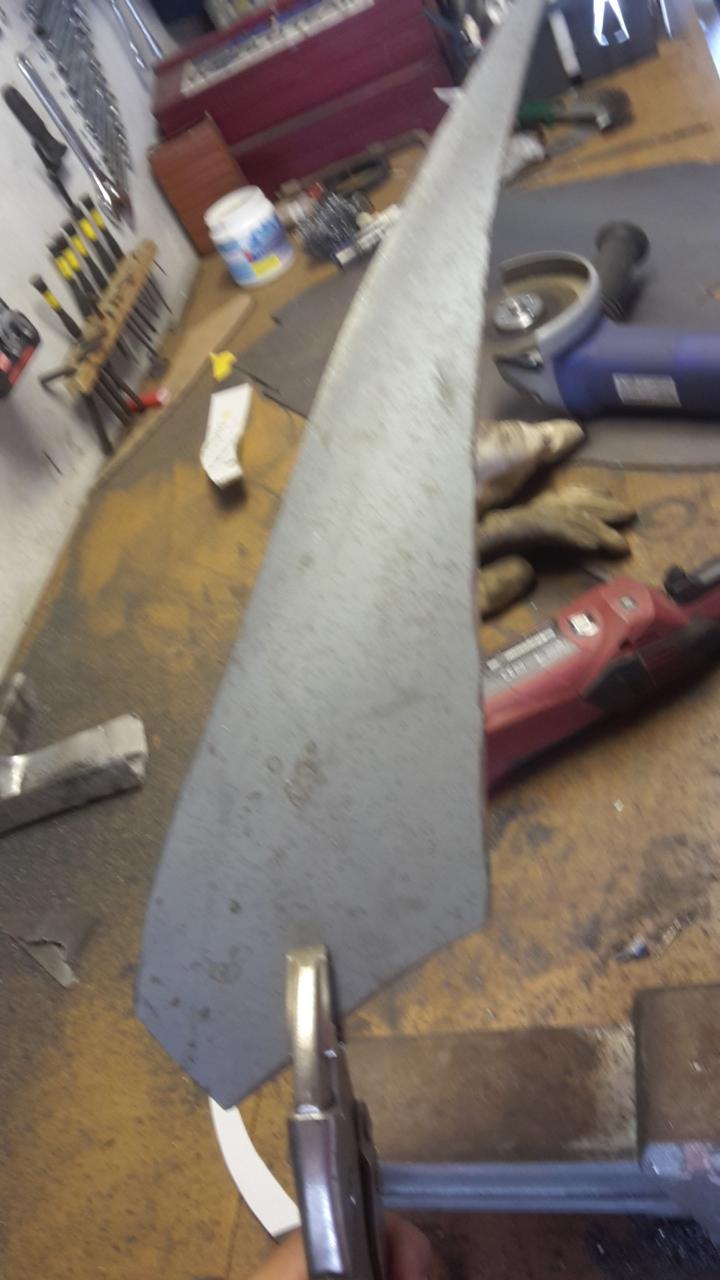
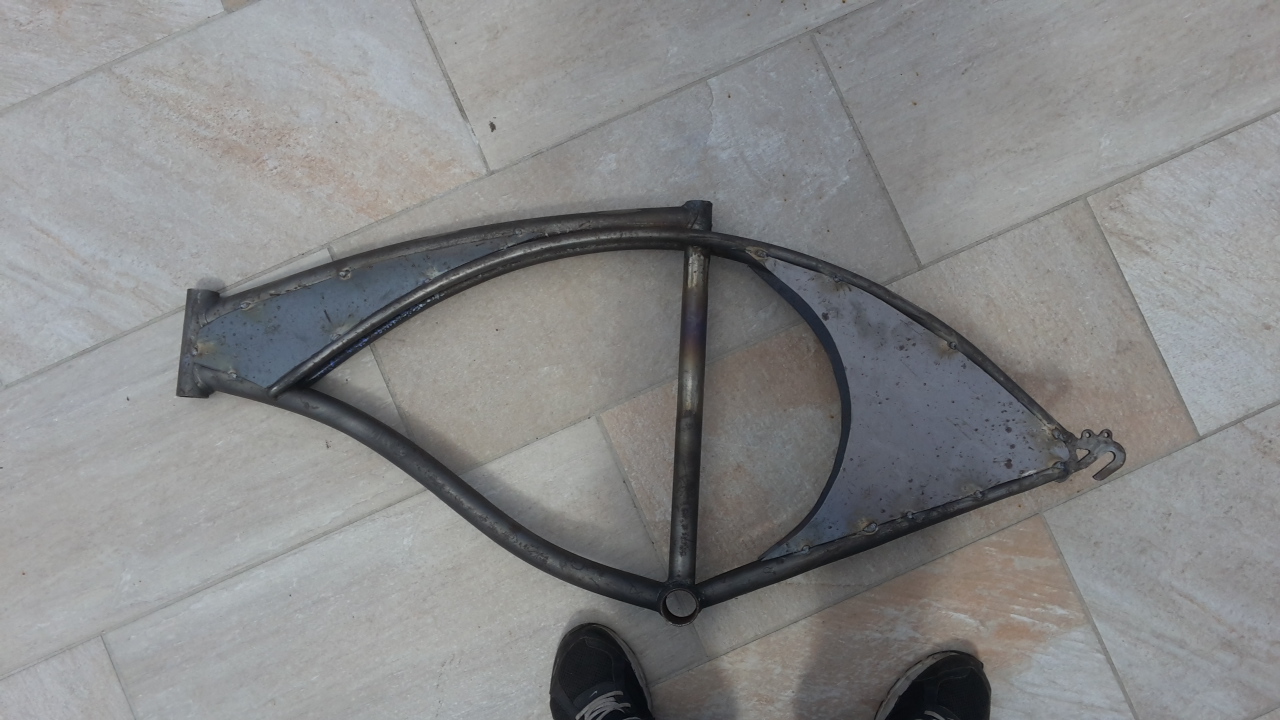
After a lot of trimming and fitting this is the best result I've got. I started tracing on my sheet metal but ran out of time for the day. I'll tackweld everything but tommorow is the National Day here so the auto shop will be closed, that means no body filler.

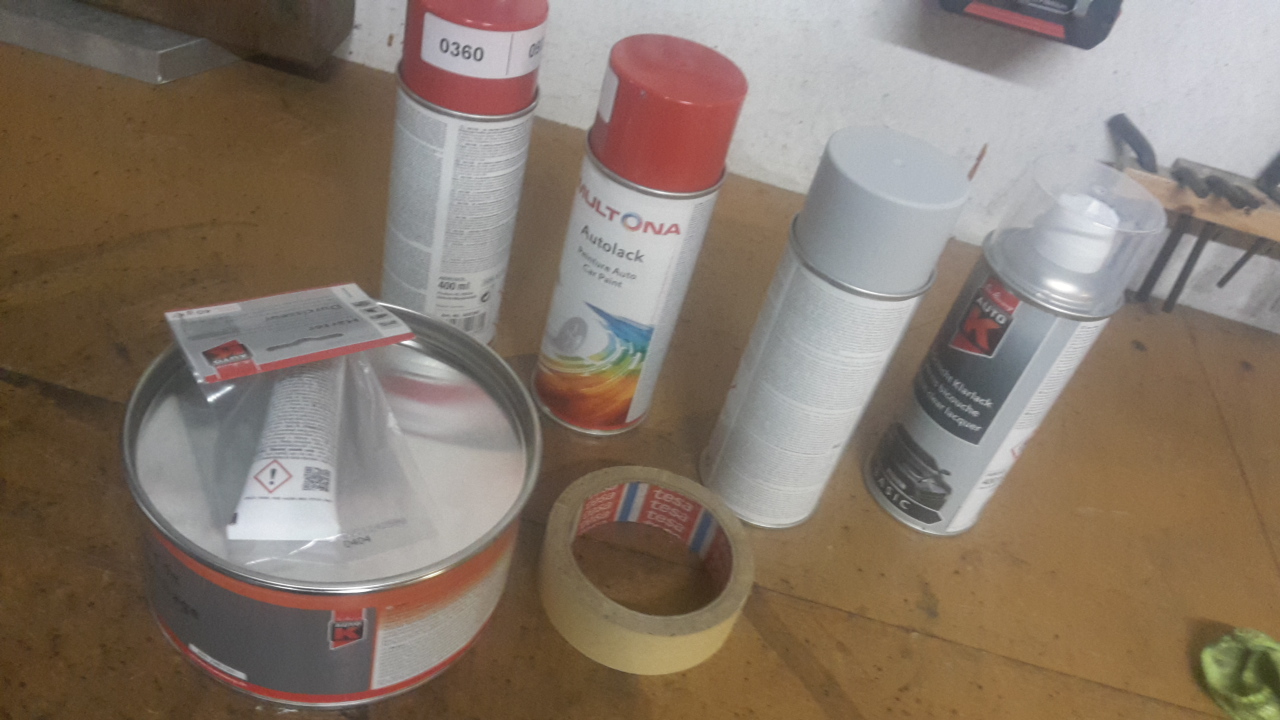
My plan for the end of the week is to get the bodywork all done and if I have time prime the frame for paint.

I also wanted to thank everyone of you who read this post, commented or gave me advice, you rock!
 
Well well...

I got all my metal parts cut!
V715PC9.jpg


s2xxp8j.jpg


Here's everything welded to the frame. I gotta say I'm very proud of what i've done. The fittment is very good and the gaps are very small!
The frame will still need a very fat layer of filler as I messed up some measures and left gaps and notches.

Lz0gIDo.jpg


I then got rid of the useless seatpost clamp and welded my handlebar-seatpost in. Drops the saddle to the level I expected, again very pleased with this. It's not the best job in the world but I like it.

It was then time for a test build....

UJnkBit.jpg


And here's the magic!! I followed Luke's suggestion about getting rid of the spring, but that dropped the bike way too low. So I used a piece of frame tubing to make a headset spaces to mount the original spring-stop and use a rubber bushing to lift the bike just enough for me to ba able to pedal.

MU5EeLv.jpg


A friend of mine got me some marine grade bolts and I thing they fit in pretty well.

DdGgRny.jpg


TEST BUILD IS A RUNNER!!

3XlGlUC.jpg


Very pleased with the new stance.

YeqIF1z.jpg

MfirZiS.jpg


Gotta do a test ride! It rides like absolute garbage, turns wider than a 18 wheeler and starts to shake over 10km/h, but oh boy do I love it! It also scrapes everywhere, wich will be compensated when the airide is on, but for now I'll stick with my plastic pedals! Next up on the list is body filler to fix up the frame completly.
 
Ladies and Gentlemen; Welcome to Texas Chainsaw Massacre!!

No but seriously, be prepared as I have no idea what the fck I'm doing from this point forth. I'll let the picture speak for themselves, but if you have children or automotive bodyworkers nearby, please close this window.

1wQPfPj.jpg


Picking up supplies

hXTbzCE.jpg


Here's the color I chose, its supposed to be the closest to Peugeot Red Vallelunga, one of my favorite car colors.

YfkQeyw.jpg


Welded the coaster brake tab and added the mudguard tab also.

Be prepared, cause the massacre's about to begin....

jCJHntT.jpg

vT48yXg.jpg

MQhWyQG.jpg

EPV39lg.jpg

2uqFvfD.jpg

dad6dfc.jpg


Hope you appreciated my superb cake. I'll try to save the Titanic tomorrow when everything is dry.

Edit : The thing was dry before the evening so I worked on it :

2ga20Jh.jpg

PeCRi2f.jpg


It's getting there... I think I'll need 2 or 3 more coats before even thinking about primer...
 
Last edited:
Progress is slow... I hate sanding.

06Ady5v.jpg


How the bike stands as of now, I'll have a friend over helping me soon to finish this mess.

VqhrbGR.jpg


Check this out! chrome 140 spokes with fat whitewalls! Can't wait to see them on the bike.
 

Latest posts

Back
Top