When a crazy idea becomes reality

Rat Rod Bikes Bicycle Forum

Help Support Rat Rod Bikes Bicycle Forum:

This site may earn a commission from merchant affiliate links, including eBay, Amazon, and others.
Joined
Nov 2, 2016
Messages
423
Reaction score
2,107
Rating - 0%
0   0   0
Hi
Where to start!

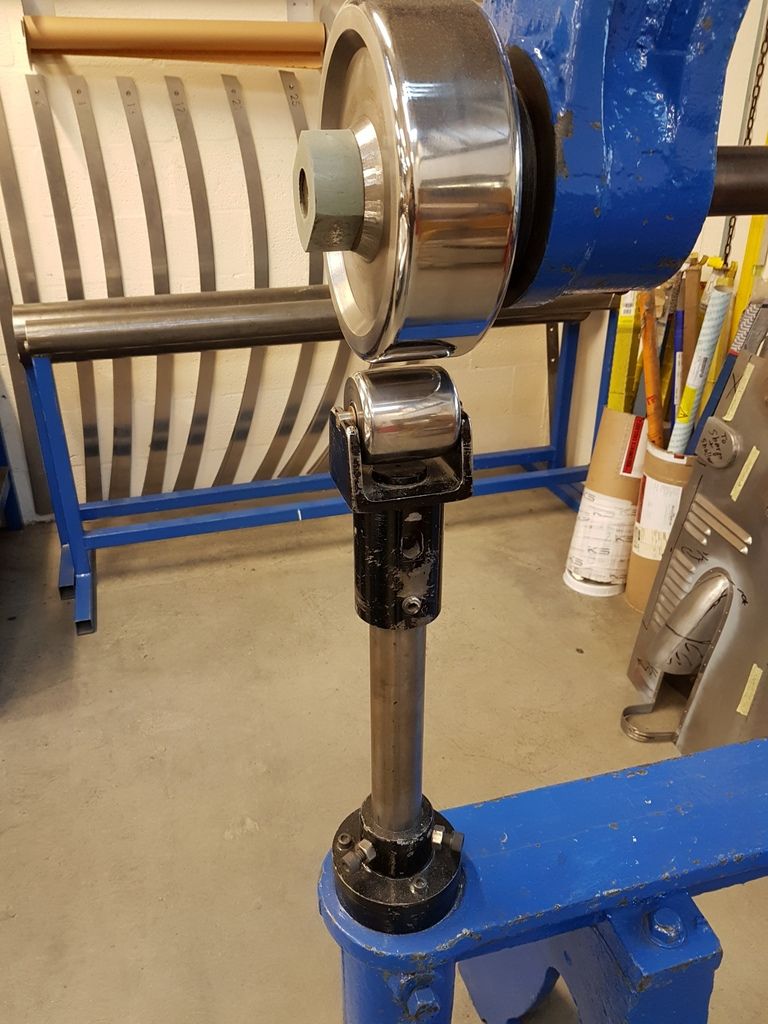
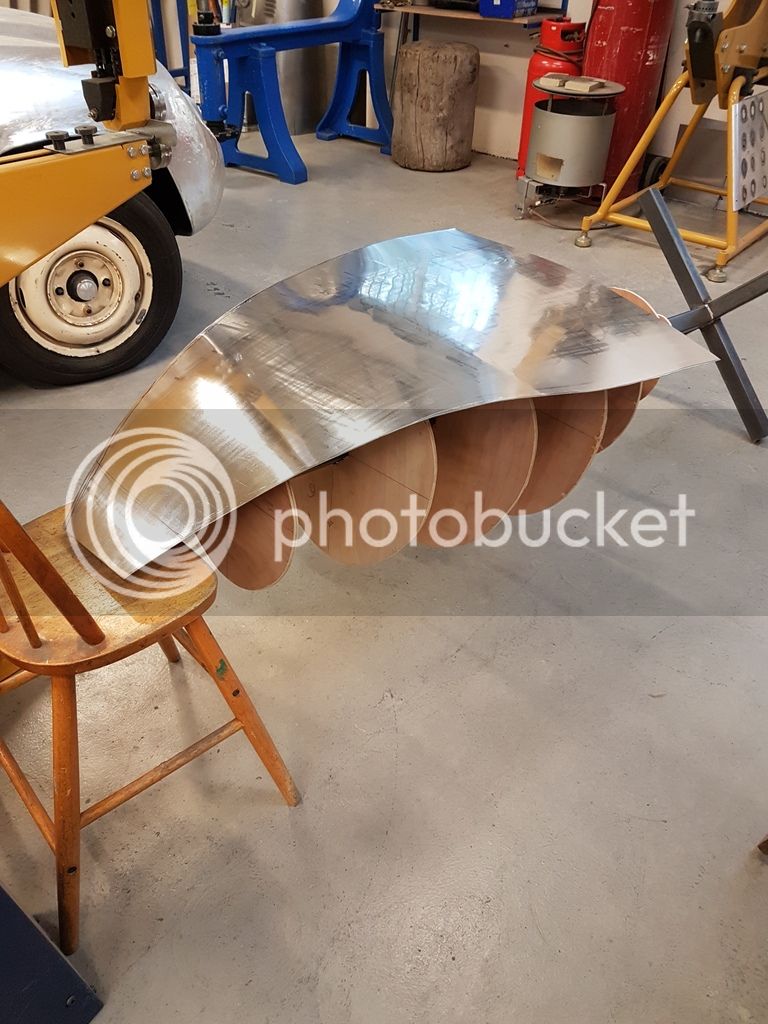
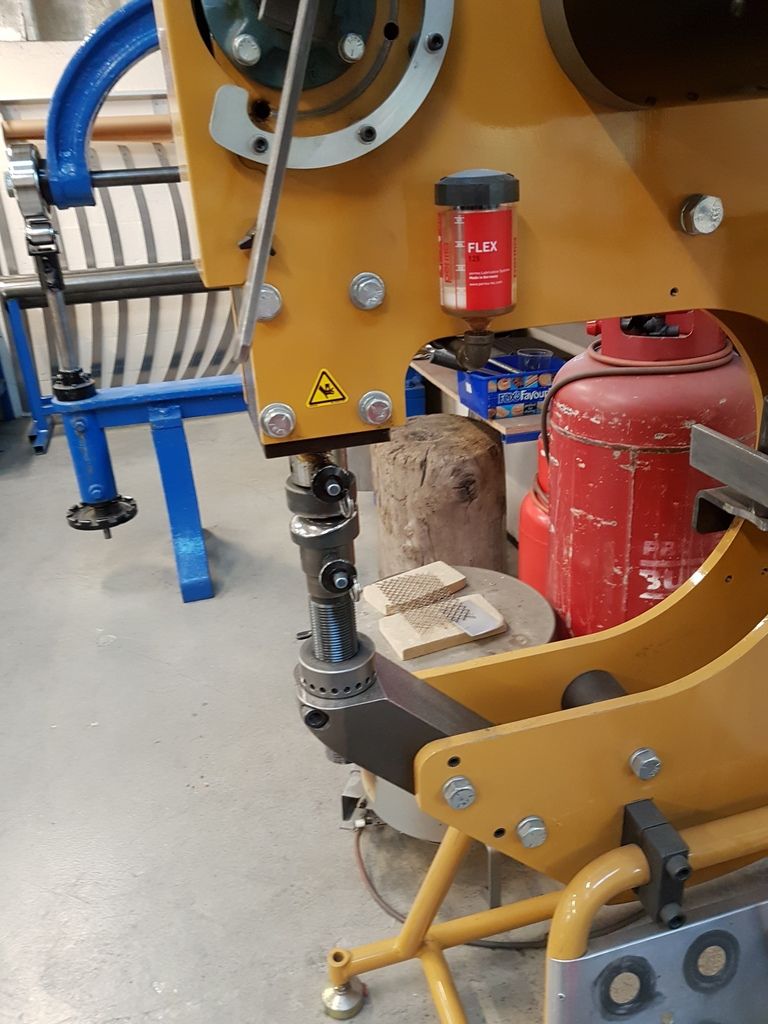
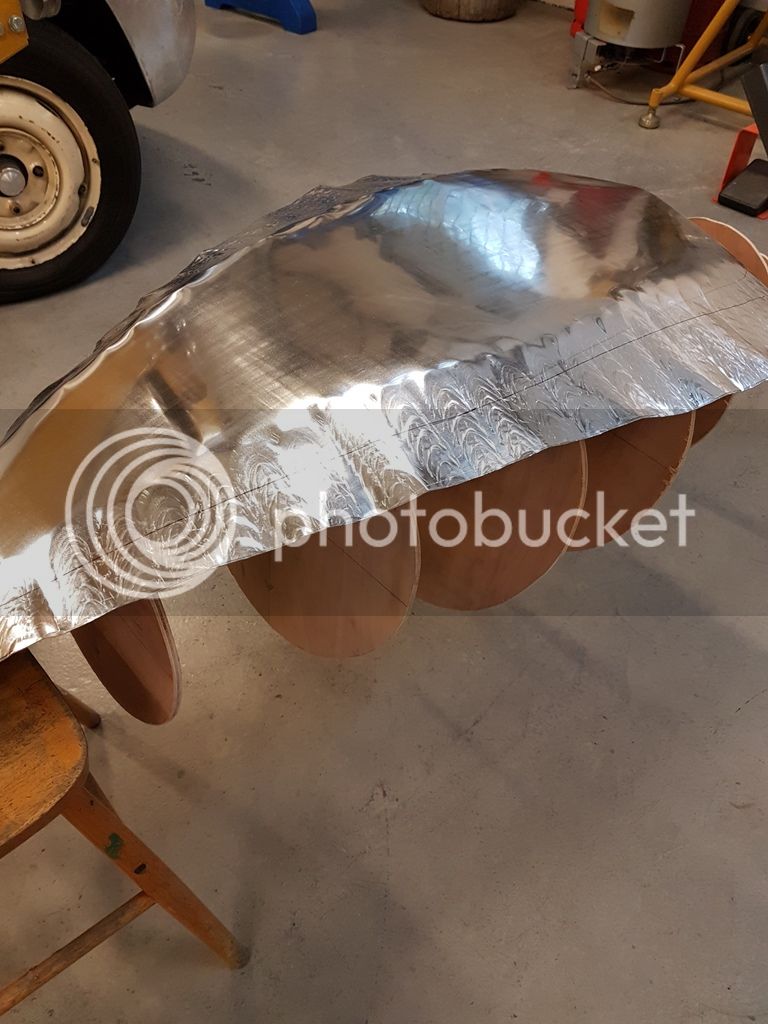
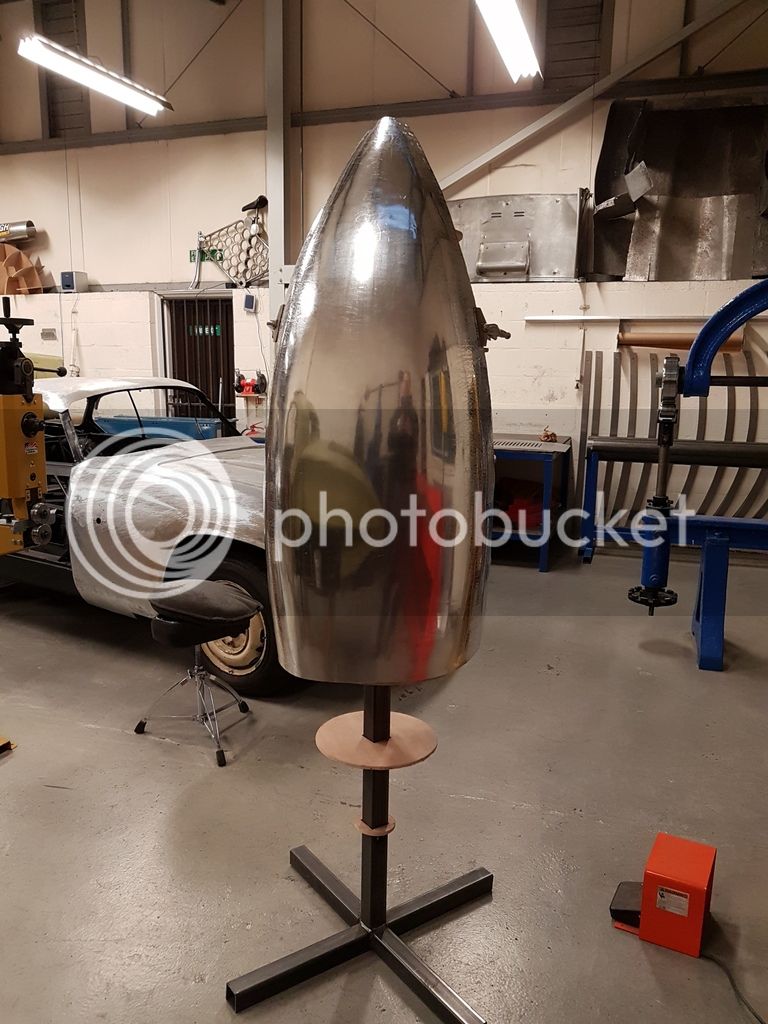
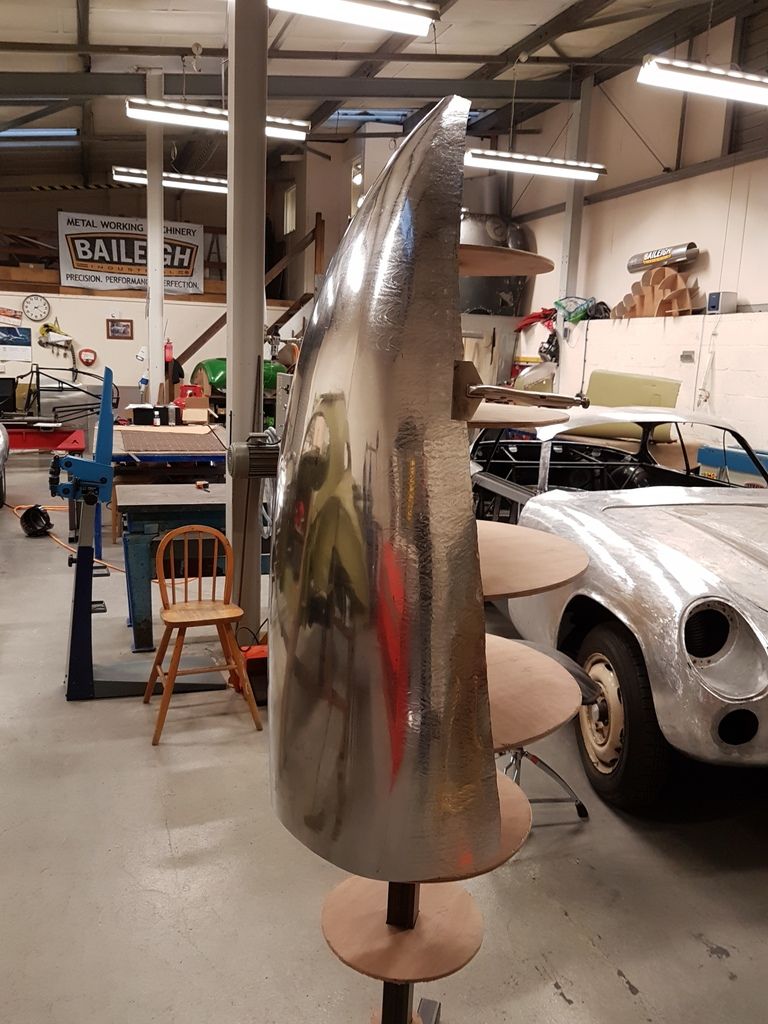
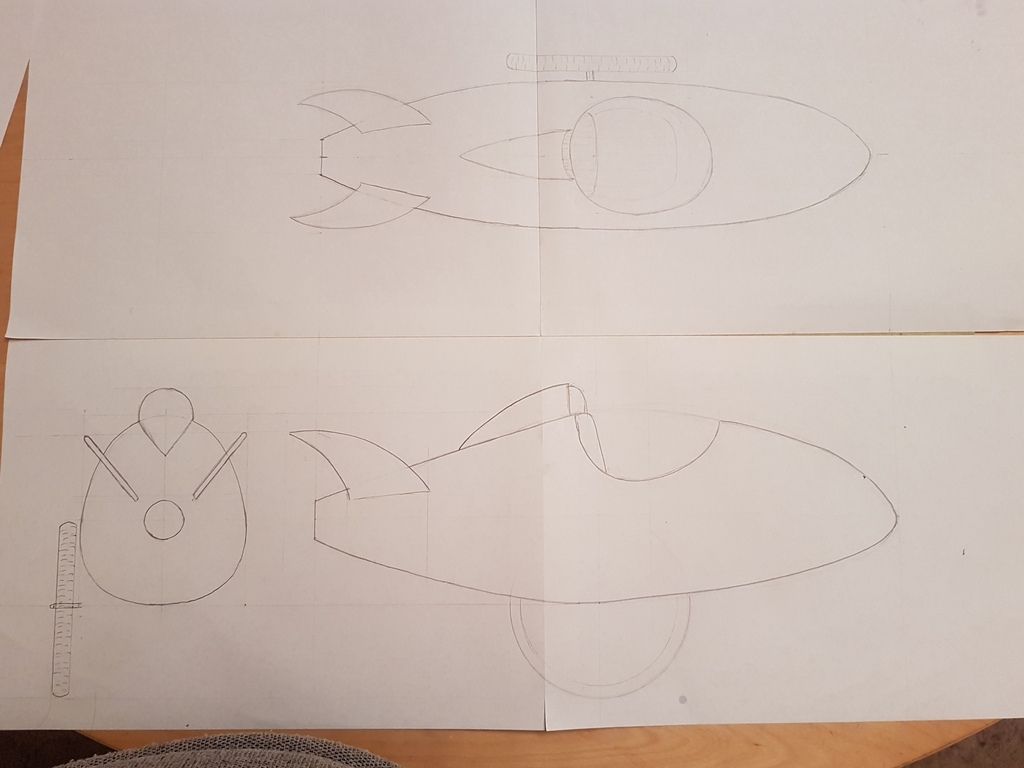
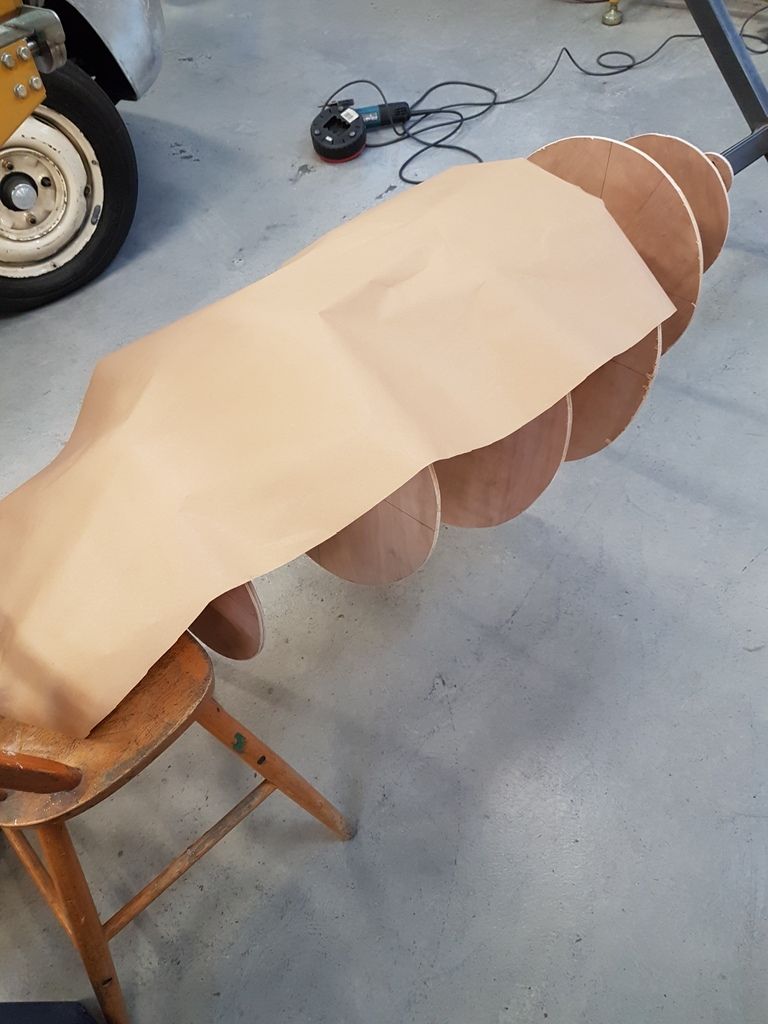
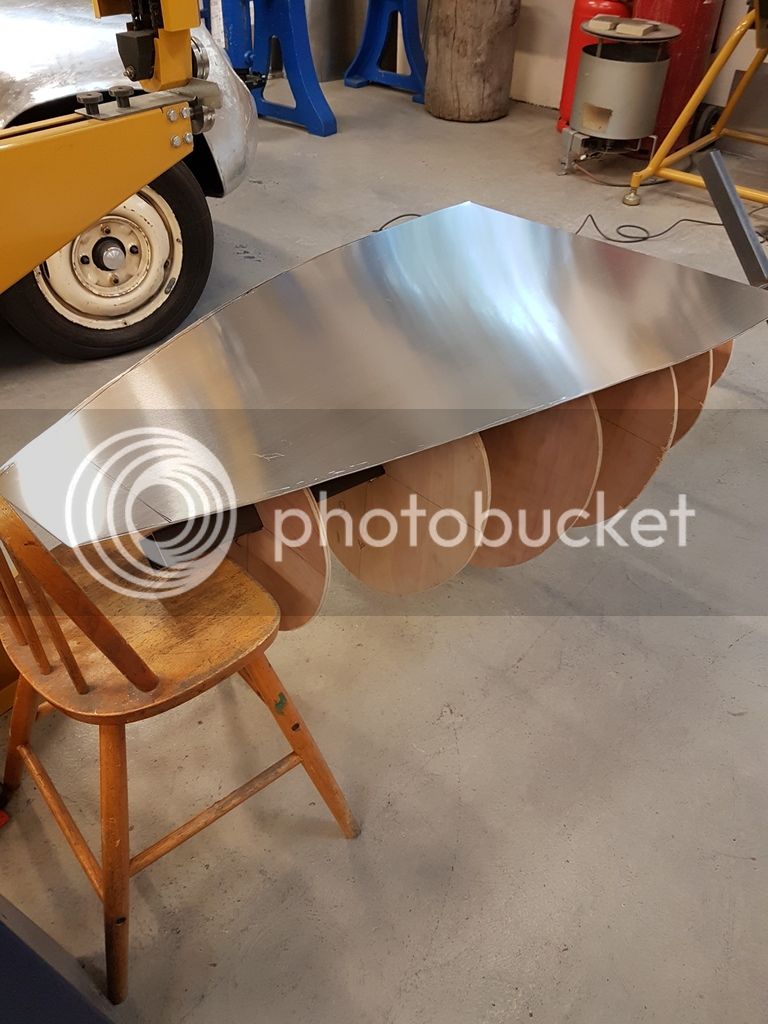
OK, I am building a rocket inspired sidecar out of aluminium sheet. It will be mounted to a bicyle.

There. I've said it.

I'd like to take you along for the journey if that's ok with you.

I'm hoping to get it finished by next summer.
 
Last edited:
It's going to look like this

20161212_215421_zpsk5zmykqn.jpg


It needs to be big enough for a 5 year old to ride in.
 
So yesterday I popped into the workshop ( where I work restoring bodies for classic cars) to make a start.

The idea is to have a aluminium "capsule" which is mounted to a frame with a single side wheel. The frame is then fixed to the bike.
First I need to make a simple "buck" the shape of the capsule. As I make the panels I can offer them up to this and check they are following the right shape.
Using the drawings I made, I've cut out discs to make up the shape. These are mounted to a free standing pole (2" box section). This isn't the normal way to make a buck, but it will give me access all round.

20161228_131603_zpsm7kpr9zv.jpg


Taaadaa! I've made a giant kebab!
 
Next I lay on some brown paper to gauge the size and shape of the metal.
20161228_135538_zpsyhpsxhhp.jpg


I'm starting with the underside. I'm having to do it in two sections to keep the pieces manageable.
The paper template is then transfered to the aluminium sheet.

20161228_140744_zps6wjlrfux.jpg


Then I simply bend it round the buck to make the shape......er no, it doesn't work like that!
 
Ok for those new to metal shaping I need to explain what I'm doing. For those experts please skip this bit! :)

If you imagine a rolled out piece of pastry ( mmmmmm pastry....) and cut it into a 1" disc. Now push you finger into the centre. The edges are going to lift up off the table. That's because you have squeezed and stretched the middle and it's forced the outer edge upwards. Now gently squeeze the edges all the way round. This "shrinking" will force the pastry into a small bowl shape. That's basically what I will be doing with the metal, stretching and shrinking
 
For the stretching I'll be using an English wheel
20161228_140931_zpsl7grnkqw.jpg


The metal is rolled between the wheels and squeezed. The lower wheel can be changed to suit different curves. The pressure is also adjustable. Some people say it takes decades to truly master this. They are right!
 
For the shrinking I use an attachment in the power hammer

20161228_142640_zpssqvd52dx.jpg


This squeezes and pinches the metal.
By using this round the edges I start to get the curved shape I'm after.

20161228_143202_zpsuvecbocx.jpg


This was after one pass. Multiple passes are made, moving closer to the edge on each pass.
 
That's incredible! What do you use for alloy and temper? Do you have to do anything to the metal to deal with the work hardening or does the right alloy not need it?
 
I use 1050 aluminium which is a semi soft grade. However recently this grade has been getting harder. The suppliers in the UK say it's the same as always but it is definitely a harder alloy.
Work hardening isn't a problem. Sometimes when I need to do some fine detailed shaping I anneal the metal. This process softens the aluminium which makes it very soft to work. It will age harden in time.
 
Thanks! I've tried a few small metal working projects and always had trouble with work hardening, but the alloys commonly available aren't suited to the task (but to be fair to the metal, neither am I).

I have no idea how alloys are sorted during recycling or determined for reuse. Are the trace metals separated out to get pure aluminum as a starting point? Seems logistically and energy intensive. I've never considered it before. Now I have something new to research.
 
Duchess you could always try annealing the aluminium if your having trouble.
Mark the aluminium with a bar of soap and then heat it gently with a blow torch till the soap turns black. Then STOP heating. Once cool the metal will be much more workable.
The temperature that you need to raise the metal to is also the point that wood burns so you could use a stick. Rub it on the metal as you heat it. When it leaves a black mark you've reached the temperature.
Or what I do is to watch the flame as it bounces off the surface. When it's turns yellow from Blue, that's it.
Be warned though, too much heat and it will suddenly drip on to the floor!
 
You are very talented. Thanks for posting, I am looking forward to following this project. Is it being made with a specific bike in mind?
 

Latest posts

Back
Top