(WBO) X.L. Higgins

Rat Rod Bikes Bicycle Forum

Help Support Rat Rod Bikes Bicycle Forum:

This site may earn a commission from merchant affiliate links, including eBay, Amazon, and others.
Joined
Dec 8, 2011
Messages
3,490
Reaction score
5,381
Location
Sacramento, CA
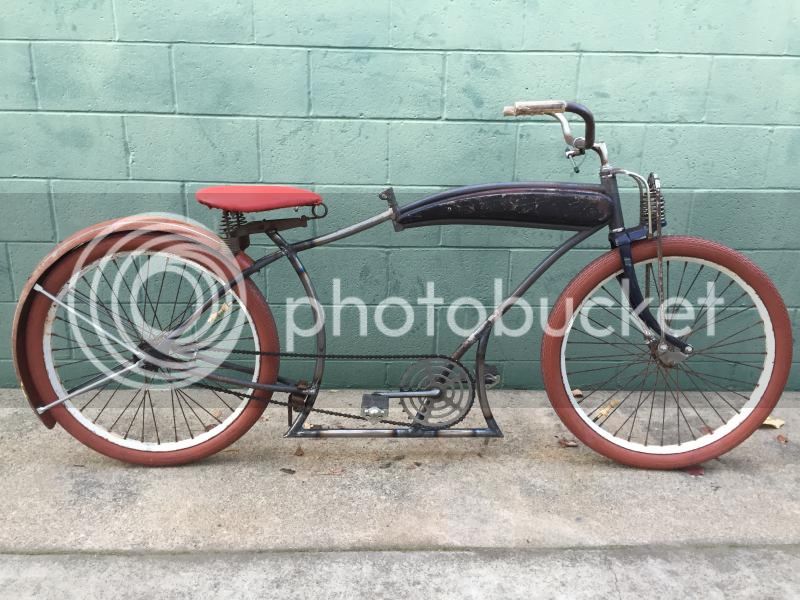
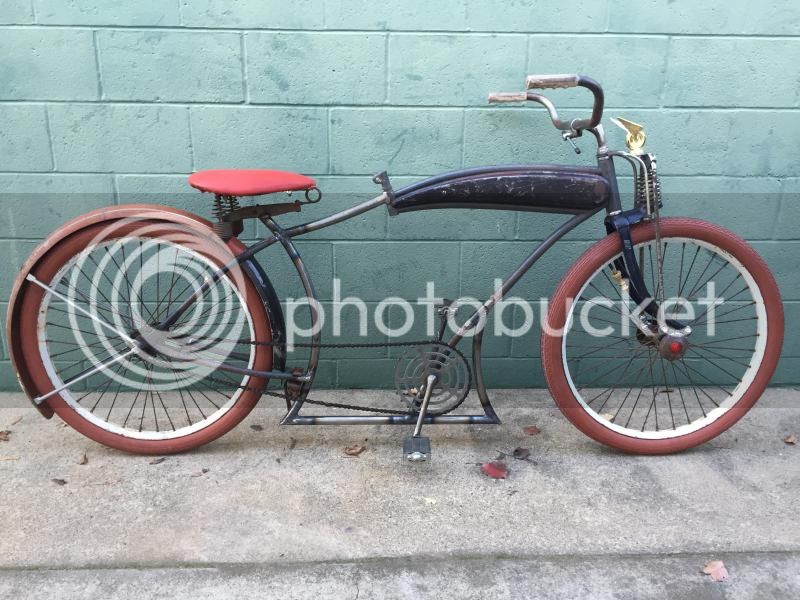
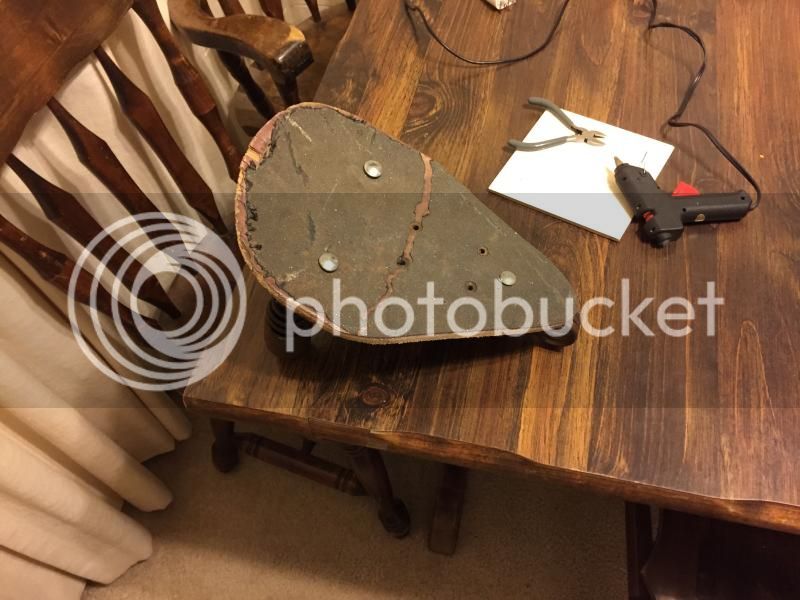
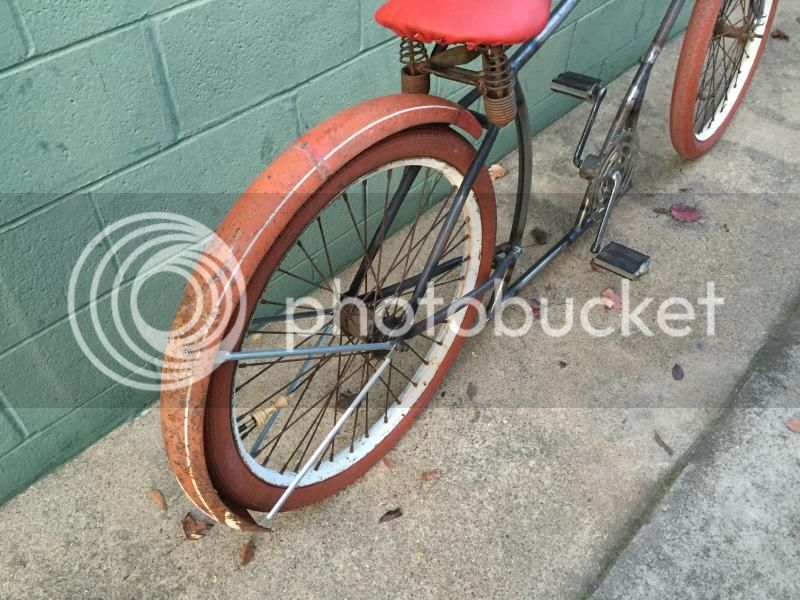
I've got another build that I wanted to do, and since this will probably be the bike I bring to O.B.C. in Vegas in the beginning of April, I figured that the timing is perfect to also put it here in the build off. I've got a J.C. Higgins tank/frame that I got from A.S. Nutbolt some time ago, but I've not done anything with it yet. This is mainly because at almost 6'-3", I just don't fit vintage frames, no matter how much I love them (which is a lot).

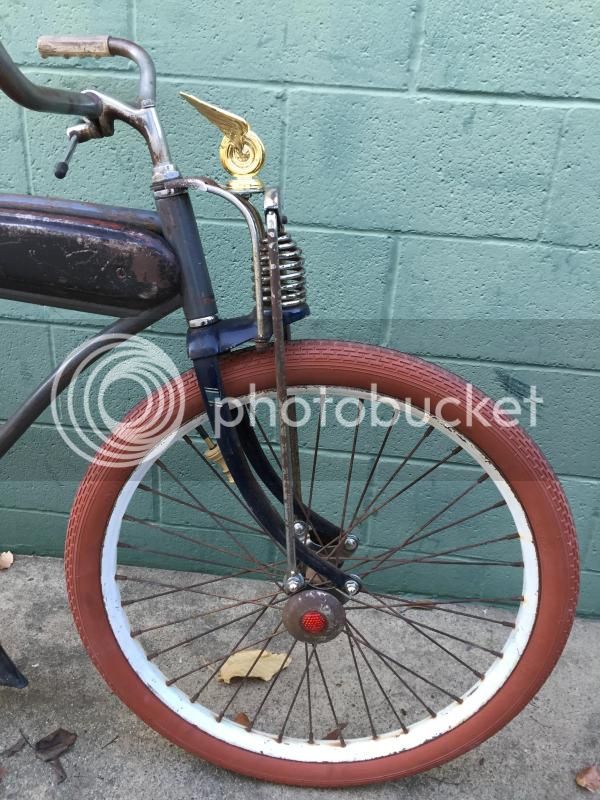
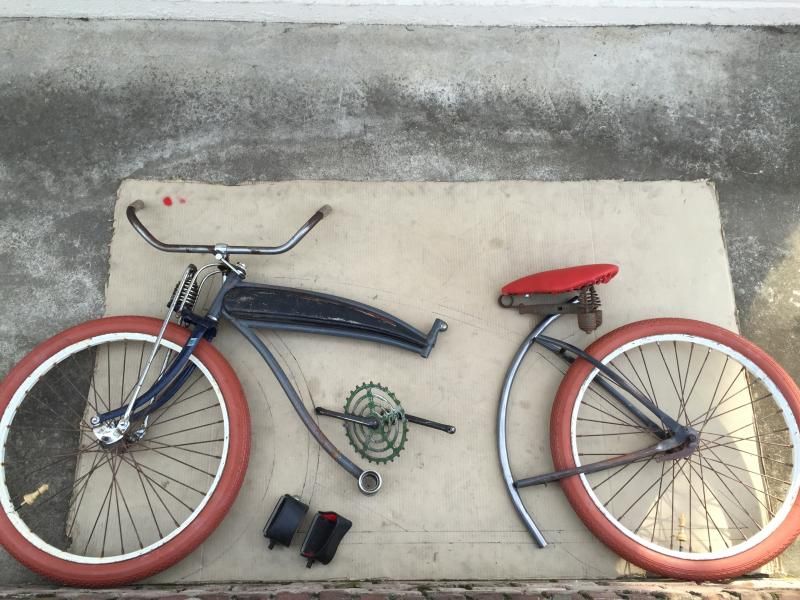
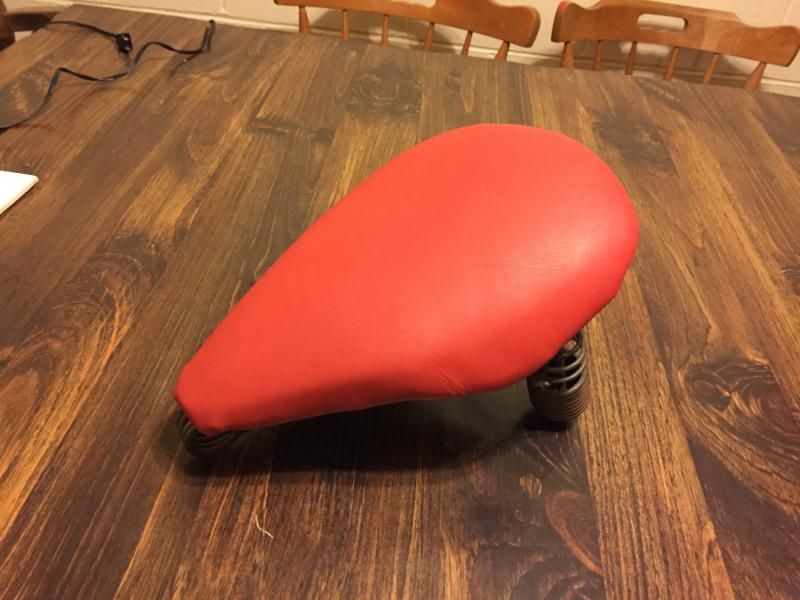
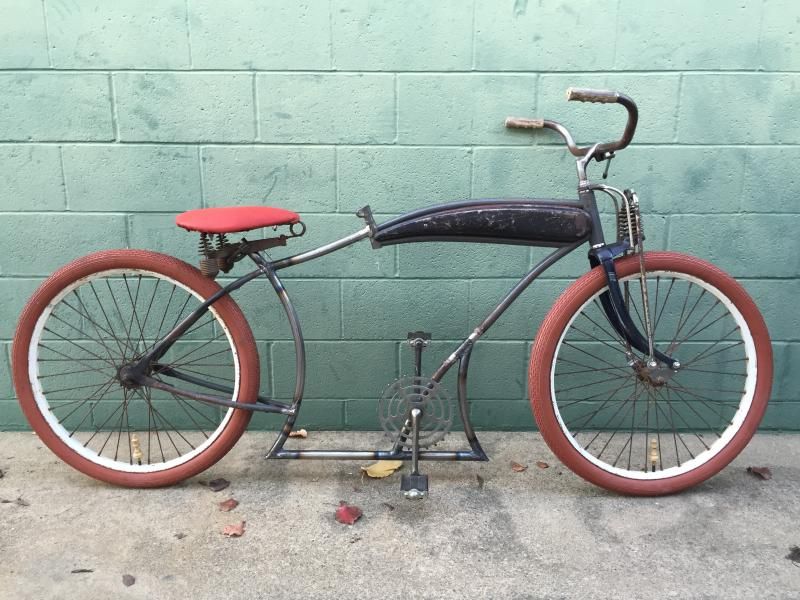
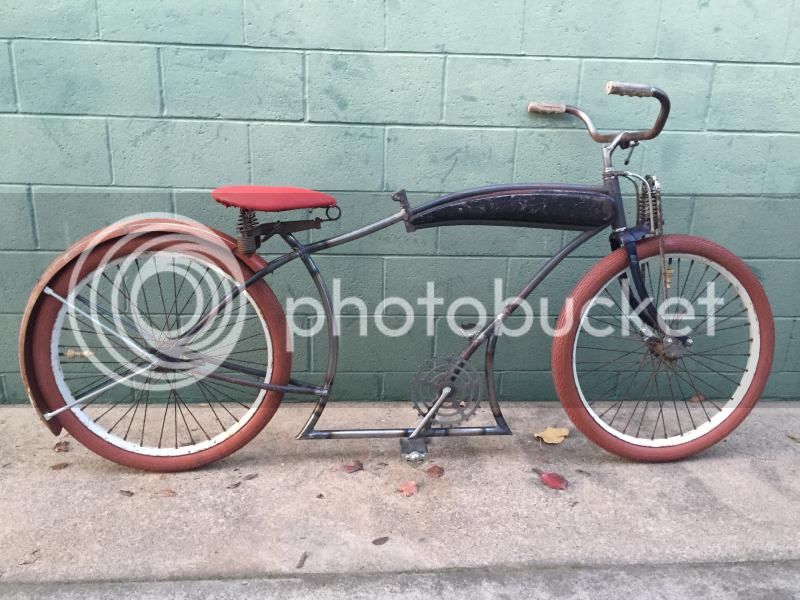
This has no "theme," per se. Just stretching the frame, then putting on some cool parts I've been collecting, such as a Beehive springer that I won on ebay, a heavy duty skiptooth wheelset I bought from Vintage Bicycle Supply here in Sac, and other parts. I'm calling it X.L. Higgins. Please forgive me for hacking up a perfectly good tank frame.
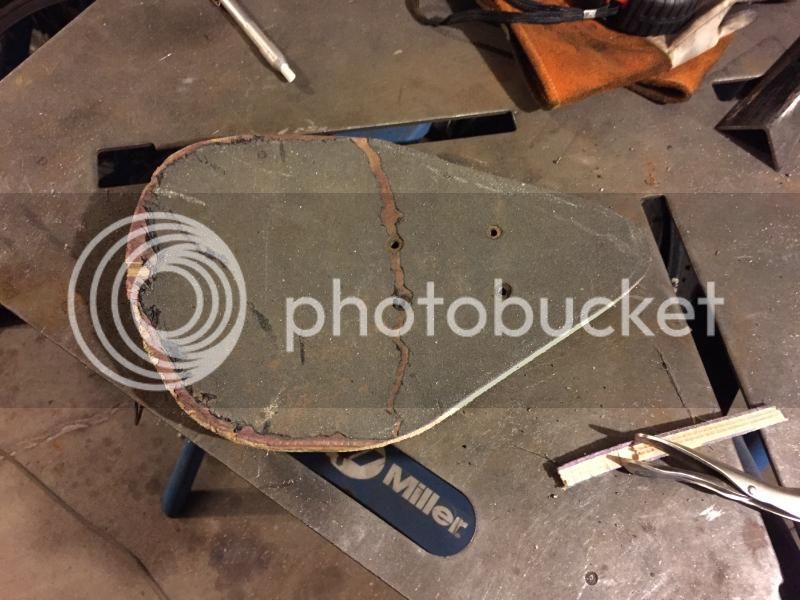
The start:
IMG_3052_zpsf5fbd5ee.jpg


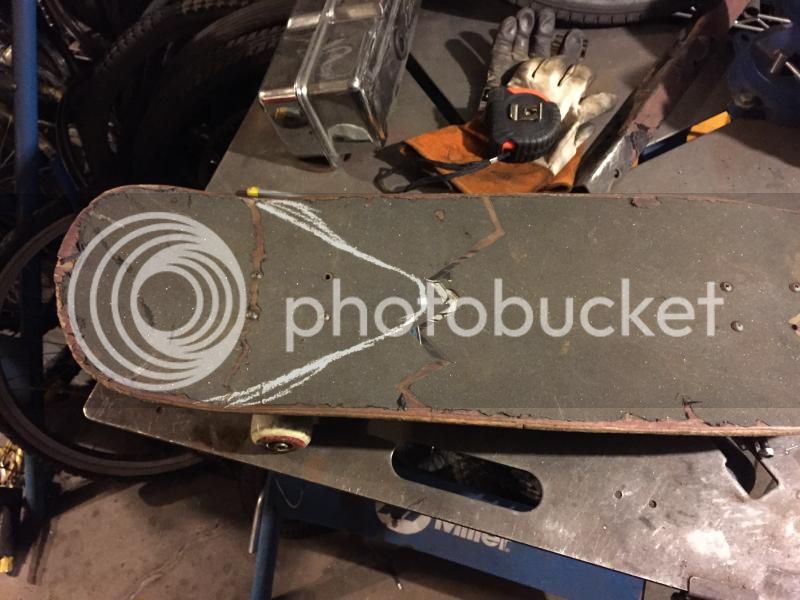
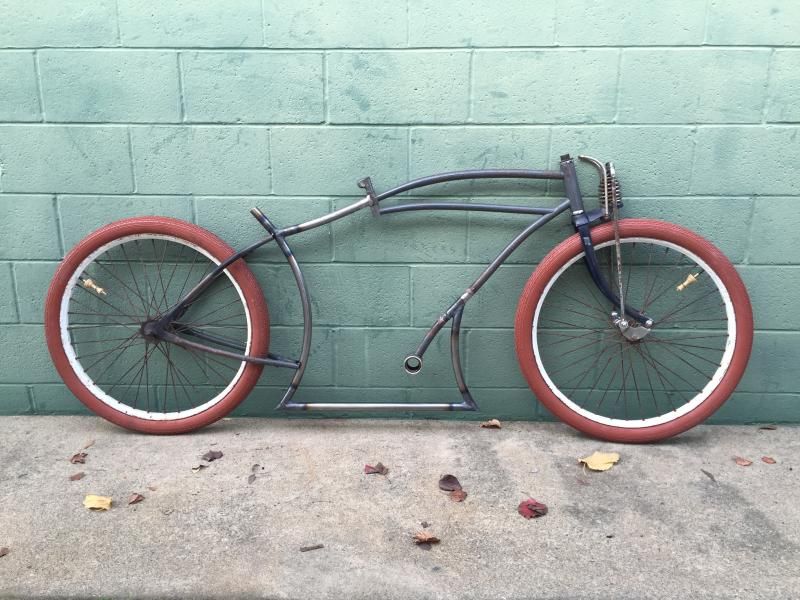
Cutting and placing over my "Science" frame template to get the right dimensions that I like:
IMG_3057_zps6b0a7a04.jpg


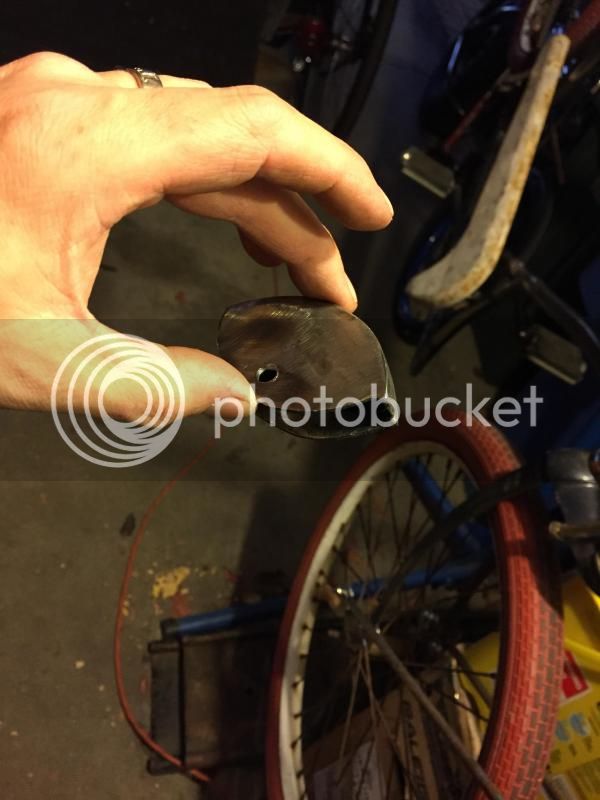
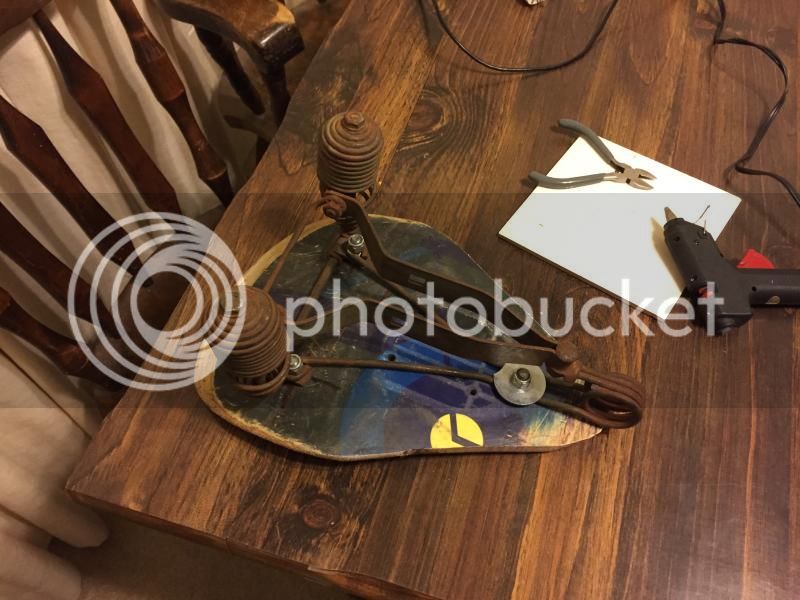
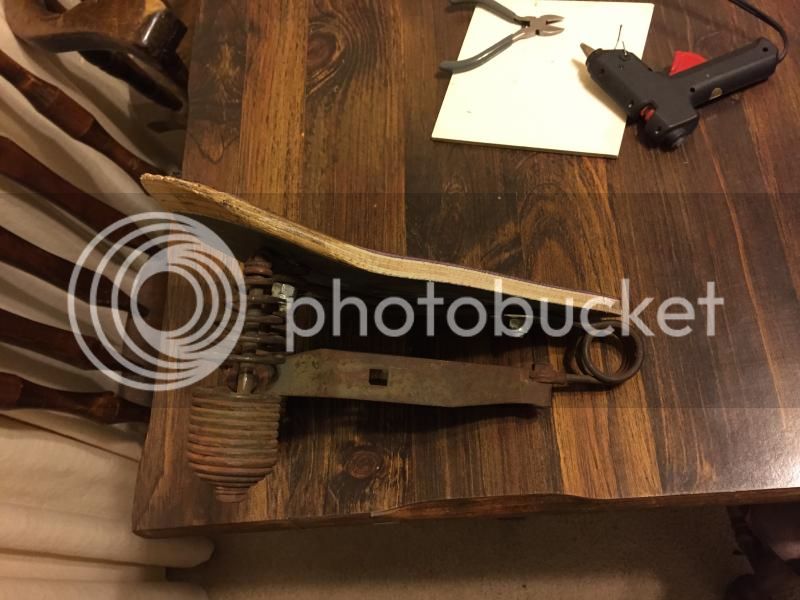
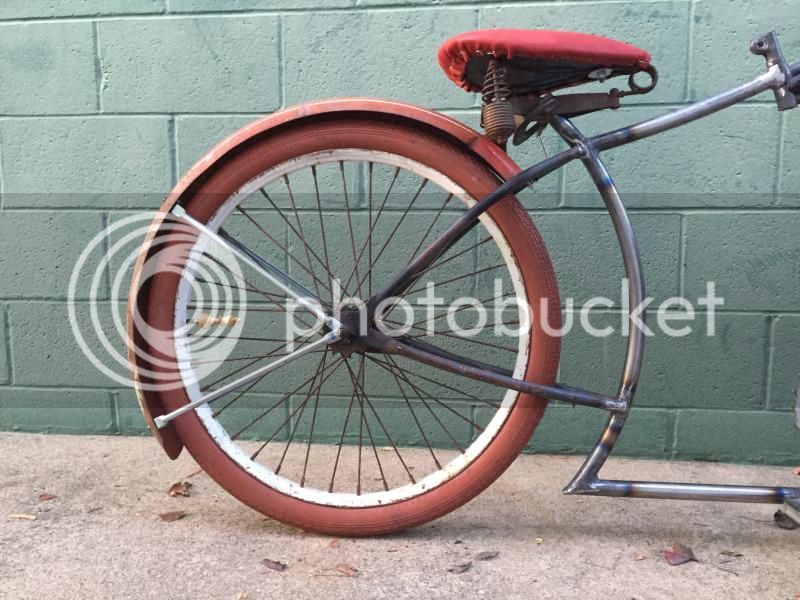
After lengthening the down tube, I didn't like how it was looking, so I changed direction a little, and put in some steel around the front wheel, and made the bottom more like a Science frame.
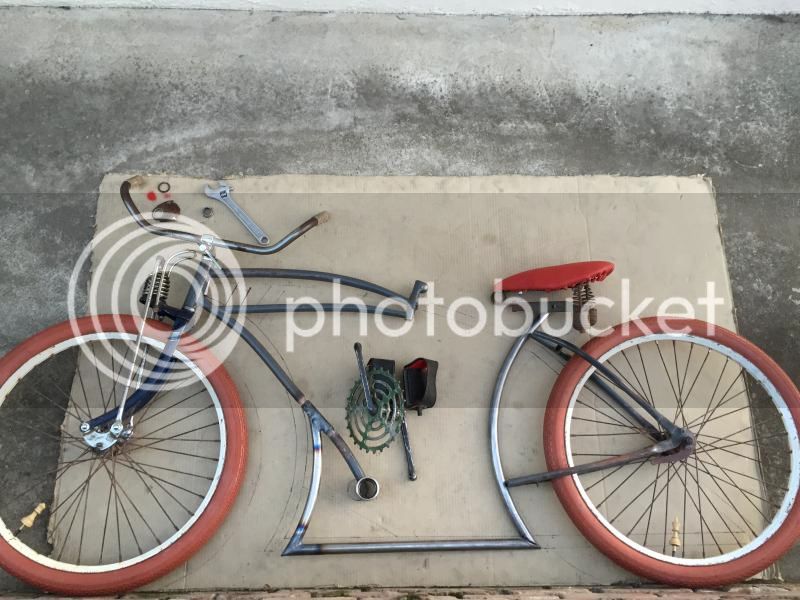
IMG_3058_zpsa5f5ff65.jpg
 
This post is going to be pic heavy, so I apologize to those reading this on a device that's slow to load.

First, I wanted to show how I made the seat I'm using on this build. I bought a cool under cage for a seat from the teens or twenties from a friend, but none of the newer (even Pre and post war) stuff I have will fit the bolt dimensions. I thought about having Skiptooth Leather make me one, but he seems to be out of the business. So, I thought I'd make one myself. Started by cutting up an old skateboard to get the right shape.
IMG_2847_zps836110a7.jpg

IMG_2848_zps25500f3d.jpg


Drilled some holes to bolt up the cage.
IMG_2849_zps1bdd8c93.jpg

IMG_2850_zpscb47b1e6.jpg

IMG_2851_zps836e562b.jpg


Then I glued on some high density foam.
IMG_2951_zps14dff941.jpg


Next I cut out some cool red leather that I've had for a while (I've got enough to do like 8 seats), and stretched it over it. Then I just stapled it to the wood. That skateboard wood is HARD, so it looks pretty messy under there. But hey, you don't usually see under the seat anyways, right?
IMG_2952_zps670089e9.jpg

IMG_2953_zps919f8d8b.jpg

IMG_2954_zps57813a6f.jpg

IMG_2955_zpsc229c154.jpg


Okay, now on to today's progress. I finished up the frame (though I'm still not sure what I'm going to do with the top of the old seat tube), and started putting some of my cool parts on it.
IMG_3060_zpsa03d20aa.jpg

IMG_3061_zps01fd4051.jpg

IMG_3064_zps7cd6f622.jpg


That fender has been around for a while, because it's not a part of a pair, and the struts didn't fit on anything. I finally cut off the struts, and put on some new ones. It was quite the pain in the rear.
IMG_3065_zps1a39754b.jpg

IMG_3066_zpsda1fd75d.jpg
 
Are the bars going to get extended? I don't see how you could ride that bike like that. I suggest 5 foot ape hangers! :D (totally kidding)

I'll definitely need to something with the bars. I might try flipping the stem around to gain those few inches before I resort to more drastic measures.
 
I put 4 inches on a set of pullback bars, just enough to reach better, look cooler and hide the seam under the grips... on Little Neutrino.

Carl.
 
Put a good pile of skiptooth chain on it, made a coaster brake holder out of a dinner fork, and took it on a test ride.
IMG_3067_zpsd3fbef1d.jpg


I was pleased to see that one of my old shorter kickstands still fit it perfectly, so I've got one of those on there, as well. There are some issues with the rear hub. There is a lot of play, and lots of noise, so I'll have to see about rebuilding it. Also, the weights on the bottom of the exercise bike pedals scraped the ground, so I'll have to cut those off.

The beehive springer I bought was missing the bracket on top of the spring, and so I made one. Since I was already making it, I welded on a washer, to mount a cool trophy topper that I've been wanting to put on a fender or something.
IMG_3068_zps20fbbef8.jpg

IMG_3070_zps65ddaf9d.jpg
 
Most of the work I did today can't be seen. I switched out the guts on the rear hub, and that fixed all of the slipping it's been doing. There are a few creaks and groans still to track down, but it rides well. I also added a section of fender behind the seat tube, so that it goes all the way to the chain stays. I also added some hubcaps in the front, just because they're cool.

One thing I've noticed is that it doesn't take much for the springer front to bottom out. After some investigating, I think that the bracket I made is too tall. It should be pretty easy to shave it down a bit, and drill a new hole in it. That should help with that.
IMG_3074_zpsdd809125.jpg

IMG_3075_zps38158ccf.jpg
 
Bike is coming along nicely. Great work.
 
A no-picture update. I've decided on a paint color combo that I think will work well, and I picked up a great detail from a member here. I'm loving this bike!

It's an interesting idea. I would have to make the banana seat, as I've never found one that my rear can sit on for a long ride yet. I actually am still unsure what to do about the old seat tube clamp/top. I'll probably cut it off, and do a little bit of blending.
 

Latest posts

Back
Top