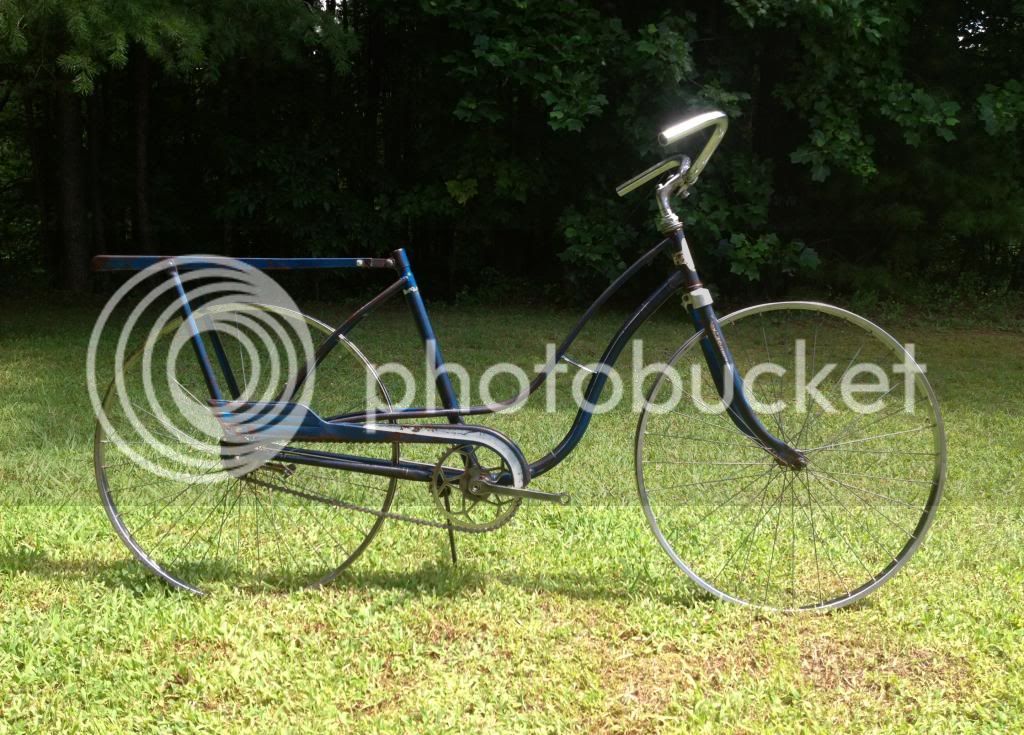
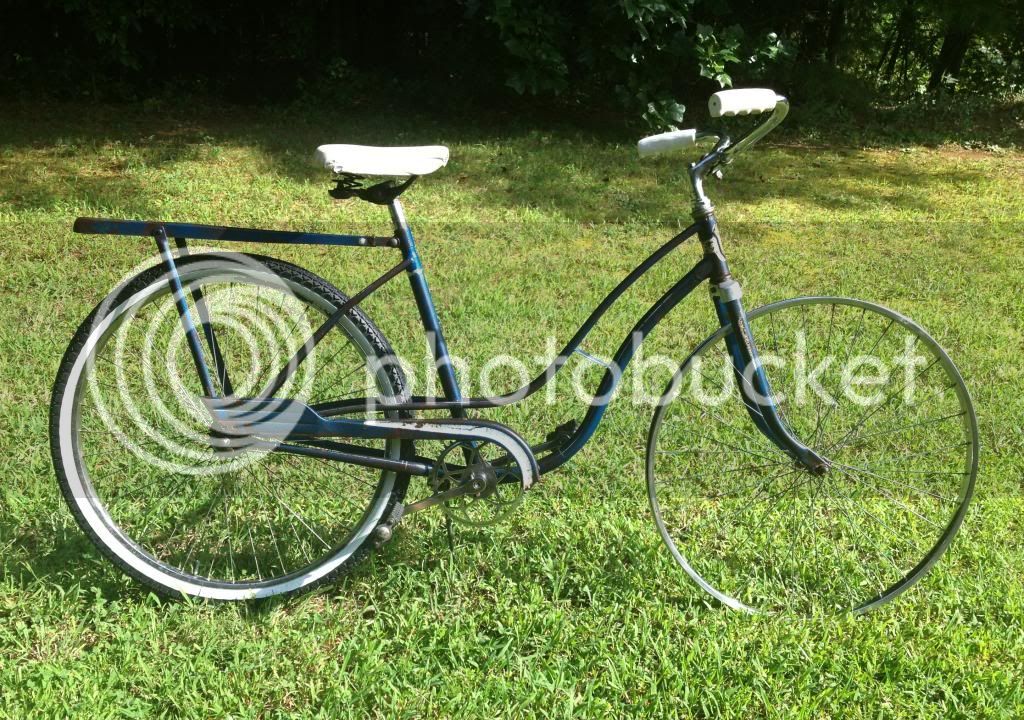
Well, I drive past an old shop near town occasionally and have seen this poor girl slowly rusting away beside it. I stopped one day and took a couple of pics, which I posted here: http://www.ratrodbikes.com/forum/viewtopic.php?f=1&t=75358 to get opinions about it. Originally I thought about a full blown restoration since a friend owes me some powdercoating work from a previous trade but after talking with others here, and crunching the numbers for other stuff needed to make it look right, I quickly realized that the cost vs. value was too far apart.
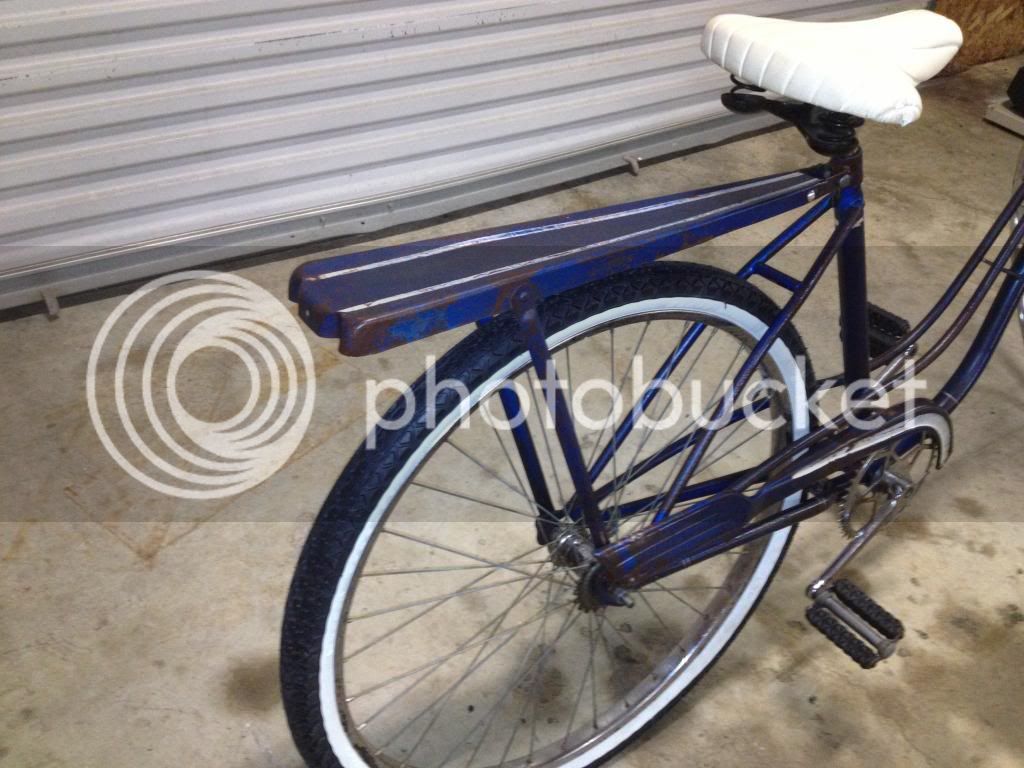
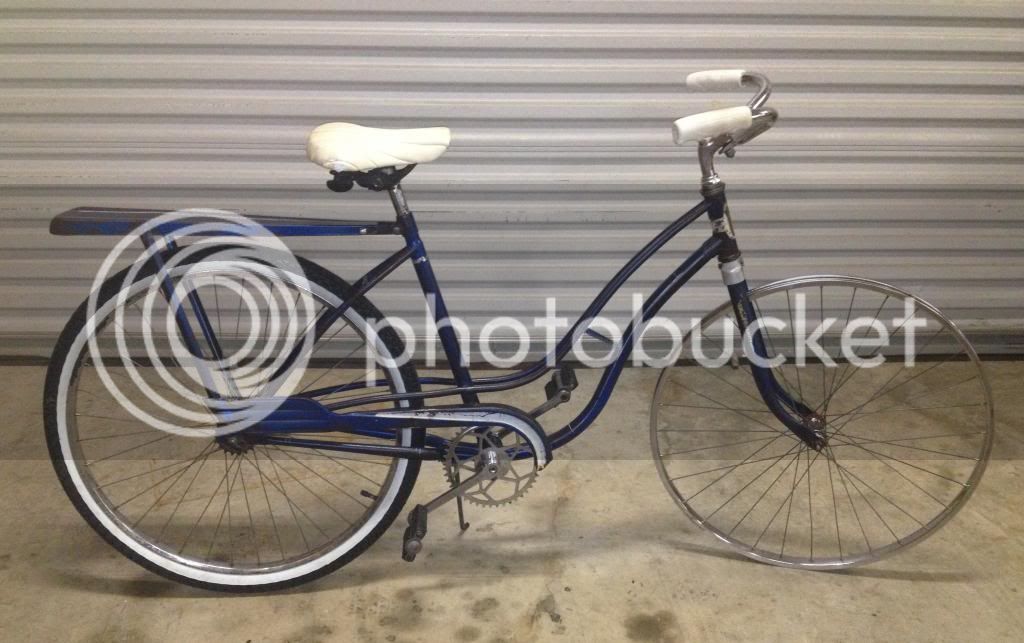
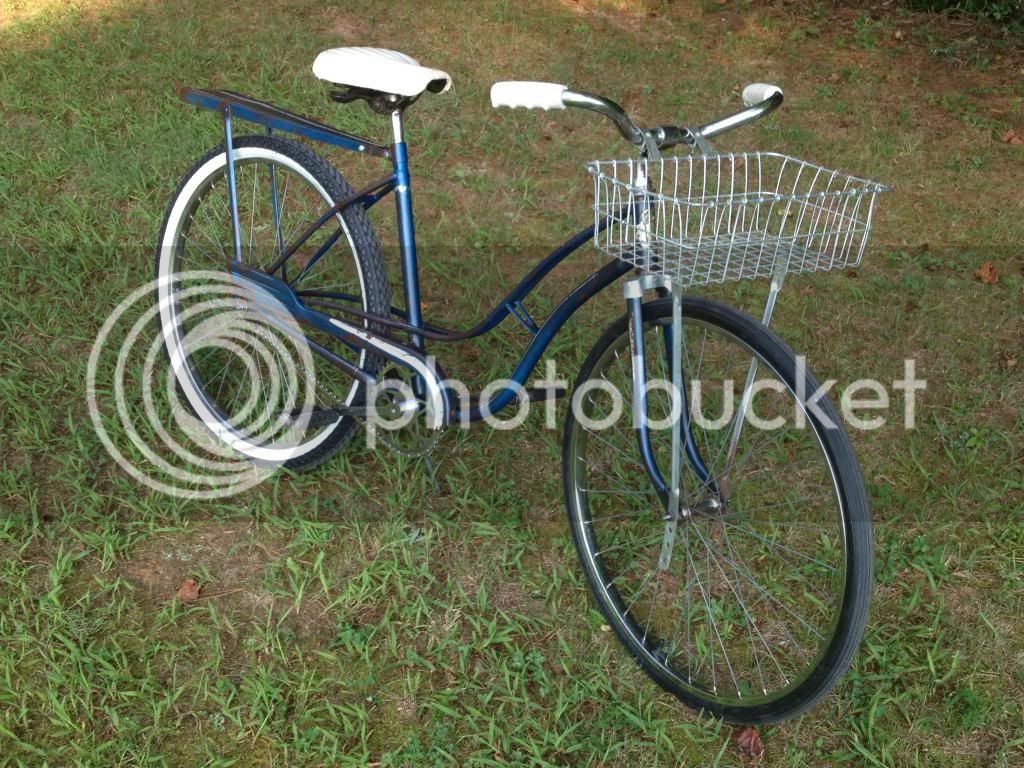
I stopped in at the shop anyway and ended up getting the bike for free so I’ve decided to see how far I can go while spending little or no money on her. My overall plan is to scrape as much rust off as I can to expose as much paint as I can, then clearcoat it and see what it looks like. I’ll repair/replace all the moving parts necessary to make her road worthy and go from there. She’ll be ugly, but I feel confident that I can get her rolling again and I do love a challenge. Thanks for the advice I’ve already gotten (particularly regarding cottered cranks) and please feel free to throw in any additional advice, comments, corrections, suggestions, sarcastic remarks or bad puns. I’m in this to learn and to have fun.
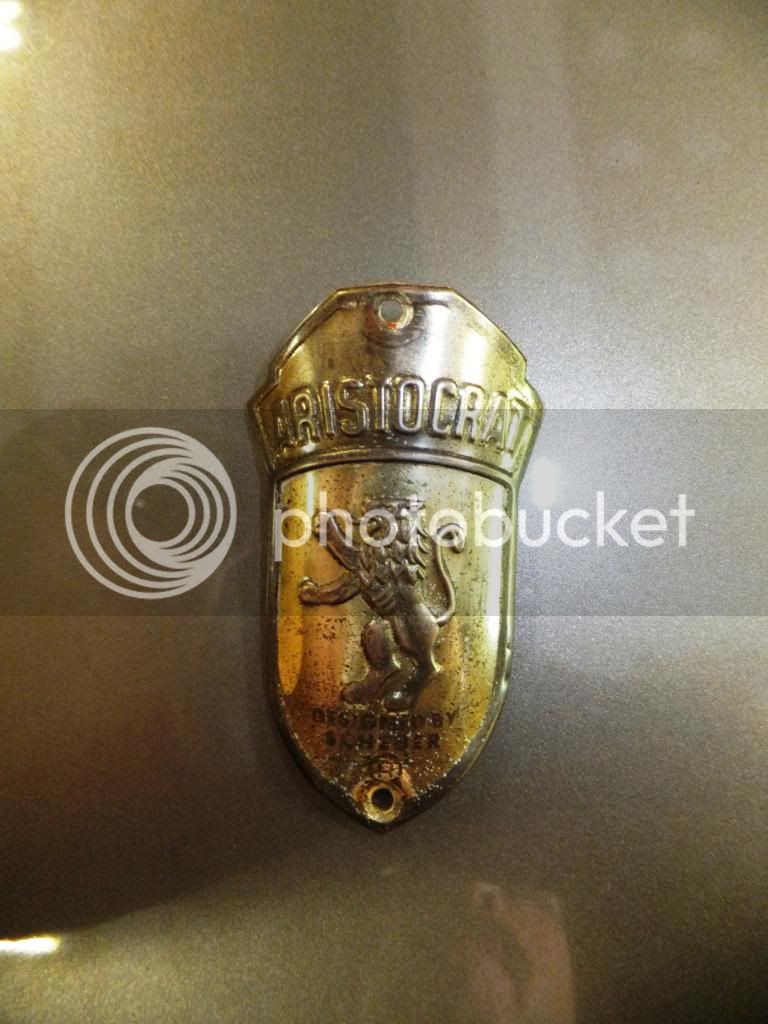
From what I’ve been able to gather (which isn’t much) this Aristocrat is a rebadged Batavus, a Dutch company that’s still cranking out bikes. Batavus I’ve heard of from past moped projects.
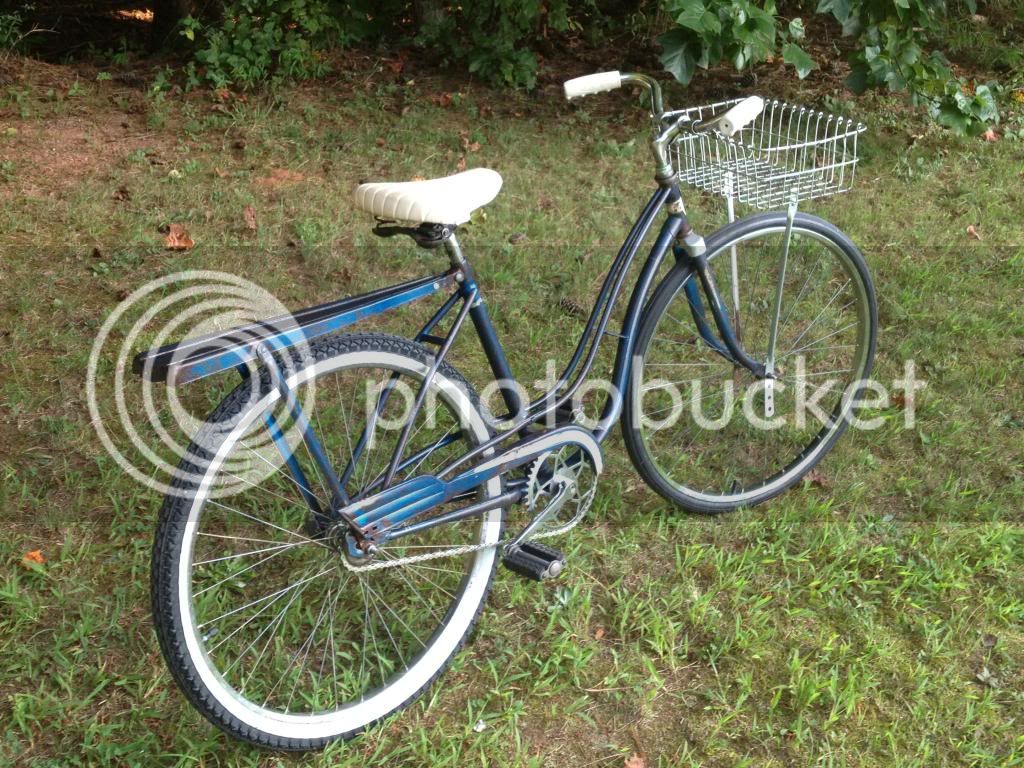
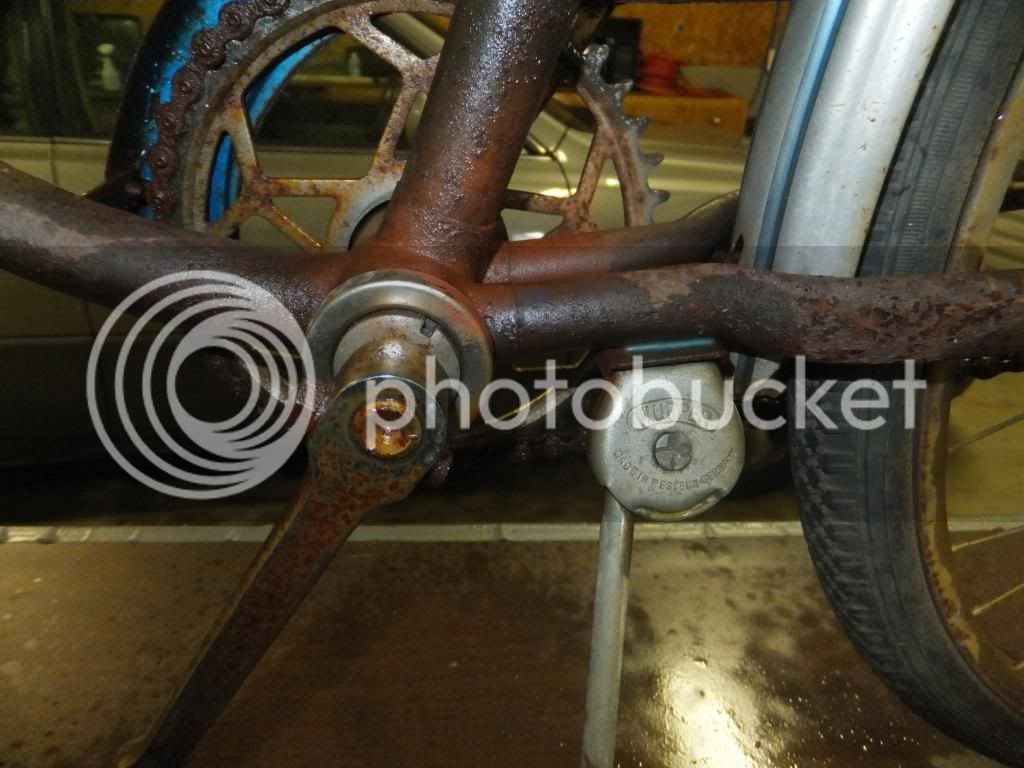
First things first, I hosed it down with PB Blaster and WD40 on every nut, bolt, connection, basically anywhere that would need to move, and walked away from it for a few hours.
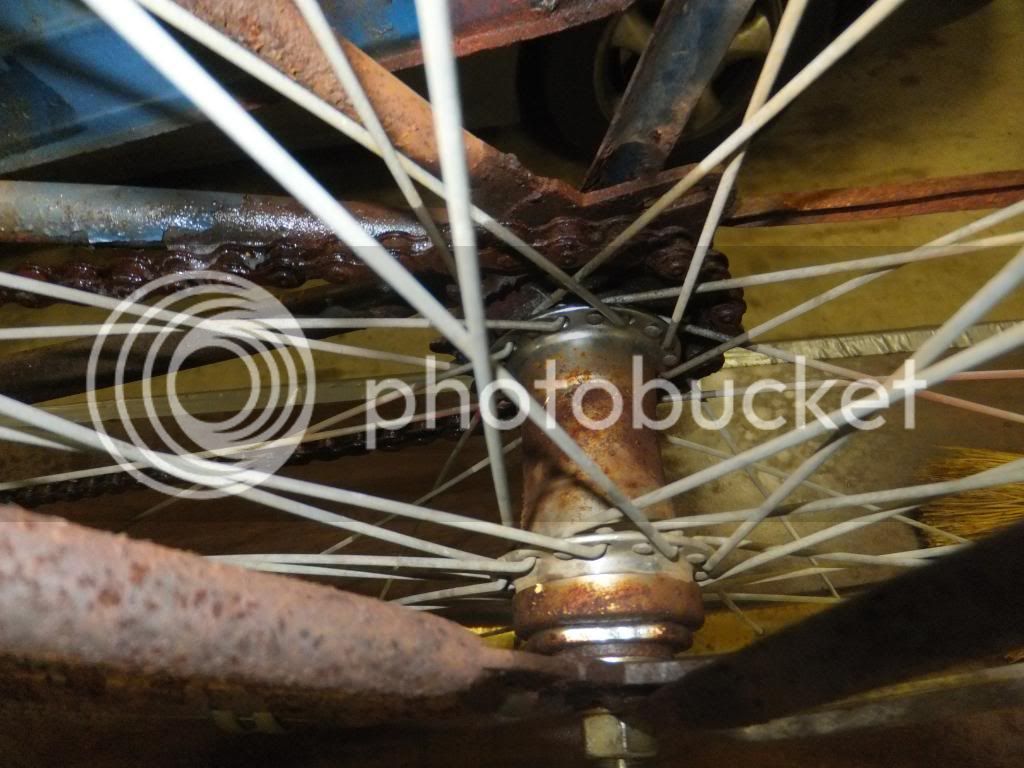
Centrix hub
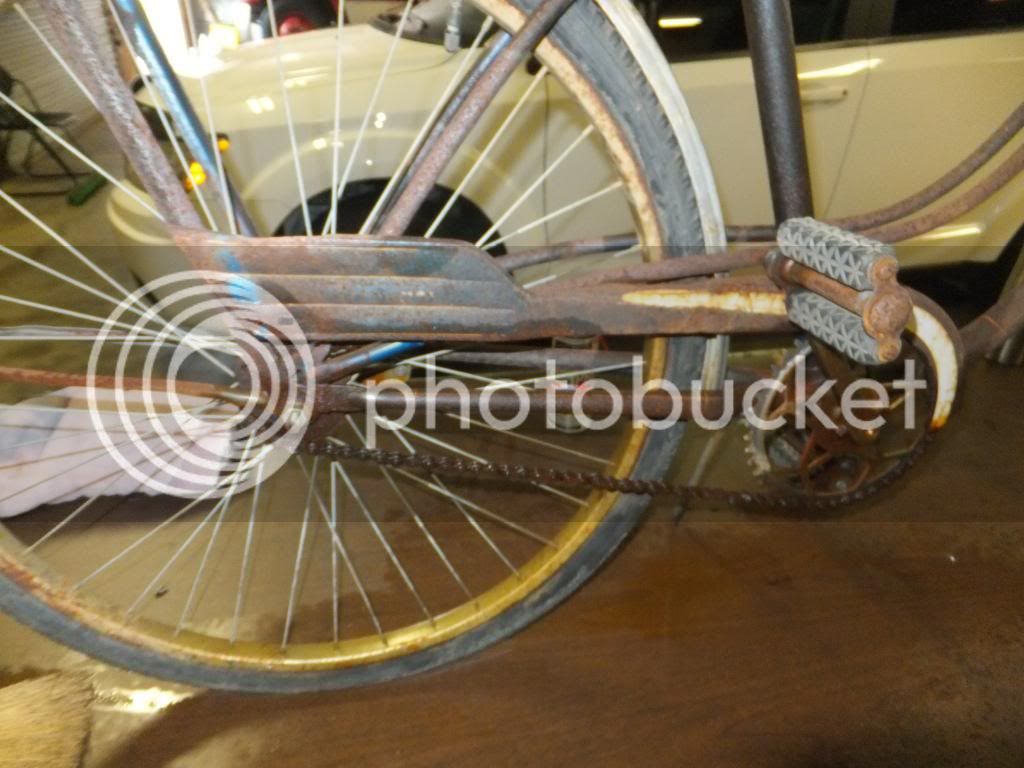
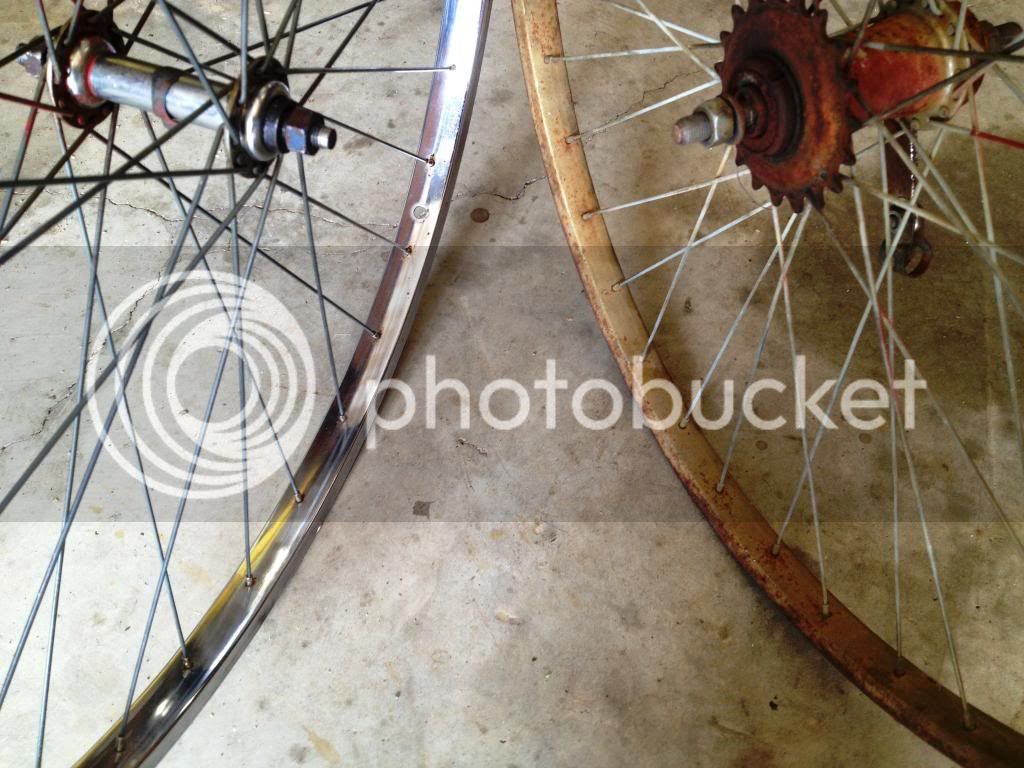
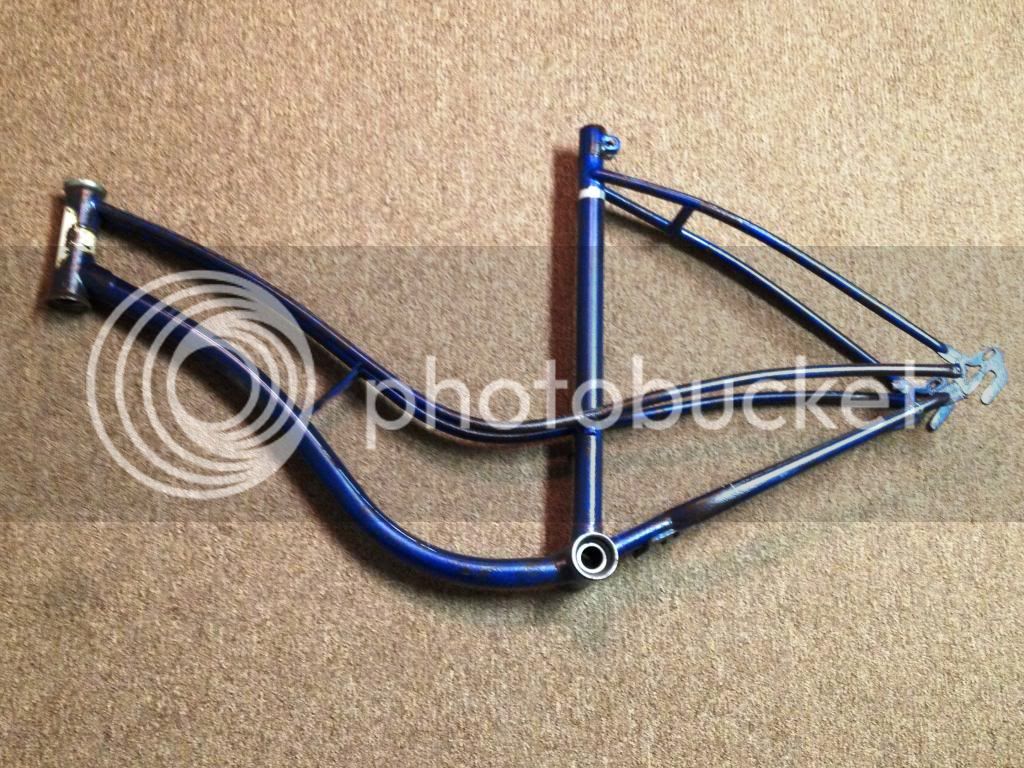
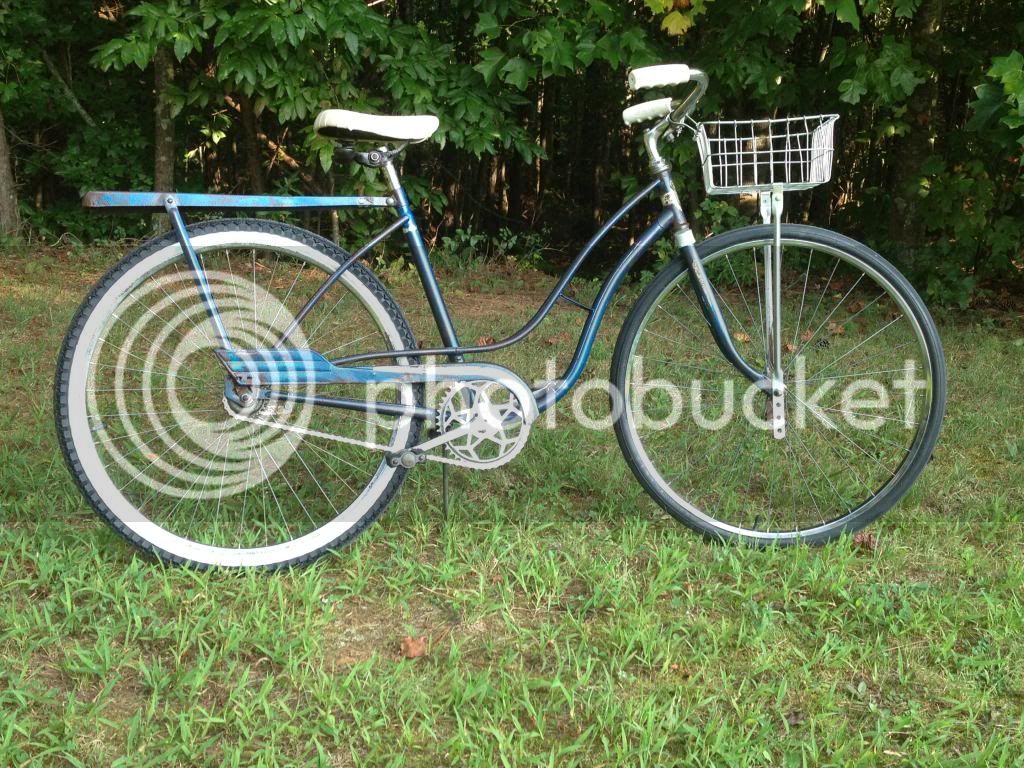
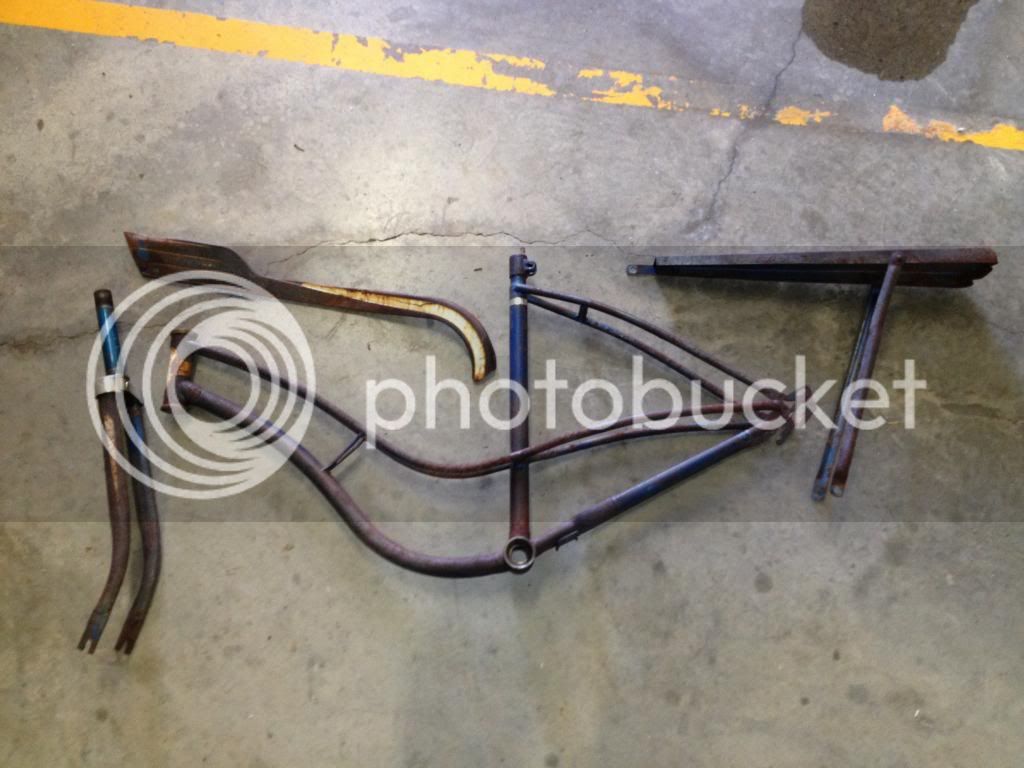
Came apart like a dream...And she's blue!
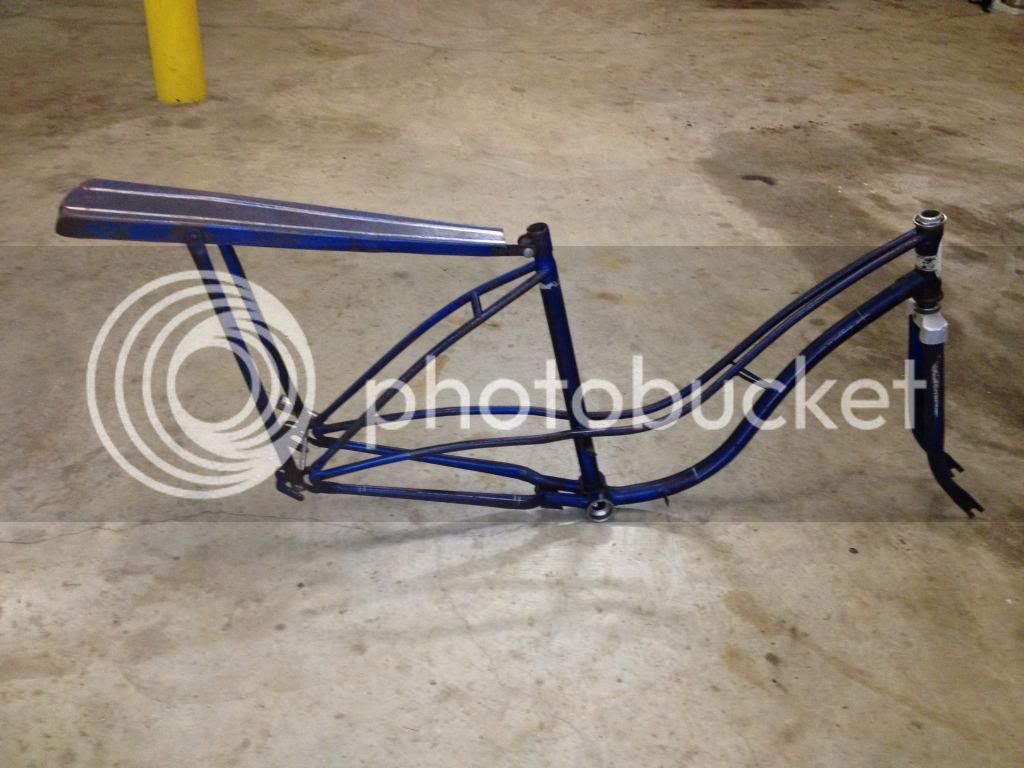
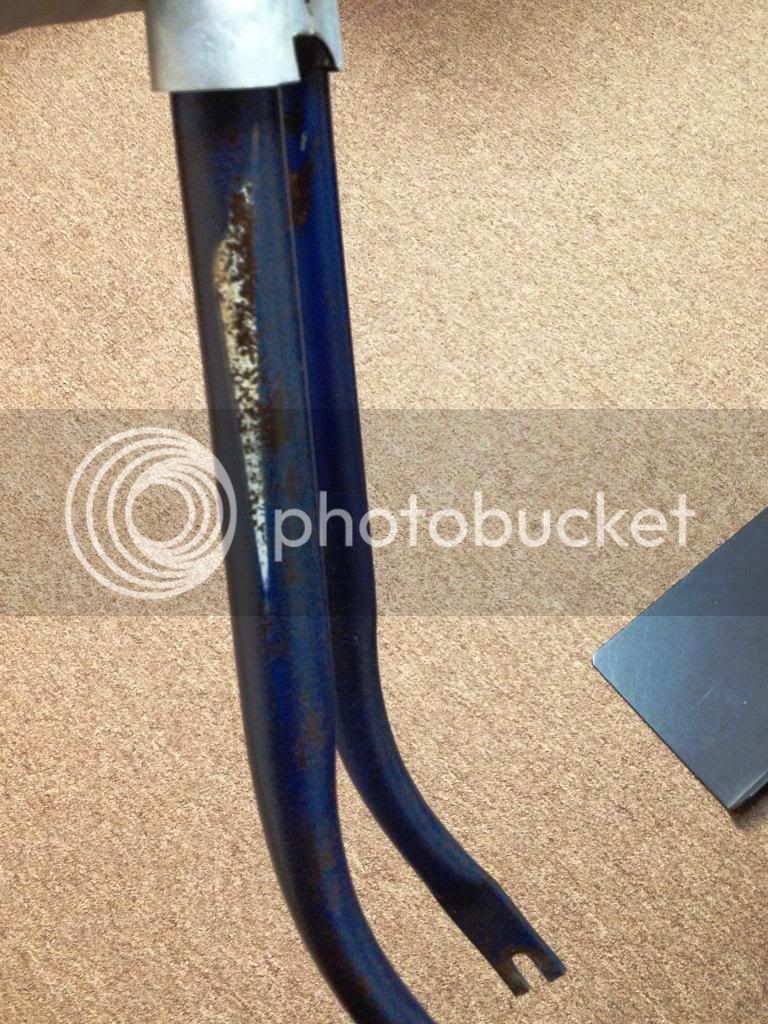
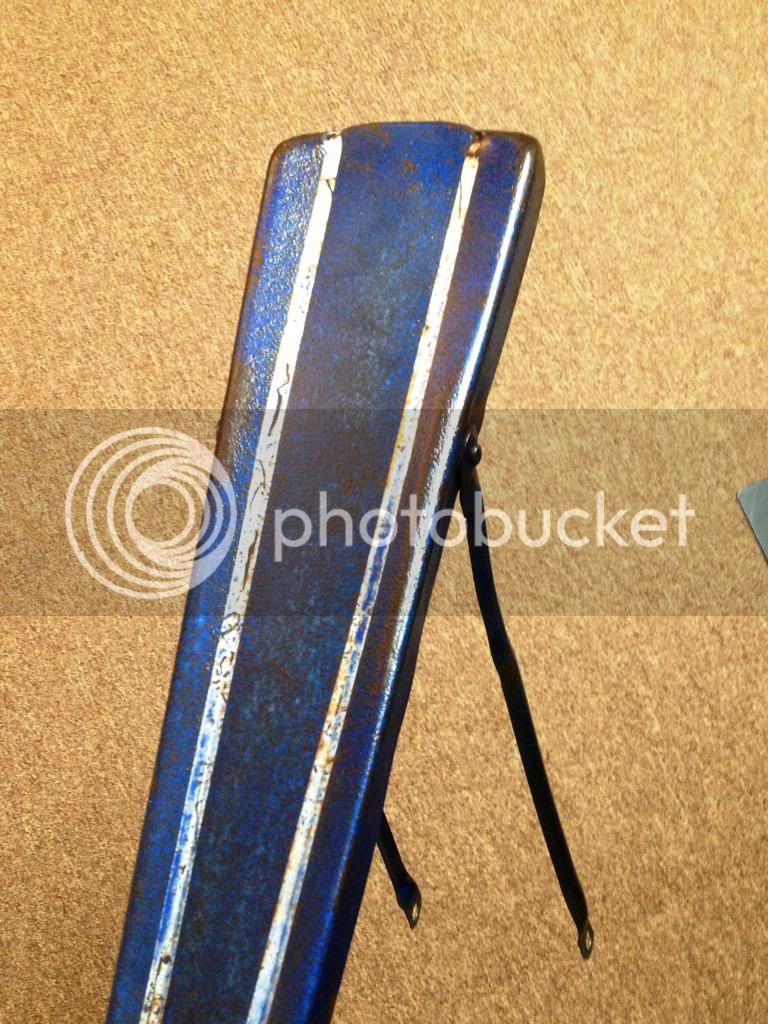
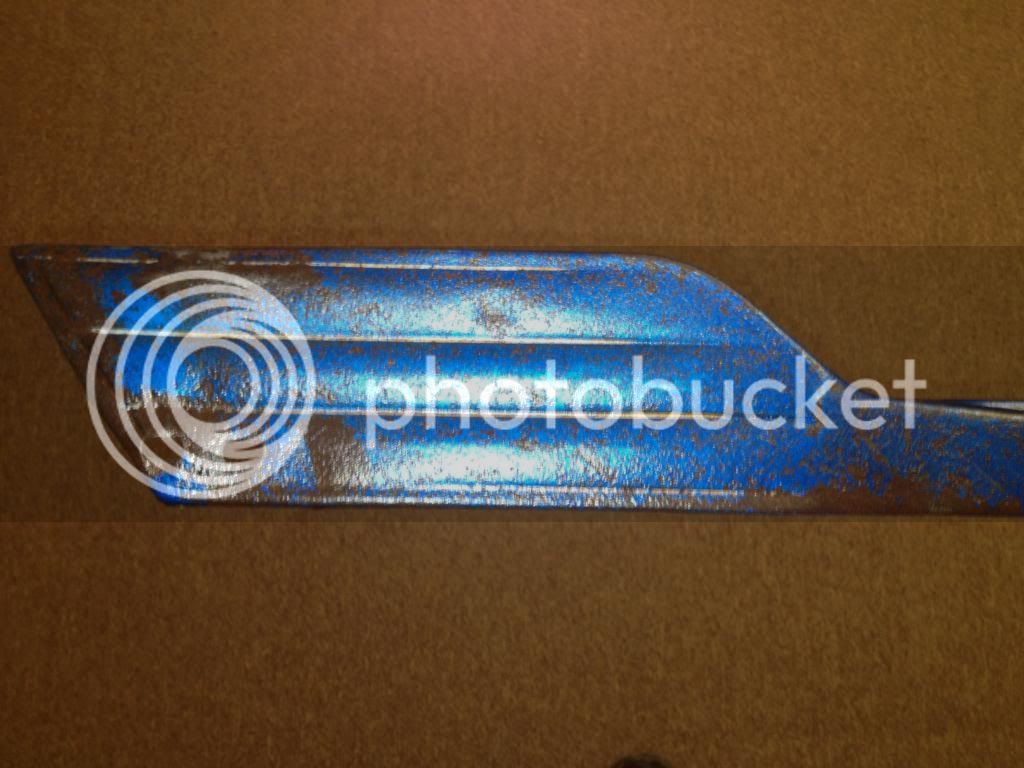
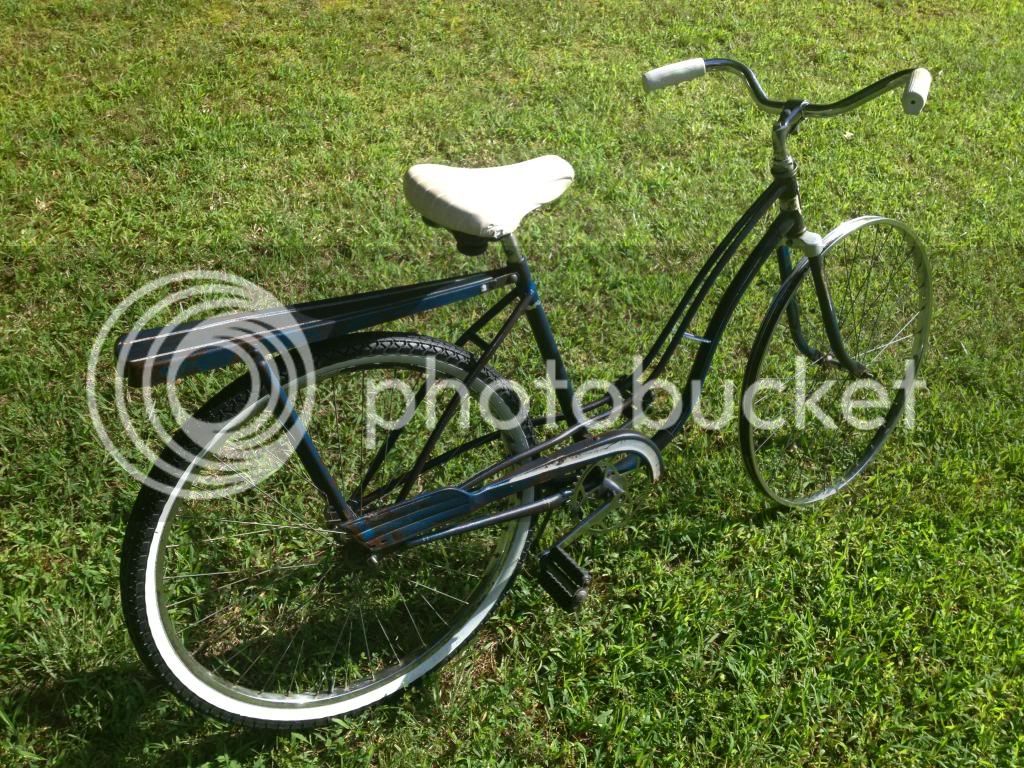
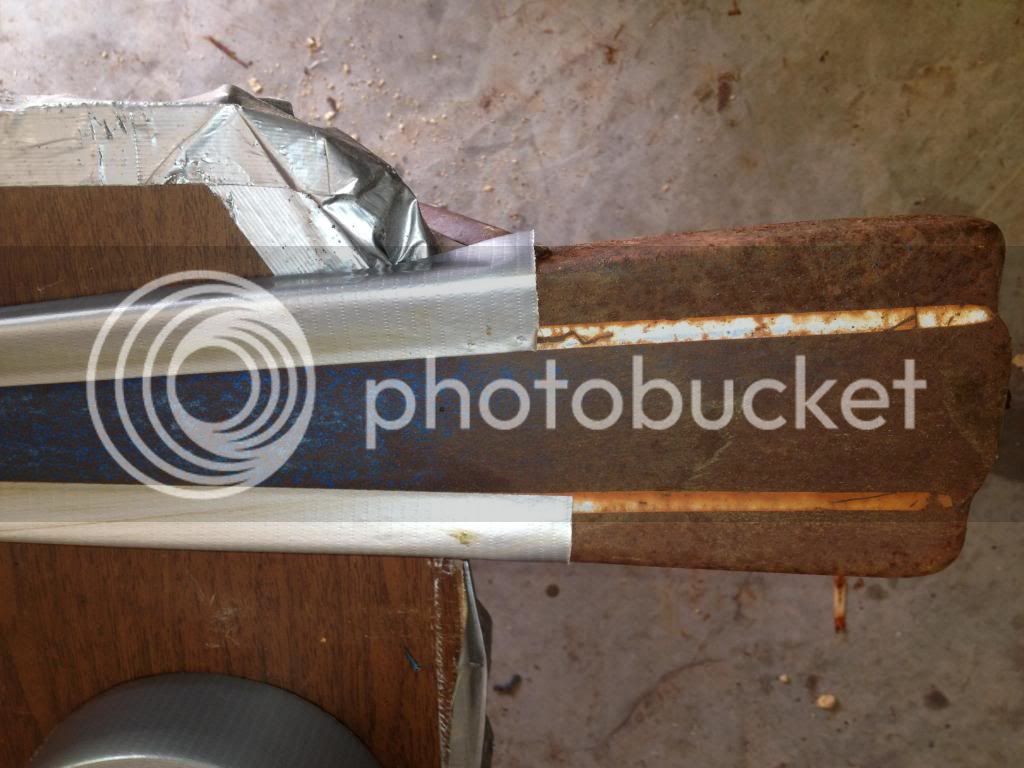
Scrubbing with green scotchbrite pad and warm soapy water to remove rust but save paint. Taped off stripes to save as much as possible.

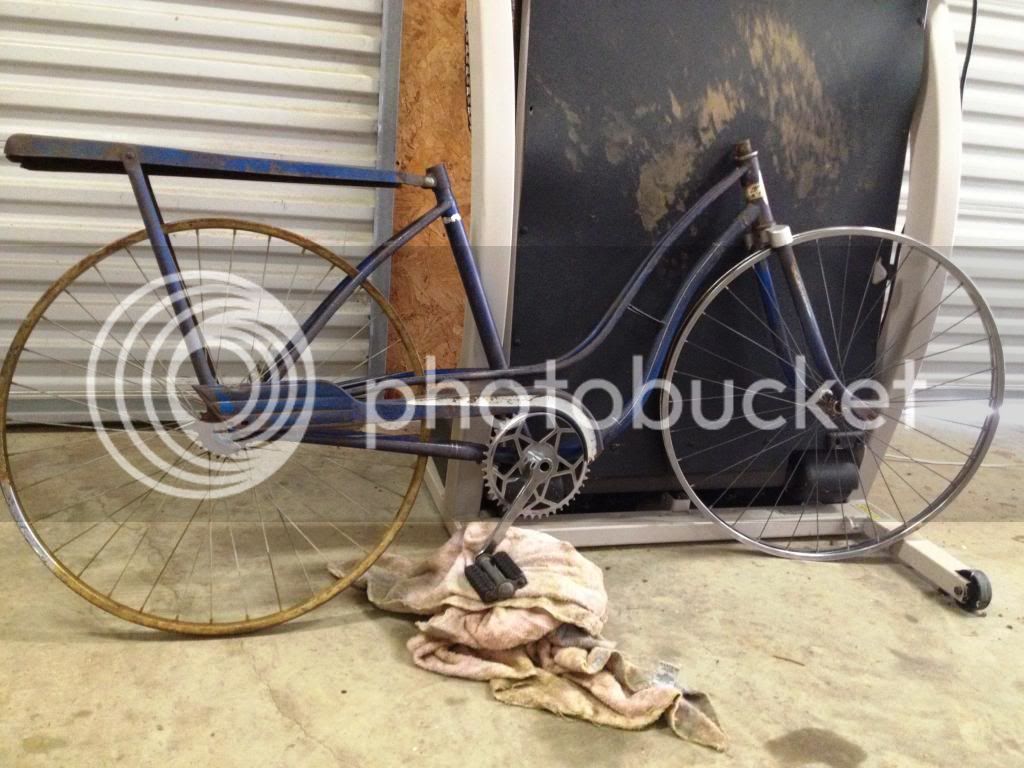
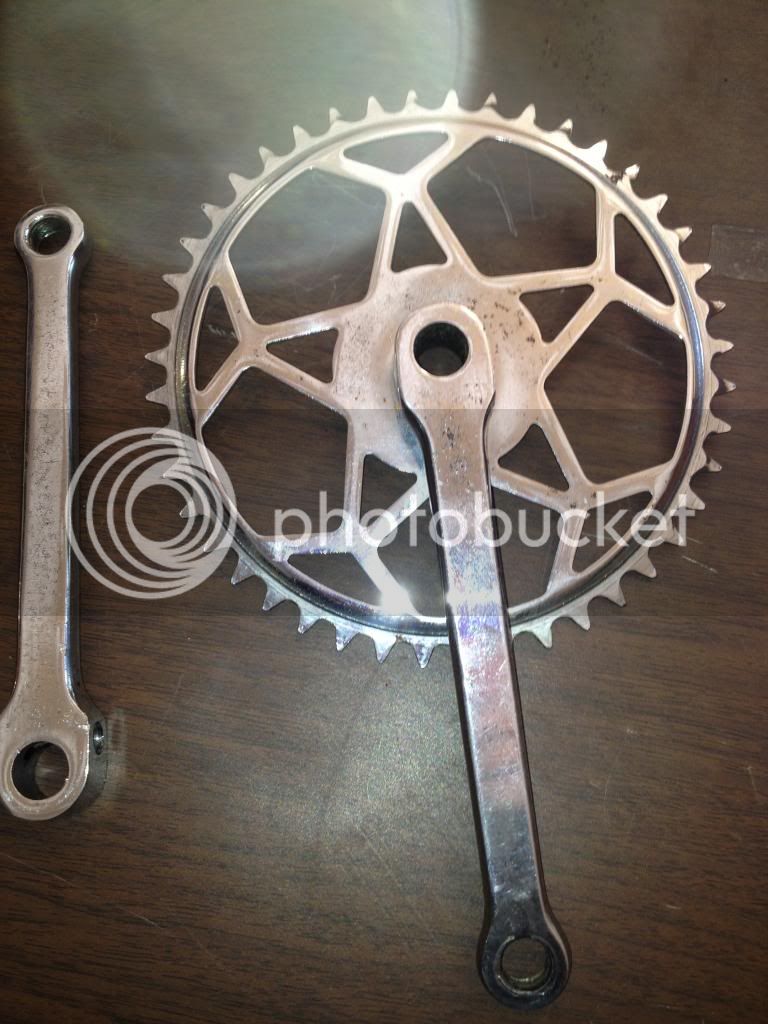
Crank set cleaned up nicely with chrome polish and oooo steel wool.
Day one is in the bag. More later. Thanks for any input!
I stopped in at the shop anyway and ended up getting the bike for free so I’ve decided to see how far I can go while spending little or no money on her. My overall plan is to scrape as much rust off as I can to expose as much paint as I can, then clearcoat it and see what it looks like. I’ll repair/replace all the moving parts necessary to make her road worthy and go from there. She’ll be ugly, but I feel confident that I can get her rolling again and I do love a challenge. Thanks for the advice I’ve already gotten (particularly regarding cottered cranks) and please feel free to throw in any additional advice, comments, corrections, suggestions, sarcastic remarks or bad puns. I’m in this to learn and to have fun.
From what I’ve been able to gather (which isn’t much) this Aristocrat is a rebadged Batavus, a Dutch company that’s still cranking out bikes. Batavus I’ve heard of from past moped projects.
First things first, I hosed it down with PB Blaster and WD40 on every nut, bolt, connection, basically anywhere that would need to move, and walked away from it for a few hours.
Centrix hub
Came apart like a dream...And she's blue!
Scrubbing with green scotchbrite pad and warm soapy water to remove rust but save paint. Taped off stripes to save as much as possible.
Crank set cleaned up nicely with chrome polish and oooo steel wool.
Day one is in the bag. More later. Thanks for any input!